Arts and Crafts with an English Accent
Desk and wall cabinet make an elegant matched set.

Synopsis: Styled after a well-known English Arts and Crafts manufacturer’s work, this desk incorporates the signature square, flared feet and curved front aprons of the Harris Lebus firm. The wall-mounted gallery is a perfect complement, incorporating Lebus’s signature crown, with its dramatic bevels and exaggerated overhangs. The curved front apron is created with a mix of hand and power tools; the joinery for the desk includes mortise-and-tenon and dovetails. The wall-hung cabinet construction is basic, with routed through-dovetails at the corners and stopped dadoes housing the vertical dividers. An elegant dragonfly inlay enhances the doors.
For several years around the turn of the 20th century, an English manufacturing firm, Harris Lebus, produced classically styled English Arts and Crafts furniture that is highly collectible in Britain today, but not well known in the United States.
Lebus was one of very few Arts and Crafts manufacturers to combine the movement’s ideal of making beautiful, useful, yet affordable objects with running a profitable business. It did so with striking examples of British Arts and Crafts design, featuring elements that set it apart from American Arts and Crafts furniture by Stickley, Hubbard, Greene and Greene, and others.
For today’s furniture makers seeking a fresh take on Arts and Crafts, these designs are a great resource. Best of all, in my view, they are drop-dead gorgeous.
In designing this desk, I closely followed a set of the company’s drawings for bedroom furniture, incorporating the square, flared feet and curved front aprons. The wall-mounted gallery is a perfect complement, combining Lebus’s signature crown, with its dramatic bevels and exaggerated overhangs, with a simple inlay. The cabinet was originally designed to sit on the desk, but I raised it to the wall to keep needed items handy while freeing up space on the work surface.
Bandsawn legs have flair
The striking feature of this leg is the flared square foot, which is slightly wider than the leg itself. Take care when making the legs and assembling the piece; there is some fragile short grain in those feet. Mill the leg stock to 1 3 ⁄4 in. square and leave the blanks a little long so they can be cut off and reused if you make a mistake on the feet.
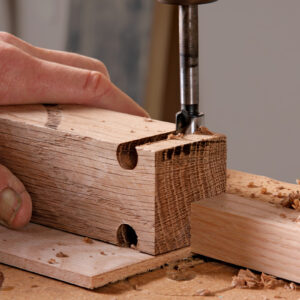
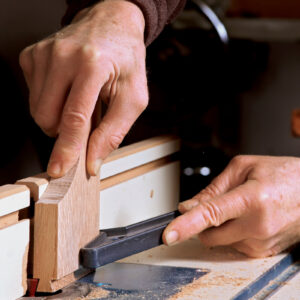
I use a Forstner bit on the drill press to produce the sharp inside curve where the narrow leg transitions into the flared foot. Mark the workpiece indicating the height of the foot and the thickness of the leg at this transition, and use the marks to position the leg against the fence and under the bit. Clamp a stop block to the fence to keep the workpiece in this position as you rotate it for cuts on all four sides. Drill all the way down each of the four sides, keeping the leg firmly against the fence and the stop.
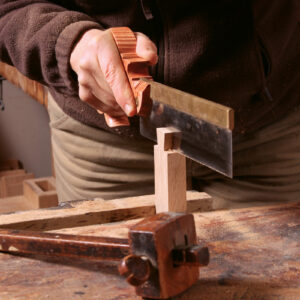
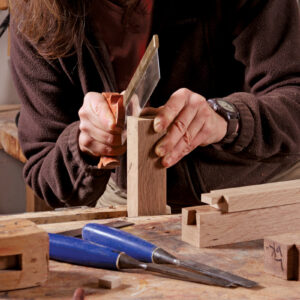
After drilling, you’ll need to remove a small triangular nub of waste on each side. I do this at the bench with a tenon saw.
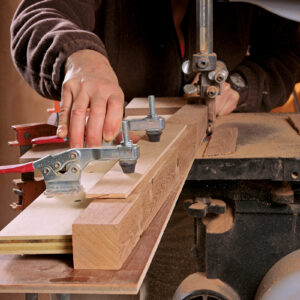
A short, gentle taper connects the leg’s narrow point at the ankle to the broader portion a third of the way up. I cut this taper at the bandsaw, mounting the leg in a simple angled carriage jig that bears against a temporary fence. The cut starts at the top of the tapered section and stops at the hole cut earlier on the drill press.
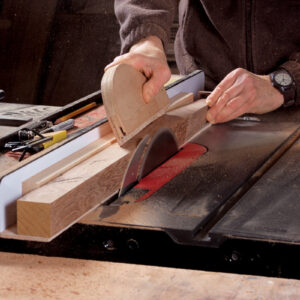
After smoothing these tapers and the transition to the curve of the foot with a sanding block, rip the portion above the taper down to 11⁄2 in. square. Because the foot will end up protruding beyond this main part of each leg, you must use a jig to keep the leg level on the tablesaw. Take care to ensure that your sawcut is perfectly square, because this part of the leg will be mortised for the side and back rails and will deter–mine the position of the aprons.
Curves accent the base
One of the things I really like about this piece is the light way it feels visually, in contrast to some of the massive, square designs often associated with Arts and Crafts furniture. This feeling comes partly from the curves, starting with the ones you just cut in the feet, and repeated in larger scale in the decorative aprons and arched brackets of the base. These curves are simple to create, but they tie the piece together visually and lend it a touch of grace.
Building the base starts with cutting the lapped dovetails on the top rail and the mating sockets in the tops of the two front legs.
Making the decorative front aprons is straightforward. Each one is mortised on its inside edge to accept the lower draw-er rail, but there is no other joinery to cut. The aprons are glued to the legs and upper rail with simple butt joints. Be sure to mark out the decorative shape with the grain running vertically. This avoids short grain at the end of the curve and provides long grain for gluing the apron to the leg.
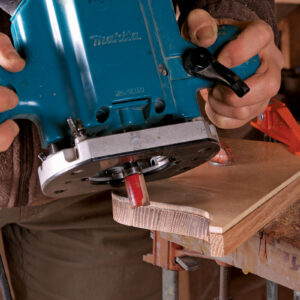
After bandsawing the aprons close to the layout lines, I rout them into perfectly matching shapes using a pattern-cutting bit. The bit has a top-mounted bearing that rides a plywood template clamped to the work-piece. Afterward, I smooth the shapes with sandpaper.
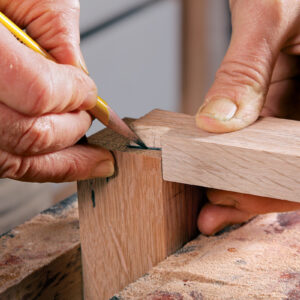
When both aprons are shaped and mortised, dry-clamp them into position within the leg-and-top-rail assembly so you can fit the lower rail. To fit the rail, start by cutting a shoulder on one end of your rail stock. Now hold the shoulder against the inside edge of one apron while marking the location of the opposite shoulder where the piece meets the other apron. Now return to the tablesaw to finish cutting the shoulders and trimming the tenons to length. This is a good time to determine the length of the table’s rear apron by measuring between the shoulders on the top front rail dovetails. Add 3⁄4 in. at each end for a tenon. Now cut the side and rear aprons to length and cut the tenons.
Once this is done and the lower rail is in place, dry-clamp the entire front assembly and check for fit. The assembly should be the same length at the top of the legs and several inches down, level with the lower rail. If the lower measurement is too long, trim the tenon shoulders to fit.
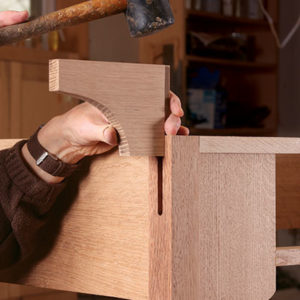
The arched brackets are slightly more complicated than the decorative aprons. Each bracket is joined to the outside of its leg with a stopped sliding dovetail. I cut the joinery at the router table, first cutting the stopped socket into the outside of each leg. Next I cut the dovetails, making test cuts to position the fence correctly.
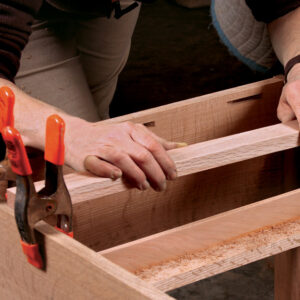
Before gluing up the base, dry-fit the assembly and measure for the runners and kickers that will support the drawer. These components are tenoned into grooves cut into the rear edge of the front rails.
Build the base in stages
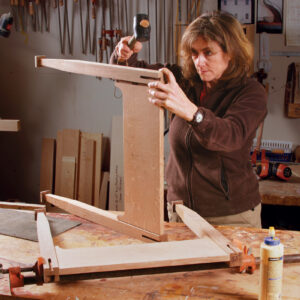
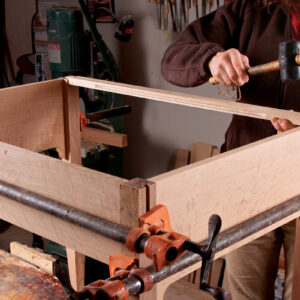
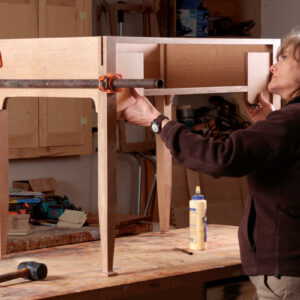
Start by gluing up the side assemblies and then joining them with the back apron, creating a three-sided assembly. Dry-fit the dovetailed top rail to help keep the base square.
The next day, assemble the front as follows: Glue the dovetailed top rail into the legs and tap home. Next, glue the bottom front rail into the aprons; add glue to the outer edges of the aprons, and lightly clamp this assembly in place between the front legs. Adjust the position from front to back as necessary, and when it is perfect, increase the clamping pressure. Once this is done, glue the runners and kickers in place, ensuring they are parallel to each other and square to the front of the desk. After the assembly is out of clamps, give the upper section of each leg a light sanding to remove clamp marks and glue, and then glue in the arched brackets. Now cut the tabletop to size and dry-fit it.
Wall-hung gallery is a crowning touch
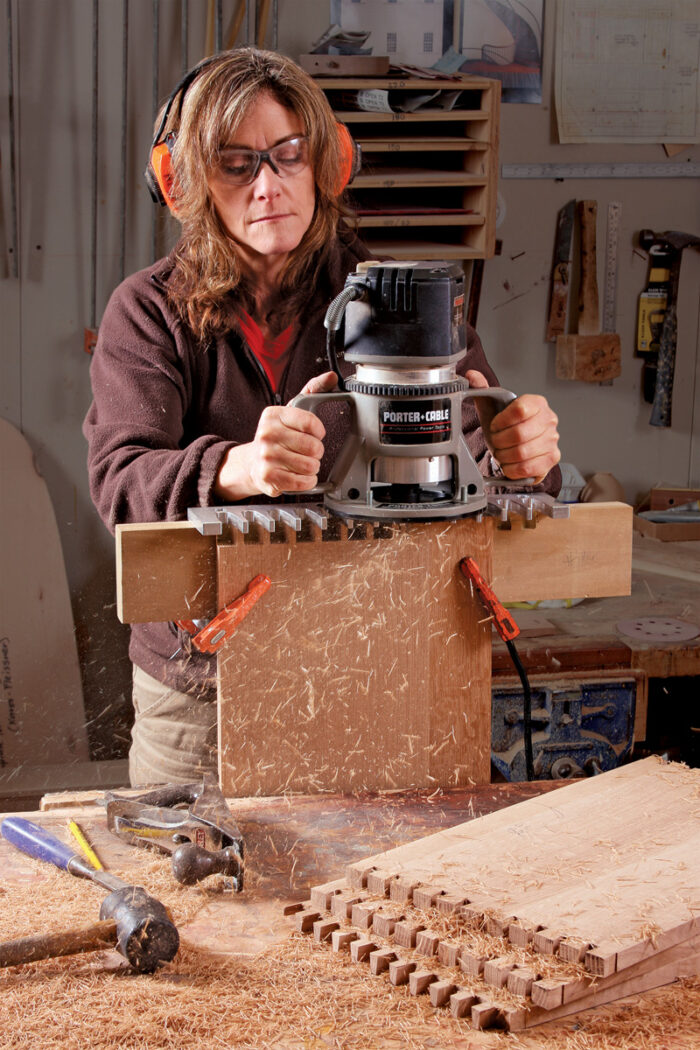
With its wide beveled crown molding and inlaid doors, the case that hangs on a wall above the desk is a perfect counter-part in both function and style. The case construction is basic, with routed through-dovetails at the corners and stopped dadoes housing the vertical dividers.
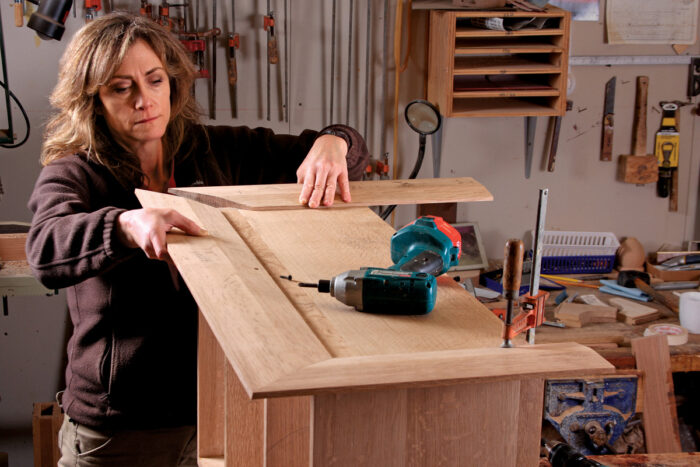
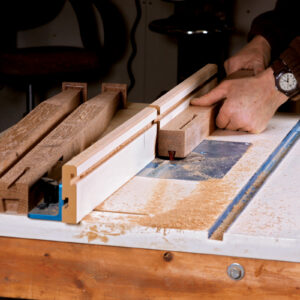
After gluing up the case, cut the bevels for the crown on the tablesaw. Then cut a rabbet on the underside of the crown to fit over the upper case and hang down about 1⁄8 in. Mark the miters for one corner and cut them, leaving the parts overlong. Now predrill and countersink three mounting holes in the front section of crown. Be careful to position the holes near the center of the rabbet’s width.
Next, position the front piece precisely on the case, using the mitered return piece to confirm the front’s position and fit. Drill a pilot hole for the center screw and fasten the front section temporarily so you can mark its opposite end for cut-ting to length. Now remove the front section to cut the miter on it and on the return piece.
When the miters are perfectly fitted, start installing the crown by fastening the front piece, se-curing it first with the center screw. Check to make sure the rabbet is pulled flush against the top edge of the case from left to right, then drill pilot holes for the other two screws and run them in.
Now mark the back edge of each return section, flush with the back edge of the cabinet, and cut each to final length. Pre-drill and countersink two holes in each return section —one near the miter and one near the back of the cabinet. To install each return, brush glue on the miter and slide the re-turn section into place, holding the joint with an Ulmia miter clamp (or by wrapping packing tape across the joint). Next, drill pilot holes and screw the return section of crown to the case. reinforce the miter joints with brads, predrilling to avoid split-ting. when dry, sand carefully.
Inlay enhances the doors
This design calls for simple slab doors with half-mortise locks (paxtonhardware.com). For a good primer on installing them, see Lonnie Bird’s article “Choosing and Installing a Lockset (FWW #162). The doors are simple, but the decorative dragonfly inlay elevates their appearance. Using quartersawn stock minimizes shrinking and expanding across the width, which is critical in this type of door.
I use gouges to cut the veneer for the head and wings. I cut the veneer for the straight body and tail
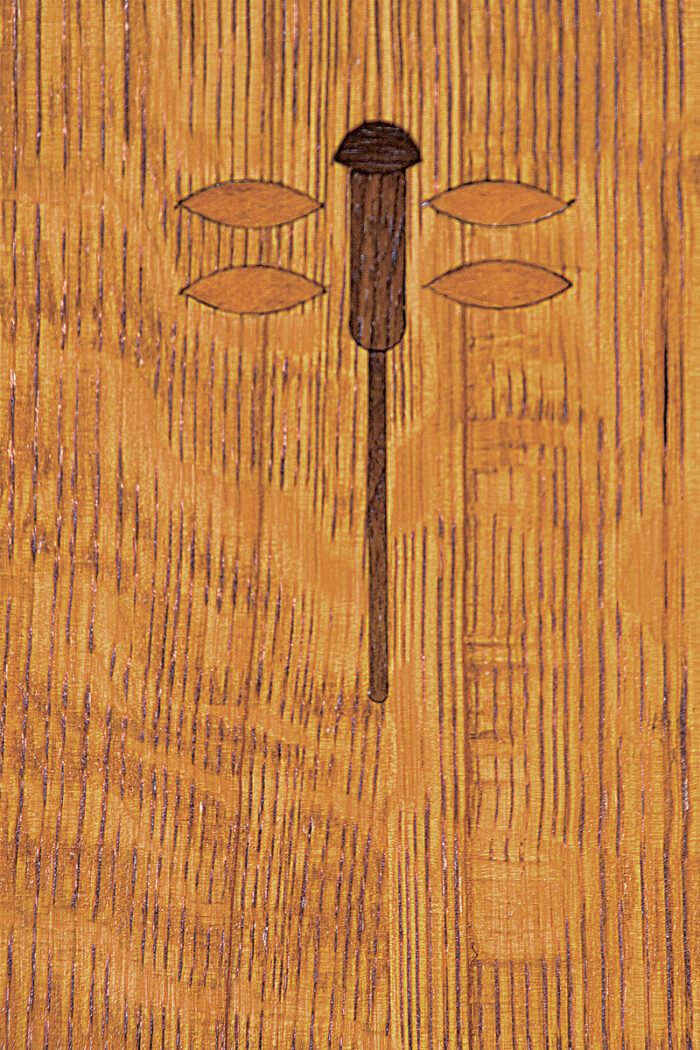
from larger stock at the tablesaw, shaping the curved ends with gouges and sandpaper. The mortises are all cut with a router, except for the wings, which I can cut cleanly with a gouge at the same time I am cutting the veneer.
To begin, lightly mark the dragonflies’ positions in pen-cil on both doors. To shape the head, simply pierce a sheet of veneer with mating cuts from two gouges, using a larger radius for the bottom. Trace around the workpiece to mark the door for routing the mortise. Fit the veneer using gouges to pare the mortise walls and sandpaper to trim the veneer.
Next, rout the mortises for the body and tail. Cut the veneer from 3⁄4-in.-thick sol-id stock, ripping it to fit the mortise width at the tablesaw before resawing it to approximately 3⁄16 in. Use gouges and sandpaper to shape the curves at each end of the body and tail sections. You can cut the inlay and the mortise for the wings at the same time. Tape the veneer stock over the mortise location and chop with a mallet-struck gouge until you have cut through on each side of the wing.
Glue the inlay stock in place, cover with paper, and clamp well with cauls until dry. when dry, scrape and sand flat.
From Fine Woodworking #228
For the full article, download the PDF below:
Fine Woodworking Recommended Products
Circle Guide

Dividers




Comments
Beautiful! So the US wasn't the only Arts and Crafts movement.
Great to learn what other artists/crafters were making during this time period.
The movement started in Great Britain as totally handcrafted furniture using no machinery. It's industrial interpretation in the U.S. is a pale imitation of the real thing.
Log in or create an account to post a comment.
Sign up Log in