Build a Bedside Table
This small project features stout joinery and angles that will challenge your skills.
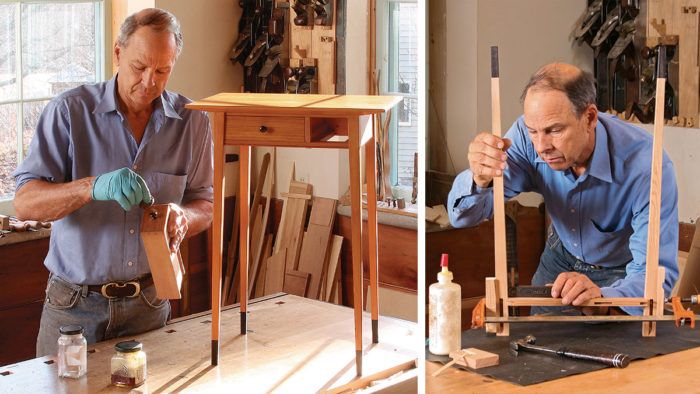
Synopsis: This is a sweet little project that is not only fun to make, but is also packed with challenges and lessons on creating strong joinery in delicate parts. It has splayed, tapered legs, angled joints, and asymmetric drawers. Because the parts are so slender, it relies on well-engineered mortise-and-tenon joints for its strength. Garrett Hack shows you how to build the piece and deal with the angles and tapers.
I love building small tables. They are not only fun, quick to make, and useful (or saleable), but they’re also perfect for trying new designs and techniques. In my teaching, I have found they are ideal projects to improve hand-tool and joinery skills.
This sweet little table is loaded with lessons and challenges. It’s also a great showcase for creating strong joinery in delicate parts. It features splayed, tapered legs, slightly angled joints, and two asymmetric drawers that fit not-exactly-square pockets. I’ll show you how to build this piece, and give you tips on how to deal with angles.
Taper and mortise the legs first
The legs taper from top to bottom. Before cutting them it’s a good idea to make a full-size pattern out of thin material. The pattern should show the joinery locations, as well as the foot layout.
I trace the pattern on the stock and cut the tapers on the bandsaw. Then I clean up the sawmarks and refine the taper using a smoothing plane. Once i have all four legs made, I play with their arrangement to pick the best show faces. Then I mark the legs so i maintain the proper orientation while cutting the joinery.
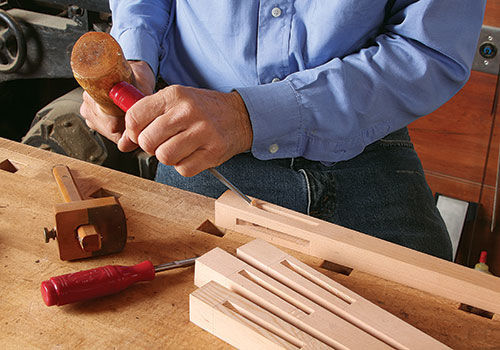
I chose to make 5⁄16-in.-wide mortises for these fine legs, allowing for adequately strong tenons yet not weakening the legs as 3⁄8-in.-wide mortises could where two mortises intersect in the back leg. To maximize twisting resistance, my apron tenons are as wide as possible, nearly the entire height of the aprons. and to preserve the overall strength of the mortise, the top section is much shallower and is angled to accept a haunched section of tenon.
I cut most of the mortise on a horizontal slot-mortiser and the shallow angled section by hand with chisels. While cutting the six mortises for the aprons, I also cut the mortises for the bottom drawer rail, so that I can cut the rail tenons later with the same setup as the aprons.
Match aprons to the leg angle
In addition to being tapered, the legs are splayed. To create the splay, i cut the ends of the aprons at 21⁄2° using the miter gauge of my tablesaw. Before working on the tenons, I use a shopmade scratch stock to bead the bottom edges of the aprons and bottom drawer rail.
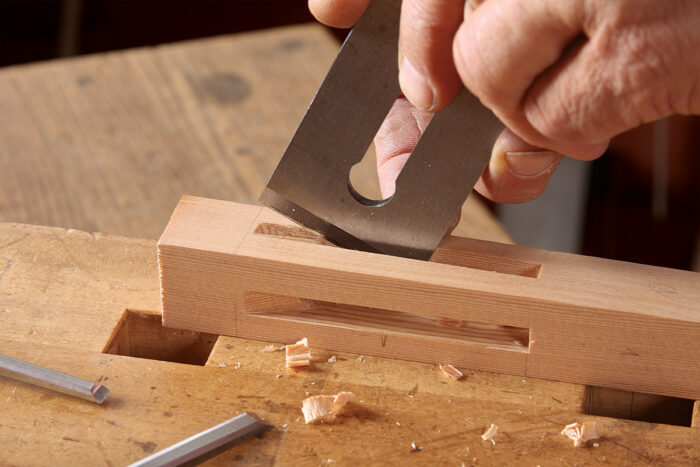
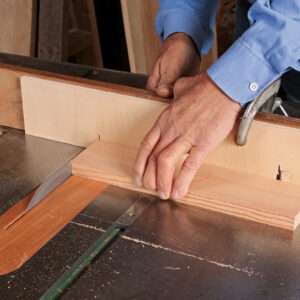
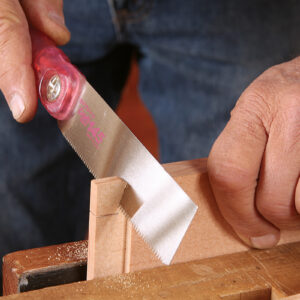
I cut the tenon cheeks using a tablesaw tenoning jig, and then i cut the shoulders with the aprons flat on the tablesaw. I register the angled ends of the aprons against the fence, which creates perfect angled shoulders. i cut and fit the tenon haunches using a handsaw and chisel.
Drawer rail is angled, too
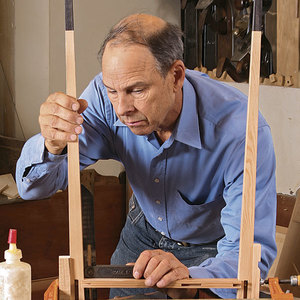
With the aprons tenoned, I tenon the bottom drawer rail using a tablesaw tenoning jig. here, the tenon is angled slightly (out-side angle 1°) to ensure that the rail ends up level once installed. This rail also wraps around the back of the leg for added glue surface and stability. I fit each end to its leg by careful work with a saw and chisel. After dry-fitting the rail into the table, lay out and cut the mortises in the rail for the drawer divider. I angle the mortise walls with a chisel to accommodate the splay.
The rail also has three mortises for the drawer runners—a wide one at center and two narrower ones on the ends. After I cut the joints, I slip the runners into place and plane them flush with the top of the rail. The rear apron is also mortised for the center runner. it aligns with the mortise in the lower front rail and is the same size, but is angled 1°. The side runners get glued into the lower front rail and to the side aprons during assembly. With the apron and bottom rail joinery finished, I use a gouge and drill to cut the pocket holes for attaching the top.
Do some leg work before glue-up
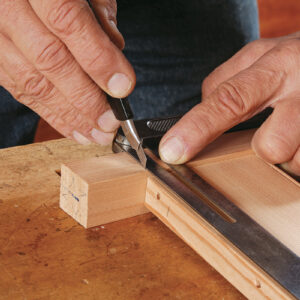
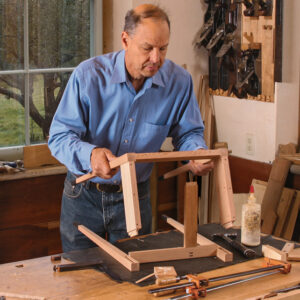
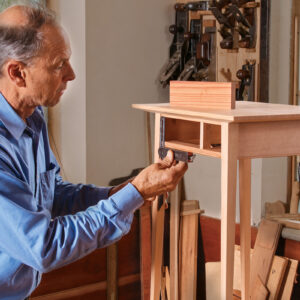
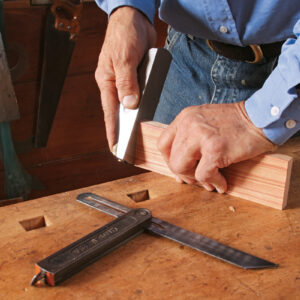
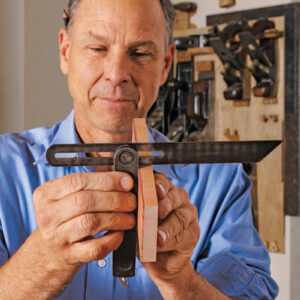
Before assembly, you need to add the ebony toes at the bottom of the legs. i covered that in a previous Master class (“Make your legs stand out with inlaid feet,” FWW #239). Then trim the tops of the legs. To get a clean cut at the proper angle, assemble a leg and apron, place a bevel gauge on the outside face, aligned with the top edge of the apron, and then knife a line across the leg. Using the gauge, transfer the line across the other outside face of the leg and cut to the lines with a handsaw. You’re ready for glue-up.
After assembly, complete the drawer pockets
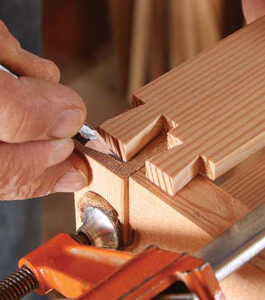
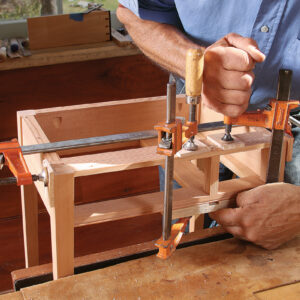
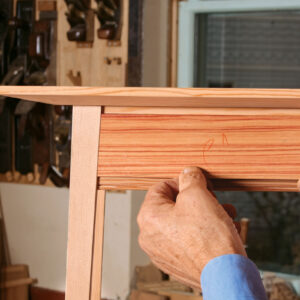
The top drawer rail, which dovetails into the front legs and also into the side aprons, is added after this initial assembly. The double dovetails add to the drawer pocket’s strength by resisting both tension and compression forces. The shoulders of the dovetails are angled to match the leg splay.
Before laying out the top rail joinery, plane the top of the base flush. place the rail in position on top of the legs and knife the underside where it will fit around the leg and against the side apron. Use these lines to lay out the stepped shoulders for the two dovetails. cut the dovetails and shoulders, reposition the rail on the legs, transfer the dovetails, and saw and chop out the sockets. Now mortise the rail for the drawer divider, angling the mortise walls, and drill and countersink the holes in the top rail for attaching the top.
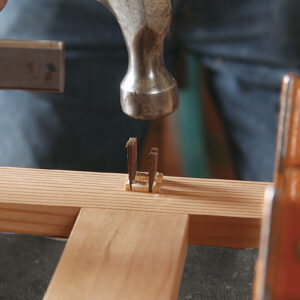
Make and install the divider. cut the divider tenons at 90° but angle the shoulders slightly for a snug fit with the angled mortises. The tenons are wedged, so cut the slots in them at this point, too. Next, glue the top rail in place and to the divider and then tap in the wedges. Finally, make and install the drawer guides.
Add the top and build the drawers
The tabletop is made from two nicely matched boards and is beveled on the underside and along the four edges. The underbevels are wider on the sides than on the back and front, which looks good. i saw the bevels by hand, following my layout lines.
The last step is building the drawers. I laminate the Brazilian tulipwood veneer to the Douglas fir drawer fronts first, then I fit each front to its opening. With a splayed table, the outside ends of the drawer pockets are not square and the top and bottom edges of the drawer fronts need a small bevel. I fit the drawer front barely snug to its opening end to end, top to bottom, and then cut the drawer joinery. Groove the drawer sides, and then cut and fit each bottom.
For a finish, I used shellac, specifically seedlac, which has a reddish hue that beautifully warms the fir and tulip.
From Fine Woodworking #253
For the full article, download the PDF below:
Fine Woodworking Recommended Products
Compass

Sketchup Class
Circle Guide




Comments
Am I wrong in thinking that the shoulders on the apron tennons would need to be a compound angle? He doesn't seem to address this at all. Perhaps the angle is so small that it is ignored?
Christopher, you aren't wrong. The shoulders need to be trimmed to fit against the legs. I found this when I was drawing up the plans for his Fir and Cherry table (with a pivoting drawer) which has the same basic leg and apron arrangement. The angle is quite subtle and needs to be worked out while fitting during dry assembly.
-Dave
Seems to me: Where the apron joins the leg there is an angle cut on the end of the apron (and hence the shoulder) but not a compound one. The tenon protrudes parallel to the face of the apron.See the Splay-leg table in Hylton's "Illustrated Cabinetmaking." The only compound angle is at the top of the leg and he fixes that after assembly with a plane.
Log in or create an account to post a comment.
Sign up Log in