Build a Greene and Greene Side Table
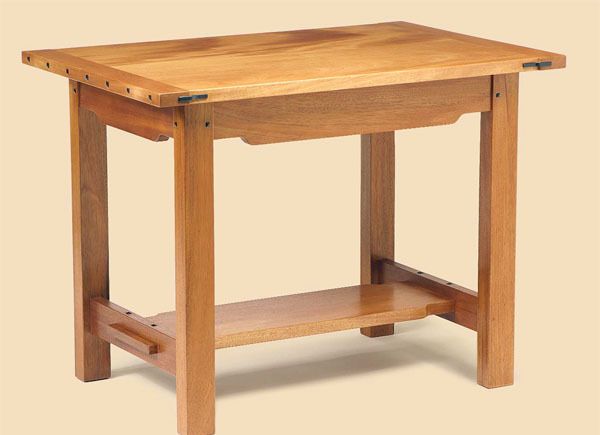
Pinned and plugged joints add beauty and strength to this simple mahogany side table.

Synopsis: Woodworker Gary Rogowski shares plans for a simple and beautiful mahogany side table that embodies the details and construction techniques practiced by prolific furniture-designing brothers Charles and Henry Greene in the early 20th century. The table base is assembled with pinned mortise-and-tenon joints; square ebony plugs decorate the pinned joinery; breadboard ends keep the tabletop flat; and the piece features a cloud-lift motif.
Simple is beautiful, so they say. But I also know that simple and beautiful together are challenging to achieve. This became apparent when I set out to reproduce this Greene and Greene side table, which embodies the details and construction techniques practiced by the prolific furniture-making brothers Charles and Henry Greene in the early 20th century.
The table base is assembled with pinned mortise-and-tenon joints; square ebony plugs decorate the pinned joinery; breadboard ends keep the tabletop flat; and the piece features a cloud-lift motif.
Although the construction details are fairly simple, the challenge lay in translating the beauty of the table from photograph to the real thing. At first, I made a scale drawing from the photo, but the table looked oversize and chunky. To overcome my dilemma, I built a full-scale mock-up out of cardboard. This took only a few hours of slicing pieces of cardboard and assembling them with hot-melt glue. If a part seemed too big, I cut it down and rebuilt the model.
For the tabletop, the aprons, and the stretchers, I chose a thickness of 1 in., which matched the strong appearance of the legs. When I was happy with the look of the cloud lift, I made a template for it out of 1⁄4-in.-thick medium-density fiberboard (MDF) and then transferred the shape to my cardboard aprons. After I drew the breadboard ends on the cardboard top, the design felt and looked right. Now it was time to mill some wood.
 Cut Mortise-And-Tenons First
The table is assembled with mortise-and-tenon joinery that is pinned and plugged. Thick legs provide ample room for the mortise-and-tenon joints from the aprons and stretchers without having them run into each other. All eight mortises for the aprons are the same size, and the tenons are haunched on top. The four mortises for the side stretchers also are the same size, but the tenons are not haunched.
The first step is to mill the legs to final dimension. Once the legs are complete, cut and fit the aprons and the side stretchers. These pieces should be cut and fitted before shaping the cloud lifts. The tenons can be cut on the tablesaw or on the router table. Fine-tune with a shoulder plane until you achieve a sweet fit.
Cut The Through-Mortises In The Side Stretchers
The center stretcher isn’t absolutely crucial for the strength of the table, but it is an important visual element. The center stretcher is connected to the two side stretchers with pinned through-mortise-and-tenons. To allow the center stretcher to expand and contract as needed, the holes in the tenons are elongated, and no glue is used in the joint.
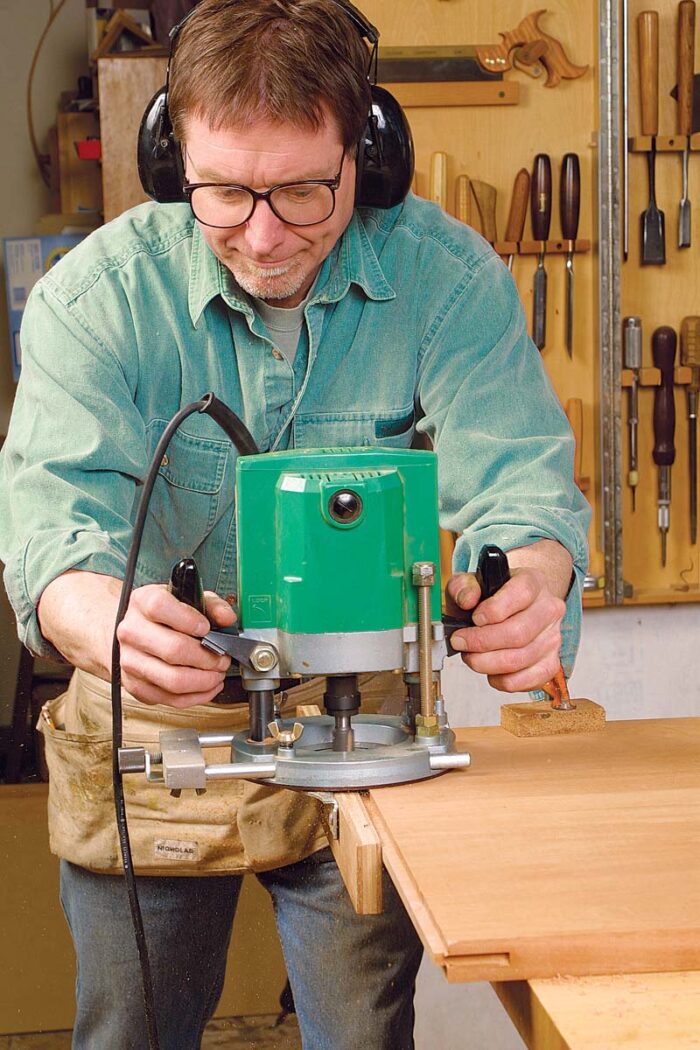
Cutting the through-mortises in the side stretchers requires removing a lot of wood, so it’s best to do this in steps.
From Fine Woodworking #171
For the full article, download the PDF below.
Fine Woodworking Recommended Products

Dividers

Sketchup Class

Festool DF 500 Q-Set Domino Joiner


Comments
Looks nice but it doesn’t seem as though the link to the pdf file is active. Need help.
Log in or create an account to post a comment.
Sign up Log in