
Build a Modern Coffee Table
This mid-century design is inviting, versatile, and built to last

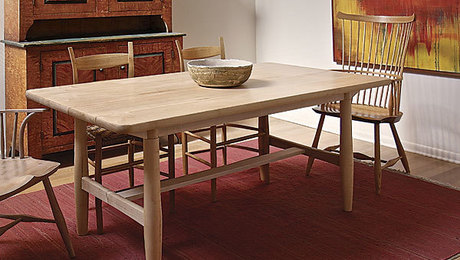
Synopsis: The generous surface, curved edges, and uncluttered undercarriage of this table make it great as a worktable or coffee table. The turned legs are slender, and canted for stability, while an angled brace eliminates the need for a medial stretcher underneath the table. The boat-shaped top has a thumbnail profile on its edges.
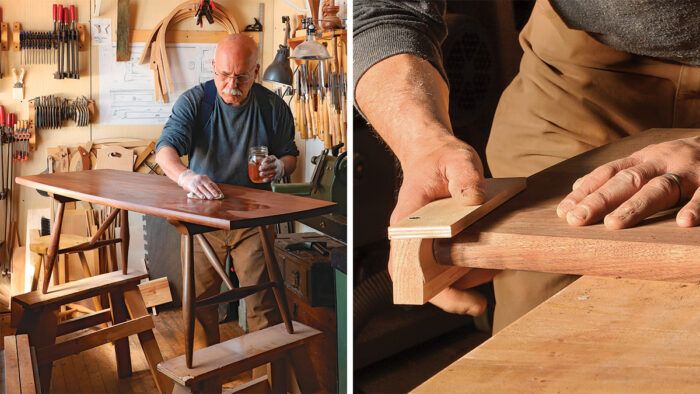
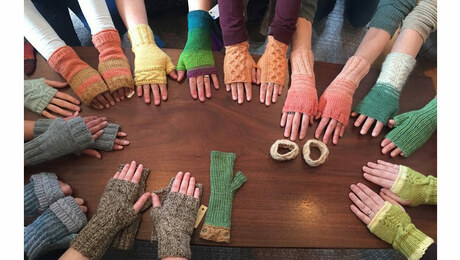
I originally designed this piece as a low worktable for my wife, Nicole, who teaches fiber crafts, and her students, who sit around it while they work. Having built the first one, I could see that with its ample, rounded top and unobtrusive undercarriage, it could work beautifully as a coffee table as well, and I decided to make another for that purpose. For the new table, I chose walnut for its deep warmth and rich color. The top is a single walnut board cut from a big plank I’d been dragging around for over 25 years, just waiting for the perfect project. At 22 in. by 54 in., the tabletop provides a generous surface. But the curves along its ends and sides make it friendlier, more approachable, and better suited to its purpose.
Read about the inspiration for Mario’s design here
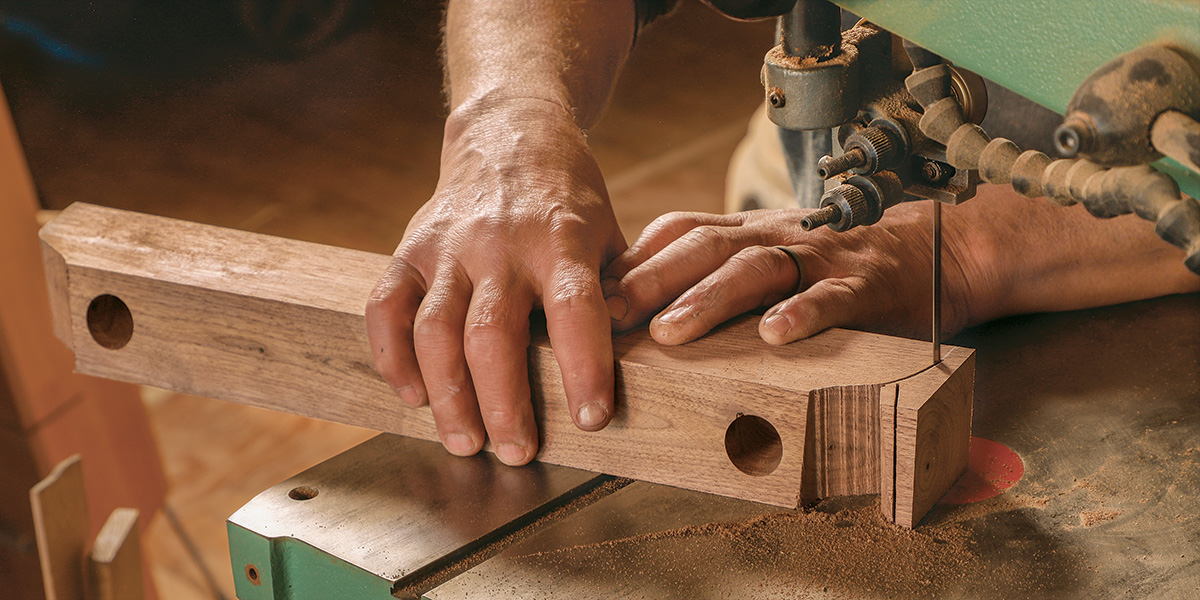
The undercarriage is composed of two turned leg assemblies. Canting the slender legs let me provide stability along with a large cantilever at the ends. To stabilize and strengthen the leg assemblies, I added an angled brace that engages the stretcher and has a square block at the top end that sockets into the underside of the tabletop. The brace creates a rock-solid structural triangle and eliminates the need for a medial stretcher running the length of the table, helping keep the undercarriage uncluttered.
Making a boat-shaped top
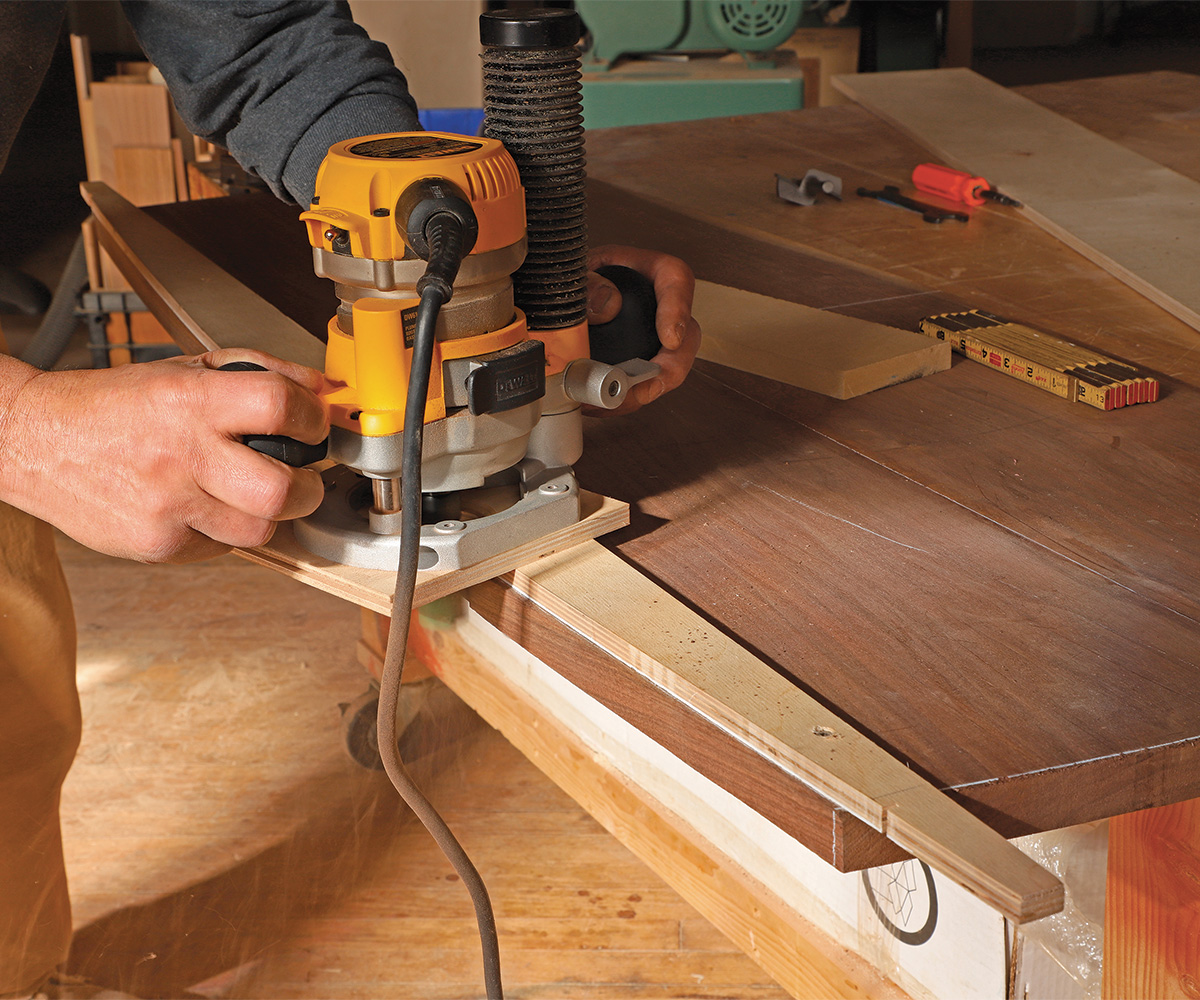
I used templates to help shape the broad, shallow curves along the sides and ends of the tabletop. To make the template for the long side curves, I bent a thin strip of wood until I arrived at a pleasing arc and traced it onto a piece of 1/2-in. plywood. Then I cut the arc with a bandsaw and sanded to the line. I used the same springing technique to make the router template for the ends of the tabletop with its shorter arc.
Once the templates were completed, I traced them to lay out the boat shape of the top. With a jigsaw, I rough cut to within 1/8 in. of the outlines. Then I screwed a template to the underside of the tabletop and used an Infinity flush-trimming bit (item no. 06‑692; infinitytools.com) to create a clean, smooth edge. Any tiny blips left after routing were faired with a block plane and then sanded.
Thumbnail profile softens the edge
I didn’t want a standard-issue bullnose profile for this table. I wanted something tighter, more deliberate; a thumbnail profile would work nicely. This detail softens the edge slightly by forming a gentle arc yet still leaves a crisp shadow line that clearly distinguishes the surface of the top from that of the edge.

From Fine Woodworking #291
To view the entire article, please click the View PDF button below.
 |
|
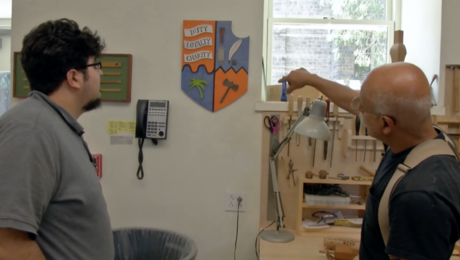 |
Shop Tour: Mario Rodriguez’s Woodshop Classroom and Curriculum |
 |
Scandinavian Kitchen Table |
Fine Woodworking Recommended Products
Stanley Powerlock 16-ft. tape measure
Drafting Tools
Blackwing Pencils


Log in or create an account to post a comment.
Sign up Log in