How to Flatten and Smooth a Tabletop
Learn to cut a tabletop to size and smooth its surfaces and edges with hand tools.
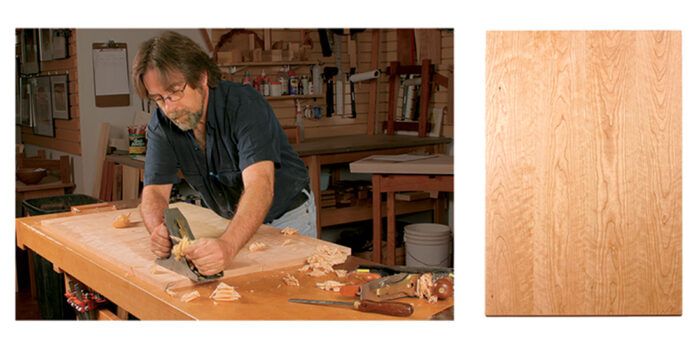
Synopsis: Part Three of Bob Van Dyke’s series on creating a tabletop covers flattening, dimensioning, and smoothing. Follow along as he handplanes the surface smooth, cuts the tabletop to length, smoothes the edges, and then puts the final touches on the top surface.
In the first two parts of this series, I showed you how to select the right boards to create as harmonious and seamless a tabletop as possible. Then I showed you how to glue those boards together, employing spring joints for extra strength. I also gave tips on breaking down a wide top into smaller subassemblies for easier thicknessing. now you’re ready to flatten the top, cut it to width and length, and smooth the ends, edges, and faces.
Read part one.
Read part two
Top not perfect? Don’t panic
If you started with straight, flat boards and your glue-up went well, your top may be flat enough to proceed to final smoothing. It’s more likely, however, that the top will be slightly cupped, or the glue joint between subassemblies won’t be perfect.
Don’t sweat it. Flattening a top is not difficult. I prefer handplanes for flattening and smoothing. They work faster than sandpaper and guarantee a flat surface. But careful sanding, by power or hand, will work, too. To plane the top, secure it between benchdogs, cupped side up. It should not move when you press on it. If it rocks or deflects, tap in wedges underneath to stabilize it.
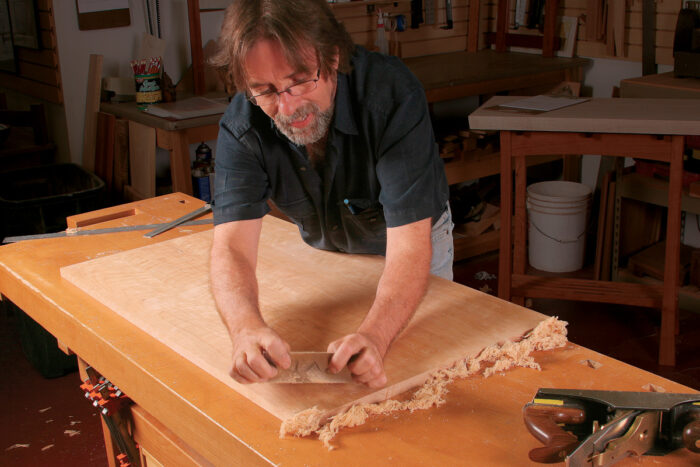
With a long handplane (preferably at least a no. 5, but you can use a no. 4 if the top is narrow), begin planing diagonally across the surface. Start at one end and work down the length, overlapping strokes. Check your progress with a straightedge. The plane should be cutting the high spots only. Once it takes a shaving the whole way across, the face is flat. Stop planing.
Begin planing along the length, starting at the far end and working your way back, overlapping the strokes. Here you are just trying to remove most of the tearout from the diagonal planing. Final surfacing comes later. When you are done, flip over the top end for end and flatten the other side.
Dimensioning: How to handle a large panel
At this point, the top is still a little bigger than its finished size. To get to the final width, first re-joint one edge using a handplane or the jointer. rip the top to width on the tablesaw and then joint or handplane the ripped edges to smooth them.
Use a crosscut sled on the tablesaw
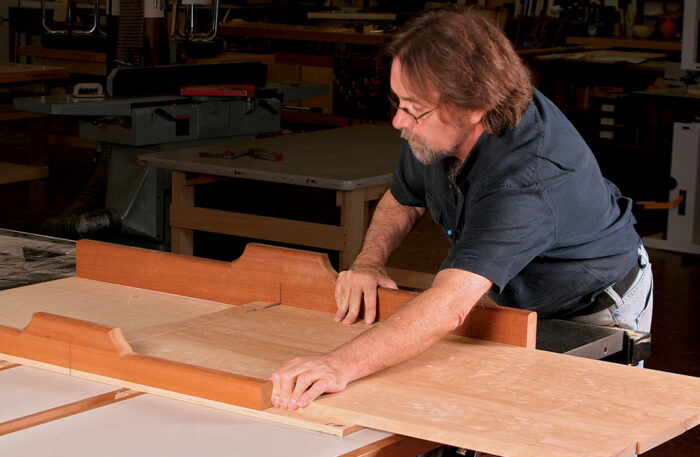
Now that the sides are parallel, crosscut the top to length. This can be tricky, as almost all tabletops are too big for a miter gauge. a crosscut sled is the easiest, safest, and most accurate way to do the job. Cut one end square, then flip the top and cut the other end to finished length. If you used a jointer to prep the edges before glue-up, cut off at least 1 in. from each end of the top. doing so removes any snipe from the jointer that can weaken the very end of the glue joint. If the top is too large for a crosscut sled, use a square to draw a layout line across the ends and use a circular saw or jigsaw to cut about 1⁄16 in. outside the lines. Clamp a straight piece of plywood on the line, then flip over the top and use a router with a flush-trimming bit, running against the plywood edge, to clean up the end. a spiral flush-trimming bit works well.
Rough-cut, then rout

Smooth the edges
With the top cut to size, it is time for final surfacing. There are many ways to do this, and you should use tools you are comfortable with. I usually use a smoothing plane, a block plane, a card scraper, and some P320- or P400-grit sandpaper, but many people use cabinet scrapers, random-orbit sanders, or belt sanders. To begin, use a very sharp block plane on the ends to smooth out any marks left from the tablesaw or the router. end grain is tough to plane, so take very light cuts and skew the plane. a little furniture wax on the sole of the plane also will help it cut smoothly. To avoid tearing out the long grain of the far edge, stop planing an inch or two before the end and then come at it from the opposite side. now wrap a piece of P320- or P400-grit sandpaper around a cork sanding block and, with a few strokes, you will have ends that feel like glass.
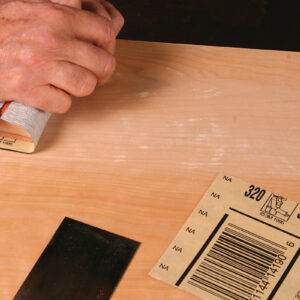
Remove the jointer marks on the long edges with a handplane or a card scraper. These machine marks and light tearout can be hard to see. To help highlight any tearout, lightly sand the edges with stearated P320- or P400-grit paper wrapped around a cork sanding block. any tearout will show up because the fine sanding dust will fill in the voids from the tearout.
A perfect top
Now smooth the bottom and the top face
Once the edges are smooth, it’s time to smooth the top and bottom. I generally use a no. 41⁄2 smoothing plane, but you also can use a
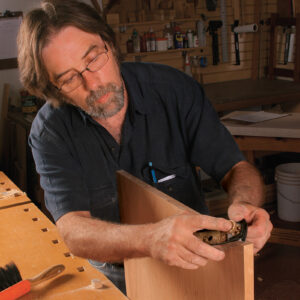
no. 4. Make sure the handplane is as sharp as possible, the mouth is closed up fairly tight, and it is set for a light cut. Secure the tabletop, bottom face up, between benchdogs, using scrapwood to protect the ends. I plane or scrape only the portion that will overhang the base, but some people surface the entire bottom. I see no point in doing this. The only people who will ever see it are just way too nosey!now you are ready to make the top surface perfect. Work slowly and methodically, starting at the far side and working across using overlapping passes. Plane with the grain to avoid tearout in the final surface. If you are getting tearout where two boards meet, try taking light cuts diagonally across the joint. now sand the surface with P320-grit paper. This step will highlight any areas of tearout. Go over the surface with a card scraper. because the surface left from the scraper feels a little rough, sand the top again with P320- or P400-grit paper. If you are planning to use a pigment stain on the piece, then sand the whole surface with a coarser paper—usually P180 or P150 grit.
I lightly chamfer all the edges and corners with the block plane. Congratulations: your top is done, so don’t drop it.
From Fine Woodworking #210
For the full article, download the PDF below:
Fine Woodworking Recommended Products
Bessey EKH Trigger Clamps
Dubuque Clamp Works Bar Clamps - 4 pack

Jorgensen 6 inch Bar Clamp Set, 4 Pack




Log in or create an account to post a comment.
Sign up Log in