Elegant entry table
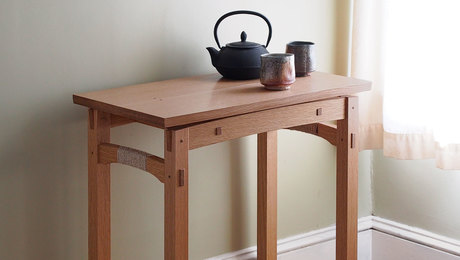
With tapered legs, split aprons, and profiled top, Mason McBrien's table was designed to showcase the lightness and straight grain of the American white ash.
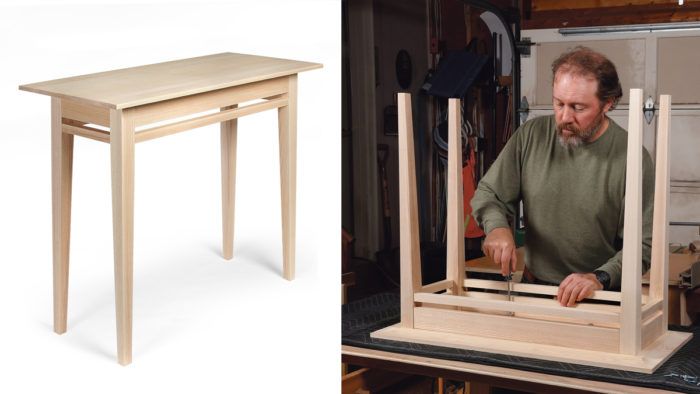
Synopsis: With tapered legs, split aprons, and profiled top, this table was designed to showcase the lightness and straight grain of the American white ash. The double apron lends lightness to the table while providing the strength that a single wide apron would.
The primary motivation behind this table was to make a simple piece that celebrated the beautiful grain of American white ash—a tree doomed to extinction because of the invasive emerald ash borer. In keeping with the elegance of ash’s linear grain, the table’s construction is fairly straightforward—straight-tapered legs, split aprons connecting them, and a top profiled underneath.
The double apron has a double benefit. Whereas a single wider apron would provide the necessary anti-racking strength, its size would have clashed with the lightness of the design. This dual apron keeps things light while acting mechanically like a single wide apron. Don’t let the table’s simplicity and clean lines persuade you to take building it lightly, however. Its stripped-down aesthetic, meant to display the beauty of ash’s grain and the lightness of its color, also lays bare any miscues.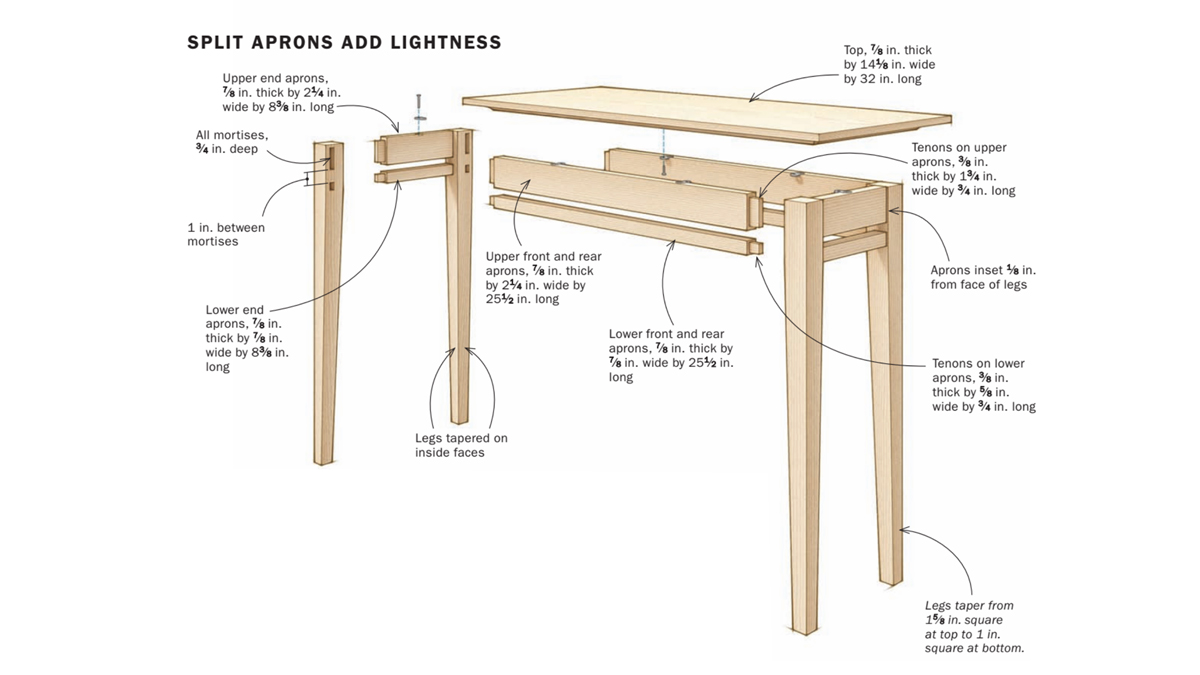
Consider the grain
For me, the great fun of this project is finding the beautiful straight grain for all the parts. It requires patience and an observant eye not only to ferret out good boards but also to obtain linear grain from boards that might not look like good candidates. When you succeed, the result is harmony.
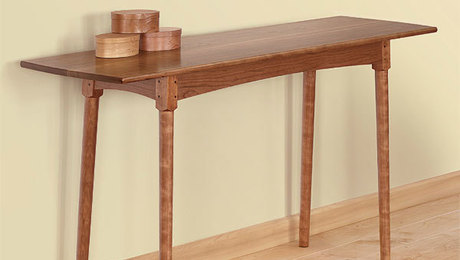
Designing With Grain
English-walnut sideboard demonstrates how
grain patterns can take a piece to the next level
A little time at the lumberyard will yield a few boards with enough straight grain at the edges for the legs and dual aprons, as well as suitable stock for the top. Although quartersawn works well, I usually find enough stock in the rift portions of flatsawn boards. I use the leftover crown portions as setup or practice parts. The top and aprons are made out of 4/4 boards. The legs are out of 8/4.
When choosing the leg material, look for straight grain on the edge of the board as well as 2 in. of straight grain on the face. An even-grained 6-ft. flatsawn board should yield four legs.
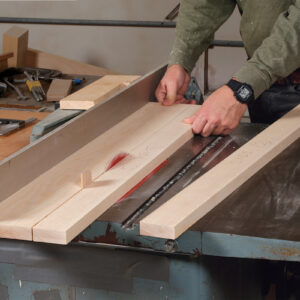
Try to keep the grain harmonious on the aprons, too. If possible, choose sections of boards that have 3-1⁄2 in. of linear grain. This way, you can rip each pair of aprons out of the same section, letting the grain flow between the two. Start by laying out the front apron, then the sides, and finally the back. Mark their ends to keep them together through milling and glue-up.
The top requires a 10-in.-wide, 6-ft.-long board with centered cathedrals and 21⁄4 in. of straight rift grain on the edges.
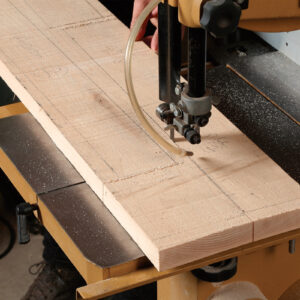
On any piece in which the grain doesn’t run parallel to the roughsawn edge, straighten things out before milling by bandsawing parallel to the grain.
Base gets mortise-and-tenons
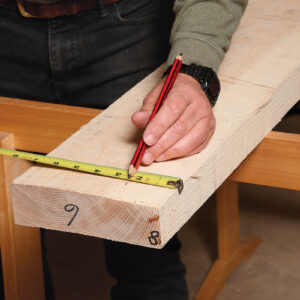
The table joinery is fairly simple. Still, I like to mark my parts to ensure I don’t cut a mortise where it doesn’t belong. For the legs, this means bundling them with the best faces out before drawing a bold reference triangle atop all four. These legs will be tapered, so you’ll have a chance to remove surface imperfections. Next, I draw light lines where the mortises will go. The mortises are placed so the aprons are inset about 1⁄8 in. from the front of the leg to give a nice shadow line. I usually leave the legs a little extra long at the top to avoid blowing out the short grain when paring the top of the upper mortise. I trim them to length afterward.
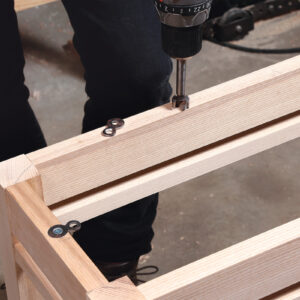
I cut the 3⁄8-in. mortises on the drill press and then clean and square them up with chisels. with the mortises cut, you can ta-per the legs. I cut them at the bandsaw and clean up with a jointer plane.
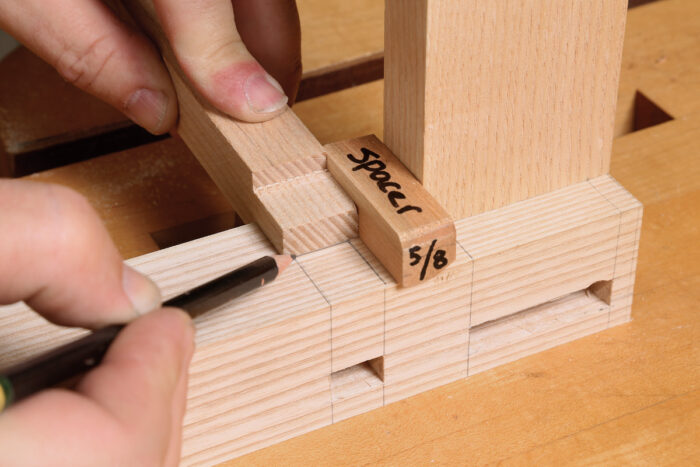
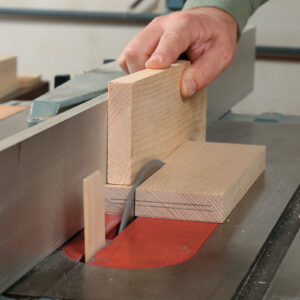
For efficiency, I mill the two-part aprons as one unit before ripping them apart. For the upper aprons, I cut the tenon shoulders at the tablesaw and the face cheeks at the bandsaw. After scribing the tenon’s width directly from its mating mortise, I cut the tenons to width with a backsaw.
I use slightly more handwork for the tenons on the narrower lower aprons. I cut only their front and back shoulders at the tablesaw and cheeks at the bandsaw. To cut the tenon to width, I use the backsaw for both the shoulder and cheek cuts.
TIP
Wide, seamless top
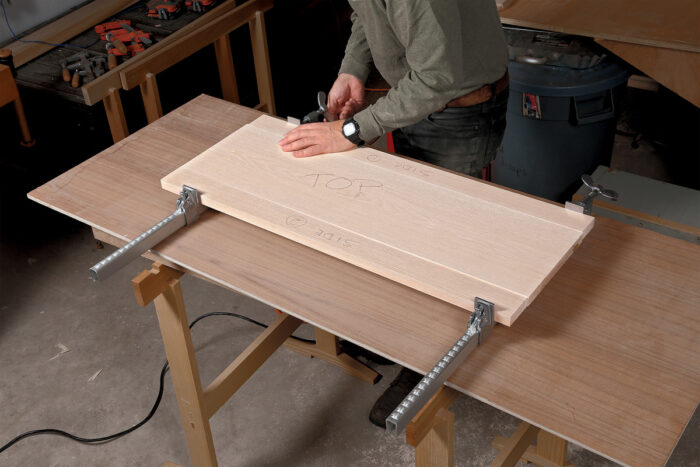
The tabletop is more than 14 in. wide—not an easy dimension to find in a single board. Here is my way of making it from narrower stock: Find a 10-in. board with a little over 2 in. of straight rift grain on both sides and a centered crown. The top is about 32 in. long, so cut two sequential 32-in. pieces. From one board, rip off the rift sides, swing them onto the other board, and glue them to the edges. The gluelines become nearly impossible to find in the straight grain.
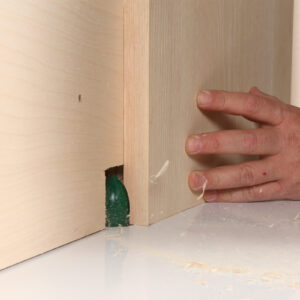
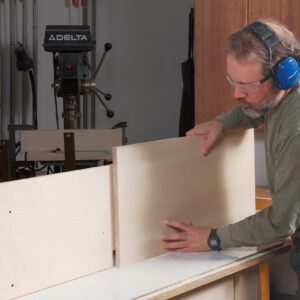
To form the coved profile under the top, I use a vertical panel-raising bit. These are much less taxing on your router table than horizontal panel-raising bits.
At this stage, you can chamfer the edges on the legs, aprons, and top.
Glue-up and finish
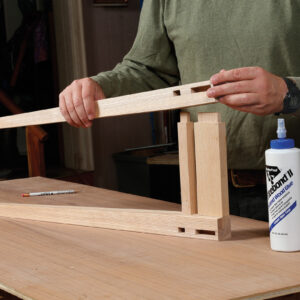
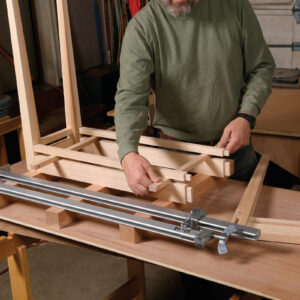
Glue up the shorter ends before the longer front and back. This way, you can more easily use spacers to hold the lower aprons in place. Because of all the joints involved, I prefer to use a glue with a longer open time.
O0.ne of the reasons I love ash so much is its light color. To preserve this as much as possible, I use a water-based varnish, Behlen’s rockhard waterborne Brushing Varnish in semigloss. After two to four coats of that, I apply Liberon neutral wax, which doesn’t color the wood.
 From Fine Woodworking #281
Download the plans for this table from the Digital Plans Library. Plus, browse 100+ other plans available for members only.
To view the entire article, please click the View PDF button below.
 |
|
 |
|
 |



Comments
Light and elegant. Well done Mr.McBrien.
I made this for my daughter for her new house as a hall table. I lengthened it somewhat to reflect the length of the room. It looks very elegant and those who have seen it are impressed by its appearance. I also chose ash for it. Again, well done Mr Mc Brien.
Log in or create an account to post a comment.
Sign up Log in