Single Board Side Table: Advanced Milling Techniques
Catch a crash course in general milling techniques, with an eye towards great grain and color matches.
Michael Pekovich shows you step-by-step, how to build a beautiful cherry side table, harvesting each and every part from a single board. With advanced lessons on grain matching and milling, as well as a hybrid cabriole leg design that poses interesting woodworking challenges, this table is sure to become an heirloom.
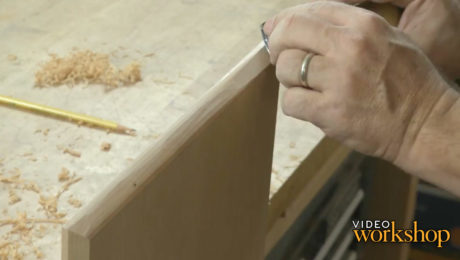
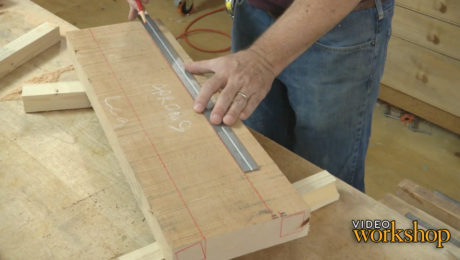
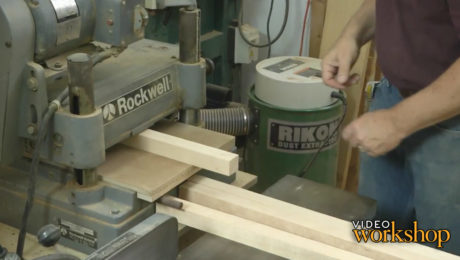
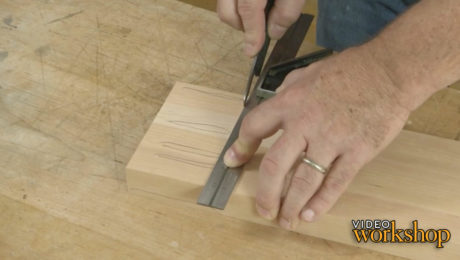
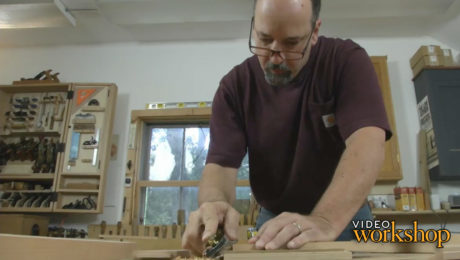
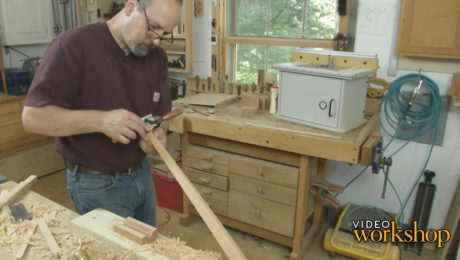
In this episode, catch a crash course in general milling techniques, with an eye towards great grain and color matches.
Videos in the Series
-
Single Board Side Table: IntroductionDecember 9, 2014
-
Single Board Side Table: Board Layout and Rough-CuttingDecember 9, 2014
-
Single Board Side Table: Advanced Milling TechniquesDecember 9, 2014
-
Single Board Side Table: Joinery and Tabletop, Part IDecember 9, 2014
-
Single Board Side Table: Joinery and Tabletop, Part IIDecember 9, 2014
-
Single Board Side Table: Contemporary Cabriole LegsDecember 9, 2014
-
Single Board Side Table: Glue-Up and Dovetailed DrawerDecember 9, 2014
-
Single Board Side Table: Wipe-On Varnish FinishDecember 9, 2014




Comments
Is there a text version of this? The video is full of hyper-pans&zooms followed by jittery stills; just nothing these old eyes can (or want to) follow.
https://www.finewoodworking.com/project-guides/tables-and-desks/make-a-table-from-a-board
Interesting video. You did have a serious problem with that timber, but it enabled you to teach how to deal with it. One way round it is to air dry your own timber and/or store it in a climate controlled environment for a while before you start. Maybe under a bed for a few weeks😀. It’s probably a lot cheaper too. Kiln drying is supposed to give you wood at a certain humidity throughout ready for use with less waiting.
The most important part of this for me was glossed right over; let the resawn lumber sit for a day or two to stabilize before milling to final / close to final dimensions. Wood needs to rest after big trauma, just like people...
Log in or create an account to post a comment.
Sign up Log in