Single Board Side Table: Joinery and Tabletop, Part II
Complete the joinery phase with lessons on tight-fitting tenons and a dovetailed top stretcher that ensures this table will never come apart.
Start your 14-day FREE trial to watch this video
Plus, access more than 500 video workshop episodes when you become a member
Michael Pekovich shows you step-by-step, how to build a beautiful cherry side table, harvesting each and every part from a single board. With advanced lessons on grain matching and milling, as well as a hybrid cabriole leg design that poses interesting woodworking challenges, this table is sure to become an heirloom.
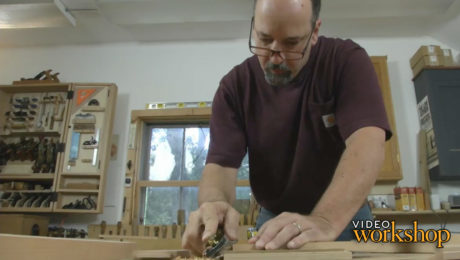
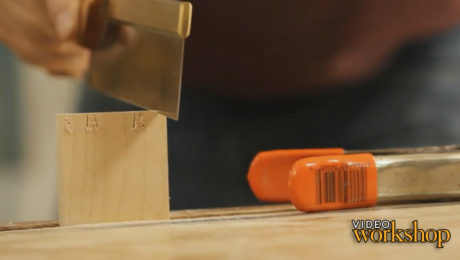
In this episode, learn how to complete the joinery phase with lessons on tight-fitting tenons and a dovetailed top stretcher that ensures this table will never come apart.
Videos in the Series
-
Single Board Side Table: IntroductionDecember 9, 2014
-
Single Board Side Table: Board Layout and Rough-CuttingDecember 9, 2014
-
Single Board Side Table: Advanced Milling TechniquesDecember 9, 2014
-
Single Board Side Table: Joinery and Tabletop, Part IDecember 9, 2014
-
Single Board Side Table: Joinery and Tabletop, Part IIDecember 9, 2014
-
Single Board Side Table: Contemporary Cabriole LegsDecember 9, 2014
-
Single Board Side Table: Glue-Up and Dovetailed DrawerDecember 9, 2014
-
Single Board Side Table: Wipe-On Varnish FinishDecember 9, 2014




Comments
Is the table being built here in the video the same as the one in the plans?
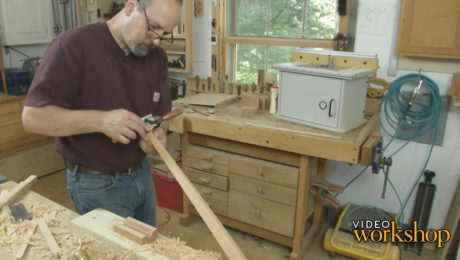
Spoke shave should be worked from either end towards the center, shouldn't it? Seems dragging the thing across the entire arch on the apron would risk blowing out one end. Curious what nuance was in play that Mike thought working from both ends wasn't necessary.
I thought the same thing as EC731. I always go down grain to avoid tear out, as well as blowing out the end.
Log in or become a member to post a comment.
Sign up Log in