Arts & Crafts Coffee Table: Assembly and Finish
Learn some glue-up tricks to help with assembly, and discover the simple beauty of a traditional oil finish that makes the most of the oak's figure.
Start your 14-day FREE trial to watch this video
Plus, access more than 500 video workshop episodes when you become a member
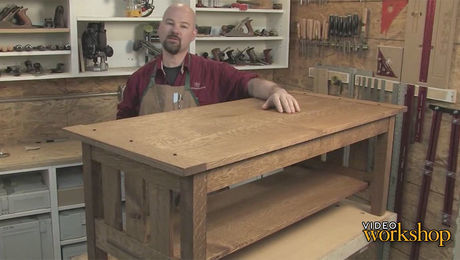
In this video workshop, Gregory Paolini shows you step-by-step, how to build a beautiful coffee table in the Arts & Crafts style. With its straight-forward mortise-and-tenon construction, and beautiful breadboard ends, the Arts & Crafts Coffee Table is an approachable project for any woodworker with intermediate skills.
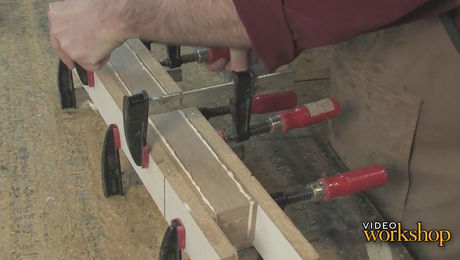
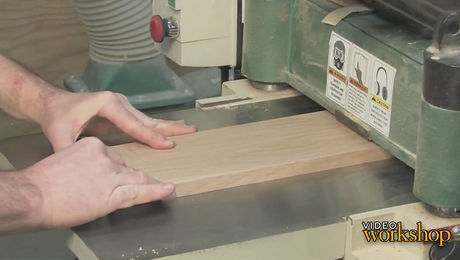
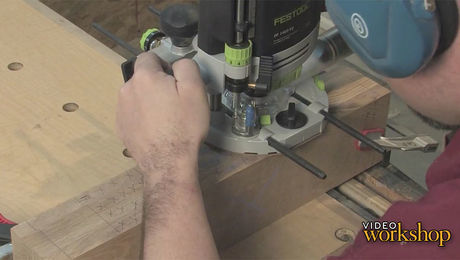
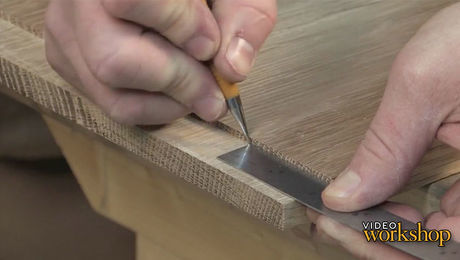
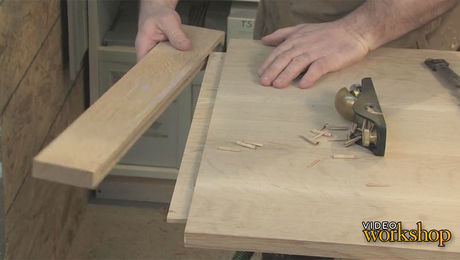
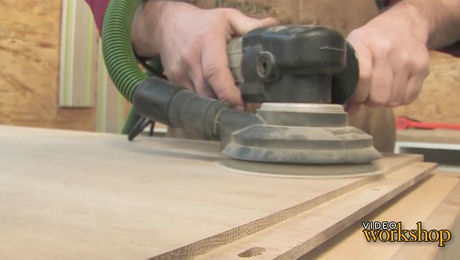
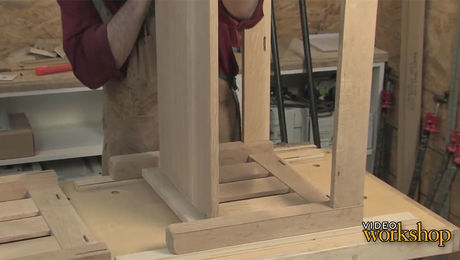
The table assembly goes quickly, but you still need to tackle it in sections. Paolini will show you how, plus he’ll show how to apply a simple oil finish that brings out the figure of the oak.
Produced by: Ed Pirnik; Video by: Gary Junken; Editing by: Gary Junken
Download the plans for this table from the Digital Plans Library. Plus, browse 100+ other plans available for members only.
Videos in the Series
-
Make an Arts & Crafts Coffee TableAugust 6, 2012
-
Arts & Crafts Coffee Table: Leg ConstructionAugust 6, 2012
-
Arts & Crafts Coffee Table: Aprons, Stretchers, and SlatsAugust 6, 2012
-
Arts & Crafts Coffee Table: JoineryAugust 6, 2012
-
Arts & Crafts Coffee Table: Shelf and Through-TenonsAugust 6, 2012
-
Arts & Crafts Coffee Table: Breadboard EndsAugust 6, 2012
-
Arts & Crafts Coffee Table: Surface PrepAugust 6, 2012
-
Arts & Crafts Coffee Table: Assembly and FinishAugust 6, 2012



Comments
Whats the minimum time between oil and Poly finishes?
When making legs where I want the 4 faces to be quarter sawn, I prefer to use an inner core block that is 1/2 the full dimension. Then, I cut the 4 faces and miter them. Glue the inside faces and miters, put them together, and then wrap the leg with elastic bands. The bands are from bicycle tires that I cut lengthwise after cutting out the valve stem. I learned of this from George Vondriska. This takes a little more time, but results in perfect corners. Miter lock bits can also be used. The inner core can be as large as you want. This just reduces the thickness of the outer quarter sawn layer.
Gregory, thank you for a fine project and the excellent teaching throughout. Vert well done!
Randy G
Outstanding tons of great information, too bad that FW never responds to these comments.
Nice project! I enjoyed the video and liked the tool use and accessibility for a shop with just a table saw and a router, with simple jigs and methods for alignment. Nice joinery, with attention to seasonal movement. I also liked the use of quarter sawn Oak for a traditional arts and crafts look.
However, it seems to me that a little more attention to detail on the selection and removal of the lighter color or sapwood would have made a much nicer color match on the top and legs. Also there were a couple of blow out instances on the peg mortices and breadboard ends that could have been avoided with the use of scrap blocks to back up the cuts.. Were the knots left as a design detail? Keep up the good work and I look forward to the next video workshop.
Log in or become a member to post a comment.
Sign up Log in