How to Make a Tabletop Float
Simple and sturdy joinery allows the top of this table to float without overshadowing the rest of the design or blocking the flow of light between base and top.
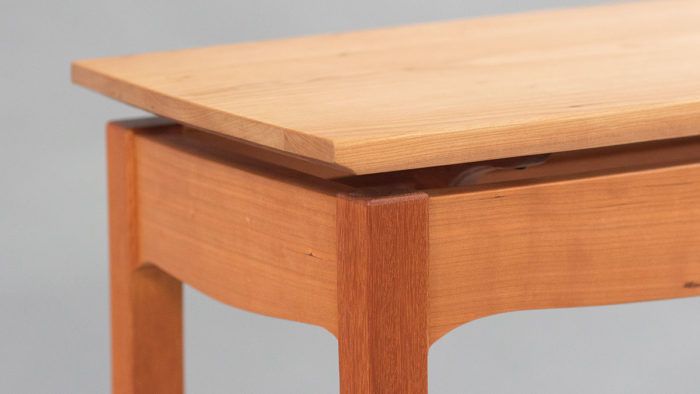
Synopsis: Simple and sturdy joinery—ribs attached to a central spine—allows the top of David Welter’s table to float without overshadowing the rest of the design or blocking the flow of light between base and top. The spine and ribs are connected with lap joints; the top is screwed to the ribs at each end.
This hall table commission came with three requirements: contrasting woods, curved aprons, and a floating top. None of these elements is uncommon. In fact, they are done often and often overdone, so I tried to find a more subtle approach to each than is often seen. Curves of constantly changing radiuses have a more dynamic tension than a curve from a compass, so I gently shaped the aprons this way. Contrasting woods do not have to be black and white; two woods in the same color range with different grain character are a quieter form of contrast, so I used cherry and afzalia. For the floating system, I designed a structure that allowed the top to float without being the main focal point or blocking the flow of light between the base and top. The system will work for many table designs. Here I’ll show how it works and how to build it.
Designing the floating system
The separation, or reveal, between base and top first has to be wide enough to be noticeable. The detail might look great in front view on paper and at eye level on the workbench, but remember to look at the project as it will normally be viewed. You don’t want to have to say “If you get down on your hands and knees, my cleverness becomes obvious.” If the top overhangs the table base, the effect of separation is reduced. But the reveal shouldn’t be too wide, either. If the space between the top and base is exaggerated, their relationship is distant, like a couple who have just had an argument.
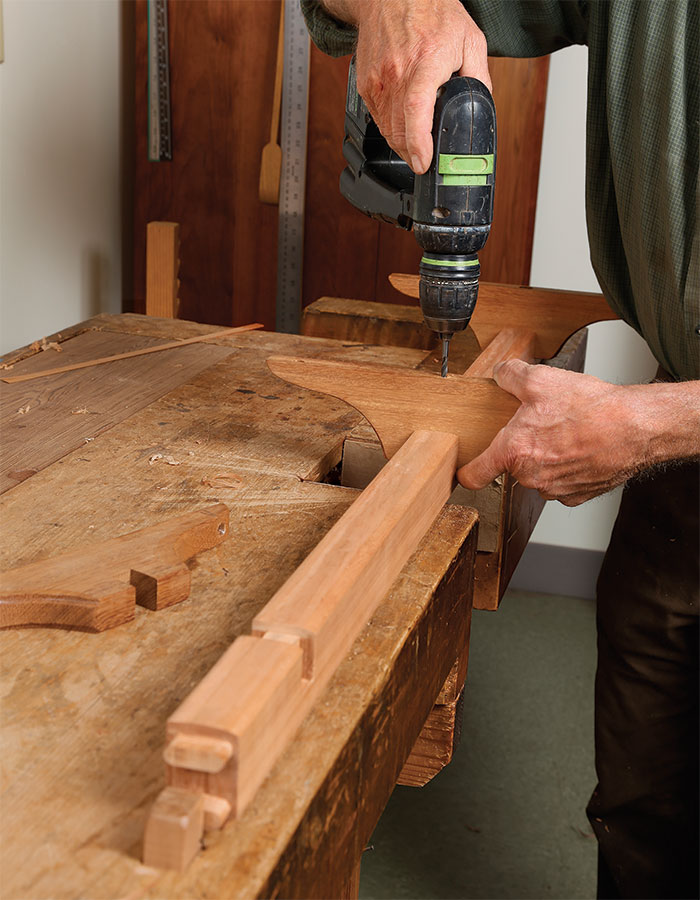
Mock-ups are invaluable for this process. A mock-up drove me toward a solution that would not otherwise have occurred to me. A floating top can be designed in a number of ways. After experimenting, I ended up with a skeleton-like system consisting of a long spine running from short apron to short apron. The top sits on three ribs mounted to the spine. An added benefit of this method is that any discrepancies in the fit between the underside of the top and the ribs can be accommodated by planing the top of the ribs before installation.
From Fine Woodworking #282
To view the entire article, please click the View PDF button below.
Fine Woodworking Recommended Products
Freud Super Dado Saw Blade Set 8" x 5/8" Bore
Veritas Standard Wheel Marking Gauge

Starrett 4" Double Square


Comments
Love this approach. Also, the style of a floating top really attracts the eye of the viewer.
David's design is so unique. I wish to personally thank him for the opportunity to emulate his contribution to the woodworking community. In keeping with his spirit of contrast, I used Cherry for the legs and Honey Locus for the rest of the project. My hope, is that it becomes a family heirloom, David's influence is baked right into the piece.
Nice piece. My "scotch table", is a quite similar concept. but the top is tiger maple, with the rest being spalted sugar maple. The other main difference could be heretical. Two ribs are attached to the top with two sided tape. The tape avoids metal fasteners while allowing wood expansion. Fifteen years later, it continues just fine. Twenty five years from now, the tape may have to be replaced.
Design is very elegant and i really love this!
Log in or create an account to post a comment.
Sign up Log in