Make an Asian-Inspired Hall Table
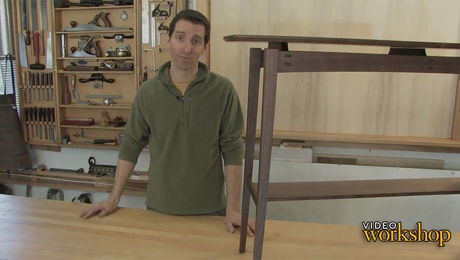
Watch an overview of furniture maker Timothy Rousseau's Asian-Inspired Hall Table project.
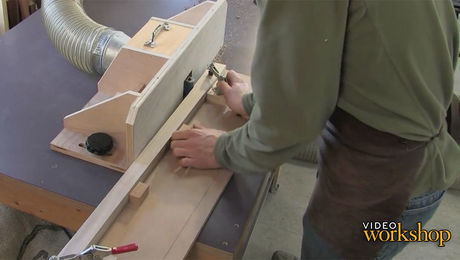
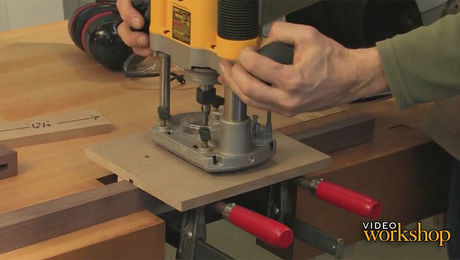
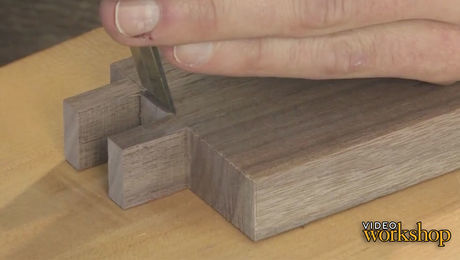
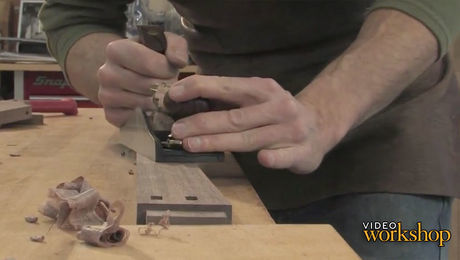
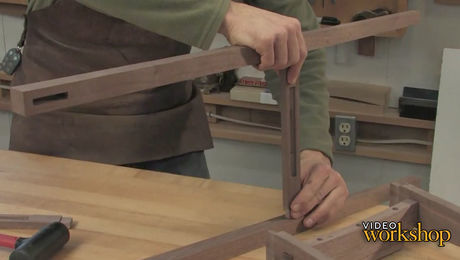
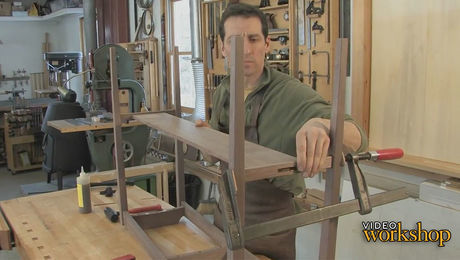
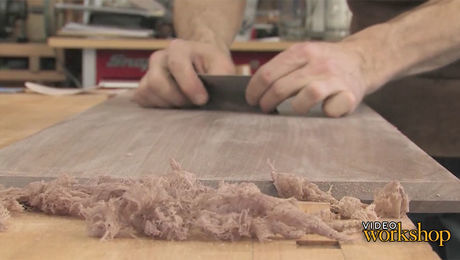
In this video workshop, Timothy Rousseau offers detailed instruction on a variety of woodworking techniques while building this beautiful hall table made of quartersawn walnut. In this series you will learn the basics of pattern routing, how to create a floating tabletop, and discover an ingenious method for tapering curved legs with a thickness planer.
In this episode, Rousseau gives an overview of the project build.
Download the plans for this table from the Digital Plans Library. Plus, browse 100+ other plans available for members only.
Produced by: Ed Pirnik; Video by: Gary Junken; Editing by: Mike Dobsevage
Videos in the Series
-
Make an Asian-Inspired Hall TableJune 19, 2012
-
Hall table: Tapered legsJune 19, 2012
-
Hall Table: Mortises for Aprons and RailsJune 19, 2012
-
Hall Table: Tenons and Double TenonsJune 19, 2012
-
Hall Table: Shaping PartsJune 19, 2012
-
Hall Table: Lower RailsJune 19, 2012
-
Hall Table: Shelf and Base Glue-UpJune 19, 2012
-
Hall Table: The TabletopJune 19, 2012
-
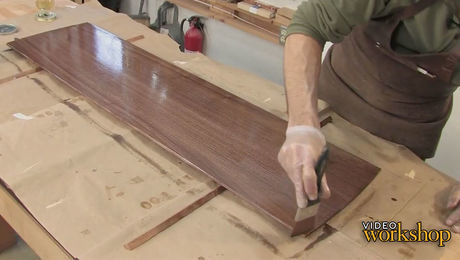
Hall Table: The FinishJune 19, 2012



Comments
Is the project plan still available? The link 404s.
Fixed the link. It's available here.
Thanks, Ben, you're a true champion of the web!
I am in the last stages of building this and I’ve learned a lot of new techniques. I have made the stepped mortises in the lower rails and I am ready to turn the rails into parallelograms, but I’m confused about the 2 degree cant. That shoulder angle is on the end of the aprons, causing the legs to splay out 2 degrees as viewed from the front or back. The inside faces of the legs were tapered using the sled and planer technique, so that angle is unknown and it is variable because of the downward flex in the legs as they were going through the planer. I’m worried that the legs are not identical. This may need a re-do of the base, keeping the beautiful top since it is thankfully screwed on and not glued.
The 2° angle for the stretcher is based on the way Rousseau makes the legs for the table. It's roughly the average angle off vertical of the centerline of the legs at that height. That also ends up being the bevel angle for the top and bottom faces of the stretcher. If your legs are different, you can certainly change that angle.
Before you redo the entire base, dry assemble it without the stretchers and stand it up on a level surface. Or maybe better, invert it on a level surface. Then figure out the appropriate angle based on your legs. I mean on your table's legs. It should work out fine. If it's not 2°, you'll be the only one who knows.
Log in or create an account to post a comment.
Sign up Log in