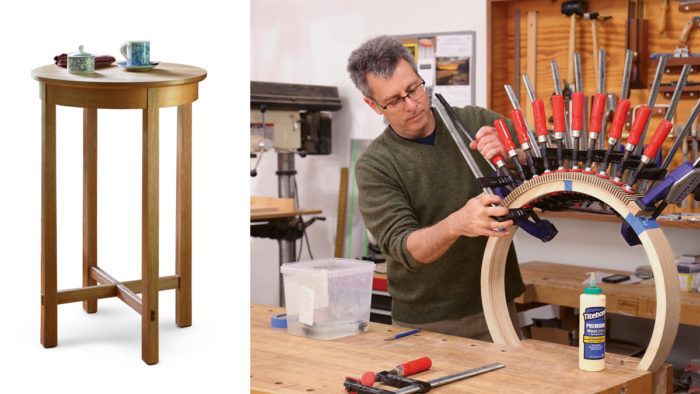
Round Bistro Table
Instead of bent lamination for the curved aprons, try the centuries-old method of making a brick-laid, circular core and veneering it.

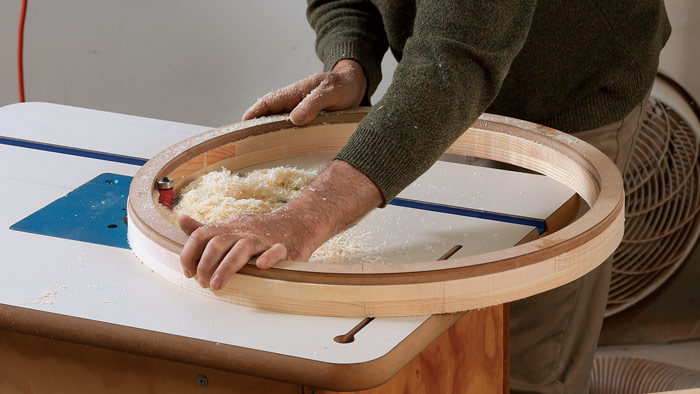
I occasionally do repair work on antiques, which has given me the opportunity to examine up close the construction techniques used centuries ago. One that really intrigues me is the old method for making curved table aprons. These days, with modern power tools, vacuum systems, and high-tech adhesives, curved work is often accomplished using bent lamination. Without the benefit of these modern methods, the craftsmen of yesteryear used a straightforward bricklaying process to form curved aprons; then they applied beautiful veneers on the show side to hide the brick wall. I’ve used this process on circular and elliptical aprons, and it can even be used in forming compound curves. In this article, I’ll show you how I’ve modernized this traditional technique using a router and router table, plus a little MDF, to build a circular table apron. I’ll also show you how I cut the bridle joinery to attach the legs to the apron, and I’ll demonstrate a simple process for applying veneer to a curved surface. The result is a bistro table that’s a great place to sip your morning brew.
Masons typically build brick walls with a running bond, in which the bricks in each course stretch across the end joints in the course below. This layout creates more “long-grain” bonding, hence more strength. The principle holds true for wood, too.
When I brick-lay an apron, I use eastern white pine for the bricks for a few reasons. First, it’s abundant and cheap, which is good since this process generates a fair amount of waste. Second, it is very dimensionally stable, making it an ideal substrate for veneering. It is also very lightweight compared with hardwoods, so it does not add a lot of unnecessary heft to the piece.
To make the apron, you’ll need two MDF templates: an assembly template and a ring template. For the assembly template, start by cutting a 30-in.-square piece of MDF and drawing diagonals from corner to corner. Then, using a beam compass with its point at the intersection of the diagonals, draw two circles: the inside and outside faces of the apron. Finally, make a mark on each diagonal 9-1⁄2 in. from the intersection. Connect the marks to create a square within the inner circle. This will serve as a reference for laying out the first layer of bricks.

To make the ring template, first tack a square of 1⁄2-in. MDF to a backer board using a brad nailer. Lay out the diagonals and the apron circles as you did with the assembly template. Add some brads between the two circles, then outfit a router with a 1⁄4-in. spiral upcutting bit and mount it to a trammel. Screw the trammel to the MDF where the diagonals intersect. Set the depth of cut to about 9⁄16 in. and rout the inside diameter of the ring. The brads keep the pieces from shifting once you rout through the template. Reset the trammel and rout the outside diameter. Carefully pry off the ring template and remove the brads. Don’t erase the diagonals on the ring. You’ll use them to mark the leg locations on the apron.
For the full article, download the PDF below:


Comments
AnY tips on safely using the router with the template? I got kickback a couple of times because I was keeping a safe distance from the ring so it raised enough off the table to create the kickback.
I did this method out of curiosity on two round tables after making aprons on other tables of the same design by gluing bending ply around curved forms. Final results of the "brick" method are fine, but there was lots of wastage, more construction steps, and yes the pattern routing can be intimidating. Bandsaw close to the line so the router bit isn't removing too much material at one time, hold the apron firmly and go in the correct direction. I prefer the bending ply method myself, although I had to join four arcs instead of having complete hoops.
Log in or create an account to post a comment.
Sign up Log in