Side Table with Carved Details
The form of David Lamb's table may be simple and Shaker inspired, but the details add an extra level of elegance.

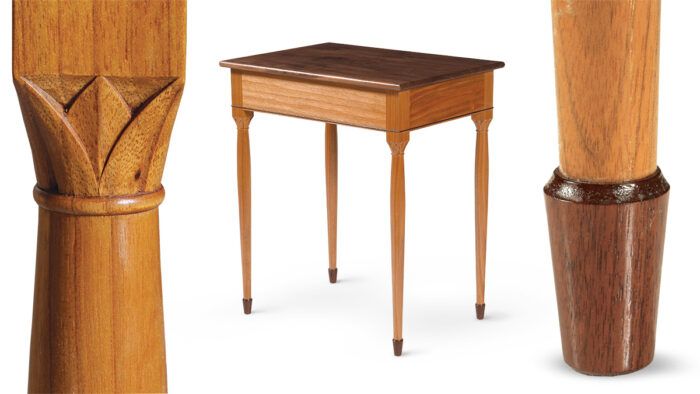
Synopsis: The form may be simple and Shaker inspired, but the details on this end table add an extra level of elegance. The legs are turned and tapered, with a slight swelling at the top. The feet are turned from a contrasting wood. And the leaf carving at the tops of the legs looks great and adds some lessons in carving to the project.
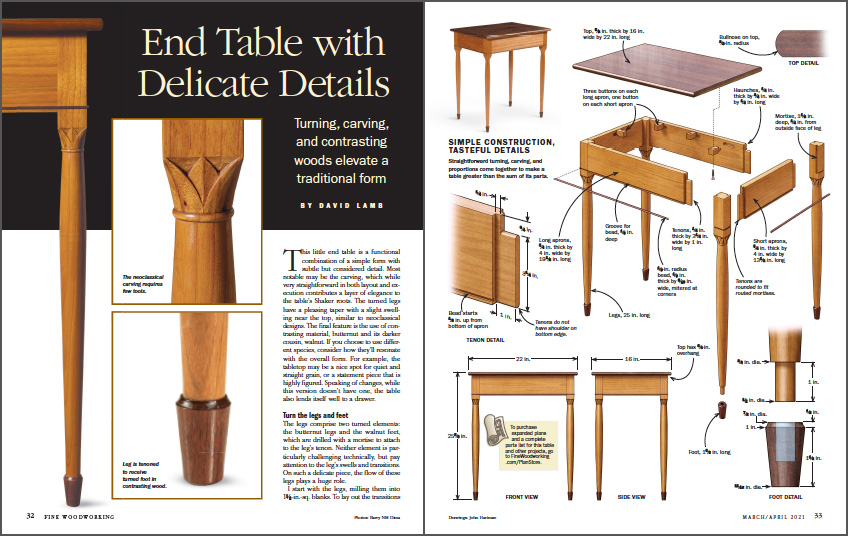
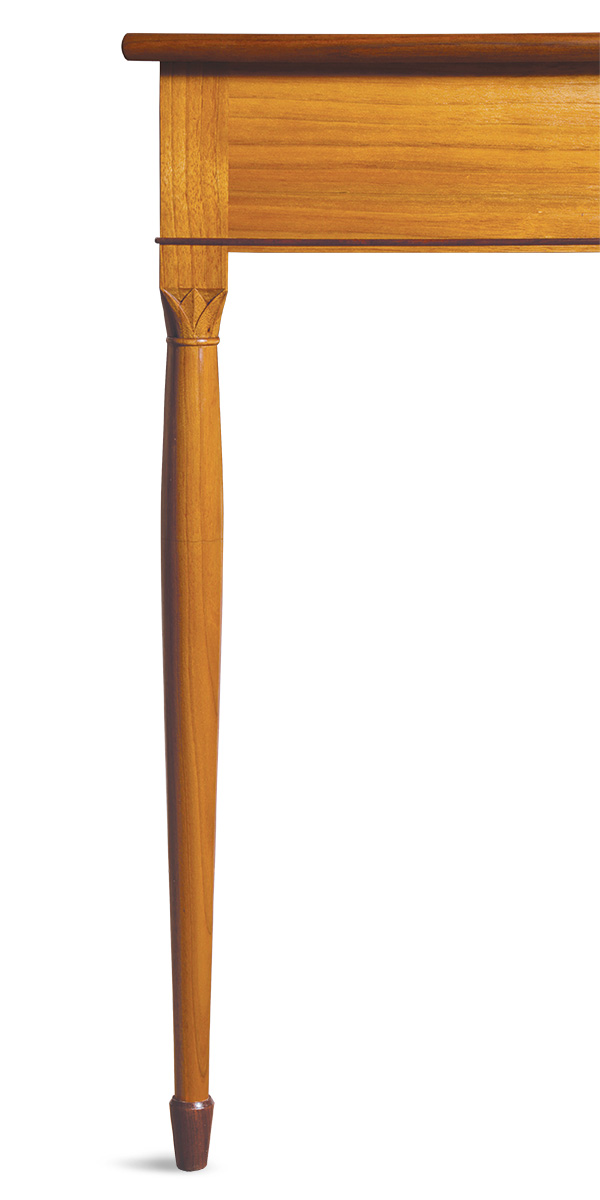
This little end table is a functional combination of a simple form with subtle but considered detail. Most notable may be the carving, which while very straightforward in both layout and execution contributes a layer of elegance to the table’s Shaker roots. The turned legs have a pleasing taper with a slight swelling near the top, similar to neoclassical designs. The final feature is the use of contrasting material, butternut and its darker cousin, walnut. If you choose to use different species, consider how they’ll resonate with the overall form. For example, the tabletop may be a nice spot for quiet and straight grain, or a statement piece that is highly figured. Speaking of changes, while this version doesn’t have one, the table also lends itself well to a drawer.
Video: Floral carving in action
In this quick video, you’ll see how David Lamb does the
simple but elegant floral carving on the legs of his table.
Turn The Legs And Feet
The legs comprise two turned elements: the butternut legs and the walnut feet, which are drilled with a mortise to attach to the leg’s tenon. Neither element is particularly challenging technically, but pay attention to the leg’s swells and transitions. On such a delicate piece, the flow of these legs plays a huge role.
I start with the legs, milling them into 1-1/2-in.-sq. blanks. To lay out the transitions and joinery, I use a pattern stick. I always make a full-size drawing for pieces, and making this pattern stick from the drawing is easy and helps ensure repeatable results.
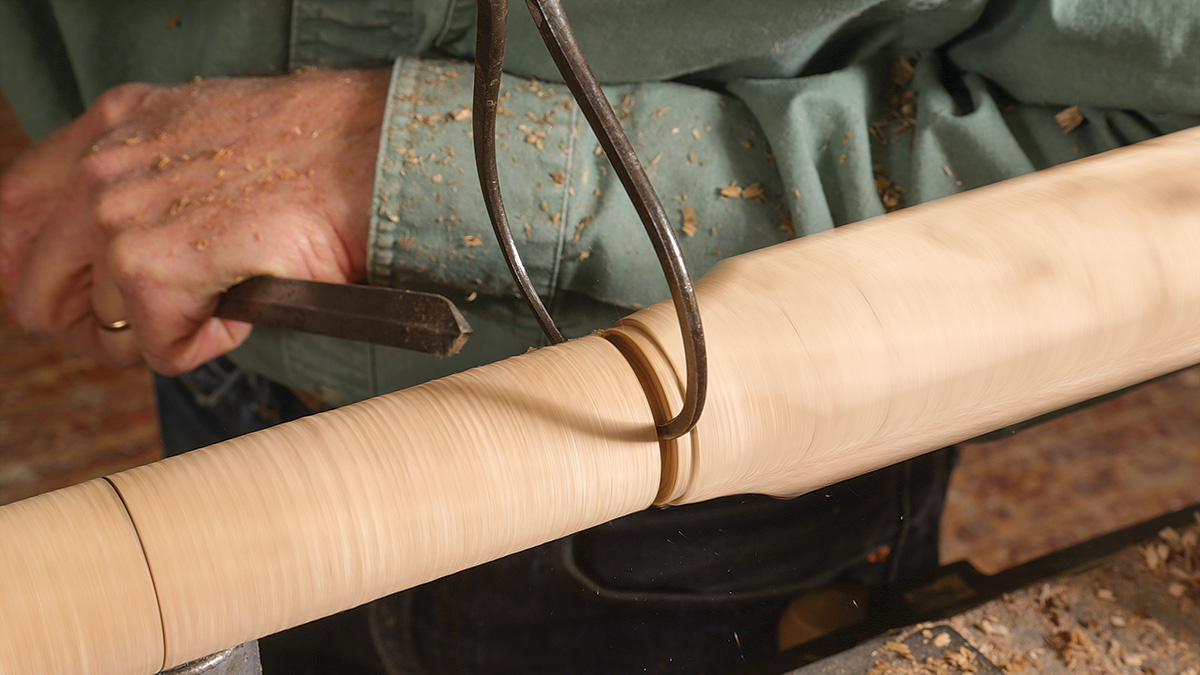
Next, define the diameter below the bead with a parting tool before using the point of a skew chisel to lightly score the corners at the bottom of the bead. This helps prevent unwanted corner breaks that could run to the upper leg square. Then, above the bead, use a gouge to carefully turn the transition from square to round. Finish the top by defining the bead.

Form the tenon at the bottom of the foot with a parting tool. Regularly check its diameter in a scrap block you drilled with the same bit you’ll use for the foot’s mortise. I frequently check the shoulder with a straightedge.
Below the bead, use a parting tool to define transitions before blending them with a gouge. Remember, the upper part of the leg is somewhat bulbous and the lower part is mostly a straight taper. Blend the turning with 120-grit sandpaper before refining to 220. No need to sand the carving area though.
Lastly, with the skew, lightly score a line around the thickest part of the leg. It’s a small detail that adds greatly to the design.

From Fine Woodworking #288
To view the entire article, please click the View PDF button below.
Classic Woodworking: End Table with Carved Accents
In this episode David and Tom share tips for making an end table out of contrasting walnut and butternut. This piece is all about the details. David shows how to carve unique design elements while Tom heads to the lathe for some turning. A contemporary design, this end table provides a great opportunity to play with artistic details.
Black Ice
Built to honor the 100th anniversary of Maine’s Acadia National Park, David Lamb’s cabinet combines frost-patterned marquetry on the exterior with carved scenes of the park on the interior door.


Comments
Curious as to what in the design is "Neoclassical"? The carving at the top of the leg references lotus carving in stone column capitals in ancient Egypt and sometimes in painted column capitals in same place and period. There might be some examples of early 19th c. furniture having those attributes or in later "novelty furniture" but it wouldn't be considered Neoclassical. (I taught history of furniture and worked in high-end historical interior design and architecture in NY for many years)
Just finished making this table, with a couple of modifications. I wanted to get into wood carving, and this seemed to be a good entry project. I don't remember how many times I practiced the carving before I was willing to commit. Never could get it to come out as nice as the close-up picture in the article--sort of frustrating. All-in-all, though, it was a good experience.
Log in or create an account to post a comment.
Sign up Log in