Splay-Legged Table
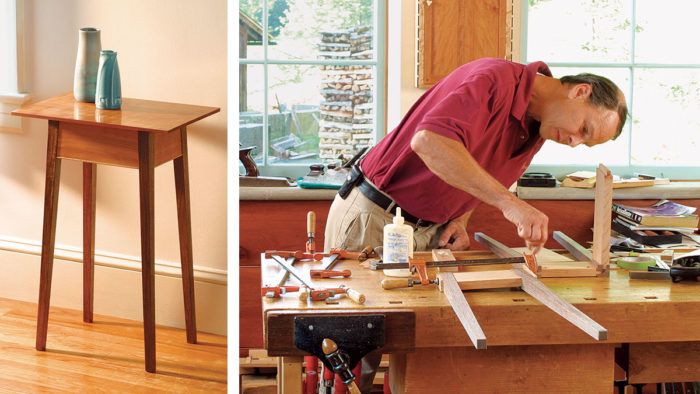
Add tapered and splayed legs to your skills as a designer and craftsperson with this elegant side table.

Synopsis: A small table is a perfect project to demystify tapered and splayed legs and add them to your skills as a designer and craftsperson. Garrett Hack takes you through building a pattern and ascertaining your splay angles. He uses a dado set to cut the mortises and shows how a tablesaw makes fast work of angled tenon shoulders. Finishing off with cockbeads and a beveled top, he shows how to build a beautiful piece of furniture.
Few furniture legs are as elegant as square, tapered ones. Splay those same legs, and your table will have a personality quite out of the ordinary. This small table is a perfect project for you to demystify tapered and splayed legs and add them to your skills as a designer and craftsperson.
I took a simplified approach to both hand and machine work. I used a pattern to lay out and build the table legs, which taper from top to bottom on all sides, creating an elegant profile.
The table is constructed using machine-cut joinery. I’ve even designed in cockbeads to hide any discrepancy of the mortise at the bottoms of the aprons. Finally, the tabletop features an elegant, underside bevel.
Make A Pattern To Lay Out All Four Legs
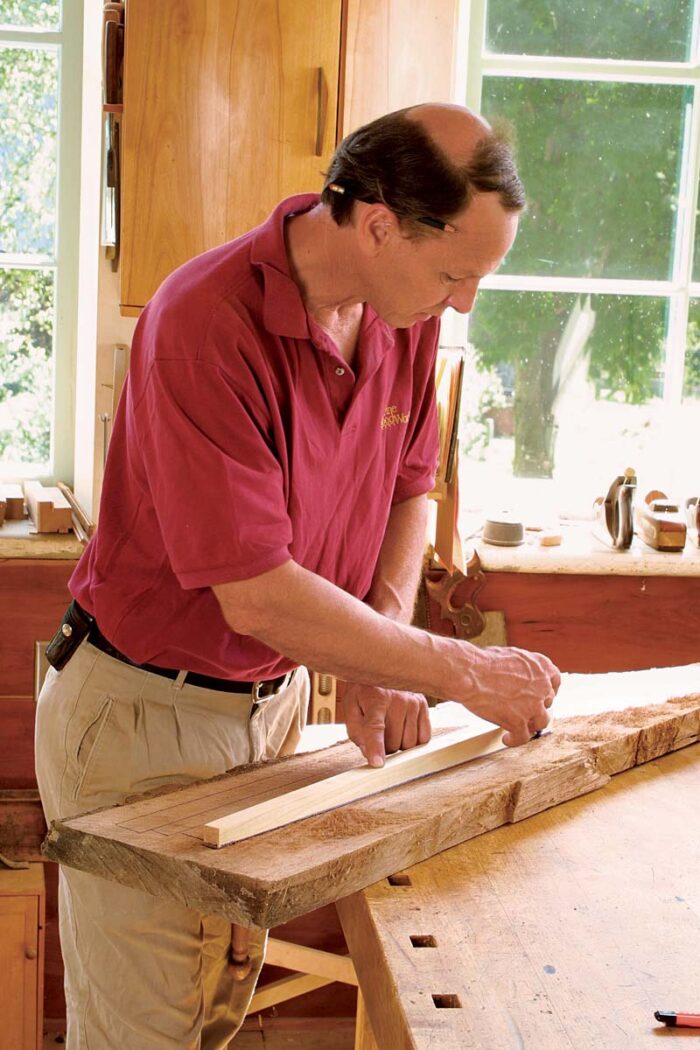
Because of the taper and splay of the legs, a three-dimensional leg pattern will prove useful and will ensure uniformity. To make the pattern, lay out pleasing tapers on all four faces of your stock with a straightedge, cut to the lines on the bandsaw, and then refine the shape with a bench plane.
 Use the leg pattern to lay out the entire set of legs. Rather than cutting square legs and then tapering them—which wastes material and time—use the bandsaw to cut out each tapered leg from the rough plank. The advantages are that you can lay out the cuts with the taper of one leg nested opposite the next (for the least waste), and find the most pleasing grain pattern for each finished leg. This method probably will save you enough material for an extra leg, worth having in case of mishaps. Allow about 1⁄8 in. to 3⁄16 in. of extra width in each rough leg blank, and 1 in. to 2 in. of extra length.
Next, joint two adjacent faces of each leg square to one another. Look for the best two faces, keeping in mind that minor defects can be removed when cutting to the final tapers. While you’re at it, mill up an extra piece of scrap, squared to match the tops of the legs and as long as the legs. This scrap will be ripped to exactly double the taper angle of the legs. It will be a long, tapering wedge that will be used to help you cut the outside mortises.
From Fine Woodworking #168
For the full article, download the PDF below.
Fine Woodworking Recommended Products

Stanley Powerlock 16-ft. tape measure

Dubuque Clamp Works Bar Clamps - 4 pack


Log in or create an account to post a comment.
Sign up Log in