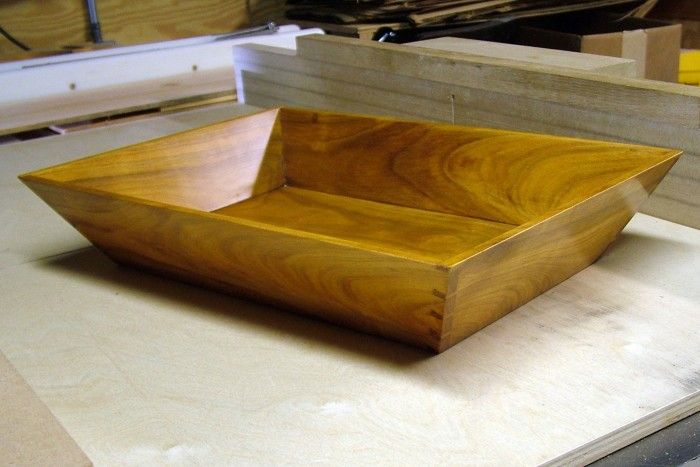
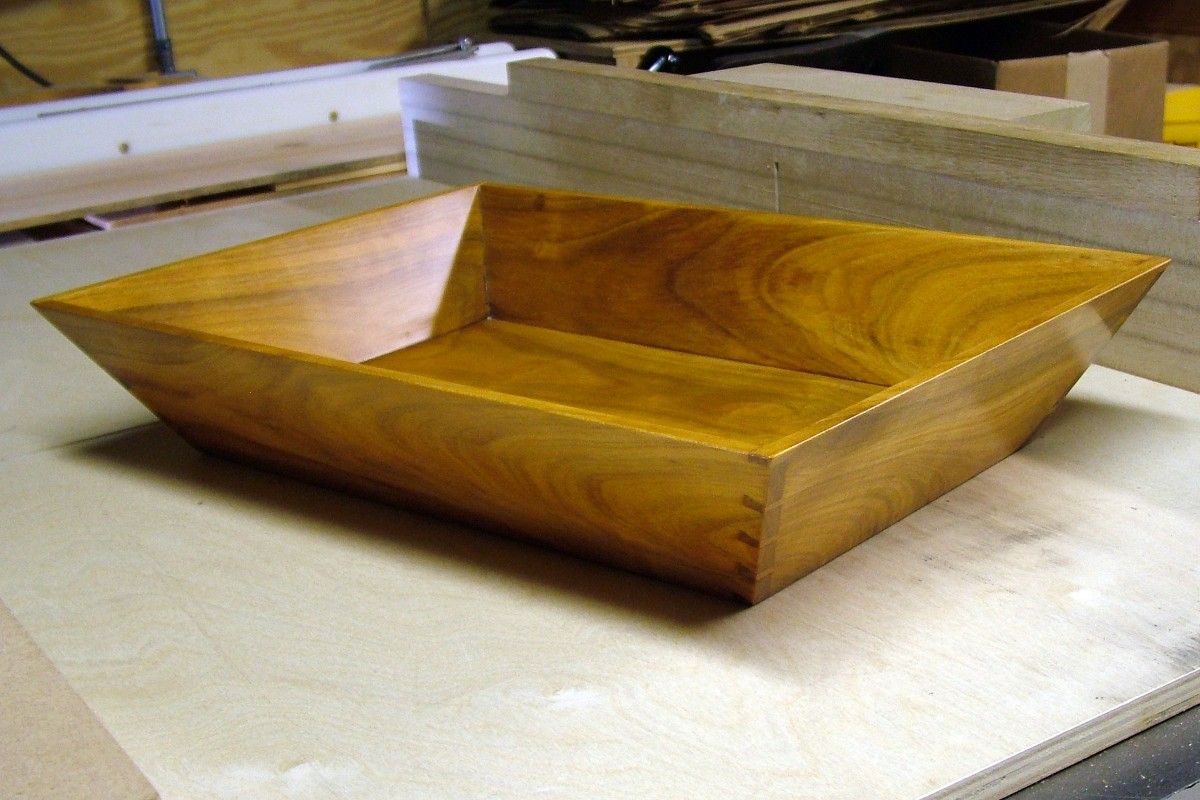
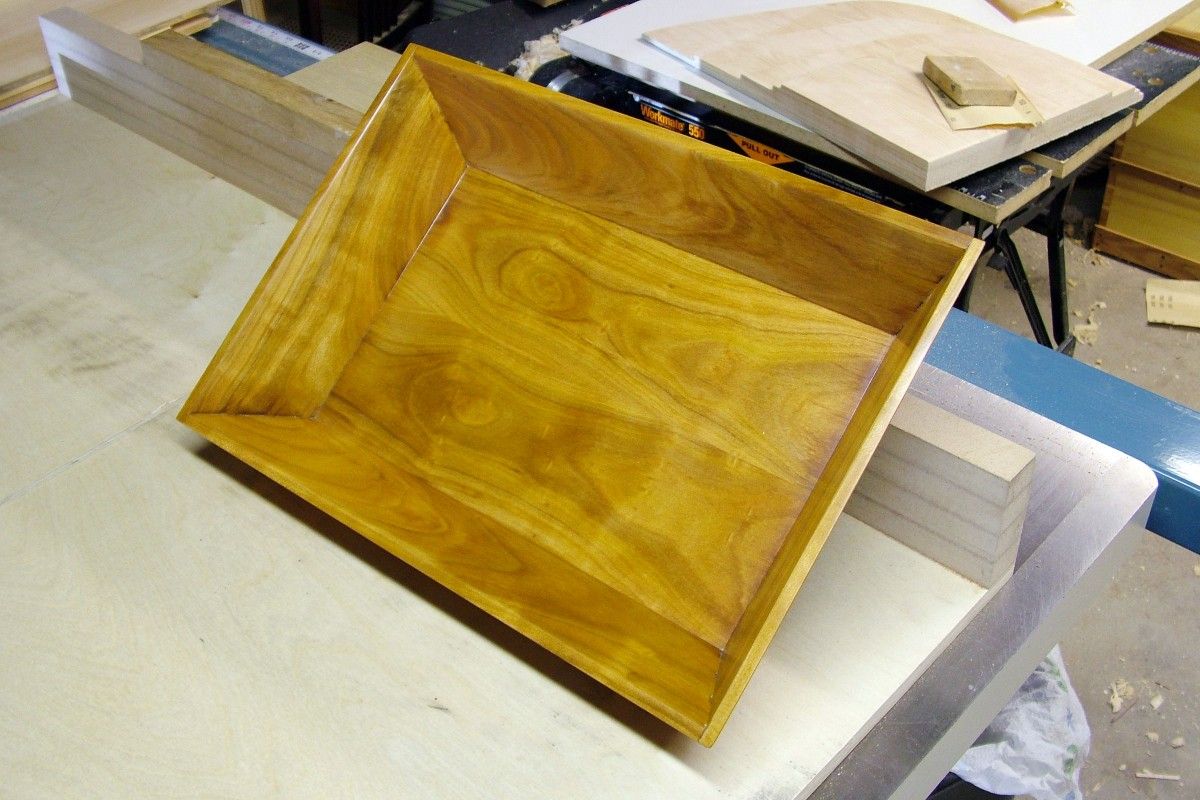
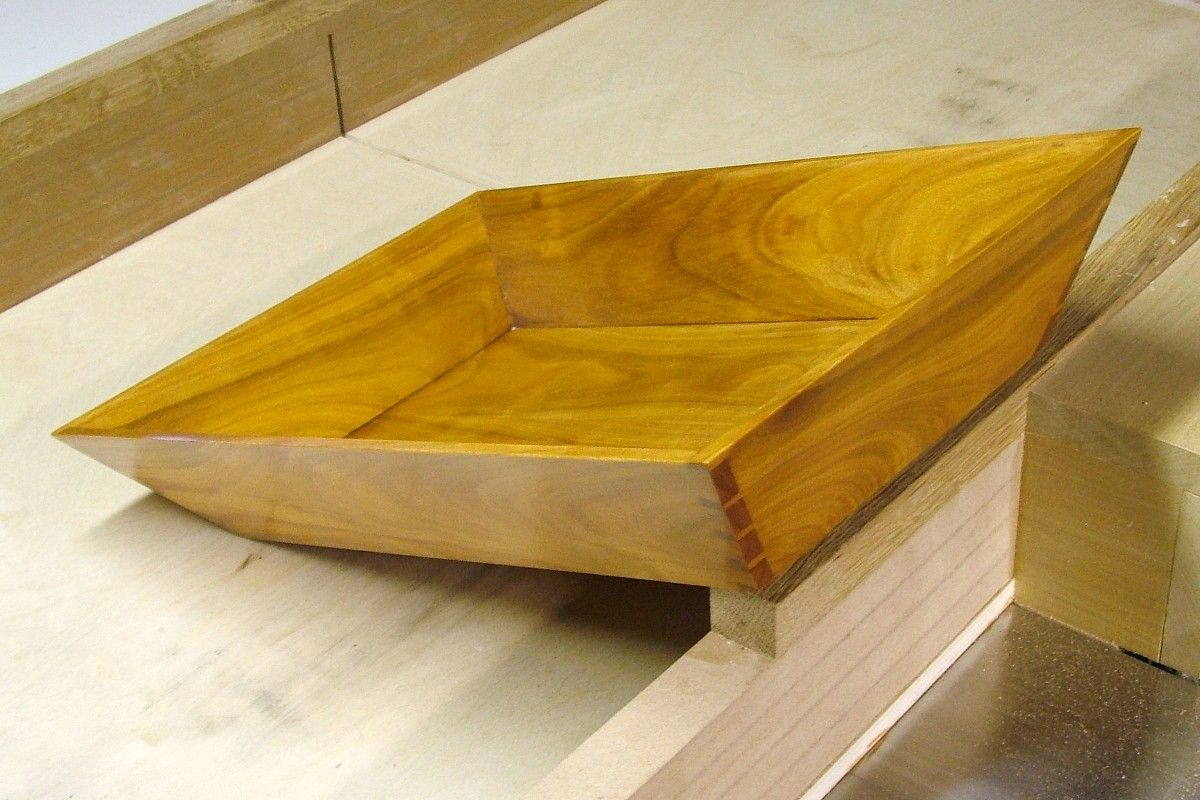
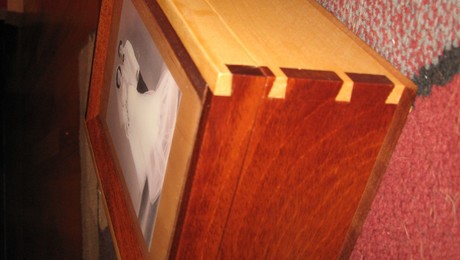
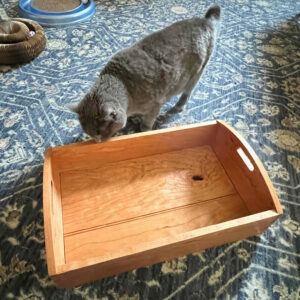
Cherry wood that ranged from knot wood to punky in hardness with some worm holes and splits. Bottom is book matched. Long sides are book matched. Short ends are book matched. Grain was matched to flow as seemlessly as possible from the bottom and up and around the sides. Stock was prepared with hand planes and joined with handcut dovetails.




Comments
Nicely done, One question is how did you finish it?
It's got 22 coats of wipe-on poly on it... After the first couple of coats the wet coats were rubbed in with 600 grit emery paper and the excess wiped off. It took that many coats to consolidate the punky areas and attain an even sheen without having a thick globby finish. What doesn't show in the photos are figure characteristics that resemble ray flecks that give a wonderful glow in the light -- I'm reluctant to call them ray flecks as I've never heard that term applied to cherry! The tactile feel of the finished tray is like silk.
The wood came from a "free" board that was thrown in with others that were purchased. The board was about 90% firewood (wane, splits, insect holes, punky, knots) but I saw this tray taking shape in my mind as I pondered chucking the board in the trash. It was a very difficult board to work with... not sure I'll ever cut compound miter dovetails in knots and punky wood ever again! But my mother loves it so it was worth the effort! Now I have to learn how to take better photos. ;~)
Really nice! Simple and elegant.
I've always wanted to learn how to layout compound dovetails... actually the project I had in mind is very similar to yours. Is there a good source to help me get started?
Thank you!
Of the dozens of books I have that include sections on dovetailing, I think "Tage Frid Teaches Woodworking, Book 1: Joinery" gives the best visual and written description for laying out and cutting compound angle dovetails.
Taunton still offers Frid's three book set. I've got my father's set now and have had access to them since they were released, one at a time, in the late '70s-early '80s. I still refer to them when I want to expand my envelope of woodworking skills...
Log in or create an account to post a comment.
Sign up Log in