Walnut Wall to Wall United
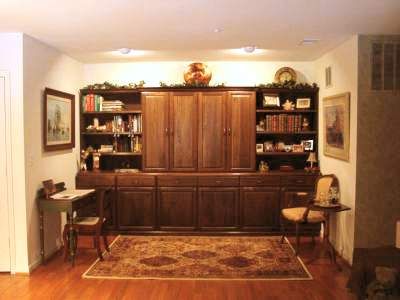
Wall to Wall Cabinet Fits the Setting
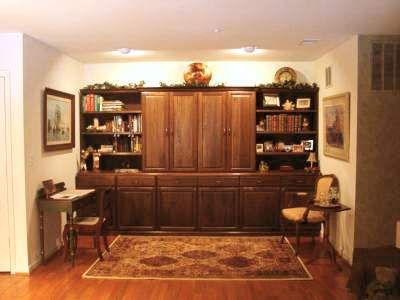
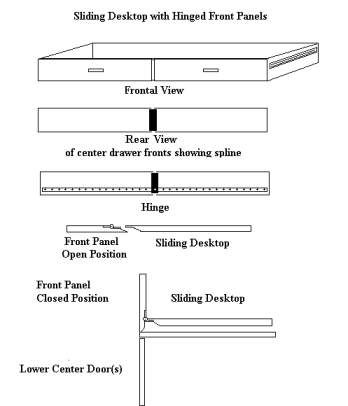
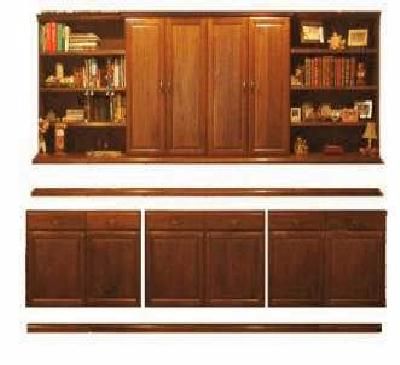
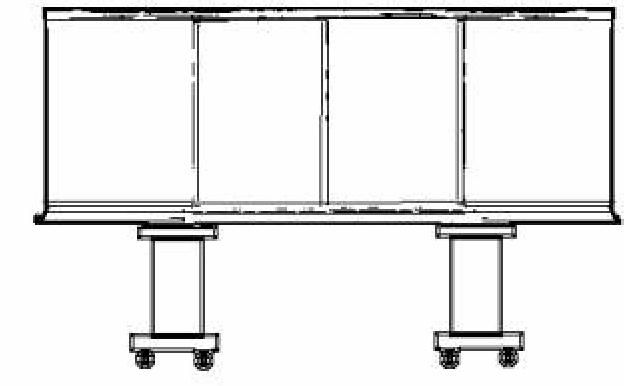
This walnut wall unit presented three particular challenges that would test my limited engineering skills. The first was to make the two center drawer fronts a facade for a sliding desktop behind them; the second was to attach a 135″ baseboard trim without nails, glue or screws and, most importantly, to devise a way in which to install a unit which fills the entire space between the walls. With the two drawer fronts sized and the edges profiled separately, I then joined them with a spline. I then hinged them to the desktop so that, when extended, the front panel could be horizontally oriented. I employed a lip to cover the divider between the drawer bottoms and the lower cabinets. To secure the baseboard to the base of the lower cabinets, I glued ½” x 4″ dowels to the trim and drilled corresponding holes into the base of the cabinets. Because the dowels and holes don’t align perfectly, the fit is very, very tight. To install the cabinets tight to the side baseboards, I designed the piece so that the bottom cabinets and drawers would be assembled in pairs, the 135″ x 20″ x 1½” center horizontal divider would be one piece, and the upper cabinets, shelves and top would be assembled at the site. To do this meant that I had to construct pedestals on casters so that once the top unit had been assembled in an adjacent hallway; it could be rolled and then eased into place on top of the lower cabinets. After thinking that all installation challenges had been resolved, Murphy’s Law took effect. As we began to slide the upper unit into place, we encountered protruding light switches on both walls, which we had to remove. Once the unit was in place and made whole, I breathed a sigh of relief. After filling it with books, pictures, etc., I marveled at how the choice of walnut added so much warmth to this wall defined area.



Log in or create an account to post a comment.
Sign up Log in