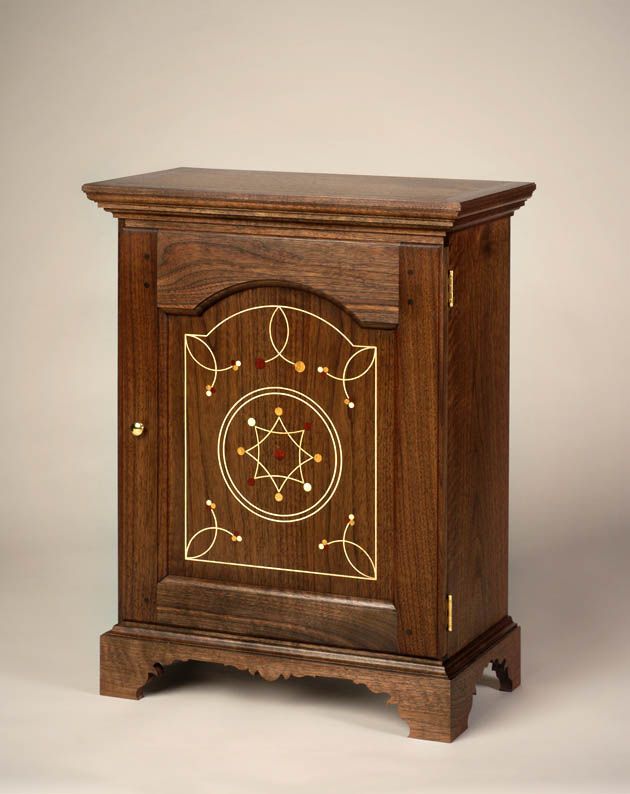
Look at the shimmer of that walnut!
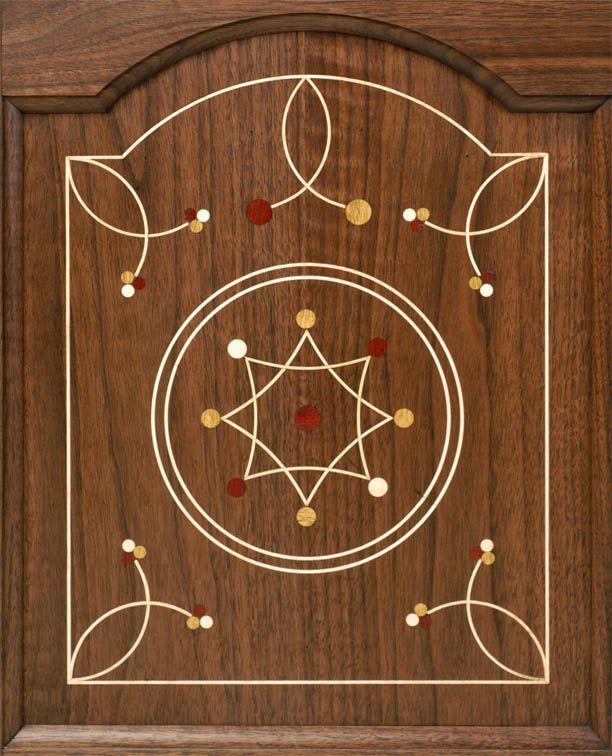
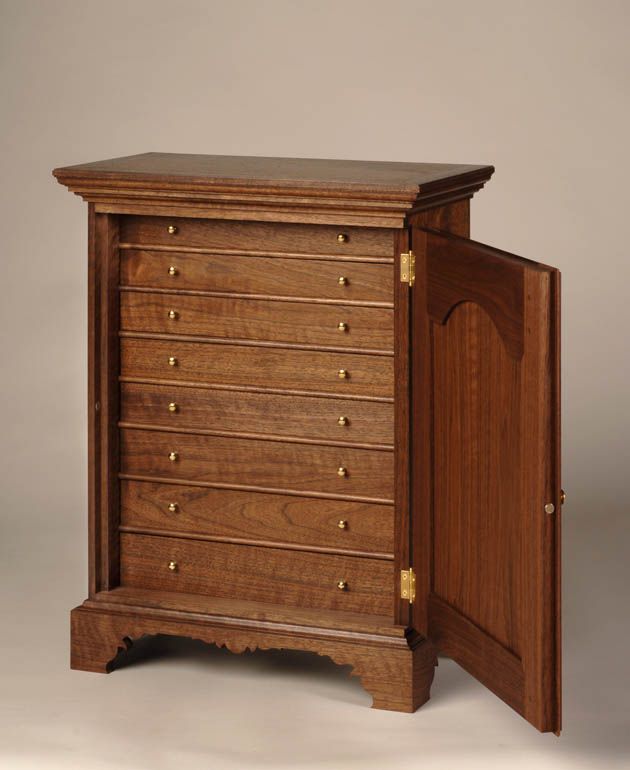
This was my introduction to string and berry inlay. Unlike traditionalists, I choose to use yellowheart and bloodwood as berry material and think the contrast is quite nice. The walnut came from the back of a school bus filled with some of the best looking wood I have ever seen! Unlike traditional spice boxes, with their rather eclectic arrangement of drawers, this box was designed with the intention of holding various fountain pens and writing utensils.
All joinery is period appropriate and cut by hand. Including dovetails on graduated drawers and case. The flat panel door is joined via mitred sticking with a small thumbnail profile. This piece is finished with oil and a dark colored wax.


Comments
It would be nice to see more than one picture.
hdgis,
I am planning on trying my hand at inlay on a box I am making (a friends initials) but I cannot figure out how to accurately plow the groves on the curved pieces. Do you mind sharing how you made the groves so that they were consistent? Thanks.
SK2
String line inlay is done in 2 ways. The easiestof these is the (scratch stock) method. This is done with a piece of old bandsaw stock (about 2" long) pinched between two pieces of hardwood (maple). The wood is cut in the shape of an 'L' with the short end used as a fence and the long end used to hold the steel. 3 screws are used to hold the two peices of wood together and the metal "scraper", 2 on the short end 1 at the far end of the long end. Using a grinder and a metal file, shape the steel to the thickness of the veneer that you choose to use and long enough (about 1/8") to hold the inlay strip in the wood. It is then just a matter of 'scraping' the scratch stock over the edge of the panel, following lines drawn out on the board to the required depth and glung in the veneer. Curves are done the same way using a "trammel". The other version is done with a laminate trimmer, fences and small router bits. I like the latter version better because of the fine lines possible. Router bits however small are still larger than the classic designs.
Kmack,
I am planing on using the scratch method... I guess what I was getting at is how do you "scratch" the channels so that the curve of the grove is consistent as opposed to wavy? Do you use some sort of guide, maybe a trammel? or do you just do it freehand and be very careful? I am planning on inlaying intials so do you have any tips specifically for letters, as the curve changes directions and therefore would make using a trammel difficult? Any suggestions you could give would be helpful. Thanks!
SK2
Log in or create an account to post a comment.
Sign up Log in