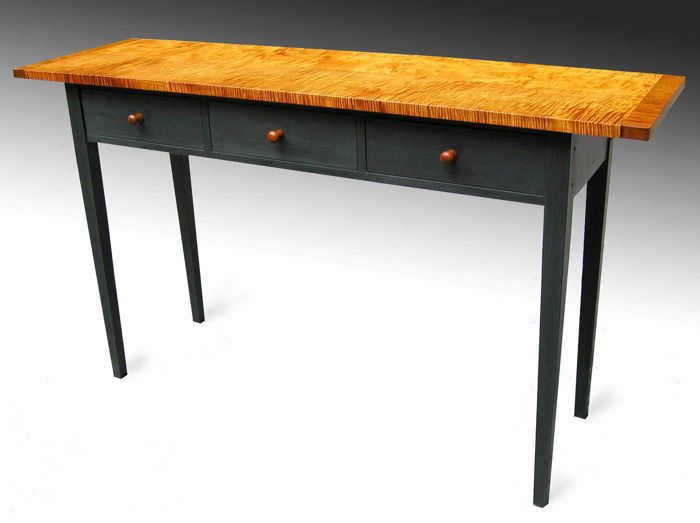
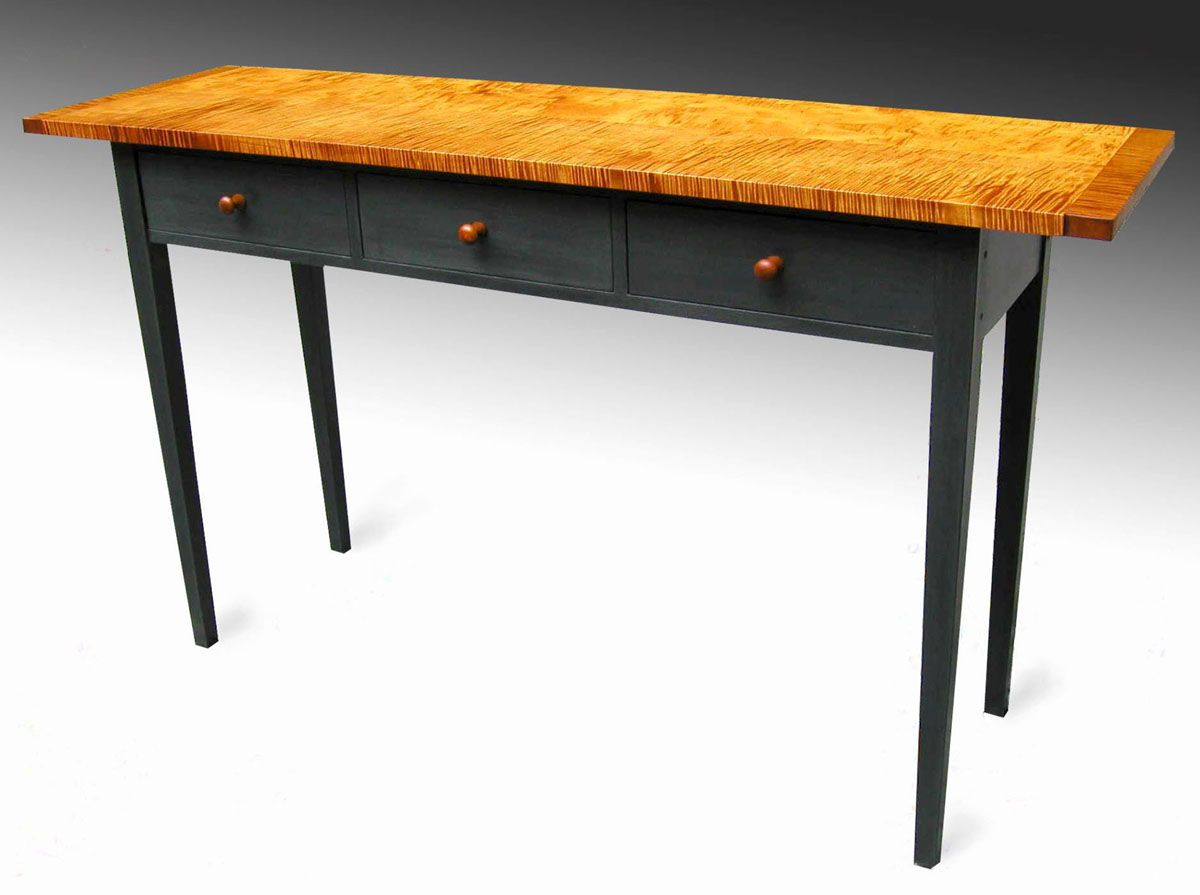
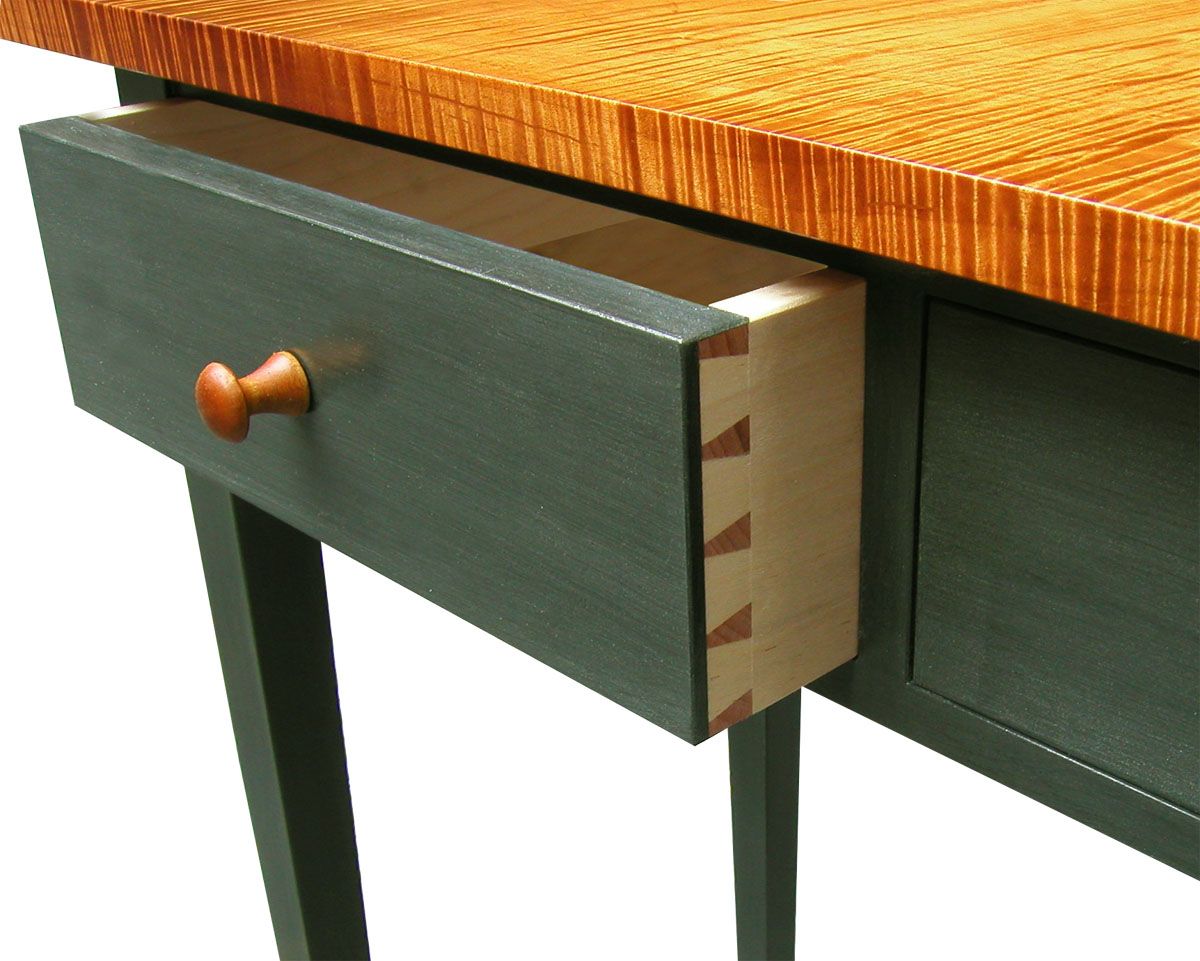
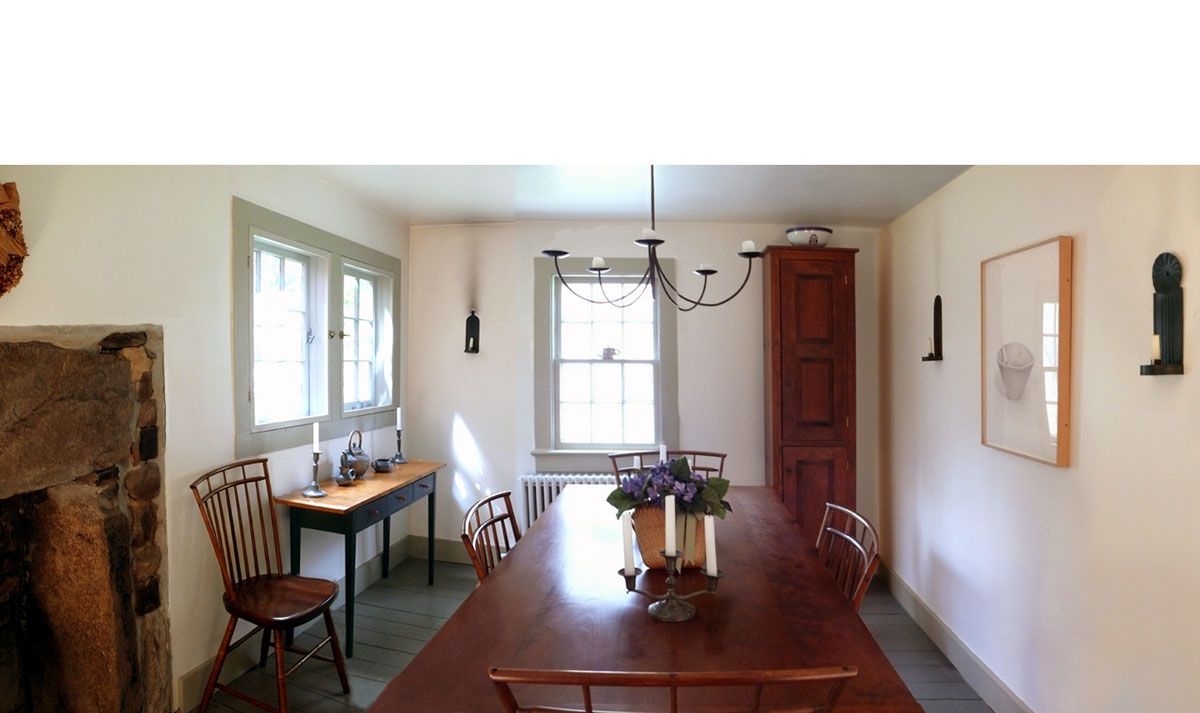
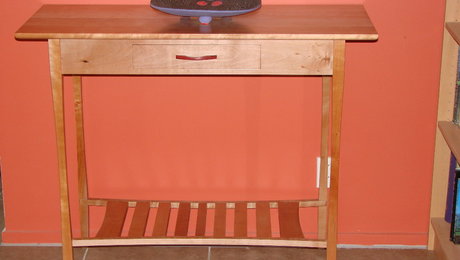
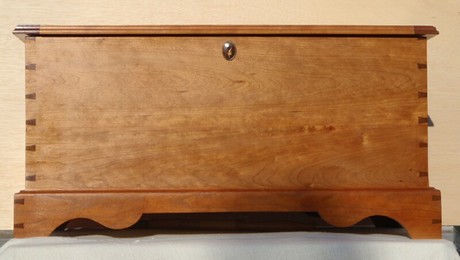
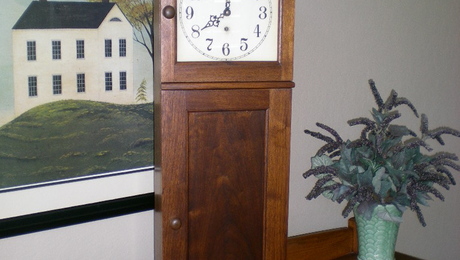
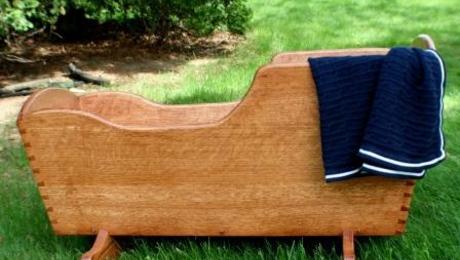
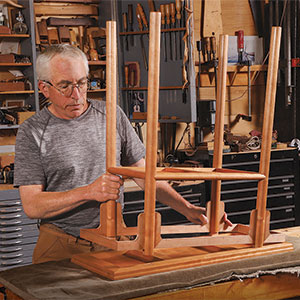
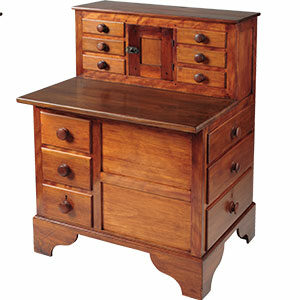
One advantage of being a woodworker is making furniture to fit spaces in your house. Which means you’re not just designing furniture, you’re designing rooms. This sidetable was made for our very small dining room. The previous owners had used a square table that made the room feel cramped. I made three pieces of more linear design, giving the room a spacier feel. The sidetable’s top is tiger maple, dyed and finished with tung oil, boiled linseed and varnish, rubbed on. The rest is milk-painted poplar. Photo was taken in high summer, so the top is a little wider than its breadboard ends. In the dryness of winter, it’s the reverse.




Comments
Outstanding!
Beautiful!
I love the color of the top. Can you tell us more about your finishing schedule? What brand and color of dye did you use?
Thanks for posting.
Martin
Hi Martin,
Like the end tables you asked about, the top is dyed with Moser's water based Golden Amber Maple. I got it from Woodworker's Supply. To bring out the figure, I made an initial dye pass with a fairly thin solution. That way the figured areas (which are more open-pored, a little like end grain) pick up the color pretty well, while the unfigured areas aren't much affected. Then I lightly sand, knocking back what little color is on the unfinished areas, increasing the contrast even more. After that I probably did three coats of moderately intense dye. To me, there's more control with several coats of moderate dye than with one coat of deeper color. I then did a first coat of Minwax Antique Oil Finish which really brings out the figure, followed by several coats of tung oil, boiled linseed and urethane, rubbed on with 0000 steel wool. If you can find it, there's a good pre-mixed version of this finish marketed under Sam Maloof's name.
Absolutely lovely in proportion and execution. Would you be willing to share the dimensions?
Hi William,
Amazing that you posted a comment yesterday and that I see it today. This stuff was posted last Spring, so I don't look through very regularly anymore.
Anyway, here are dimensions from my original plans. Hope they make sense to you.
Top: 49 x 14 3/8 with breadboard ends bread board ends
1 1/2 wide
top tenons: 7/8 deep
main top board length: 47 3/4
Base: 40 x 12 3/4 x 27 1/4
Legs: 27 1/4 x 1 1/2 x 1 1/2
taper to 7/8
taper starts 5 1/2 from top
Aprons: back, 37 x 5 visible, 39 x 5 with tenons
side, 9 3/4 visible, 11 3/4 x 5 with tenons
Front: crosses, 37 x 1 1/2 x 5/8 visible
verticals, 4 x 1 1/2 x 5/8 visible
Drawers: to fit
Log in or create an account to post a comment.
Sign up Log in