Getting started in woodworking series project

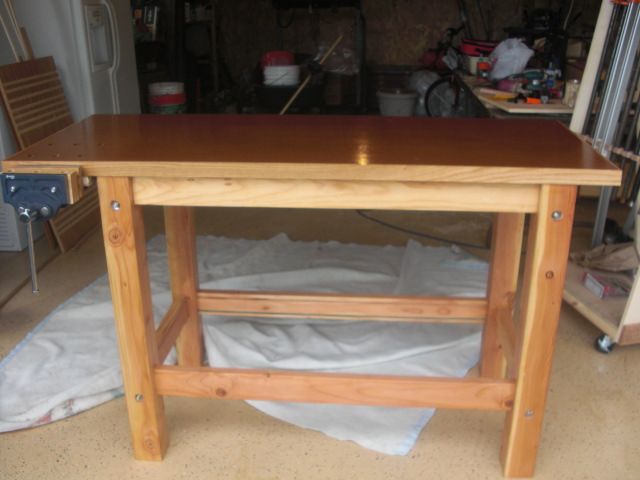
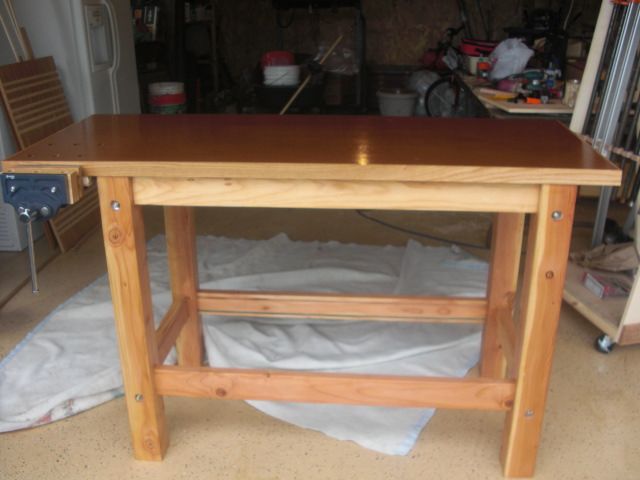
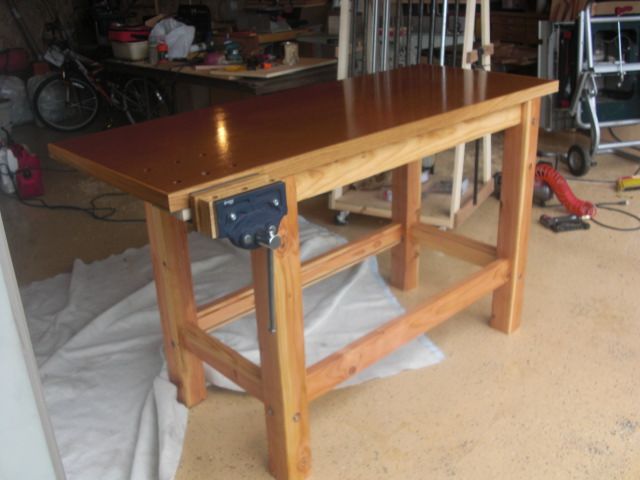
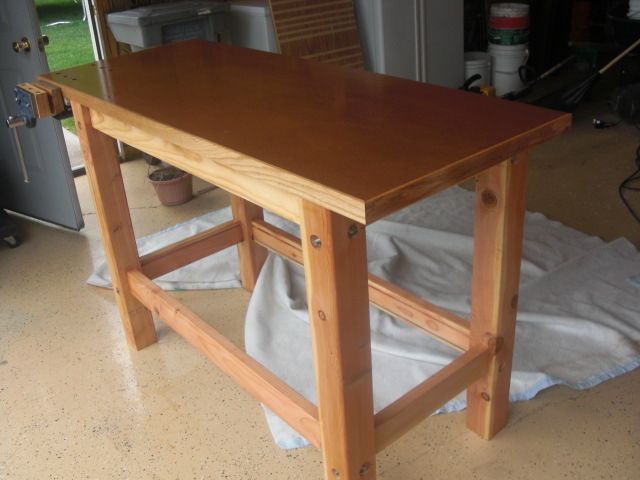
Although I am Not a beginner in woodworking I liked the workbench plans that Finewooding has in their Getting Started in woodworking series, So I built one, this is my first workbench as I have always worked on fold away tables.


Comments
Thanks for the taking the time to post this. Beautifully done! I am planning to build this bench this weekend, and also liked the plan.
Did you use MDF for the top, or is it wood? How long did it take you to make the bench, all told?
Thanks Stephany, Yes the top is two layers of Mdf with a few coats of varathane. I built the bench in a weekend, please post pictures of your bench when you are done!
Joe
I built this one, as well!! Very simple, VERY sturdy! It was my first real piece of woodworking, and if all goes according to plan, it will be around when my grandchildren get ready to build their first projects :)
And, unlike the video accompaniment to this project on FWW, I didn't have a workbench on which to build my workbench :) It was constructed about 90% on the garage floor!!
I did have to re-purchase and re-cut all of the stock except for the MDF (can you say "measure twice, cut once???"), but even with that setback I got the bench finished in one day.
Great bench!!
About five years ago, I built an oak bench like this for my son and grandson. It is still rock-solid, dead-flat, and going strong. The only design modifications I made were to use (1) four layers of MDF for the top and (2) oil-finished 1/4 " hardboard with 3/4 " oak edging for the top. This makes the bench more stable (i.e., heavy) and provides a working surface that can be easily refinished or replaced as needed. It is easy to add a shelf for various tools or modular tool boxes with drawers and/or doors. It is a solid, flexible, functional design -- a great project for almost any workshop. I know you will use and rely on this bench for a long time to come. Well-done!
P.S. If you make the bench the same height & width as a table saw, then it will make a great extension/workbench on the "short" side of a table saw, perpendicular to the blade. I use a similar bench in this way. It provides a great sanding/assembly/finishing surface with additional storage below, supports long stock on the table saw, and saves space in my shop. Central to the work flow in my shop, this bench has paid for itself many times over. And, since I use butcher's paper as needed to protect the top from finishes and glues, a little cleaning with mineral spirits and waxing is all it ever needs.
Nice! Is that edging around the top? If so, what did you use, and how is it attached?
It looks great. Thanks for posting the pics! I like the additional edging around the top and the top coat (with the possibility of water damaging the MDF).
I think I'm going to try the edging as well on mine, attaching it with pocket screws, the best way I can think of with what I've got. Not sure how I'd do it otherwise: without a biscuit joiner, and thinking dowels would be an exercise in madness.
How did you apply the top coat. Did it dry up for a smooth surface (as opposed to brush stroke marks, etc.)
Thanks for any feedback, and once again... Looks great!
Hey There,
I'm a newbie trying to make this bench. I'm struggling with a few things, one being that I accidentally drilled the holes for the washers and nuts that fasten onto the threaded rod closer to the outside edges of the legs, rather than closer to the inside edges for the long stretcher bars. Will this affect how my bench goes together?
Thanks in advance
Log in or create an account to post a comment.
Sign up Log in