Radiator / Candle / Side table
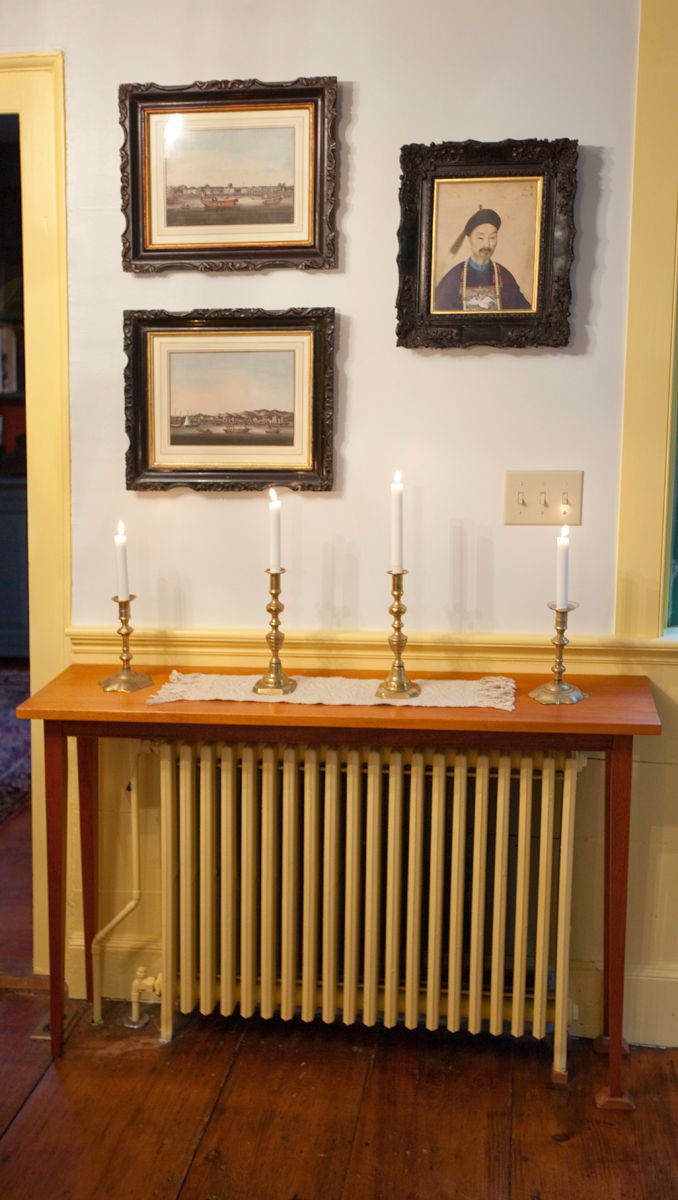
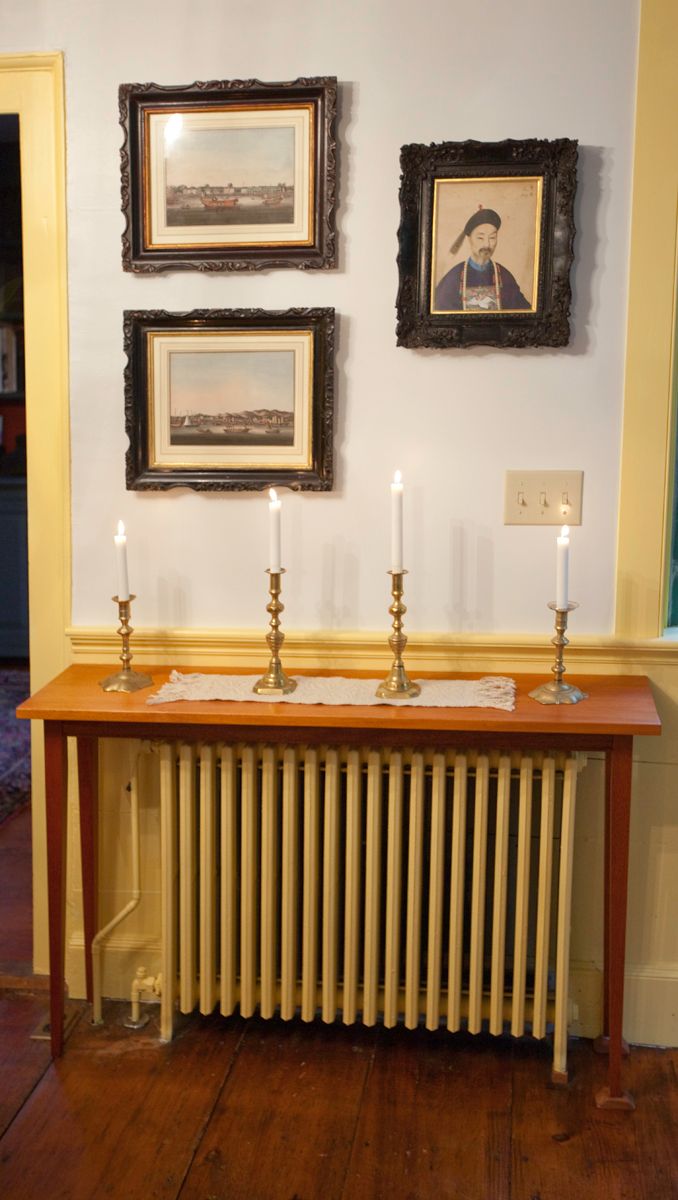
In use as a candle table
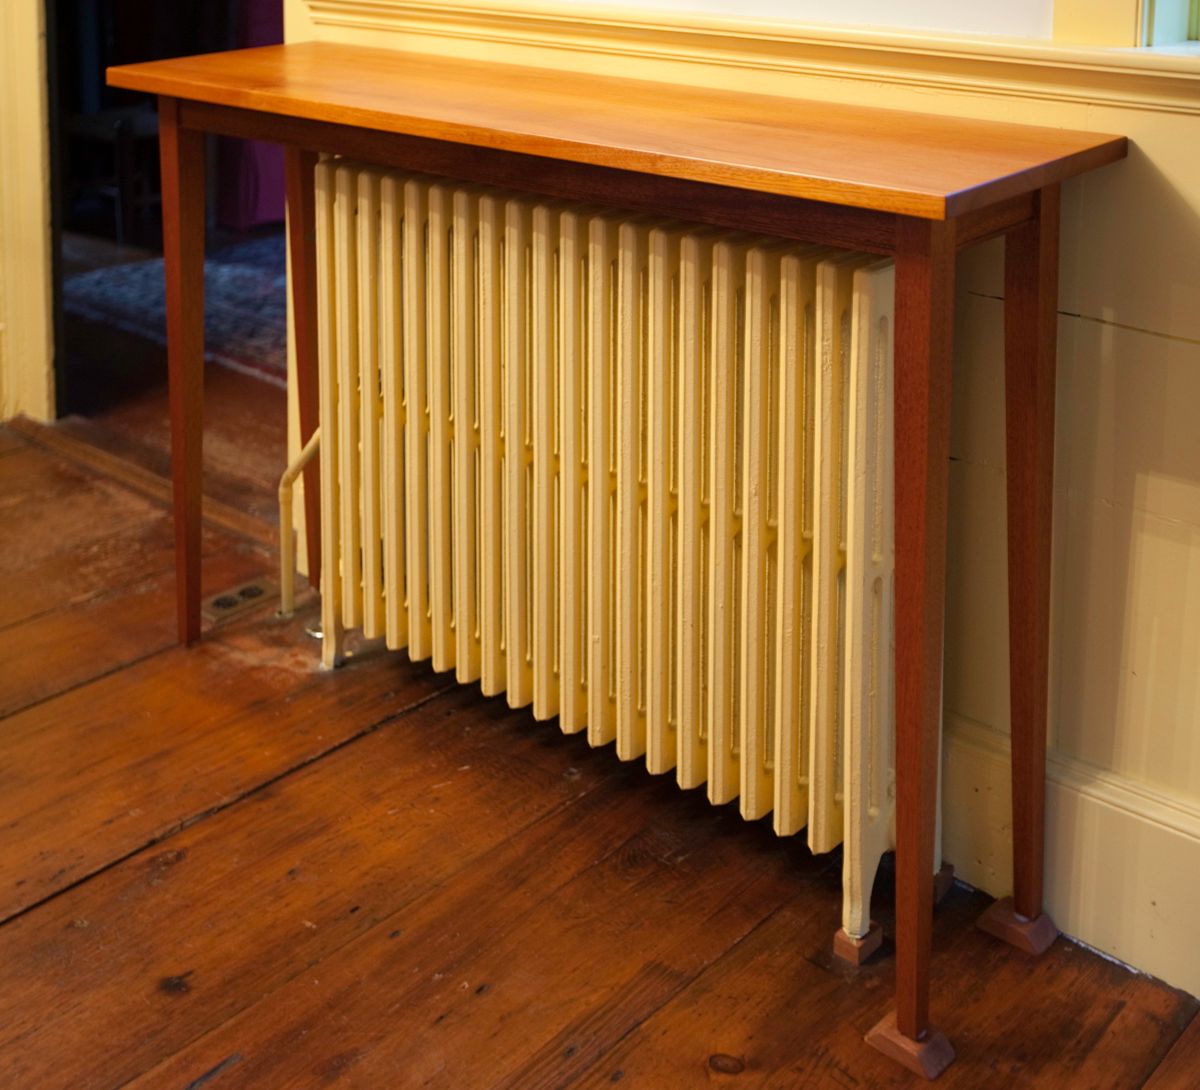
Living in a Colonial House has its challenges. Colonial exterior, Federal makeover inside and out, 1950’s heating. In the dining room the solution to a large cast iron radiator in 1950 had been to box it in. But it killed the space and was at odds with the wainscoting and moldings. During a restoration of the space the box was removed. Re-routing plumbing was not an option. Clearly in 1950 there had been enough problems in the basement just getting the heating pipes to where they were (look at the kink on the left pipe!).
The radiator was painted to “hide it”. Now to cover it…….
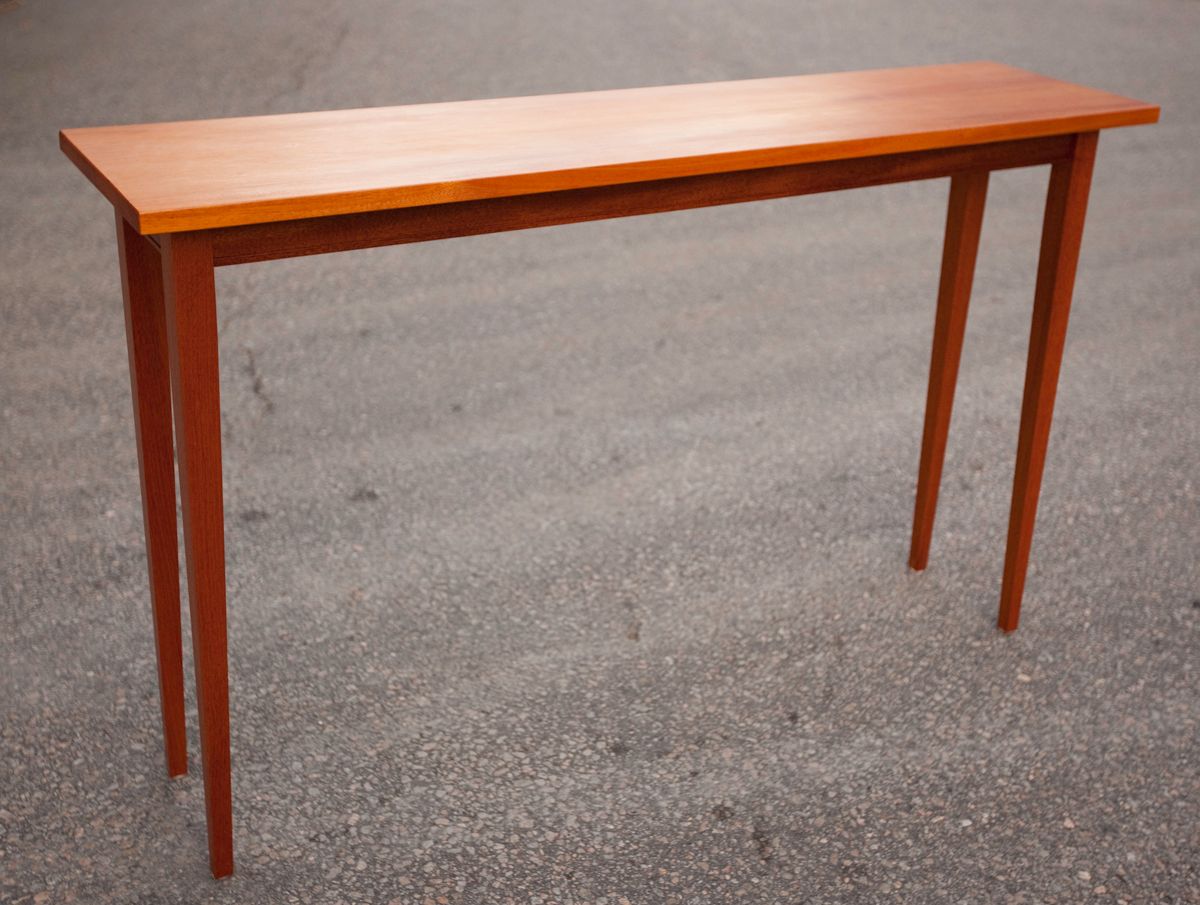
This weekend project utilized off cuts from the pencil post bed project (See – https://www.finewoodworking.com/item/17296/pencil-post-bed). There was sufficient straight grained timber for legs and stretchers. The top came from two light colored boards that had not been used on the bed. The dimensions of 50″W x 12″D x 30.5″H were driven by the height of the radiator, the need for some air space under and the narrowness of the room and a need to squeeze by. The issue was going to be dealing with the winter heat from the radiator.
By biscuit edge gluing two already stable, flat, well seasoned, 6″ boards with a heavy epoxy mix it was hoped to avoid cupping that might be the result of a single 12″ board.
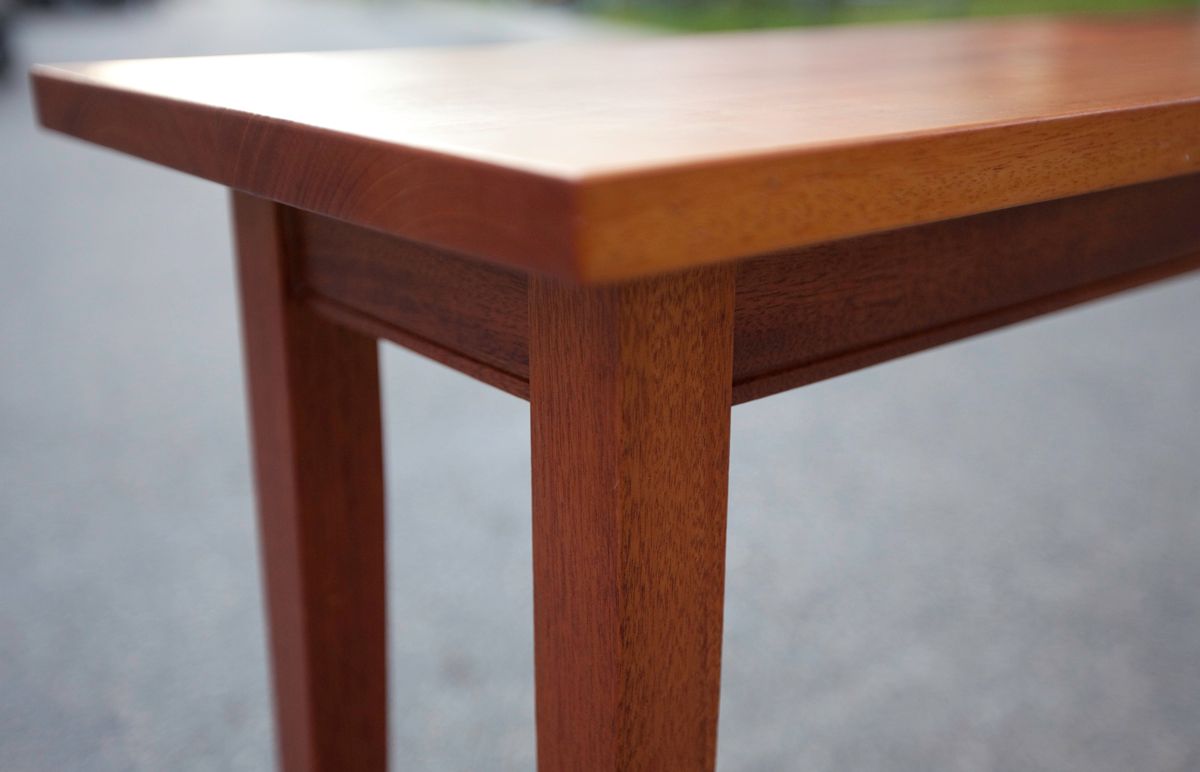
The carcass of legs and stretchers is conventional mortise and tenon construction in a Shaker style. The legs were tapered on a jig on a sled on the table saw. A small bead adds interest to the stretchers. Overall assembly took one weekend. It was finished in evenings through the following week.
The whole top “floats” on tapered cams fixed to the table top and engaging with grooves on the inside of the stretchers to allow for expected extreme movement caused by the humidity swings of dry winter heating and moist summer humidity. The whole top was then epoxy saturated both sides to stabilize it further.
The unevenness in the house floor that has developed with time was dealt with by blocking the radiator and table level. However the narrowness of the table means it is in extreme danger of falling over as the house “moves” or if someone bumps into it. Hidden from sight below the table, above the radiator and fitted to the wainscoting is a simple wood cam that engages with the back table stretcher and prevents it falling forward.
Though I did consider staining all parts a uniform color – the epoxy coating that was to be used on the top precluded the use of stain on the light boards. So in the end the whole table got my standard “bomb proof” yacht treatment – All surfaces sanded – 80 / 120 / 320 grit and then sealed with Interlux wood sealer. Then Interlux one pot polyurethane Golden Spar varnish was built thin coat on thin coat till the grain was completely filled. The U/V inhibitors in the spar varnish will protect the epoxy over time. All was rubbed back with 400 grit to absolutely flat and finally coated with two coats of Interlux Satin varnish. The top was further worked with 0000 wire wool when the varnish was hard and then waxed with paste wax.
Over the last two years the table has remained extremely stable dimensionally. It is slowly maturing to an overall mahogany red that will eliminate the differences in timber color over time. The table serves to hold side dishes during dinner or as a candle table to light the middle of the room as shown here.


Log in or create an account to post a comment.
Sign up Log in