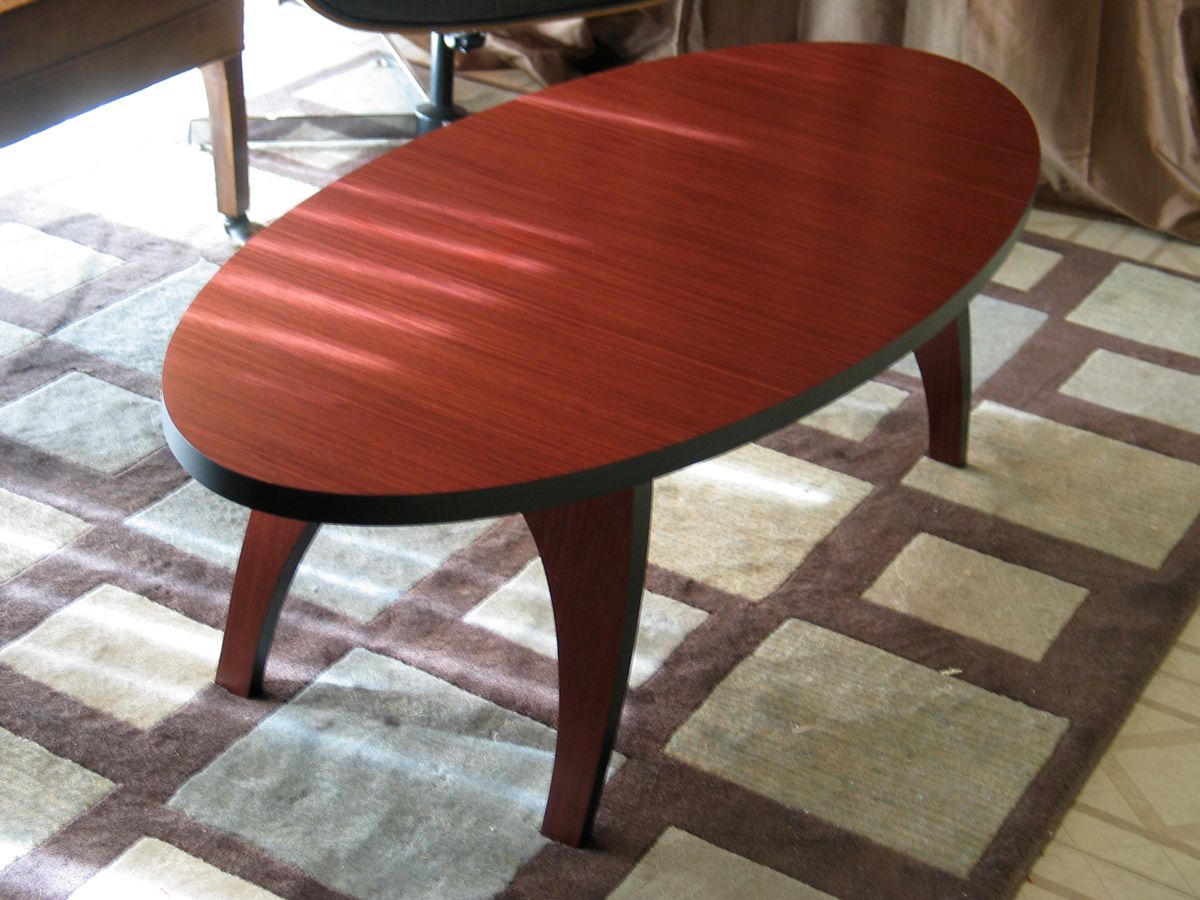
Contemporary oval coffee table
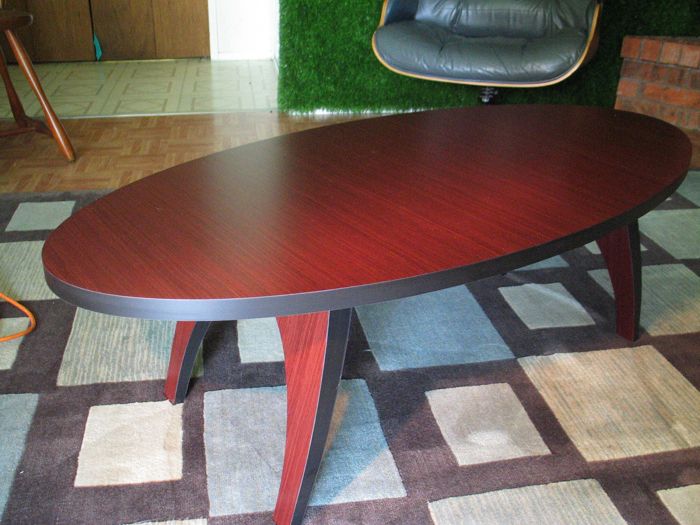
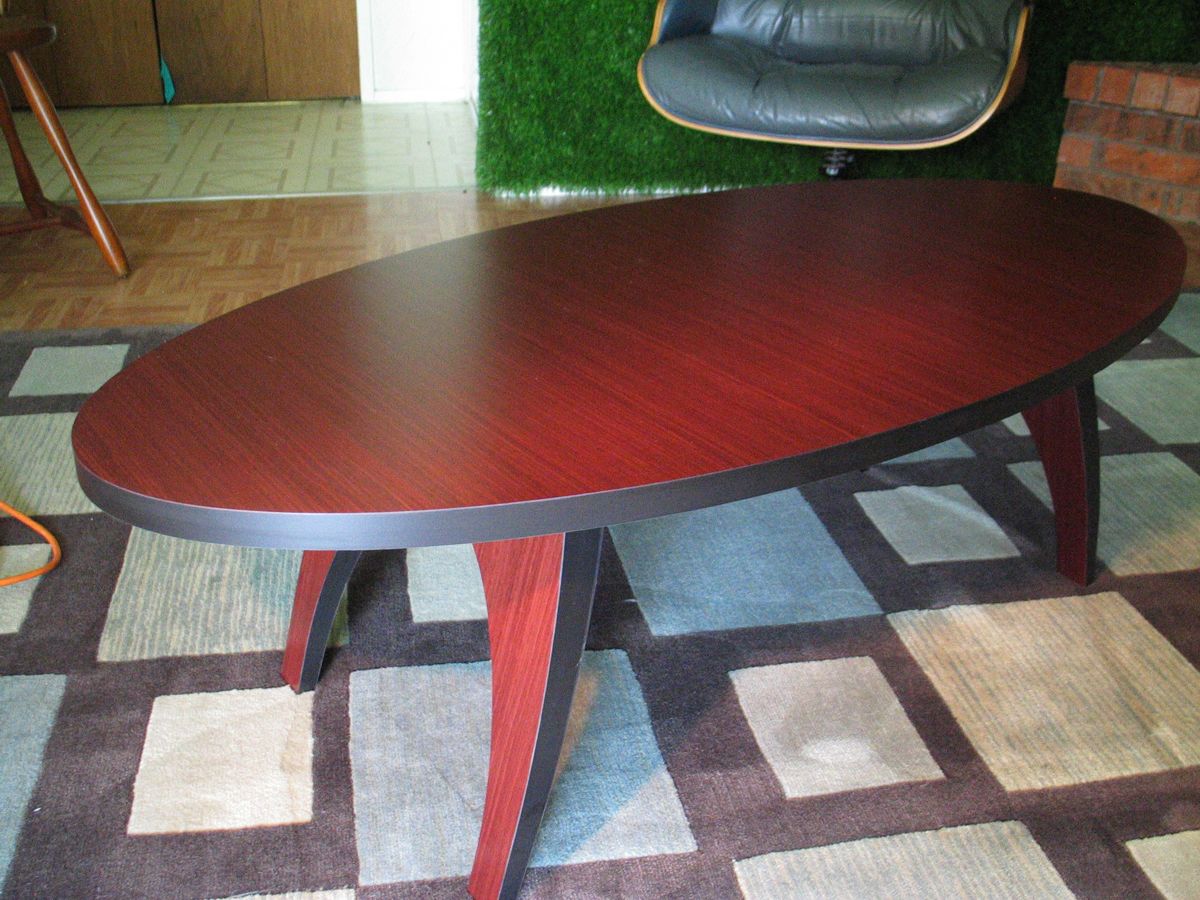
A coffee table I designed as I went, for a dinner party.
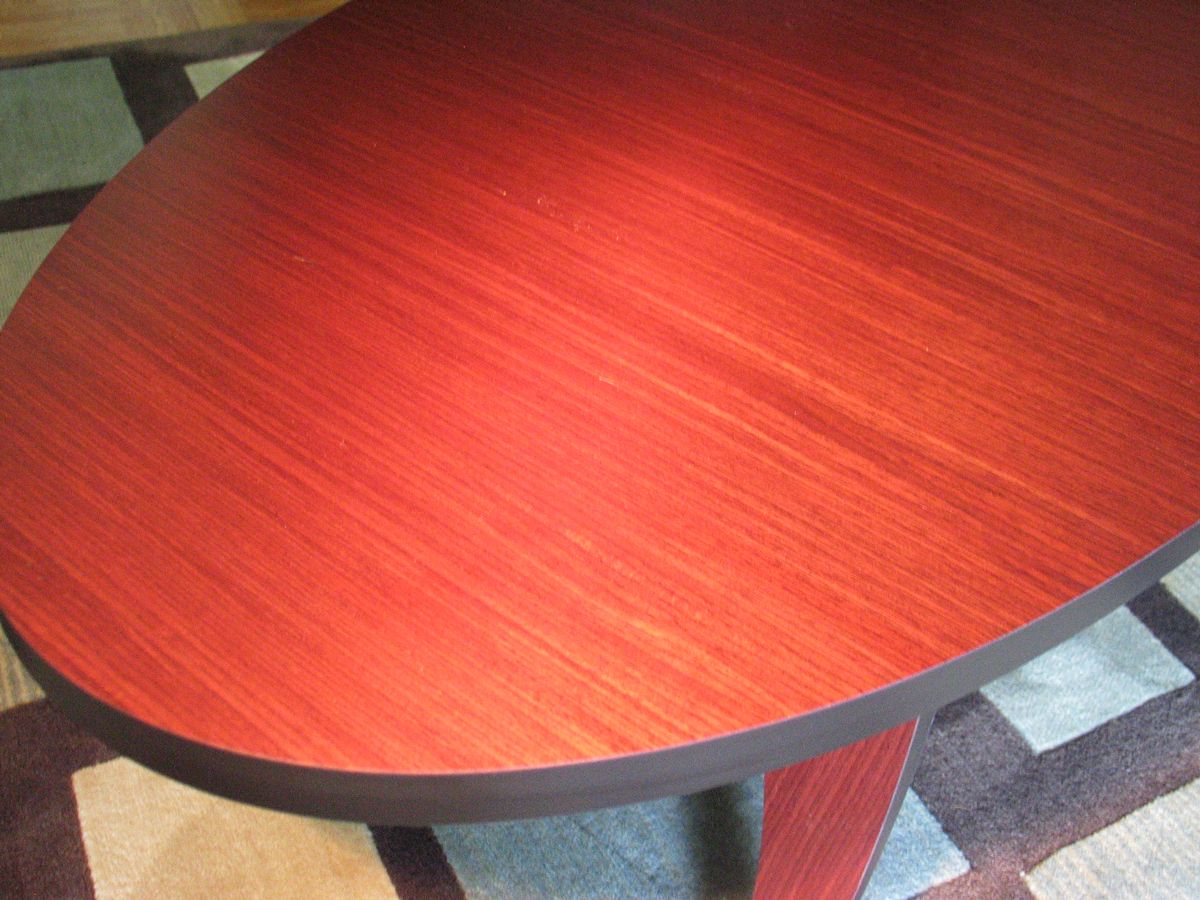
Made of MDF, Birch ply, Mahogany veneer w/ laminate backing, black laminate, backer sheet. Screws, HyBond contact glue
Came up with the top dimensions first based on the size of a piece of scrap material I had. To make a template for the top I played with the old string and two nails on a similarly sized piece of 1/4 inch MDF till I got the oval I was after. Cut close to the line on the bandsaw and then fine tuned with a sanding block.
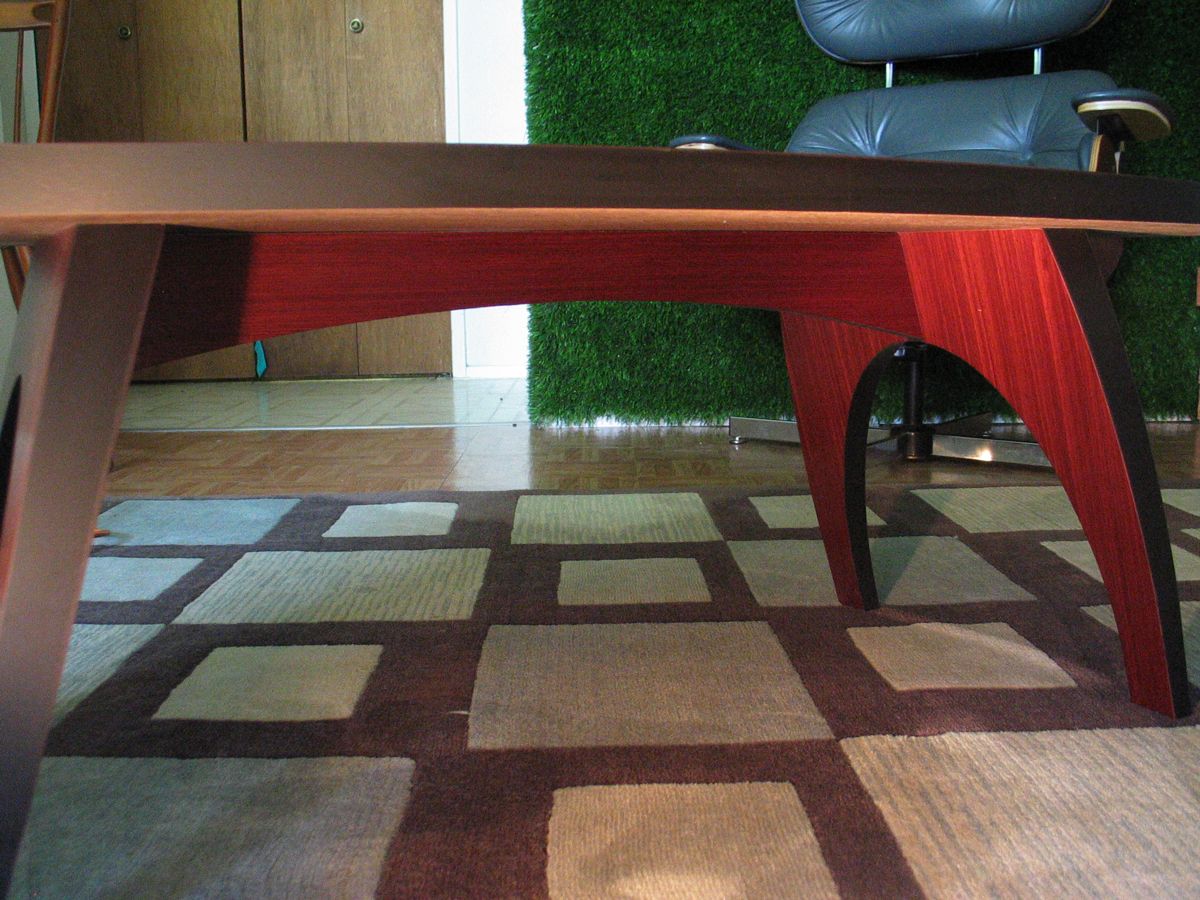
The top is a piece of 3/4″ and 1/4″ MDF laminated together. When I used the template to make the top I was careful to keep the router tight to the template on one side of the oval, so that I could use the off fall as a template for the arch in the bottom stretcher. (I have found it helpful to always transfer centering lines from the template to a round or oval shape part before separating them. These lines make it much easier to orient things later on.)
The legs came about first by deciding on a bevel angel that seemed right, then playing with spacing, then making them fit within the borders of the top. I used a template for the legs as well. Started with a square piece of 1/4″ MDF about the size i wanted. I used part of the top template tacked on and routed to make the outside curves and the string and nails to make the inside curve (again rough cut on the bandsaw and fine tuned with a sanding block and a radius rasp). The blanks for the legs are made of a piece of 3/4 MDF laminated to a piece of 3/4 birch ply. I cut the bevels on the top and bottom of the blanks first. I then made a sled that would hold both blanks at the same angel and ran them through the 50″ wide belt sander at work to taper them from 1 1/2″ to 3/4″ top to bottom. I took all the taper off the mdf side for several reasons: strength, smoother transition by not cutting through layers, easier on the machine. Next mounted the template and rough cut on the bandsaw, then flush trim with the router.
Assembly/ laminating order:
- stick backer sheet on bottom of table top, rout flush
- stick and joint black laminate edge on top, rout, sand, file flush
- stick black laminate on outside and and inside curves on legs, rout, sand, file flush
- stick veneer on stretcher, rout flush
- stick veneer on both inward facing sides of legs, rout, file edge
- attach legs to center stretcher w/ screws
- bondo the countersunk screw holes on the outward facing sides of the legs and sand smooth
- stick veneer to outward face of legs, rout, file edge
- mount leg and stretcher assembly to top with screws angled into the legs put in through the top
- bondo the countersunk screw holes in the top and sand smooth
- stick veneer to top, rout, file edge


Log in or create an account to post a comment.
Sign up Log in