New Workbench

I have wanted to build a new workbench for quite a while now. When I saw Matt’s Monster Workbench in Fine Wood Working magazine, I new I had found the bench I wanted to build. His bench was a little larger than the one I wanted to build, but re-sizing the plans was no problem.
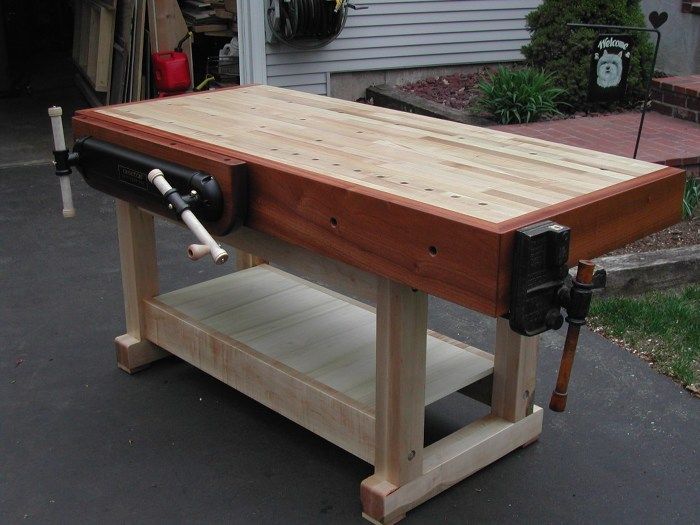
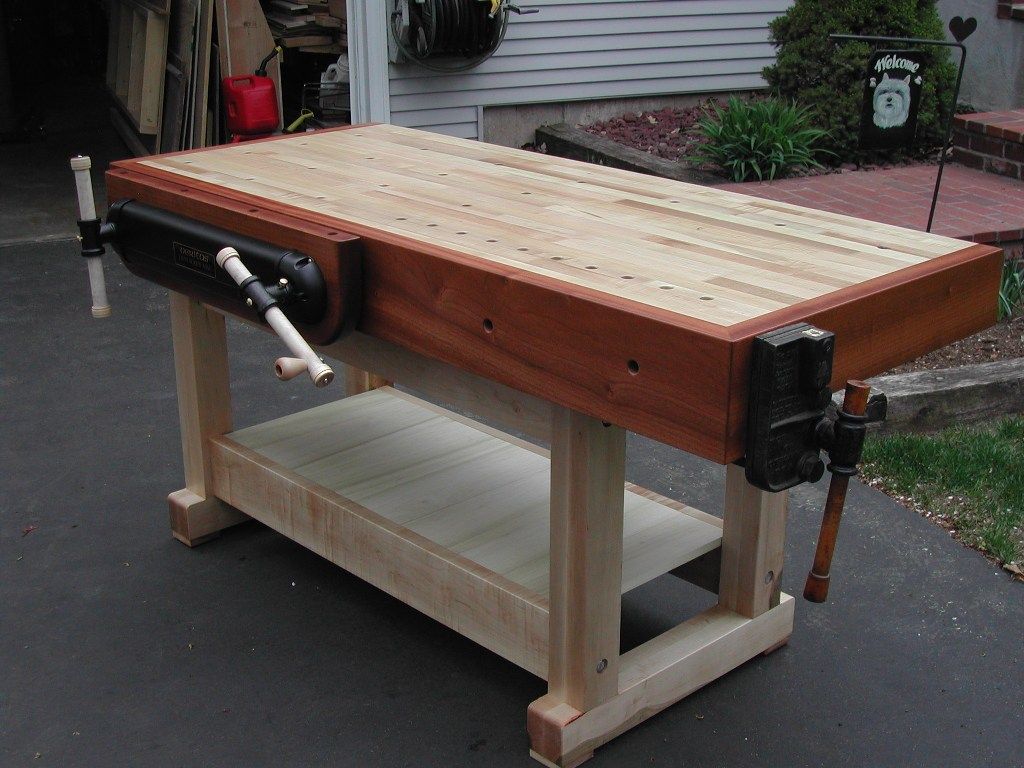
I completed the bench last week (5/1/09). I have been using a very old and rather shakey workbench for the last 30 years. I finally managed to build myself this new and totally solid bench. The top measures 28” X 68” and is 35” high. I am over 6’ tall so I made it a bit taller that normal (34”).
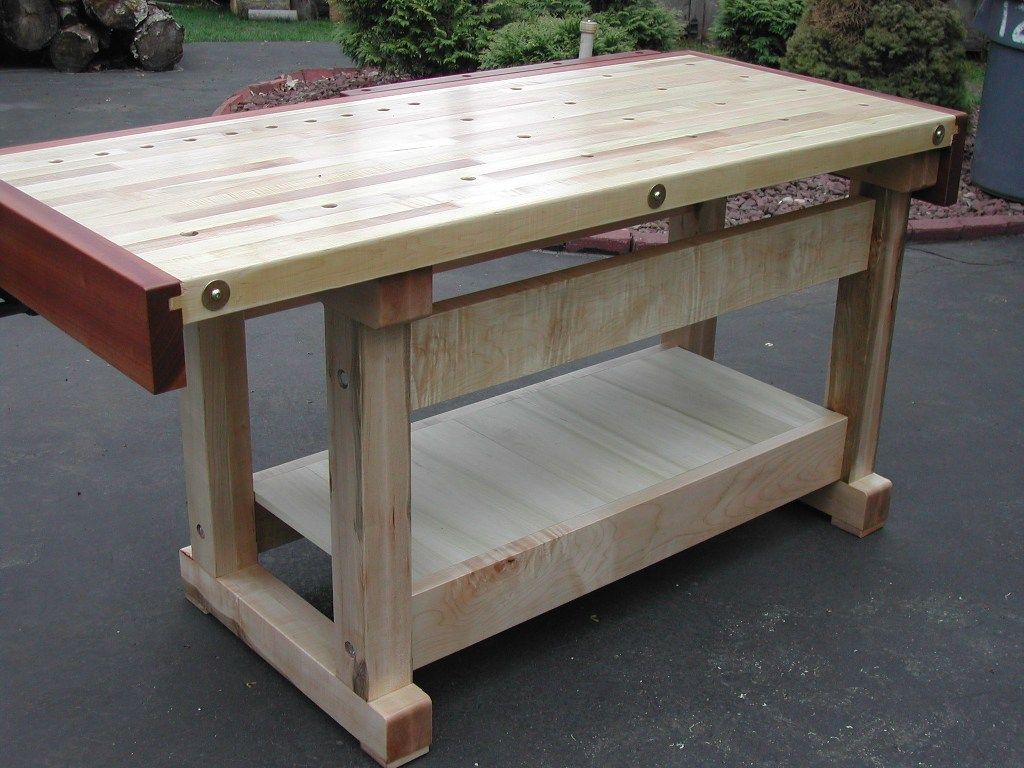
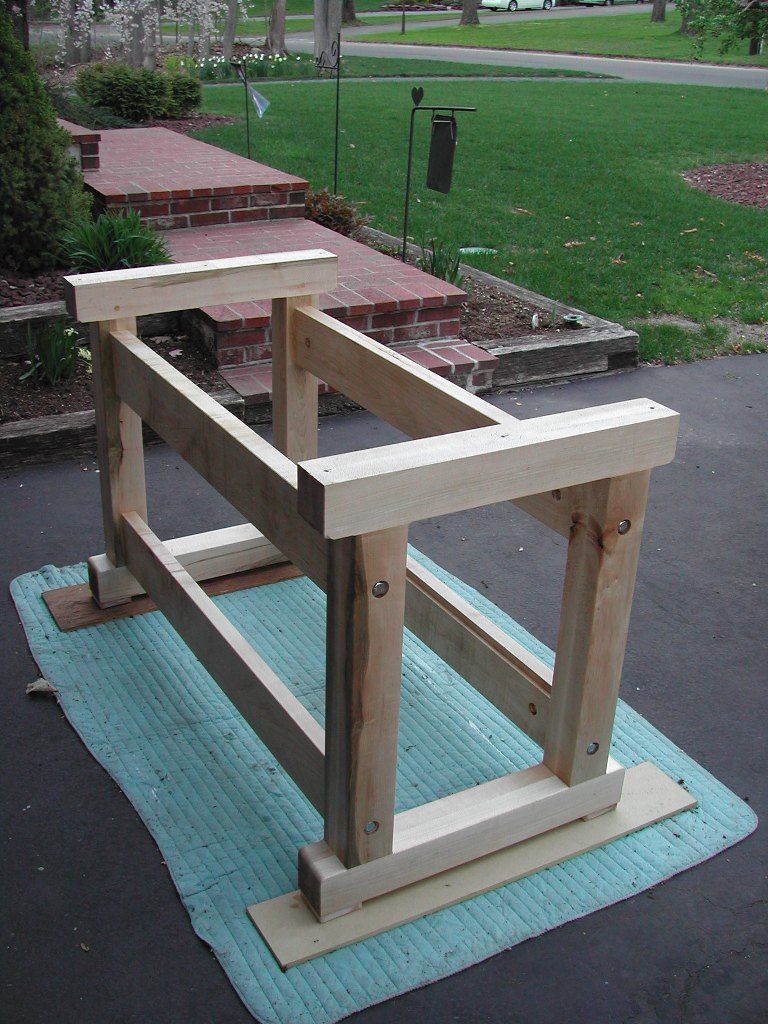
The support end frame is 3 1/2” square maple, the stretchers are 1 3/4” X 7” maple. The leg sections have large, glued mortise and tenons (2” sq. X 1 3/4” long) with a 1/2” maple dowel drawbored into the mortise and tennon to keep them tight. The stretchers have tenons that are 3/4 wide X 5 1/2” high X 3/4” long that fit snugly into their mortise and use 1/2” X 6” long bench bolts to secure them to the end frames. They were not glued so that the bench could be tightened over time as needed. The top was manufactured from maple and is quarter sawn maple glued up to a 2 1/4” thickness. I got such a good deal on the top that I couldn’t make it for twice the price, so I used it. It is wrapped on three sides with 2” X 7” Sapele. The front vise jaw is 2” X 8” X 32”.
The Veritas Twin Screw vise is 24” on center. The tail vise is over 100 years old, is quite heavy and is a quick release. I tightens in one half turn. I have not added the wooden insert jaws to that vise as yet.
I cut a 3/4” X 3/4” rabbet on the inside of the lower stretchers to add a shelf. I used 3/4” X 7 1/4” poplar and rabbeted a 3/8” shiplap edge on the boards to create a good fit. The Gramercy Tools Inc. hold fasts work very well and the Veritas bench dogs are well made and fit nicely in the 3/4” holes.
I put a lot of holes in the top of the table (maybe too many), but figured they would add versatility to the bench. The front jaw also has four holes in it. I am really looking forward to working on this bench. Right now it looks too nice to use, but I will use it. There are two coats of oil based polyeurethane on it for protection.


Comments
Wow, the bench looks awesome! I just downloaded Matt's plans and I'm going to give it a shot. One question, how does the top fasten to the base? I noticed there was no mention of this step in the plans or in the videos. Does it not fasten at all and just sit on the base?
its beautiful
Log in or create an account to post a comment.
Sign up Log in