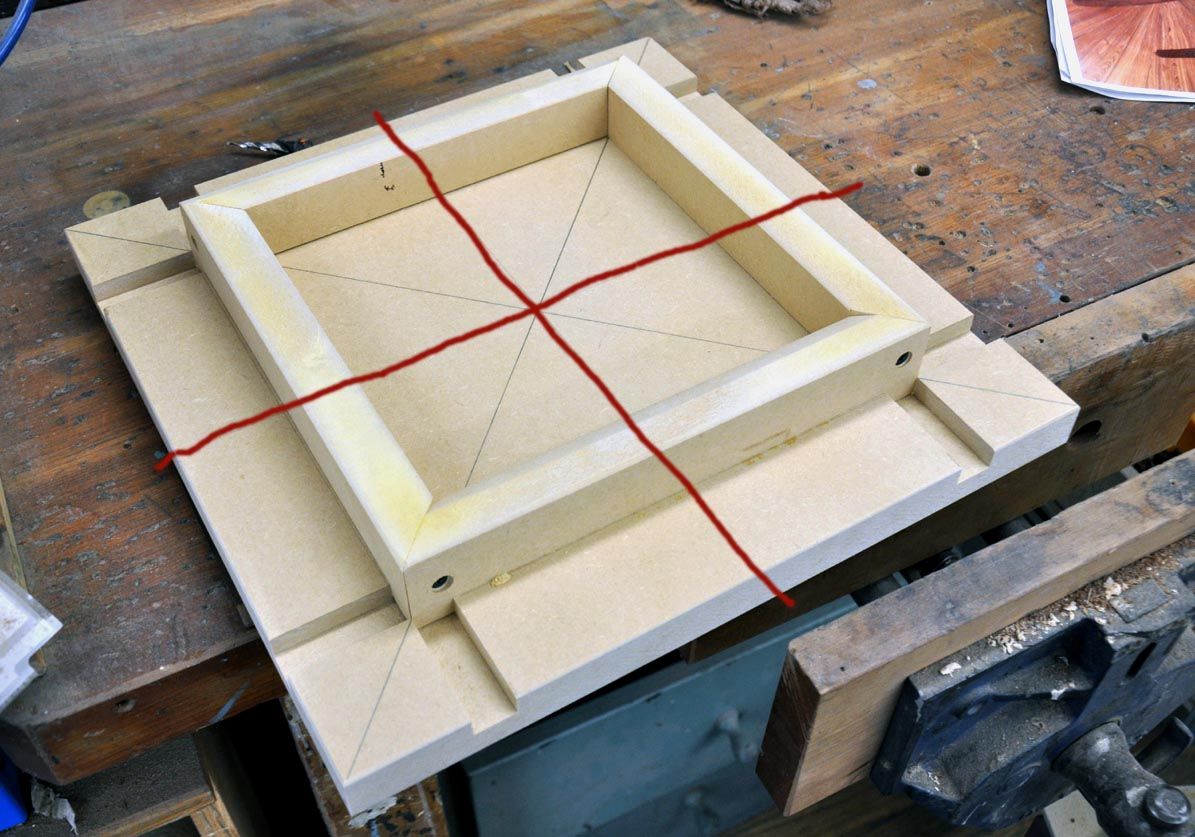
a pretty good mitered frame gluing jig
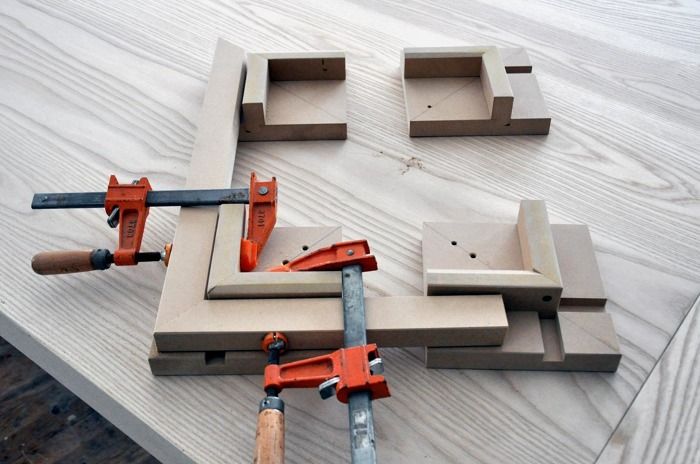
with a sample corner clamped in place
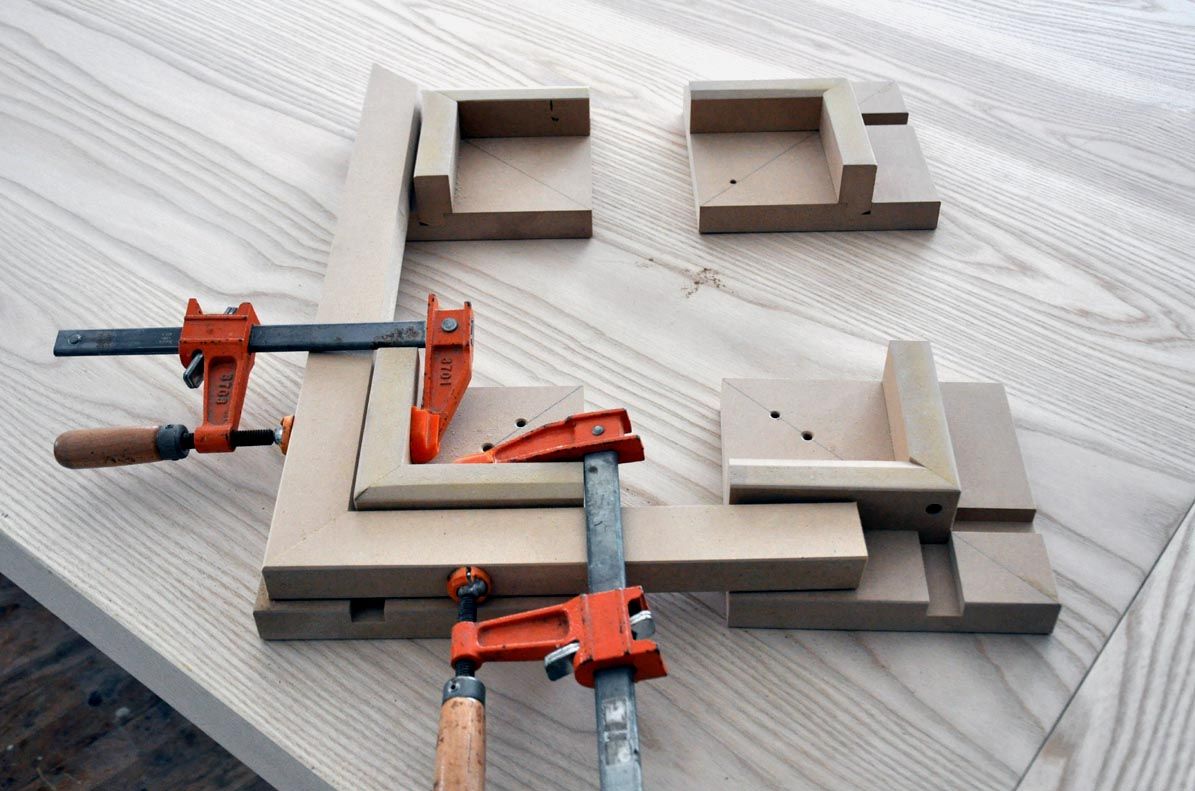
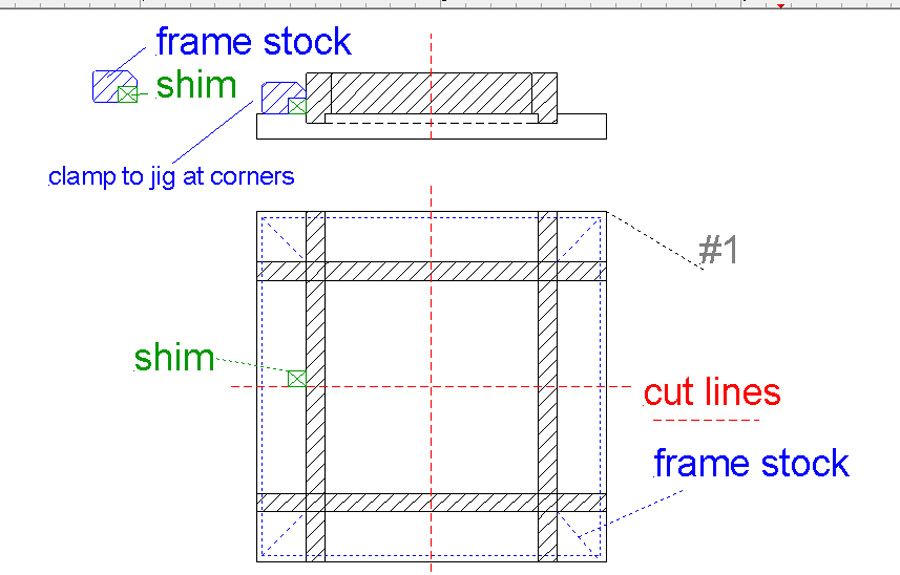
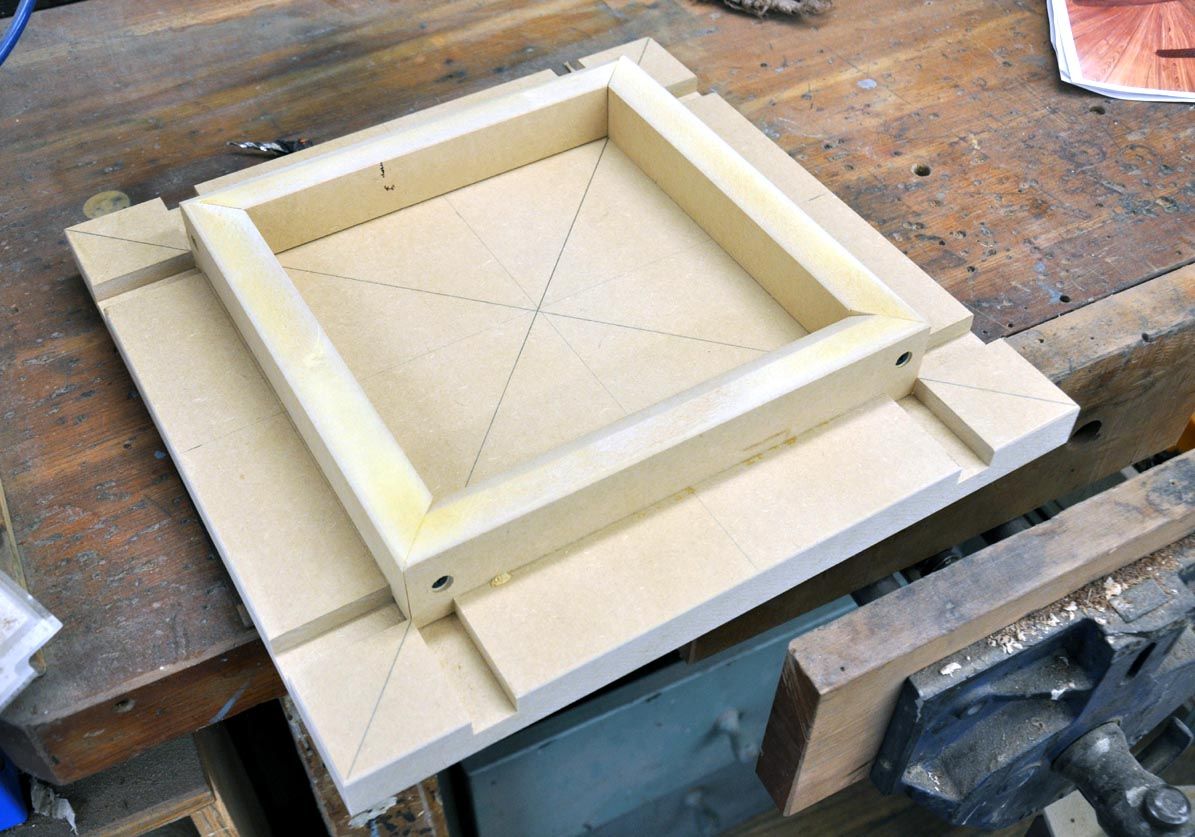
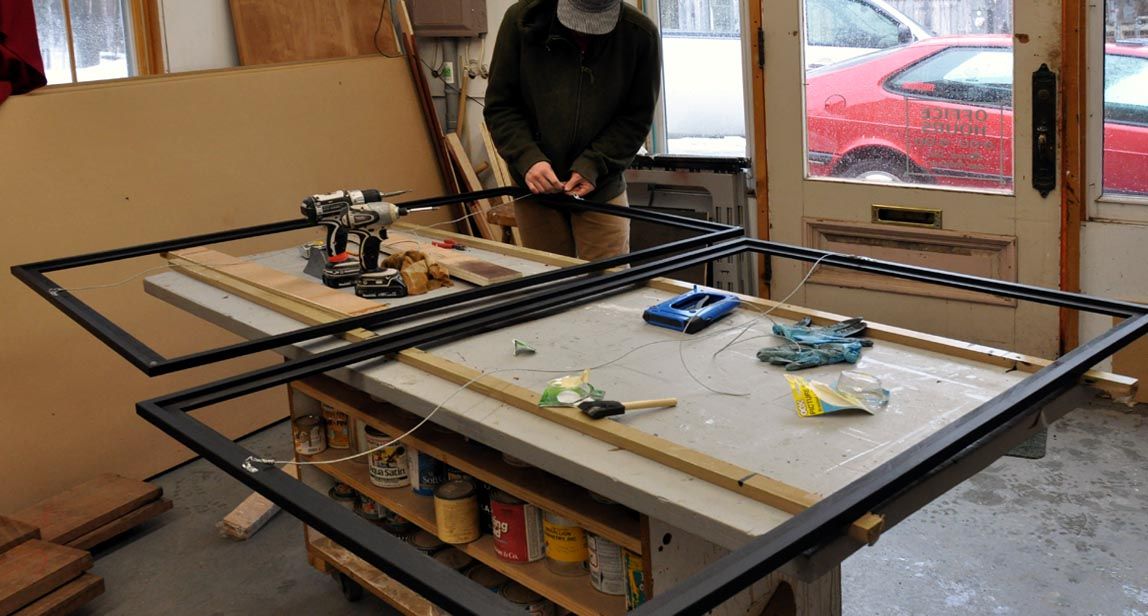
i’ve been struggling to find the ‘best’ way to glue up mitered frames for, oh, 30 years or so. i think we’ve finally got it … the pictures below show the basics of the concept. it’s quick to build, easy to use and takes up minimal time and materials … all the things a good jig should be … there are detailied, step by step instructions for building it and larger photos on my dorset custom furniture blog.



Comments
The jig will be improved if the outside corner of the pieces you clamp the frame to are relieved so there is room for squeezed out glue.
Great Jig! I hate to be a party pooper, but I would disagree with EngrMike. I wouldn't change a thing. Glue will take the path of least resistance. I don't see a need to relive the edge. If the frame is tight up against the block, there wont be much squeeze out. Just my thought. I'm a far cry from an expert.
Thanks for sharing all of your professional experience with us!
Yep, agree, this jig is so basic good, you can't go better than this, ... super thanks
Ed
Excellent!! Why didn't I see this blog last week?! As said before, The simplest solutions...
I agree with EngrMike, I lowered the outside corners to allow for squeeze-out after gluing a couple of frames down to the jig - due to my sloppy gluing habits. Haven't had a problem since. I have also used clamping dogs along with this jig - maybe a little over-kill but it is only one more clamp and my miters have never looked better.
Log in or create an account to post a comment.
Sign up Log in