Gallery
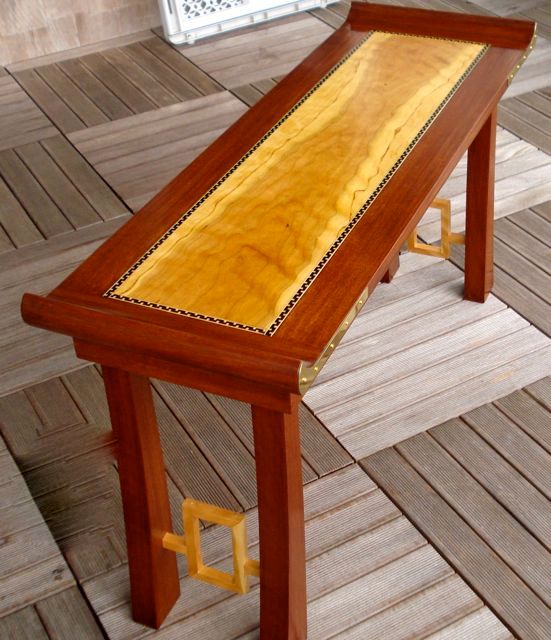
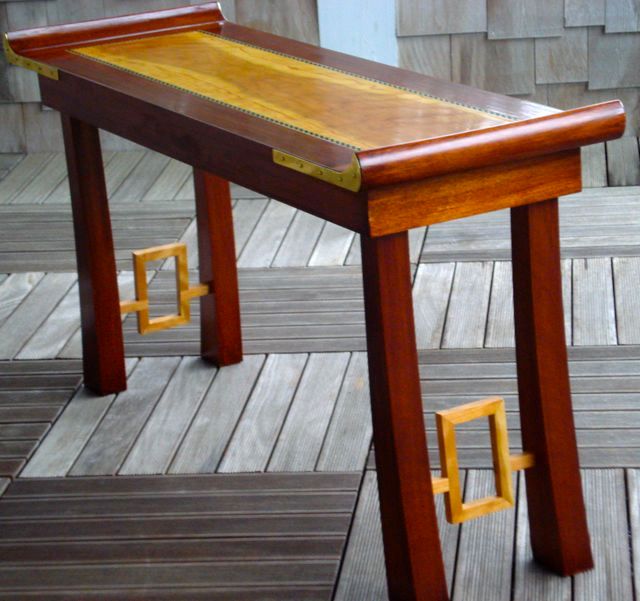
Asian Bench
Aug 21, 2011

This Asian style bench was inspired by the oriental furniture it now matchs in a guest room. It was made with african mahogany, curly cherry and a beech inlay.
This site is protected by reCAPTCHA and the Google
Privacy Policy and
Terms of Service apply.


Comments
Awesome work. I bet you can't take your eye off of it.
Fantastic proportions.Beautiful colours. Any short description for folks like me, how you did it?
This bench was made to fit in a specific space (at the end of a bed) so I couldn't be very flexible with my numbers. I started out with 2 inch rough cut african mahogany. I made the curved end pieces first by running them through my router table several times and cleaned them up by hand. I had to make sure both sides were identical in order for the brass pieces to fit perfectly. The center section is curly cherry. I cut the width then cut a rabbit around the perimeter to accommodate the inlay and used a plate jointer to fasten all the pieces of the top. I made a jig to cut the legs to ensure they were all identical and before affixing them, I made the decorative "squares" that are between the legs. I used mortise and tenons to attach the "squares" and assembled those and the legs at the same time. Several coats of satin poly later is was essentially done. It was a fun piece to make and not terribly time consuming. I'm glad you like it, thanks.
really nice.....
Log in or create an account to post a comment.
Sign up Log in