Low tech, low cost router table
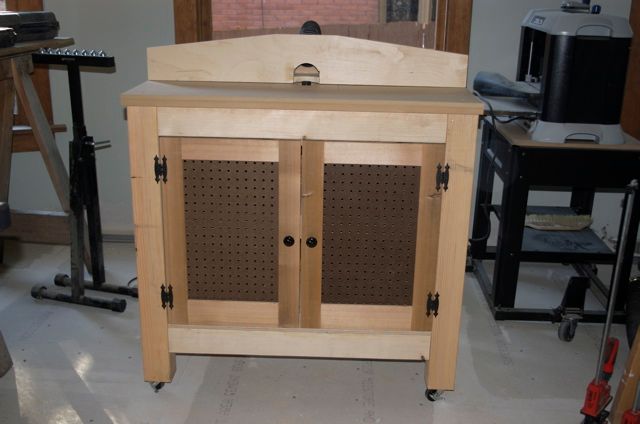
Heavy, so it's very stable, but rolls around on casters.
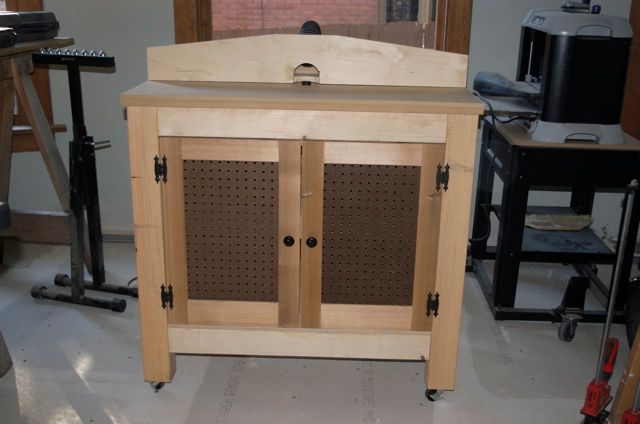
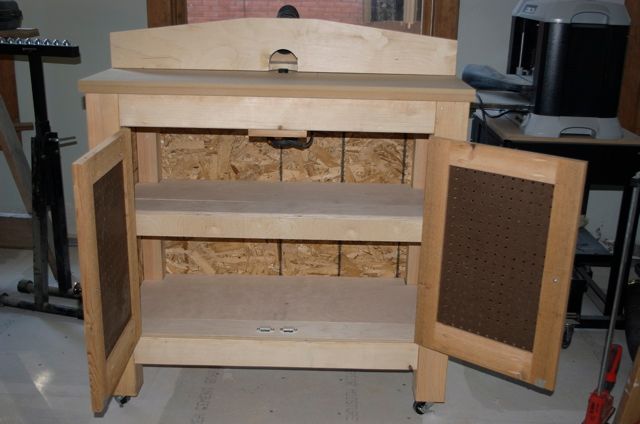
My old router table was so rickety that it would nearly tip over whenever I tried to run larger pieces through. It also was not mobile. So, I built this table out of left overs from other projects (I did spring a few bucks for the hinges, casters, and peg board.) It weights a ton, but moves around quite easly on the lockable casters. I can now safely run long, heavy pieces through, if I need to.
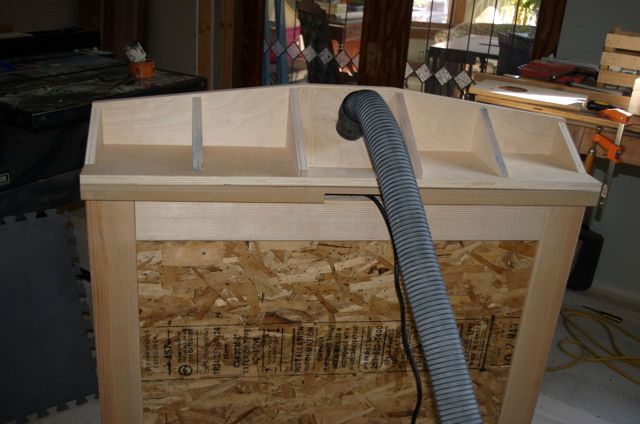
I purchased a 2.5 hp Triton router and used it to make the table. The 4×4 posts are dadoed to accept tenons on the 2x4s. The OSB floats in the dadoes.
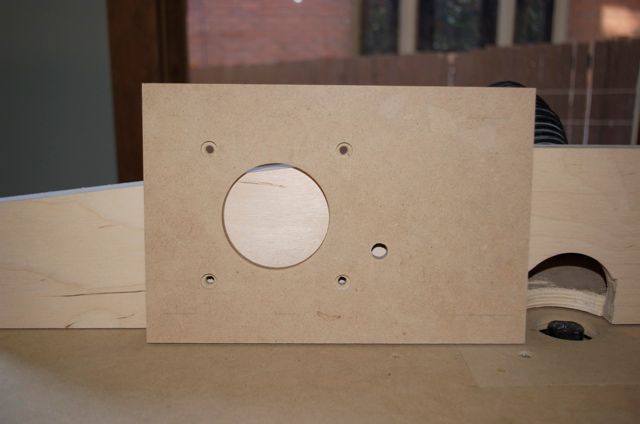
The top of the table is 20″ deep and 42″ wide. There are braces across the cabinet to support it. It’s heavy, since it’s made of two layers of MDF. The bottom layer is 3/4″. The top layer is 1/2″. After laying out big money for the Triton, I didn’t have anything left in my budget for an insert or dust collection, so I cut the inserts from another scrap piece of MDF so that they would fit exactly into the cut out space. I can swap inserts in about a minute if I need to use larger bits. If the top gets messed up, I can replace it for a few bucks. I sealed it with a few coats of shellac and I keep it waxed with a good furniture wax so things will glide easily across the surface.
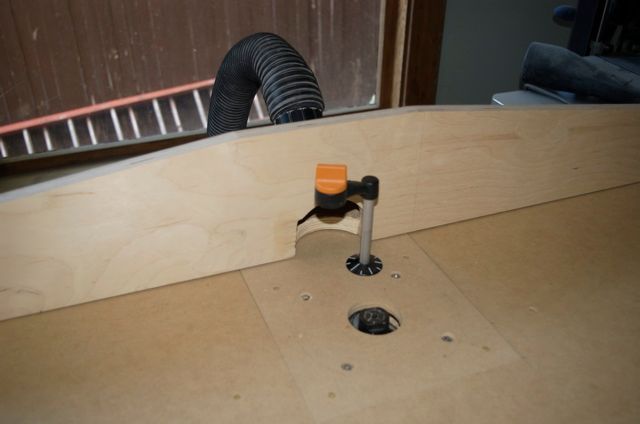
The fence is made from scrap 3/4″ cabinet plywood. I added a cover of 1/2″ ply in the center section and cut a hole to fit my shop vac hose. The fence is held in place by two carriage bolts sticking up through the top for which I made some knobs out of scrap hardwood and T-nuts. (not pictured) The fence slides back far enough to allow me about 3″ of cutting depth on the back side of the bit – enough for dados in drawer bottoms, etc.
Inside, the top shelf is set back from the doors so that I can hang things on the peg board. Since these pictures were taken, I have added a “curtain” of 1/8″ ply on either side of the router to keep chips out of the rest of the cabinet.
The nice feature of the Triton, of course, is that it can be raised/lowered from above, so there is a hole in the insert to accommodate the crank. Also, I can open the doors of the cabinet and make minor adjustments using the router’s fine adjustment knob, if needed.
Aside from the Triton, I think I spent about $15 for this router table and I spent a day and a half building it.


Comments
what about ventilation, that router will get very warm inside the cab.
$15 and a day and a half? WOW! Making your own insert plate from MDF? Brilliant! I thought of doing that myself but wasn't sure it was a good idea. I am a REAL beginner and I never cease to be amazed at how many of you build stunningly beautiful and innovative projects from "leftover" material.
The pegboard was a great idea for ventilating the router. Even though you've added the "curtain" I was wondering about dust under the table top. Is it a problem? Have you considered modifying your design to add a lower port like Norm's NYW plan?
Thanks for posting your photos and the accompanying text.
Log in or create an account to post a comment.
Sign up Log in