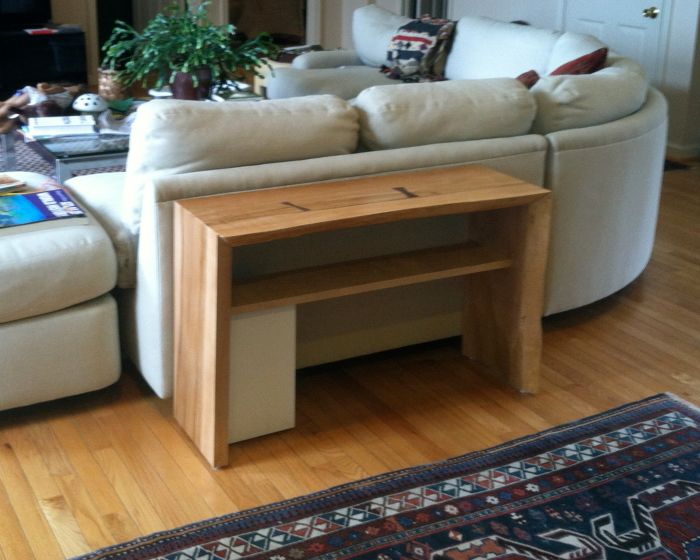
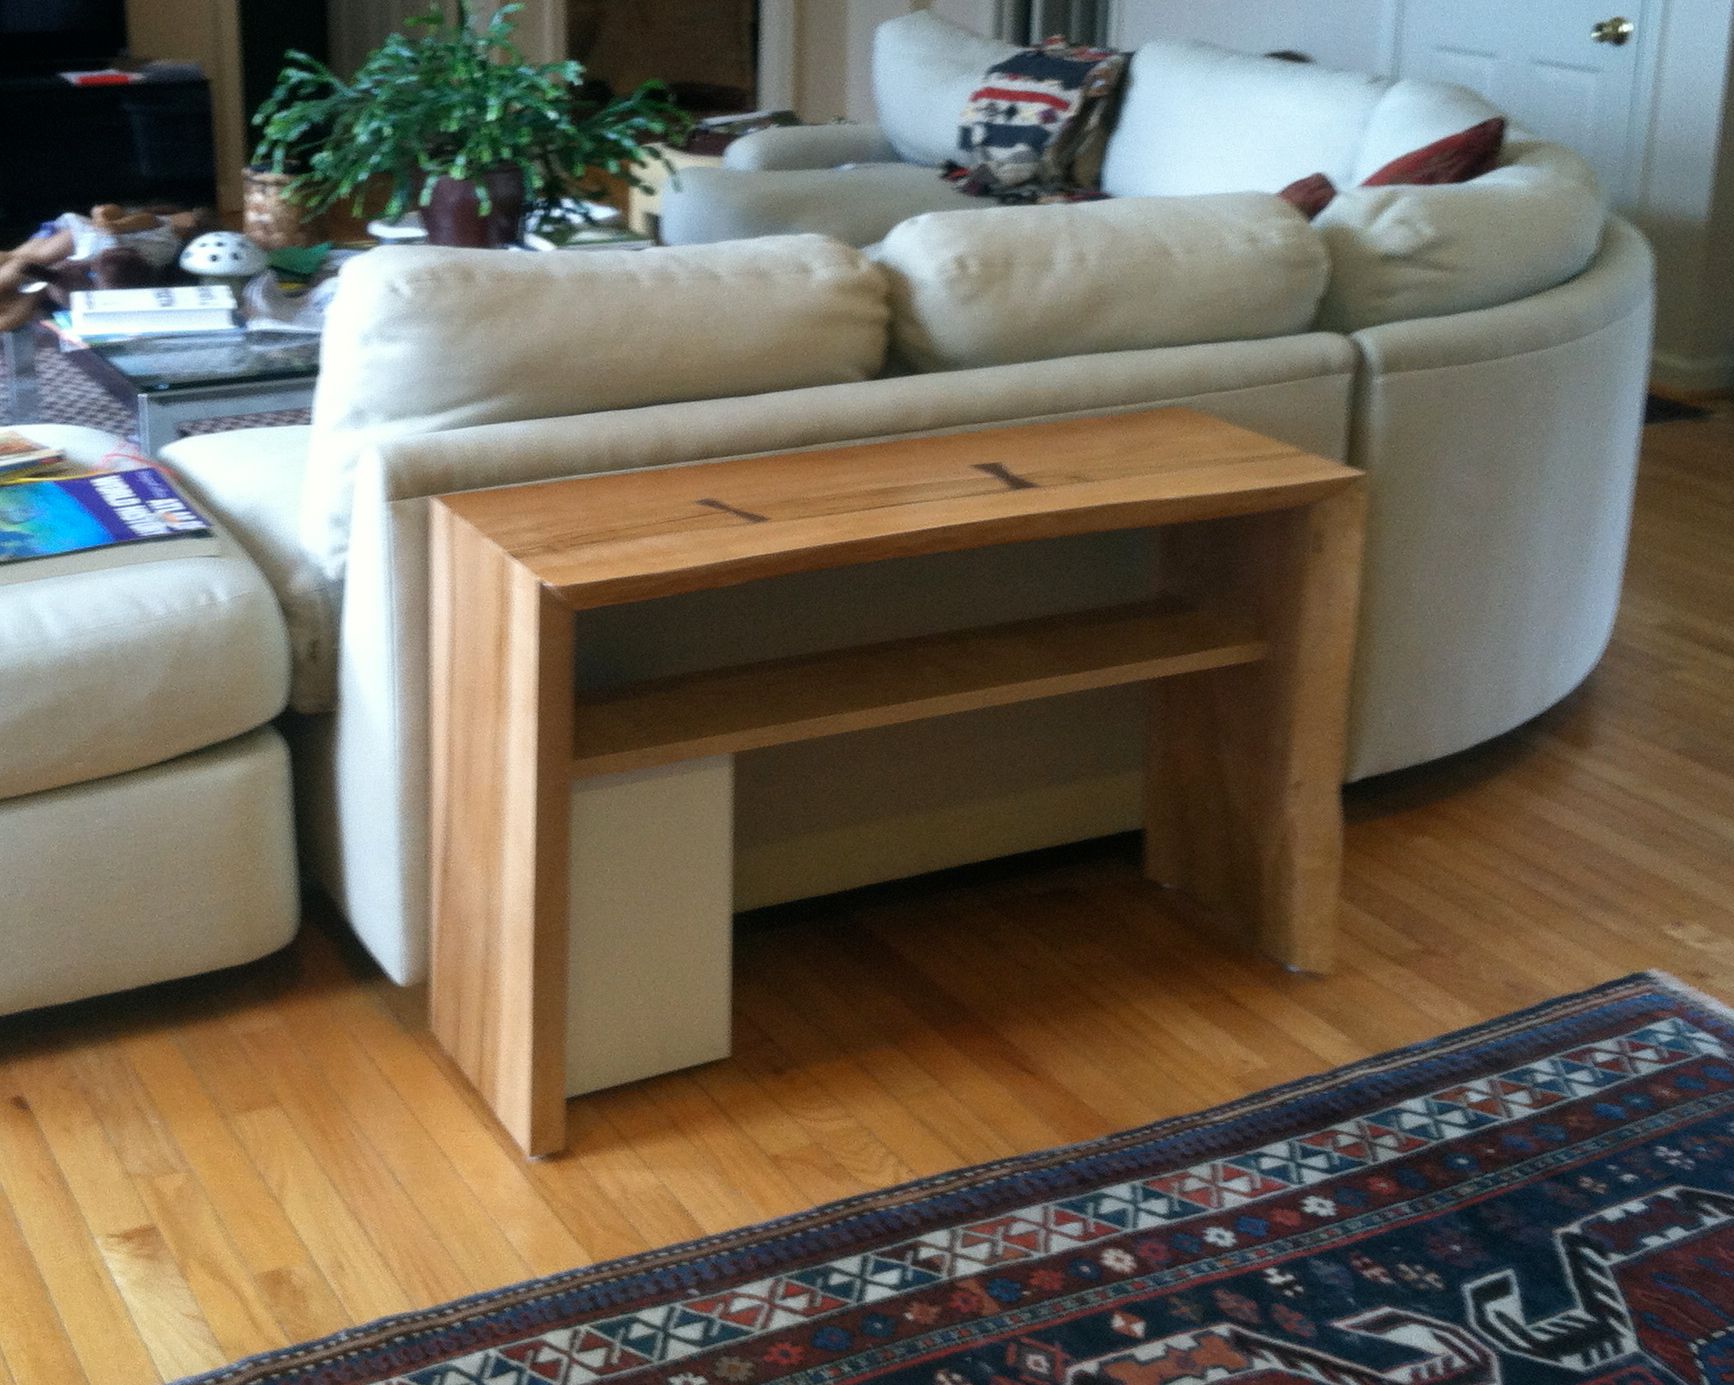
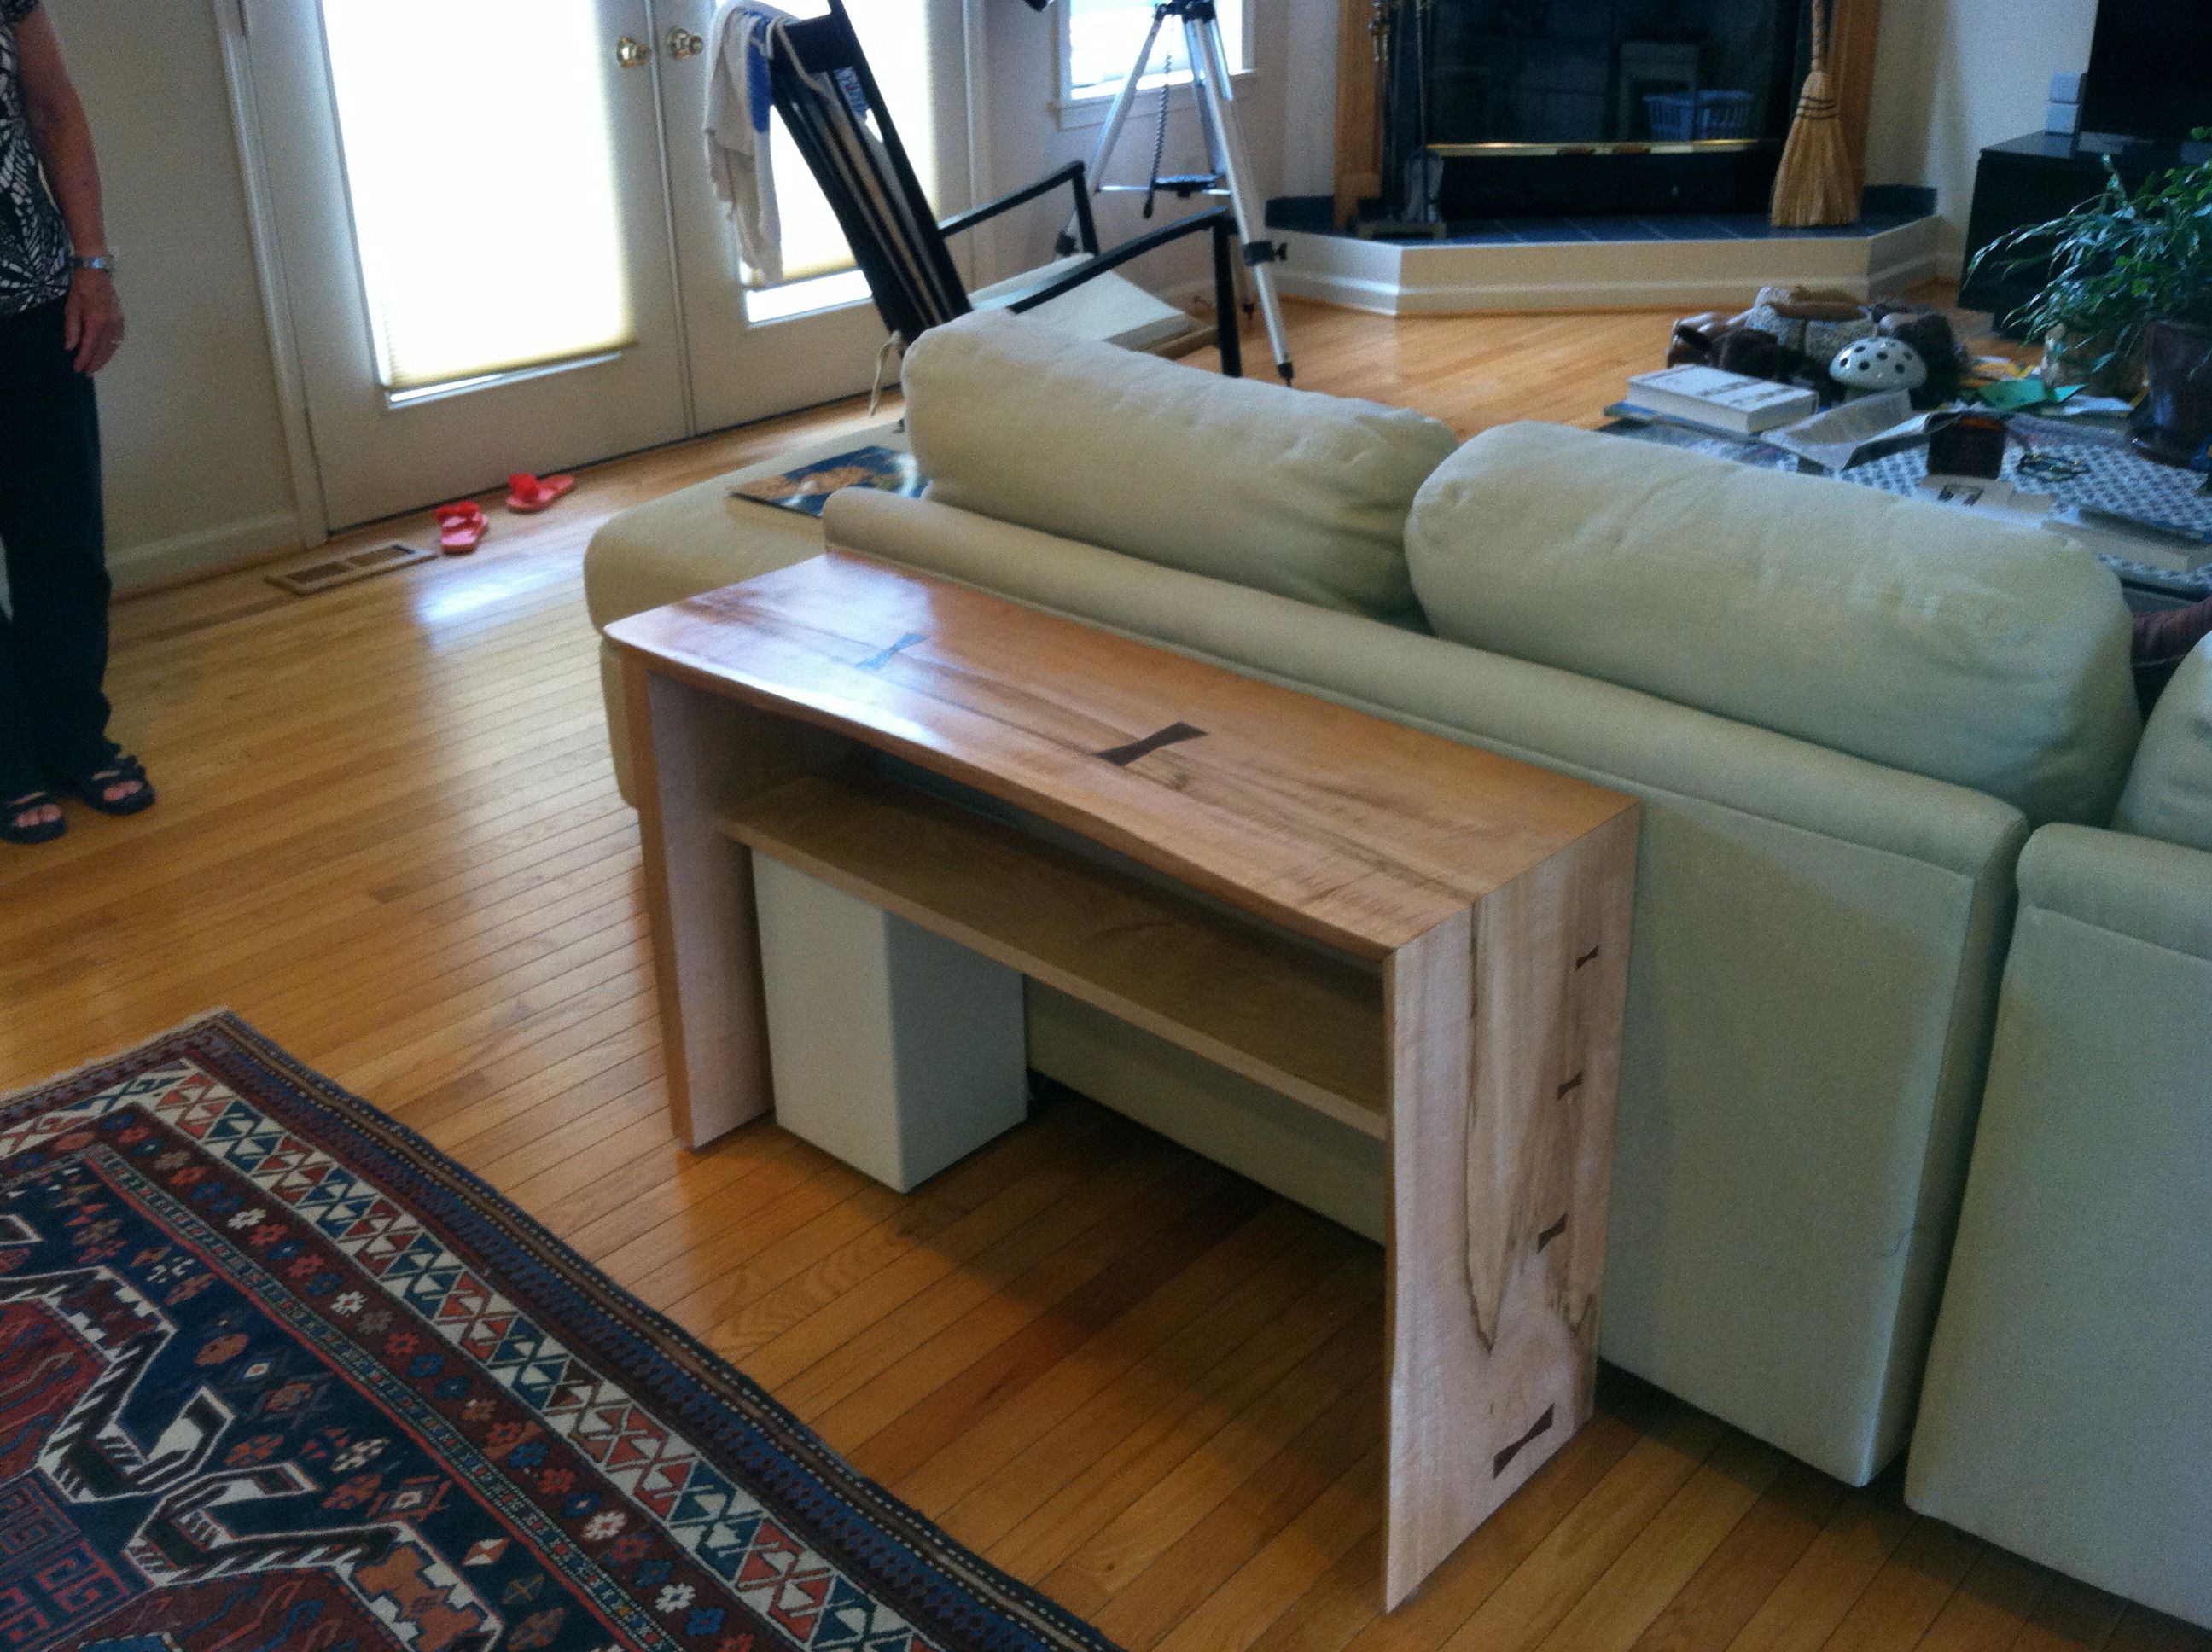
Another live edge sofa table

Chose to make the live edge beveled to the inside, which kept the best show-face up. Hard maple with walnut butterfly keys. Long Mitered corners are tricky…trickier still when the board retains a live edge most of the way around. One leg has a square front edge…tried to give the table a balanced feel: live edge with keys on the top and also on one leg…unkeyed, squared shelf/stretcher and leg in opposition.


Comments
This is a beautiful table. Thank you for sharing it. How did you secure the miter between the table top and the legs? Dominos? Spline?
Thanks for the positive feedback! since I have not shelled out for a domino yet (I can sense that day coming) I made a router template. With the leg and top "inside-up" on the bench, and two beveled edges i butted to one another (joint-to-be opened flat), i registered a Long straight fence to each componenet's one square edge. Tacked and glued a slotted template to the fence -- square and spanning the joint. Used a template guide collar and a spiral up cut bit to rout each half of the joint at the same time. I made three paired notches, squared them up with a chisel and cut some hard maple blocks about 1.25"x1"x.75" to fit. Glue up and then planing the outside face where the miters meet is the hardest part and I practiced clamping up several times before using a slower setter glue. Used 45 degree clamp blocks and many F-style clamps to make the joint close square all the way across. I did one leg-to-top joint first and did the second joint and the shelf/strecher after the glue had fully cured. The inside of teach miter can a little gaping...even if you crawl under the with a flashlight...once the finish is on, it's nearly impossible to detect. It's all about those outside edges. The face of each live edge gets light dressed and shaped witha spokeshave, low angle block plane and sand paper before glue up.
Log in or create an account to post a comment.
Sign up Log in