Butcher Block

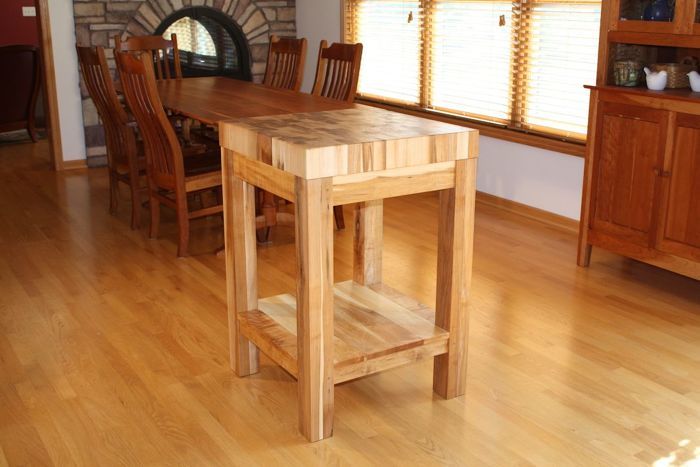
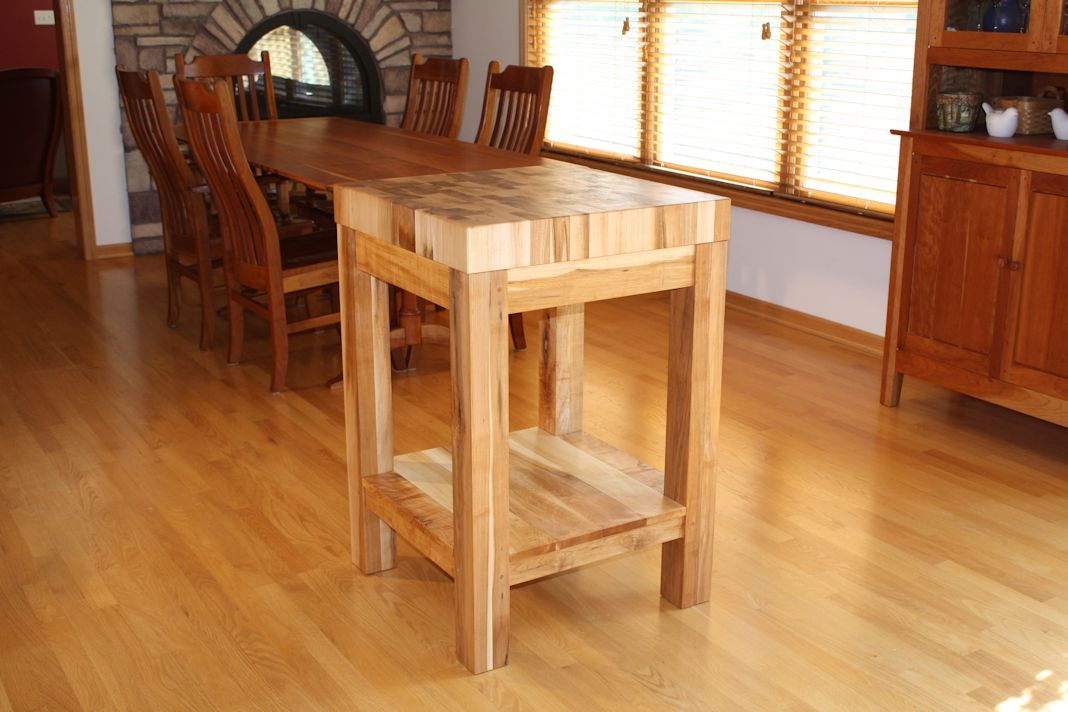
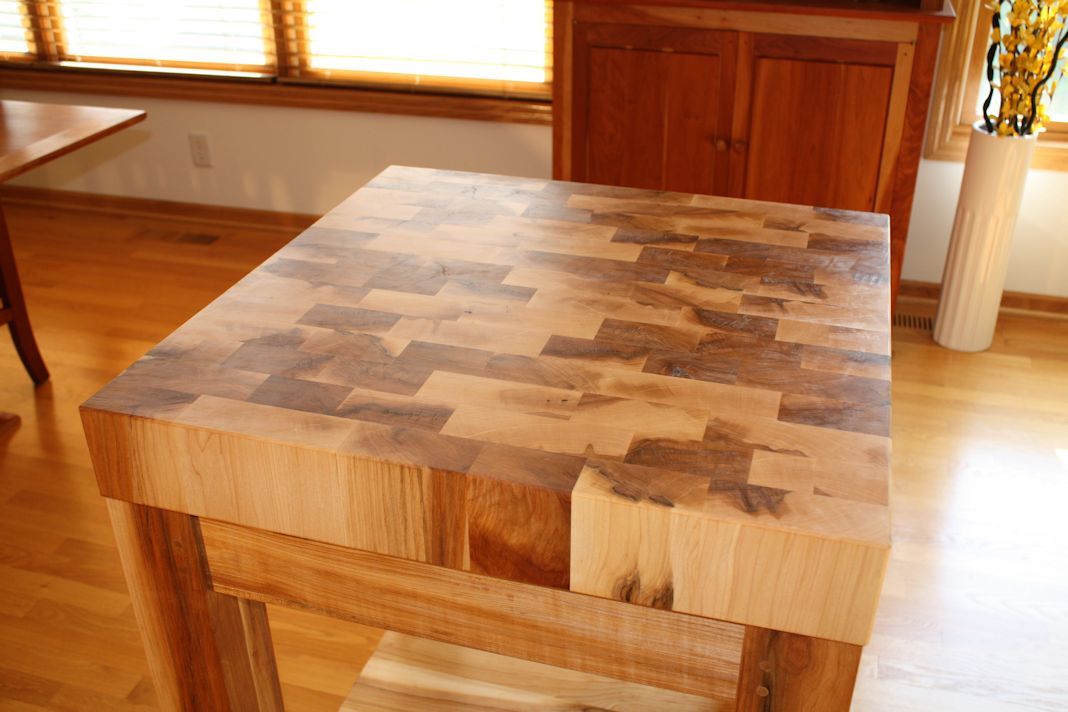
A butcher block I made for a friend. Will be used as an extension of a kitchen island. Hard maple.

A butcher block I made for a friend. Will be used as an extension of a kitchen island. Hard maple.


Get It All!
UNLIMITED Membership is like taking a master class in woodworking for less than $10 a month.
Start Your Free Trial
With its graceful curves, cabriole legs, and ornamental back splat, a Queen Anne side chair is a bucket list build for many woodworkers. Dan Faia had a very specific Queen…


UNLIMITED membership - Get access to it all
Start Free TrialBecome an UNLIMITED member and get it all: searchable online archive of every issue, how-to videos, Complete Illustrated Guide to Woodworking digital series, print magazine, e-newsletter, and more.
Get complete site access to video workshops, digital plans library, online archive, and more, plus the print magazine.
Already a member? Log in
We use cookies, pixels, script and other tracking technologies to analyze and improve our service, to improve and personalize content, and for advertising to you. We also share information about your use of our site with third-party social media, advertising and analytics partners. You can view our Privacy Policy here and our Terms of Use here.
Comments
Nice!
how did you approach gluing the top together??
Chris
Very Nice, Looks great, like Chris, how did you glue the top and what kind of glue did you use? again, great job.
The top is kind of a long story but I will try to be brief.
I produced the top from 3 patterns. Each pattern can alternate ends by flipping so effectively 6 patterns to arrange in the matrix. Each pattern is produced with 6 different width boards; the same 6 widths arranged differently within the 3 patterns.
Thickness and rip 3 pieces of each width, 24” long. Edge glue to produce the 3 different patterns. Crosscut slices of each pattern. Arrange slices in a not-so-random order in a matrix. And glue.
The glue up was a beast. I did half the slices first and then another glue up for a second half. Then glued the two halves together. If I was to do it again I would probably attempt all slices at one time.
And by the way, major amounts of hand planning after glue up.
I used Titebond III glue.
Log in or create an account to post a comment.
Sign up Log in