Gallery
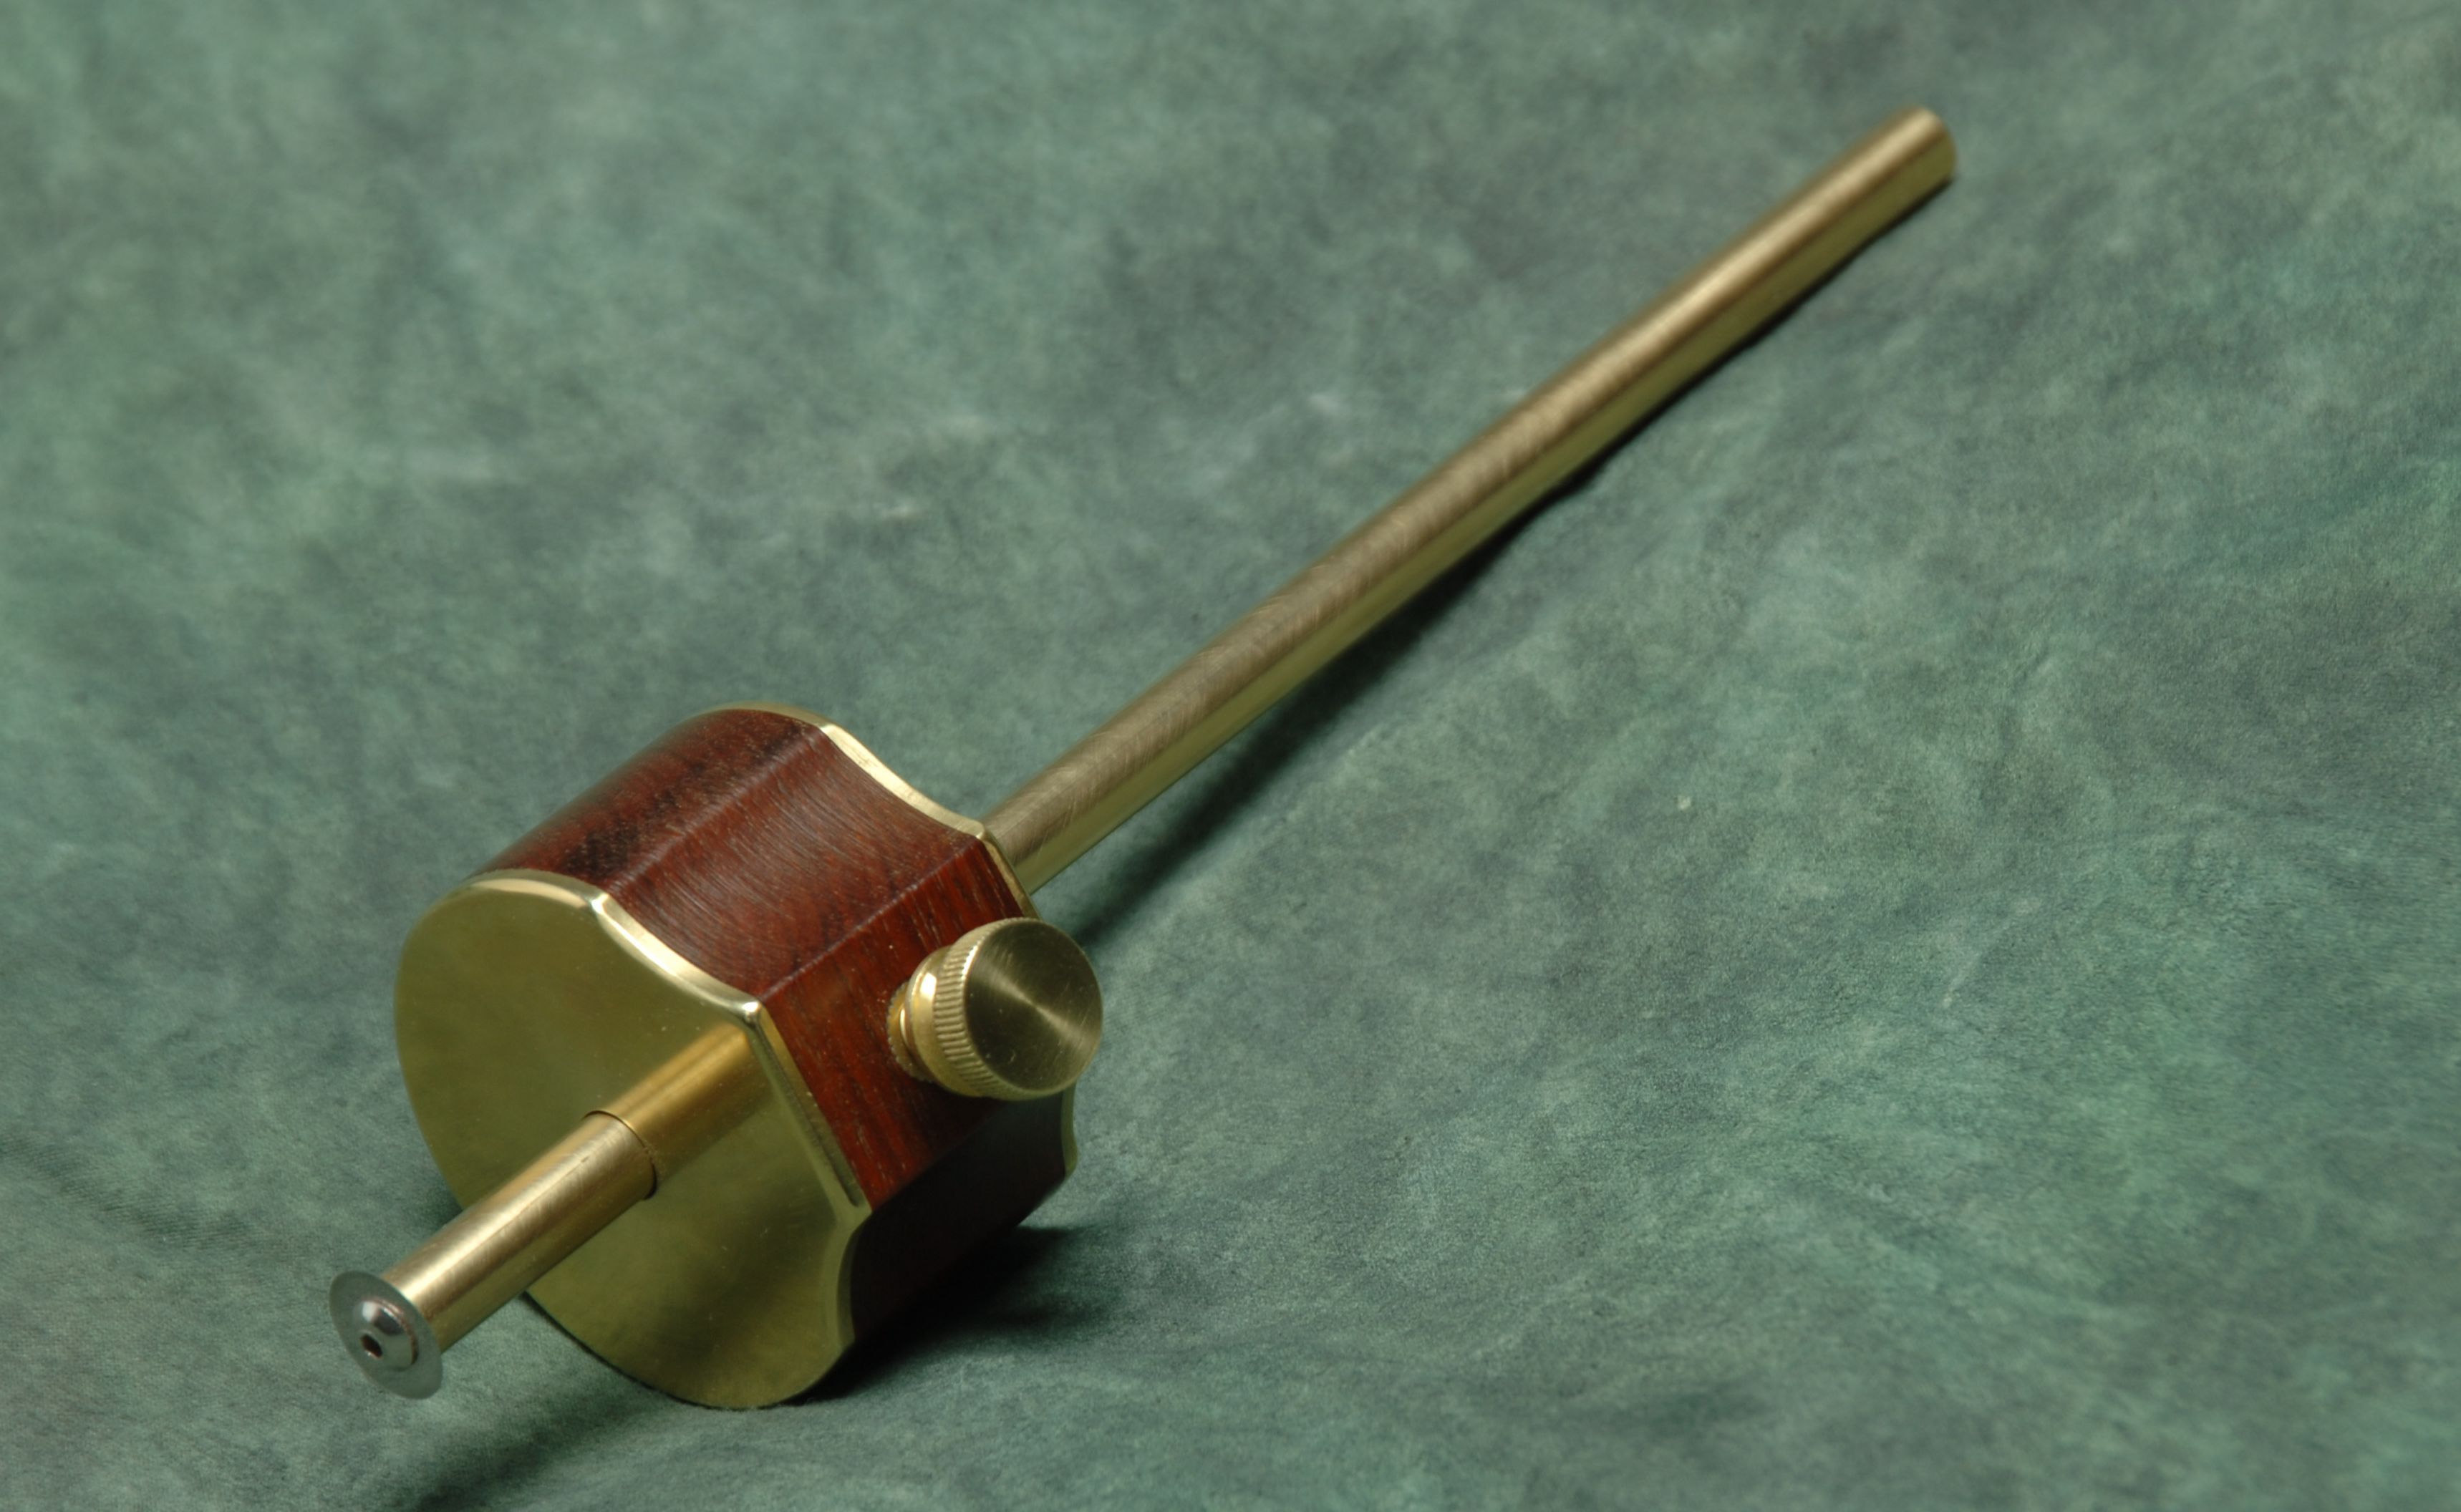
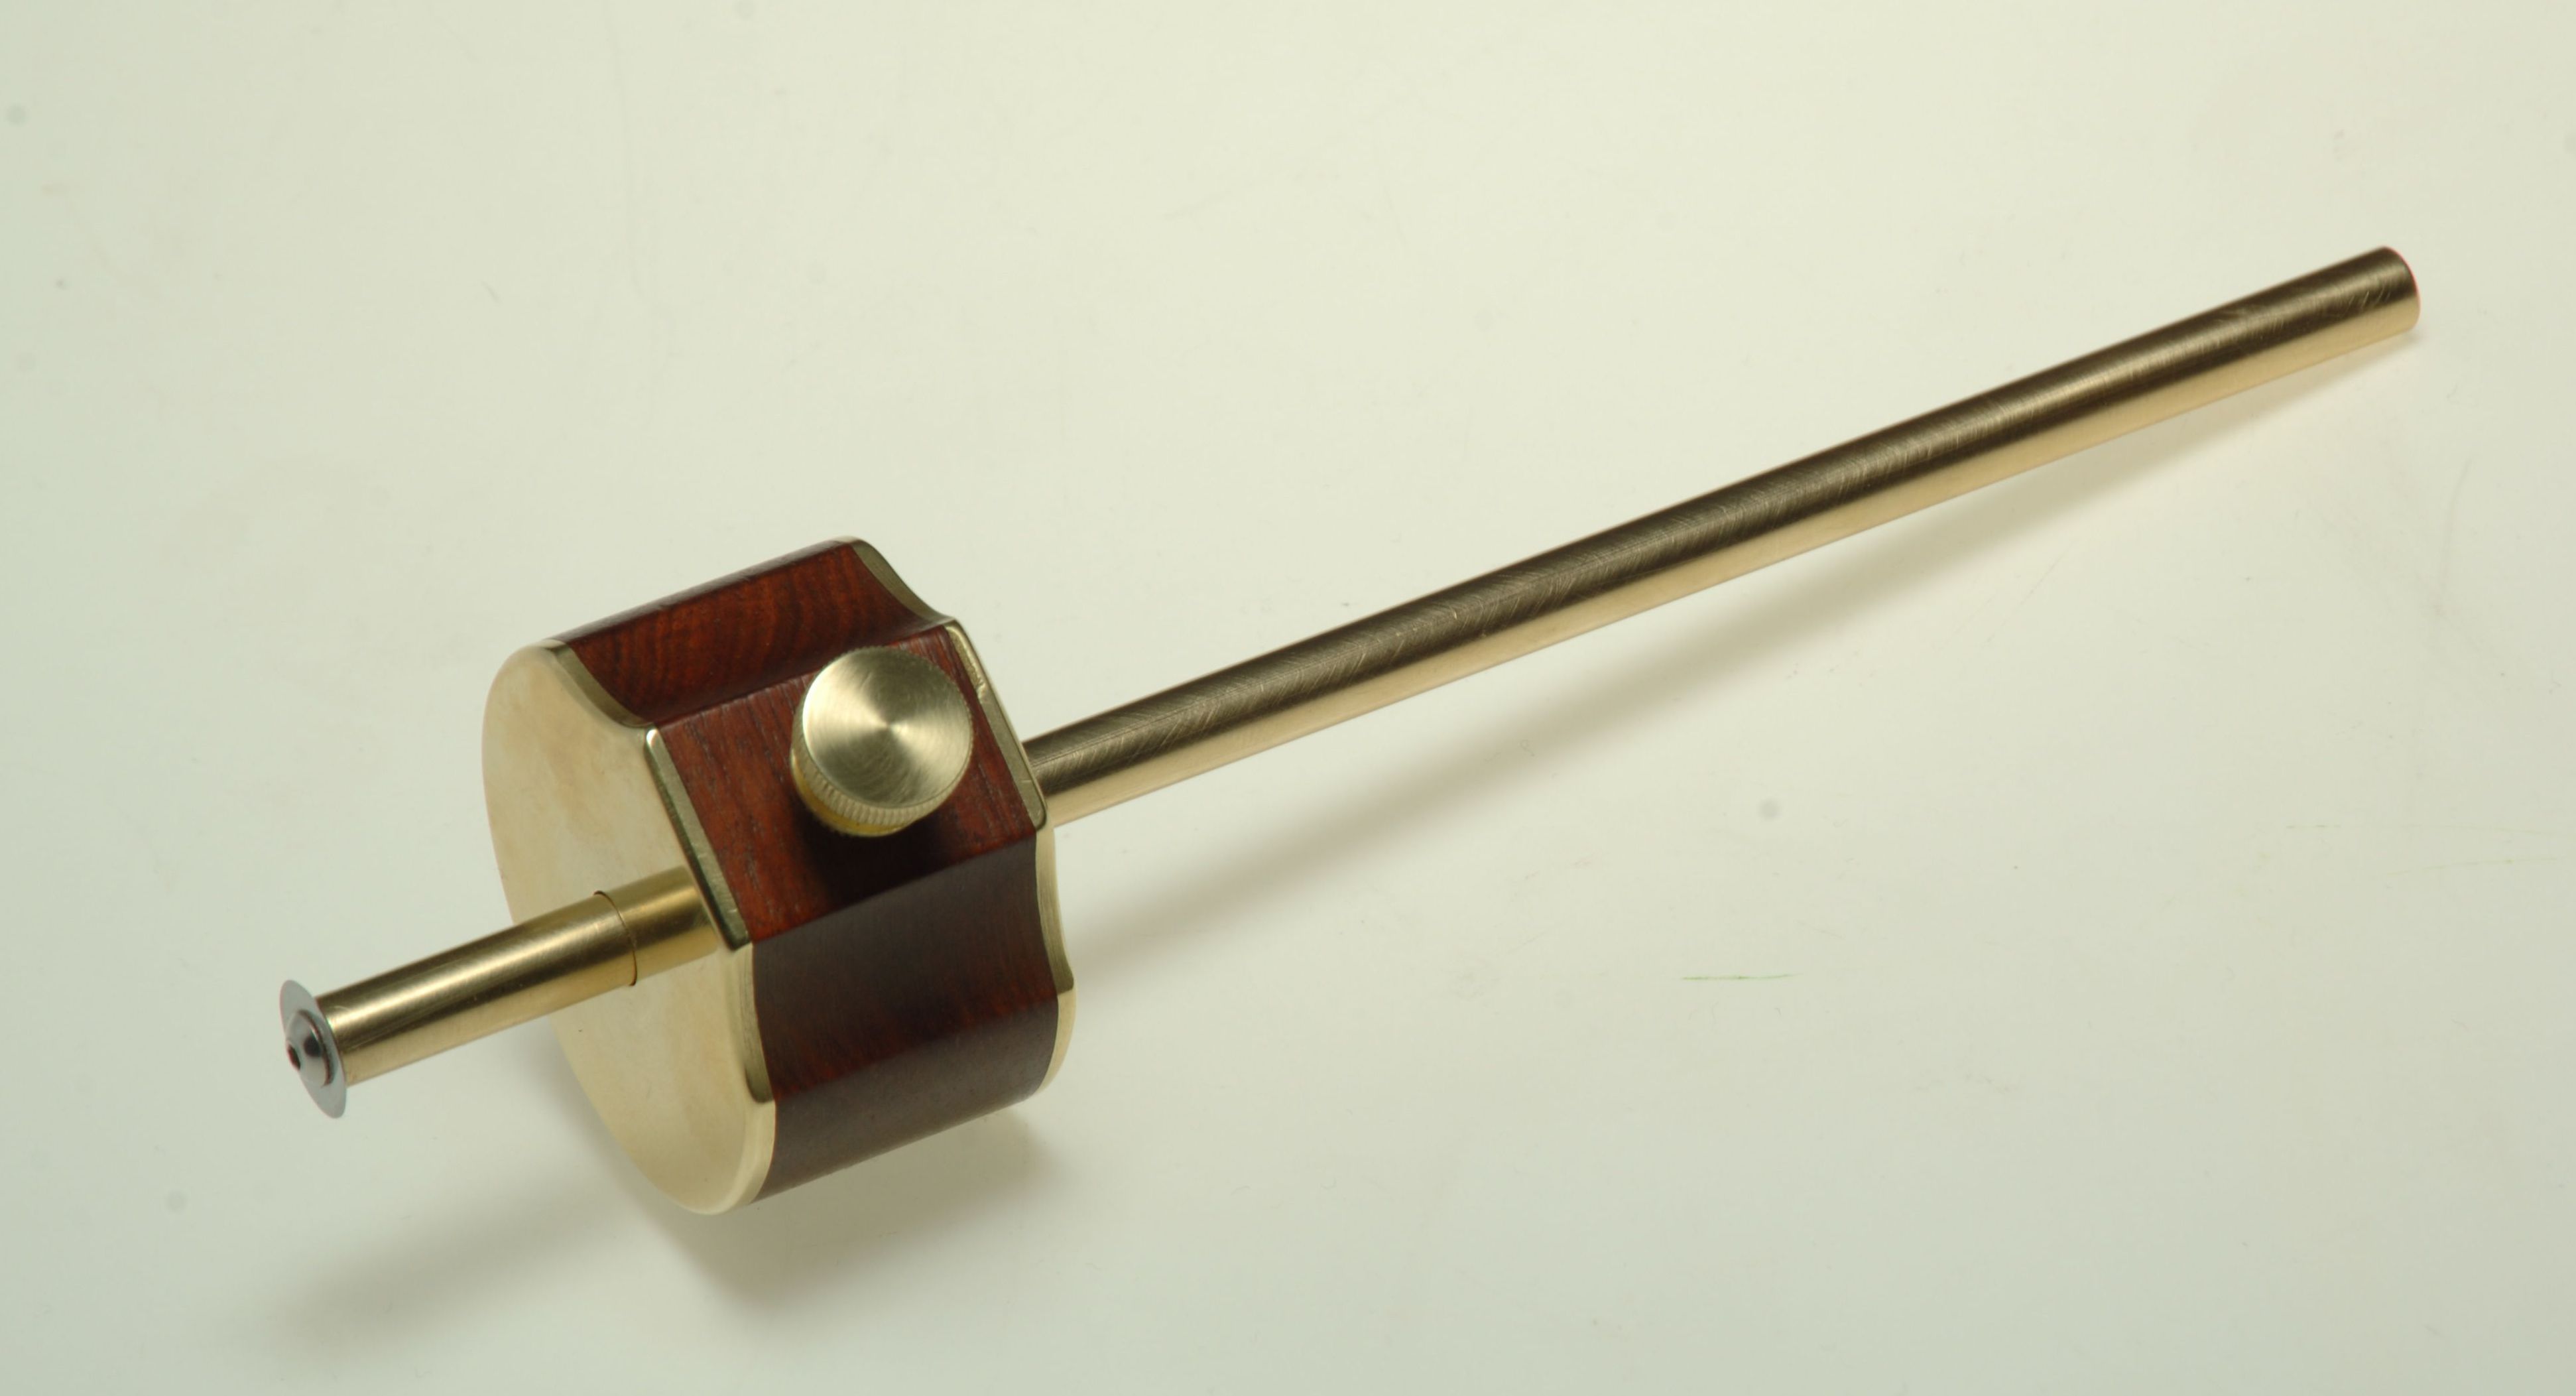
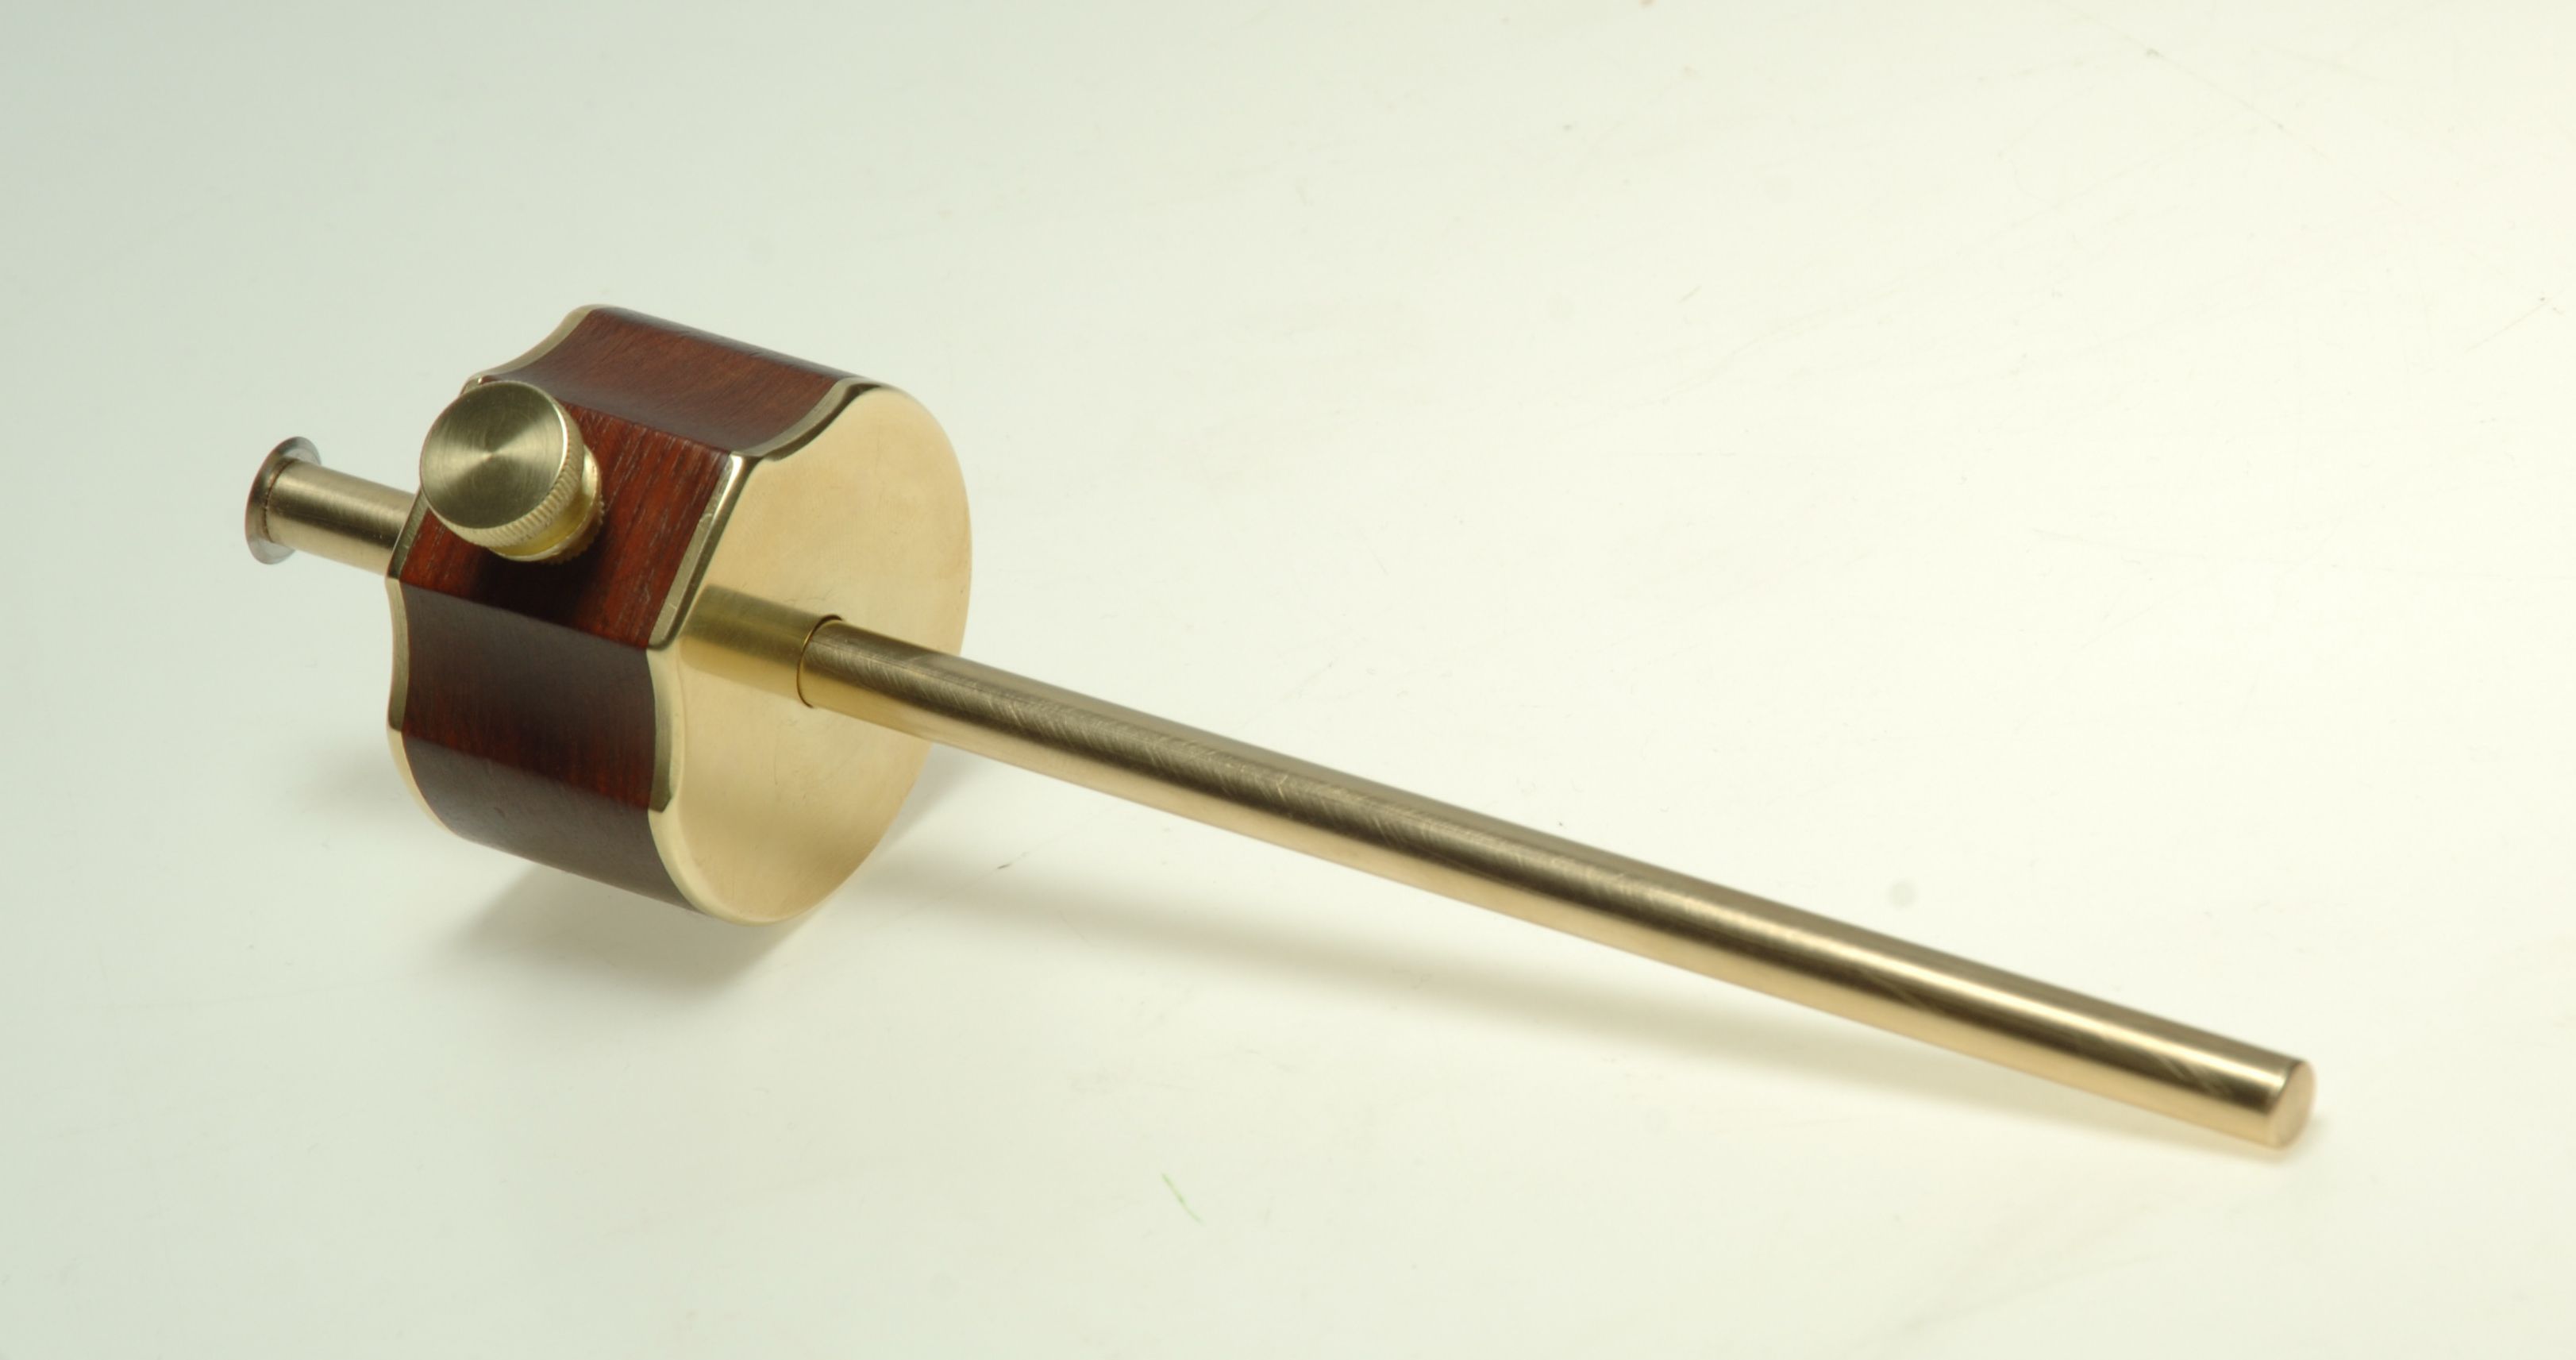
Rosewood and Brass Cutting Gauge
Aug 07, 2013

The Cutting gauge was made using a small scrap of Cochen Rosewood. The cutter was made from an old utility knife blade.
This site is protected by reCAPTCHA and the Google
Privacy Policy and
Terms of Service apply.


Comments
Beautiful work, Brian.
Question for you: how exactly did you go about re-purposing the old utility blade?
The method for making the blade was a little unorthodox. The biggest challenge was getting a hole in it for the screw. At first I tried to drill it, but kept either shattering the blade, or breaking the drill bit. Next, I tried to grind a hole in it with a Dremel tool using a pointed grinding stone. The process worked, but not in the way that I had imagined. I started grinding the hole, being careful to keep the grinding stone in the same spot. I was making some progress at grinding a hole through the blade when all of the sudden a blue spot mushroomed around the spot that I was grinding, and I realize that I had heated the blade to the point that it had lost it temper. The good part was that the annealed area was a small circle not much larger than the point of the grinding stone and about the same size as the hole that I needed to drill. At this point I took the blade back over to the drill press and was able to easily drill a hole through the blade at that spot. Then a cutoff blade on the Demel tool was used to get it to rough size and shape. This time I was very careful to keep it cool, so I didn’t ruin the temper. Finally, it was mounted it on a long bolt and secured with a nylon insert lock nut, put in a drill, and spun against a grinding wheel until it was round and roughly sharpened. Final honing was done by spinning it in the drill against a ceramic sharpening stone. I have made a number of these since that time and the results seem to be very consistent, and works better than any other cutting gauge I have used.
This was fun finding this on here! Just so you know I use mine all the time and if anyone ever comes over to my house and is interested in woodworking the set you made is one of the first things I show them. Thanks and let Preston know his pictures look really nice too.
Log in or create an account to post a comment.
Sign up Log in