Walnut Armoire
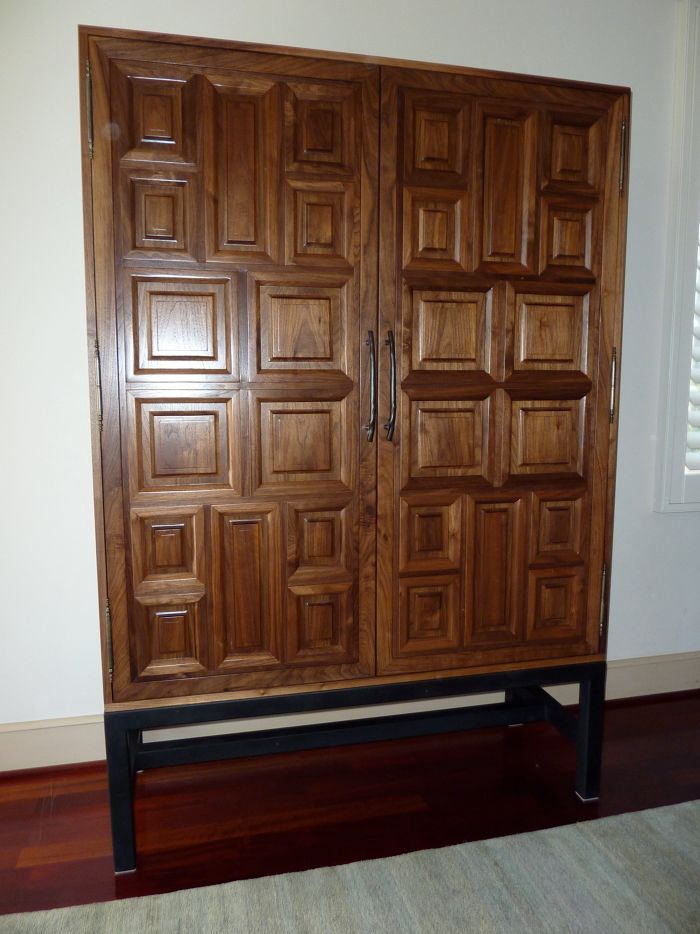
Completed Armoire on metal base.
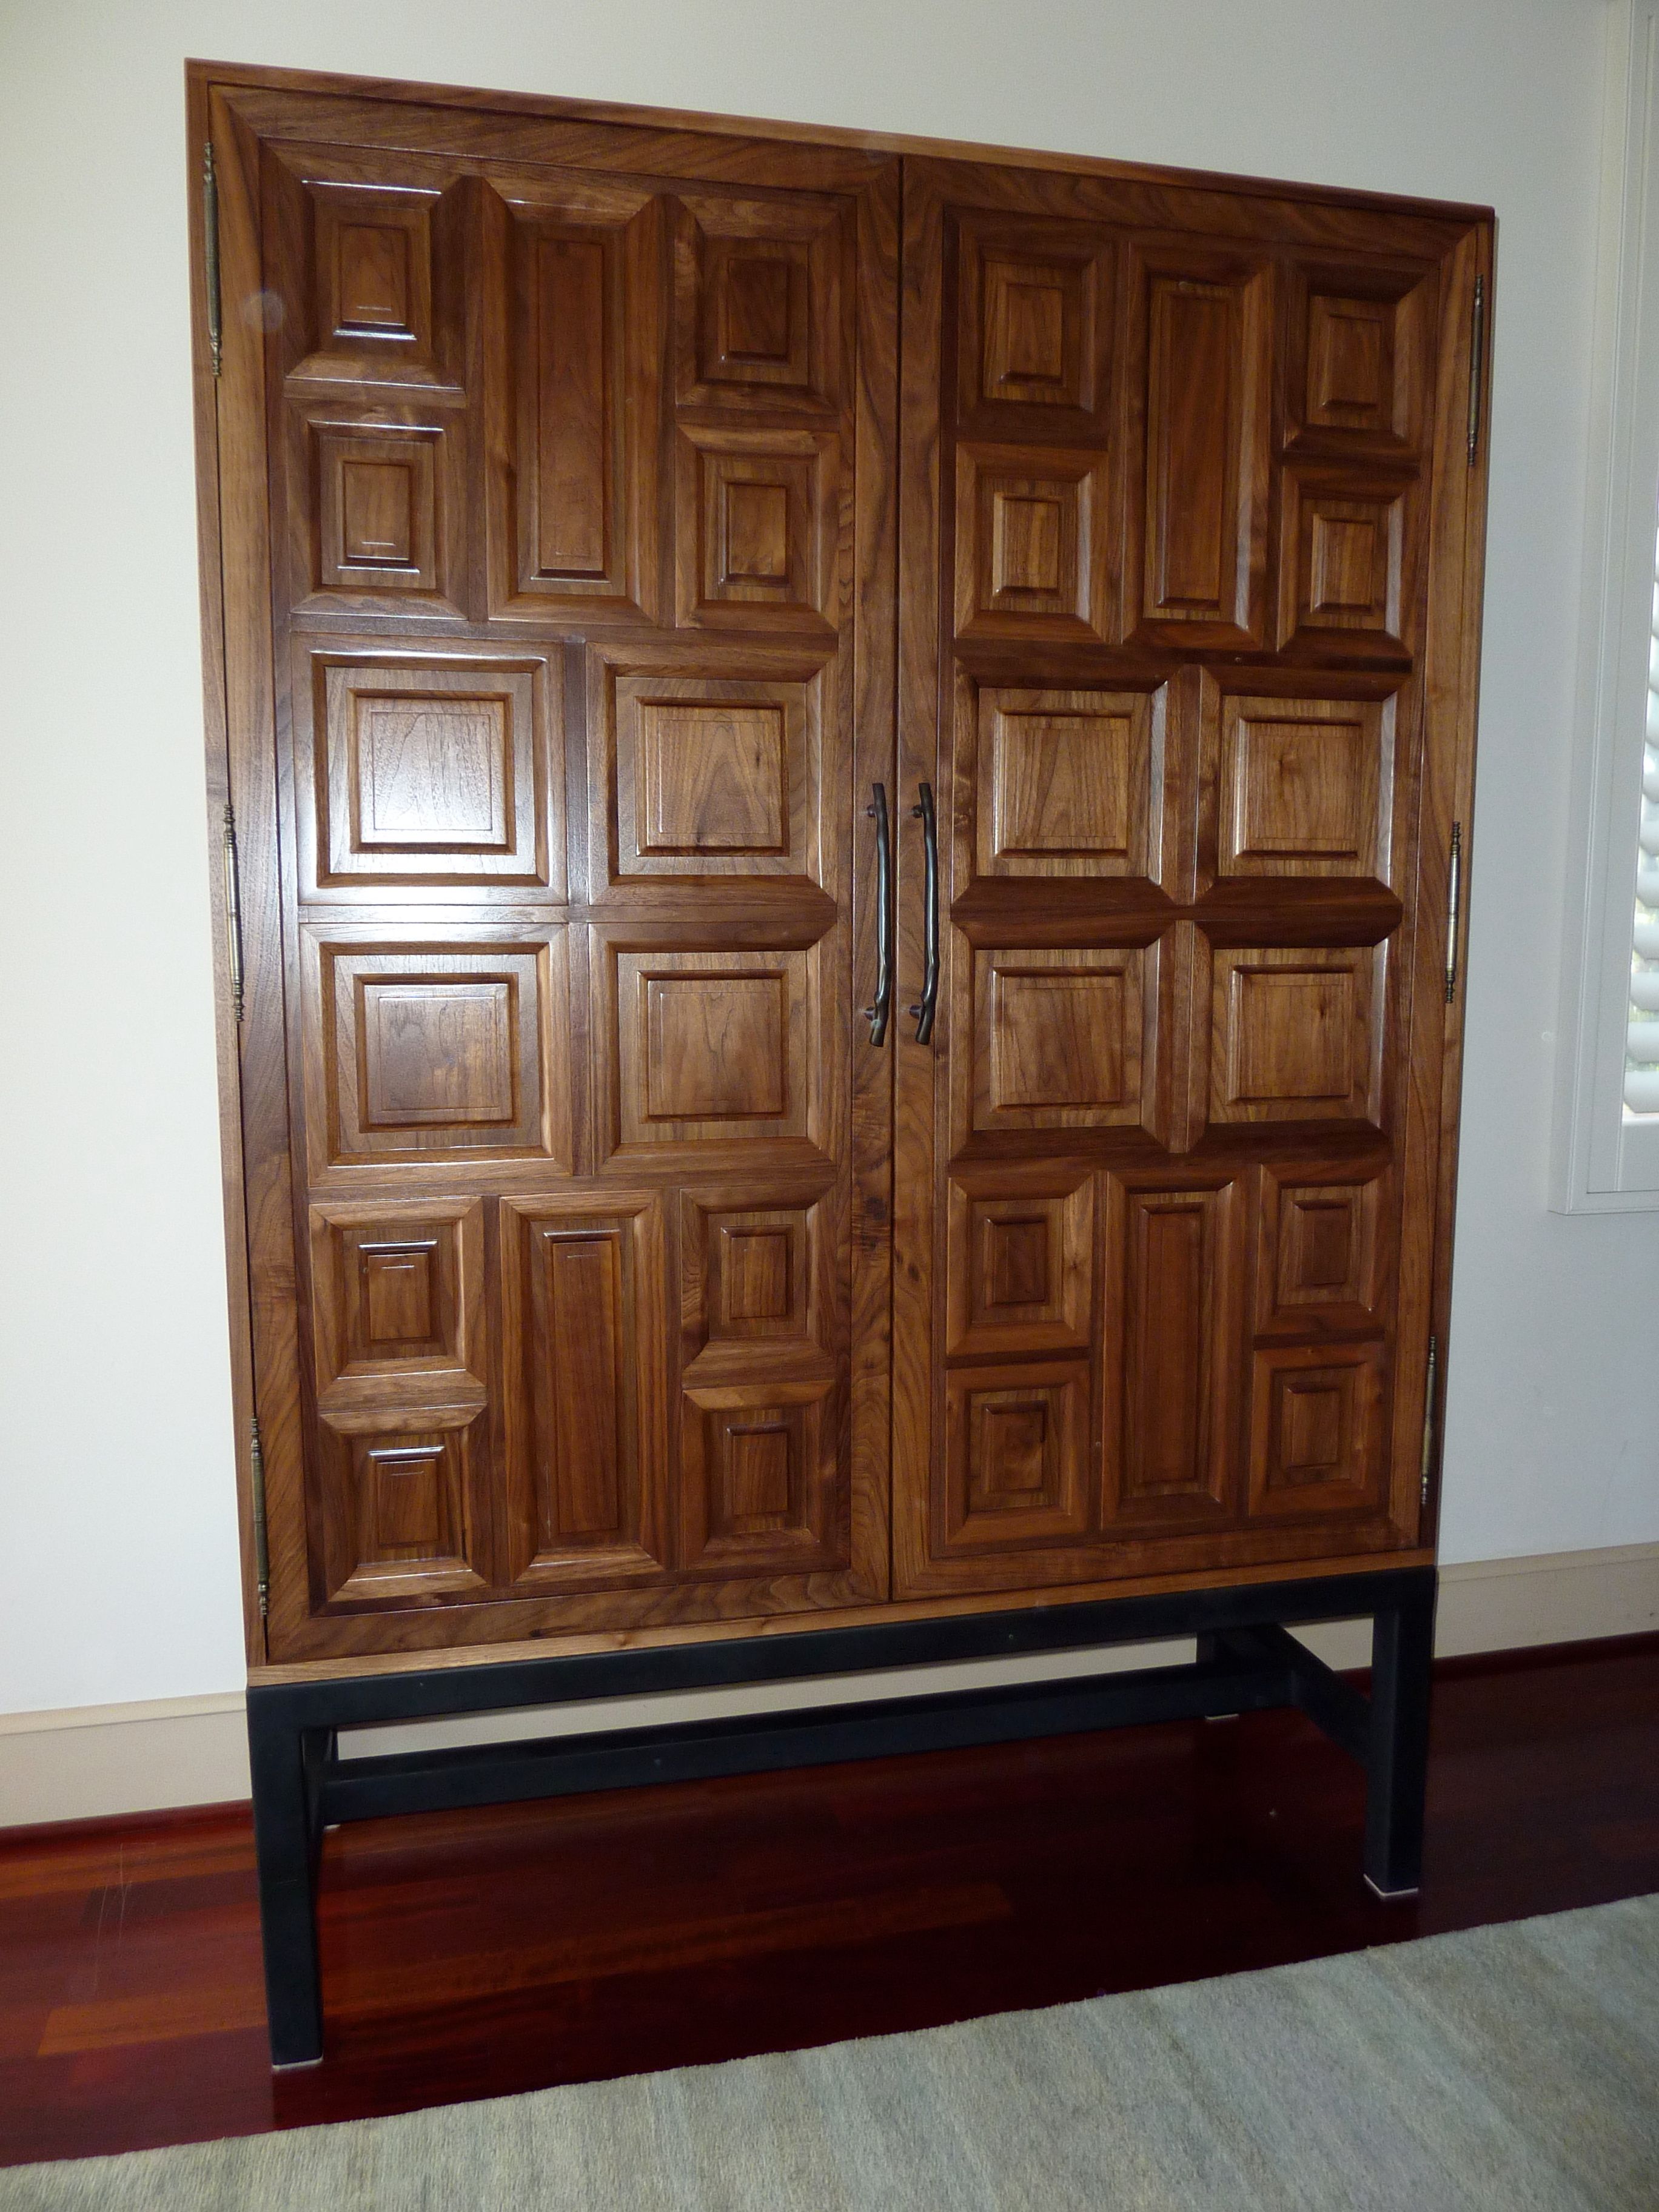
About a year ago my wife came home from work with a page from a furniture magazine and asked if I thought I could build an armoire. Without much thought, I said yes and about one year later and 500 plus hours of work, she had her armoire.
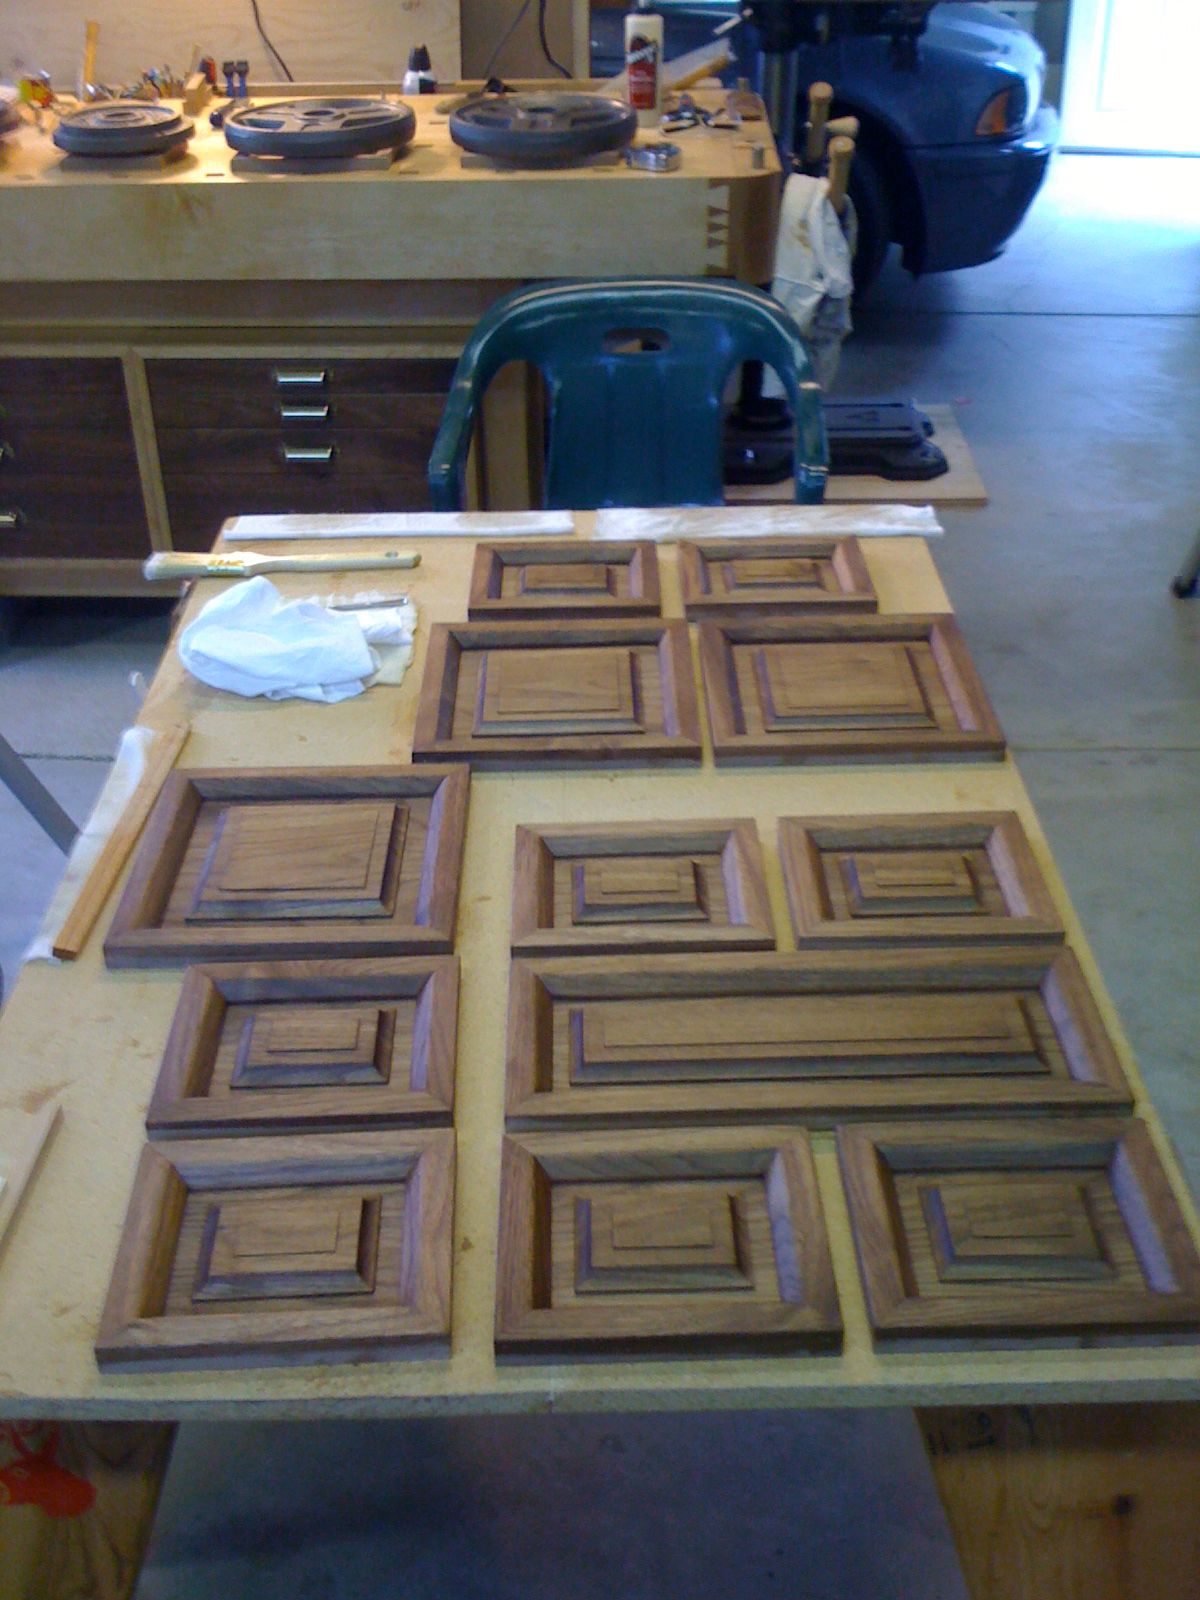
The hardest part, and the place I started was on the doors. I spent several days just drawing up full scale plans for the individual frames trying to get the proportions just right. There are three different size frames and a total of 28 panels altogether. So, once I had it all figured out I basically went into production making picture frames. With that complete I started framing out the door using 5/4 walnut for the outside trim and 5/8″ walnut for the lattice work that separates the frames. This was all attached to a 1/2″ walnut veneer and MDF backboard. There was lots of fine tuning during this stage and my handtools got a great workout.
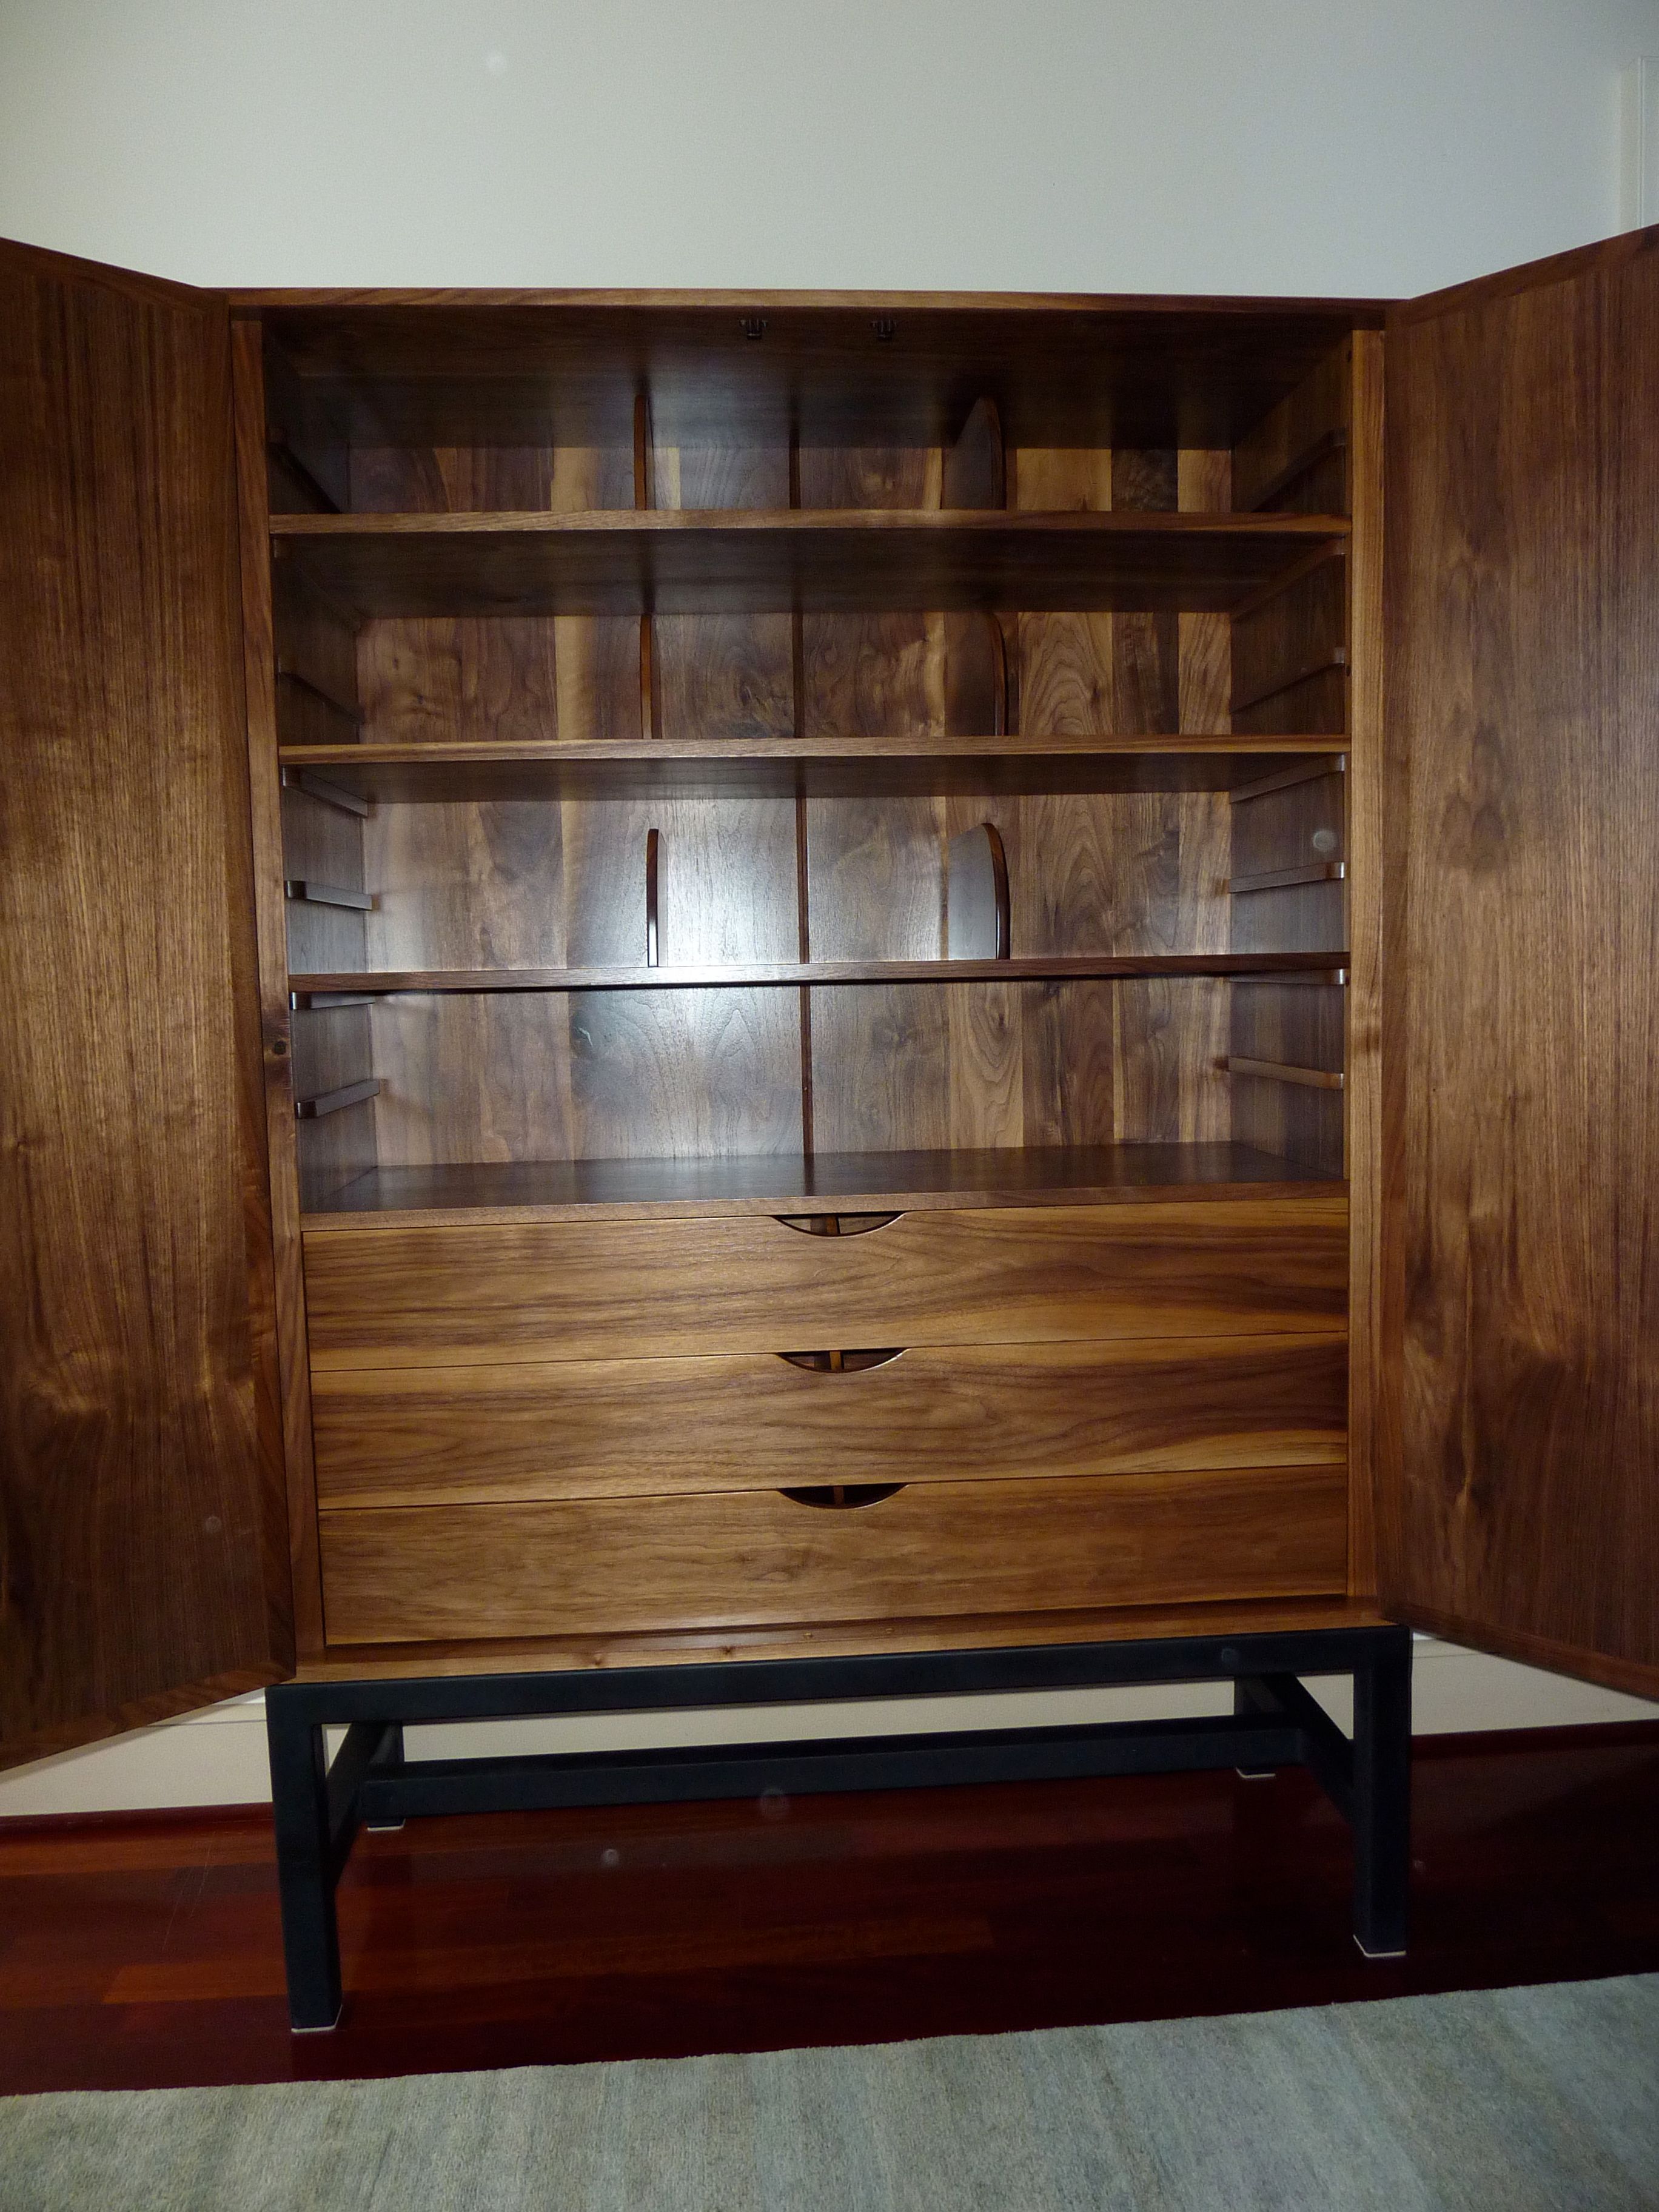
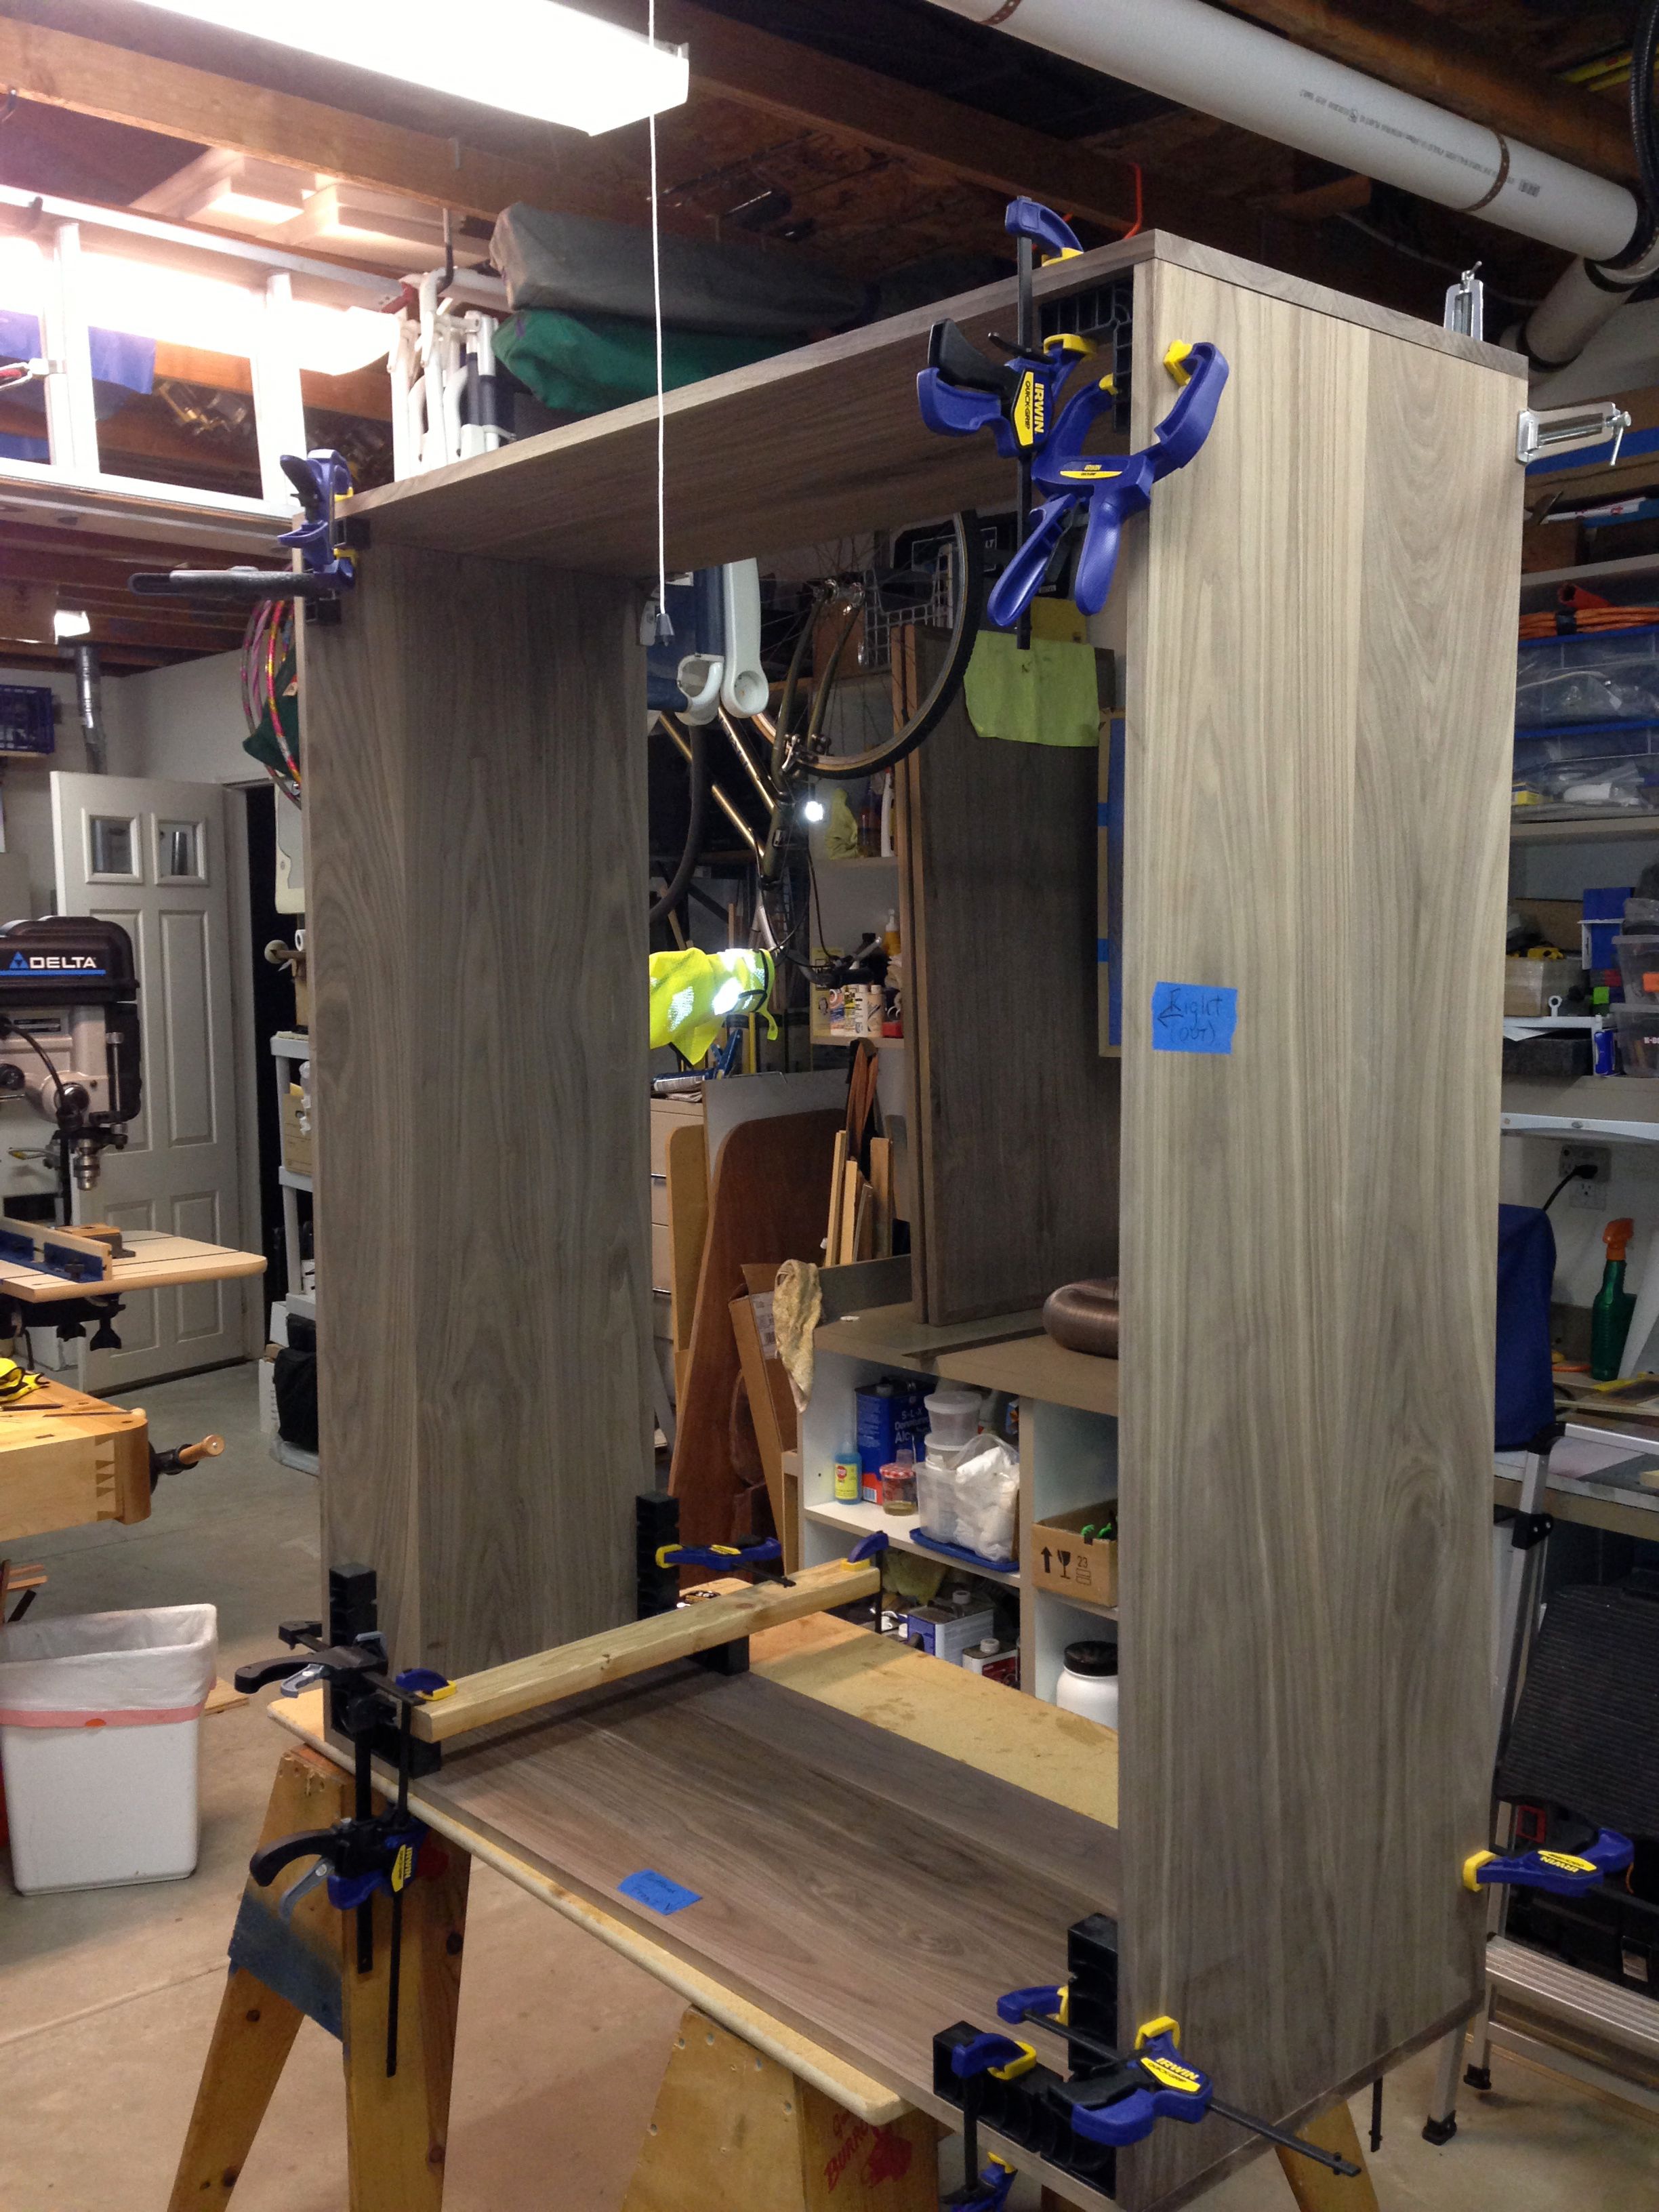
The doors complete, I next took on the carcass which was relatively simple joinery using biscuits and glue. This was when I realized, true to the old saying, I did not have enough clamps. I was very careful to ensure all the pieces were square before I joined them because any deviations would seriously affect the fit of the doors. The back of the case was done by joining various widths of 1/2″ walnut and creating 2 separate panels to handle the possibility of wood movement on such a large piece.
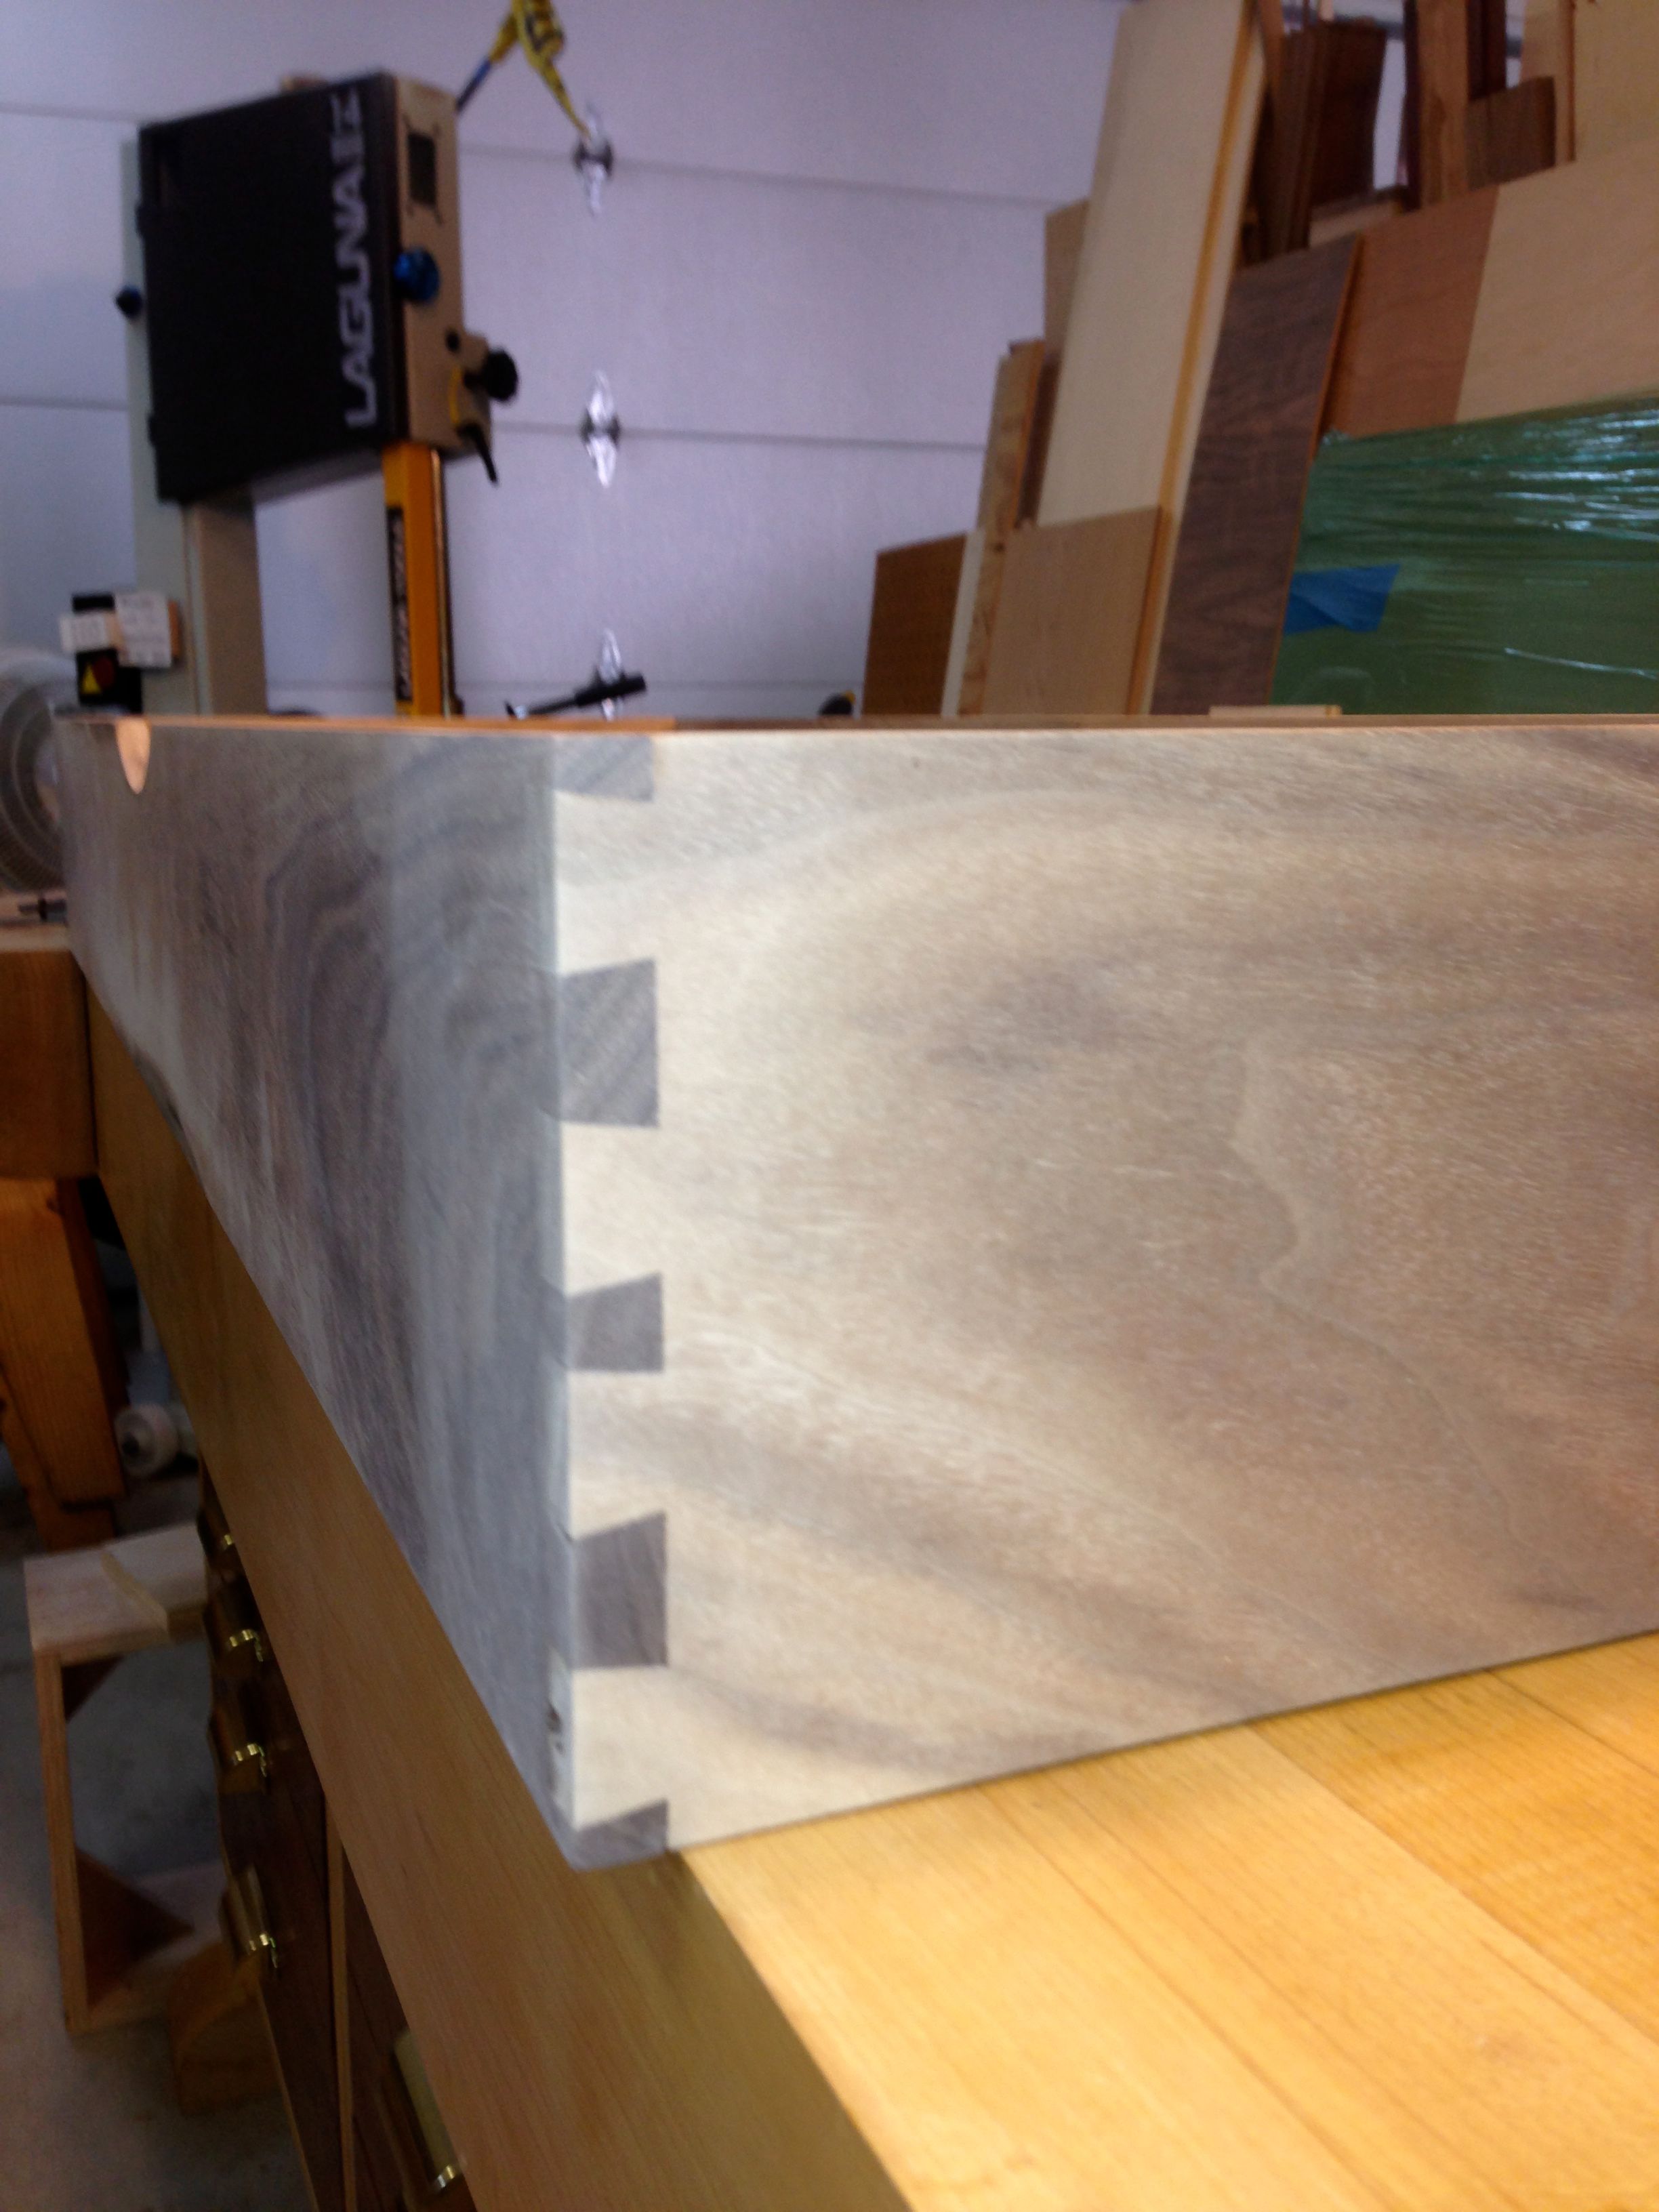
Finally, I went to work on the drawers and shelves which actually turned out to be the easiest part of the project. I don’t work for Leigh, but they sure do make a great dovetail jig and after carefully reading the manual I had no trouble using it to construct the three drawers.
I wasn’t sure how the finish would go but eventually decided on a polyoil, (Sam Maloof brand available at Rockler), to bring out the highlights of the walnut and try to keep the look as natural as possible. After allowing over a week for the polyoil to fully dry, I then sprayed it, using my HVLP sprayer to apply four coats of a water based semi-gloss polyurethane.
The one part of the job I could not do myself was the wrought iron base. I found a local welder who did a wonderful job of putting together the 2″ square tubing, which I finished with flat black spray paint.
Last but certainly not least was getting the armoire in place in our second story bedroom. One meager attempt on my part was absolutely in vain so I called the local moving company who sent out their 2 biggest guys and they muscled it up the stairs.


Comments
It really looks heavy, no wonder you had to call a moving company. On the other hand, a great 1 year f hard work product, in my opinion. Well done!
Log in or create an account to post a comment.
Sign up Log in