Revamp Your Old Victorian Dresser
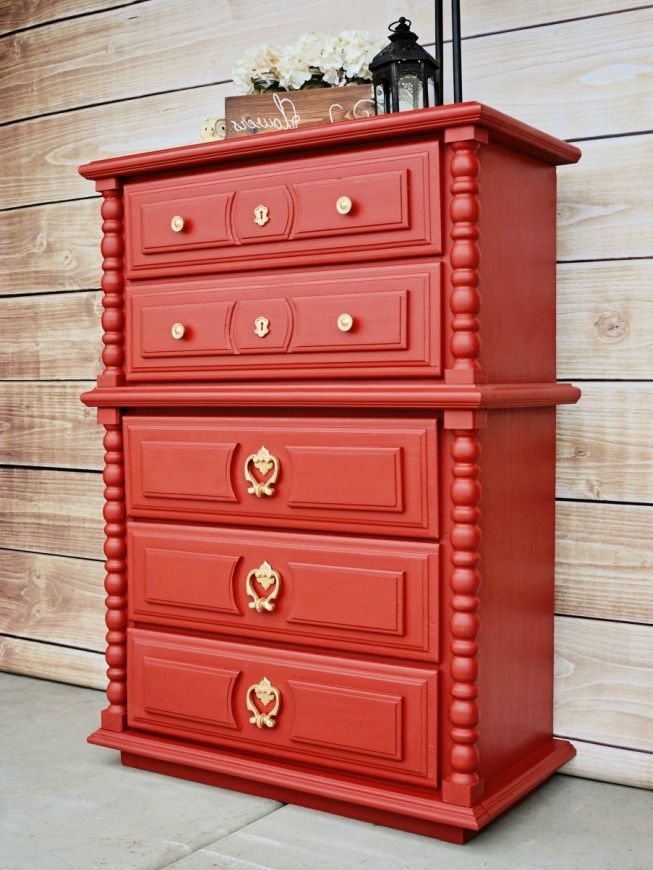
There are many methods you can choose from when it comes to renovating an old furniture piece, but difficult projects and hard work doesn’t always assure you a better outcome.
Sometimes, the easy way is the right path and today, I am going to share with you my awfully simple guide to renovating a dresser like this one within just few steps.
Step 1: Choose Your Materials Wisely
Every DIY project is bound to the strong dependence of the materials. For our project, we will need nothing more than the usual tools, but the paint and wax are going to be something special. When it comes to choosing the right paint for my woodworking projects, I always choose carefully as many of the product on the market offer far less than their label says. Today, got myself that one fabulous color I couldn’t get out of my head, ever since I saw my friend, Josh’s new kitchen cabinets. It is a dark velvet red with matte after-look and it gives every piece of furniture I paint a luxury vintage appearance.
Step 2: Prepare For Painting
That one tiresome day when you need to spend all of your day scrubbing off the old paint is far away. Today, there are many new methods which save you both time and money on expensive materials. You’ll only need a scraper and sanding paper. Take off the paint and sand the wood down. After cleaning the paint leftovers, you can continue with painting. If you have chosen a quality paint and polish, you won’t have problems with bruises and over-layering.
Step 3: Finishing Work
Leave you wooden furniture to dry somewhere outside the house, while your housekeeper handles the cleaning. After a day or two, depending on the weather, your newly-renovated wooden dresser will be ready for use.




Log in or create an account to post a comment.
Sign up Log in