oak toolchest
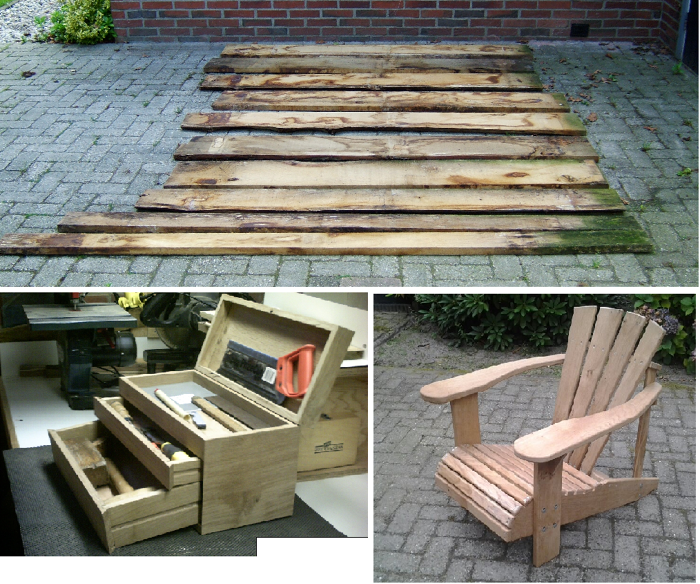
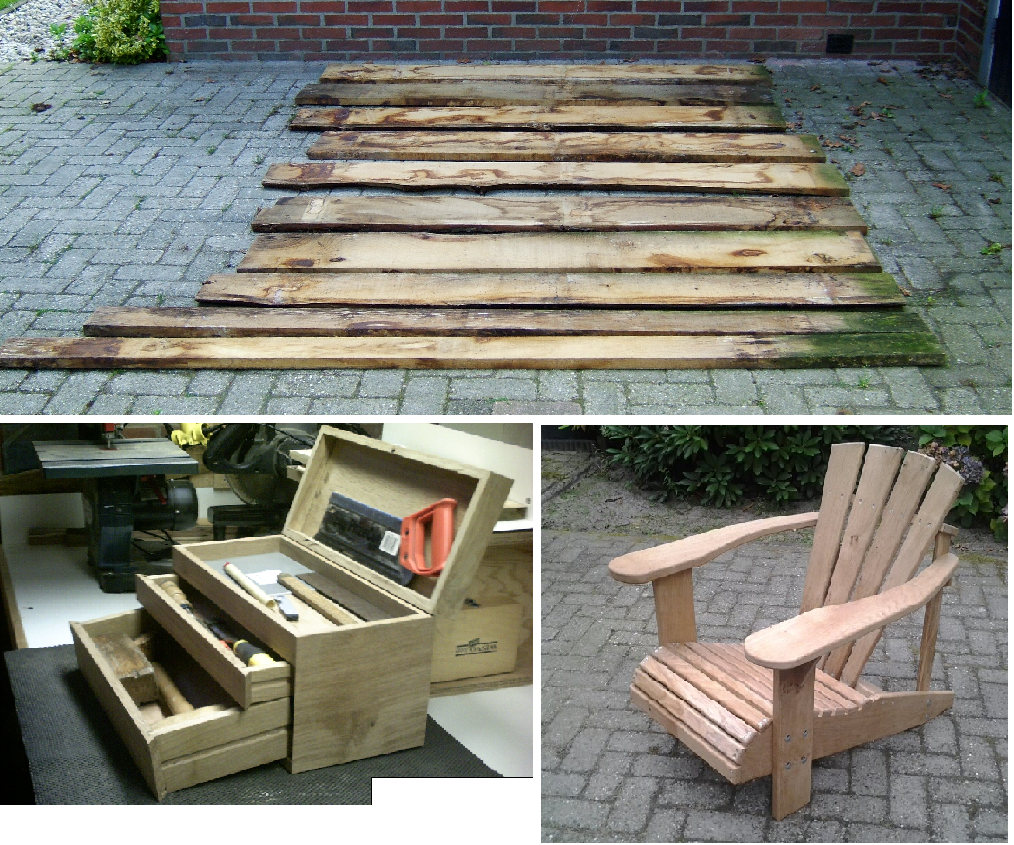
Raw board transformed into toolchest and adirondeck chair
Some years ago I bought some oak from a local supplier. He had his laying around on his yard for quite some time so I could buy the lot for 20 euro.
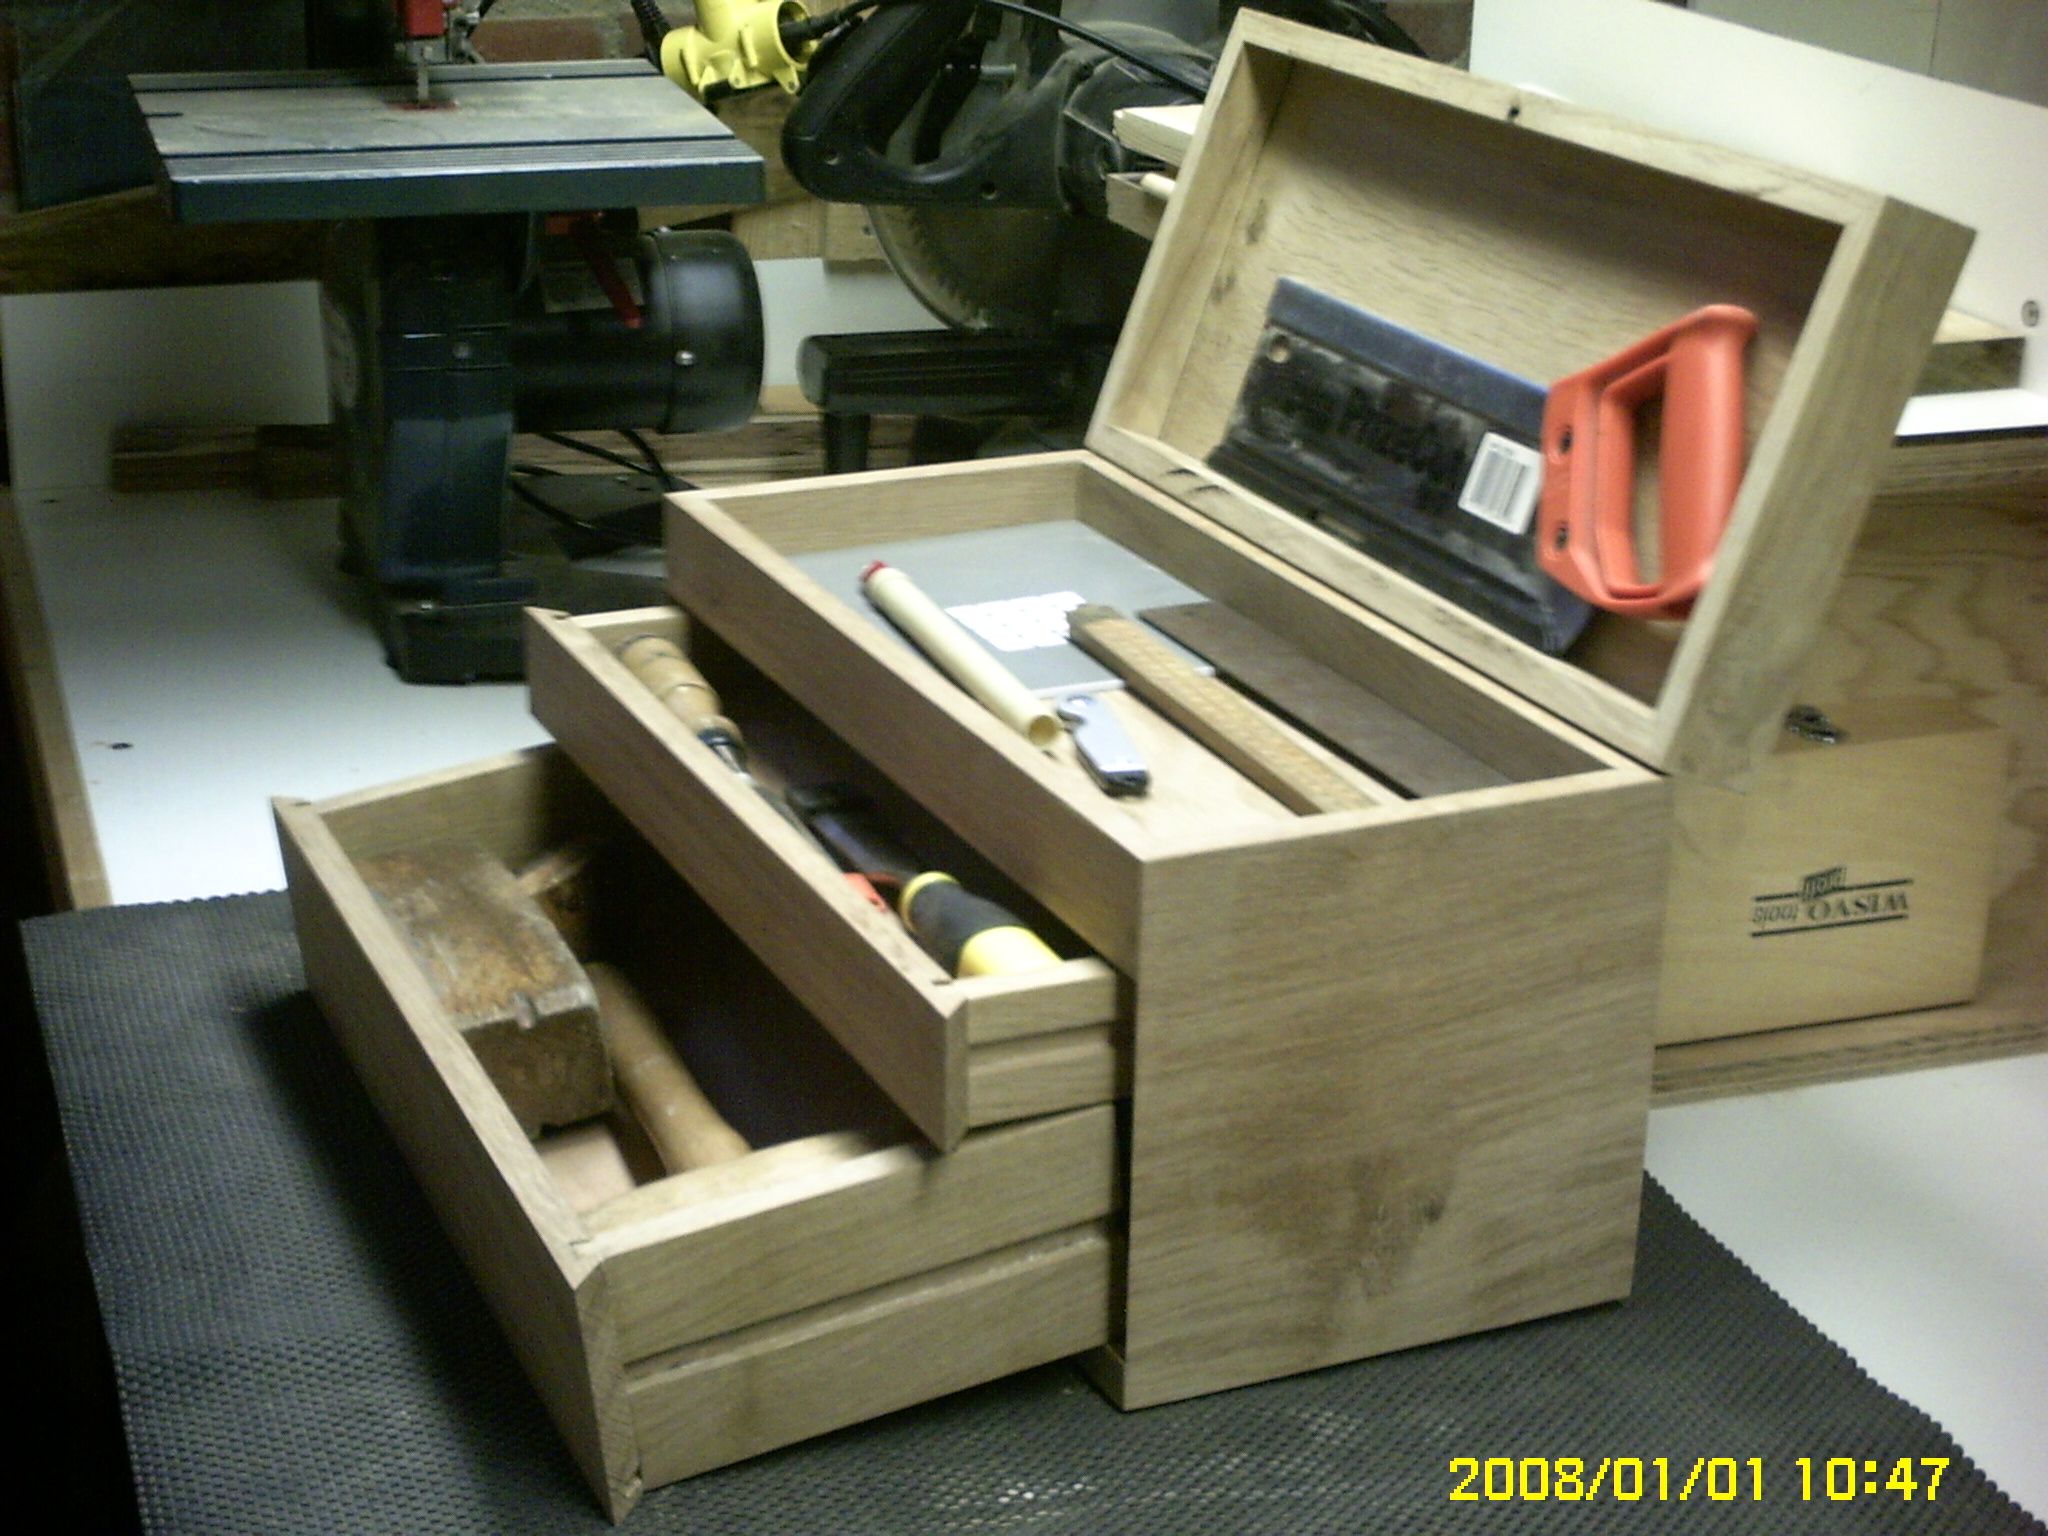
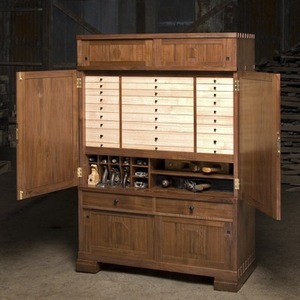
I startedout making a toolbox based on a photo I saw on FWW. No plan or measurements available, just used the lumber to sort out what was possible and adjust along the way.
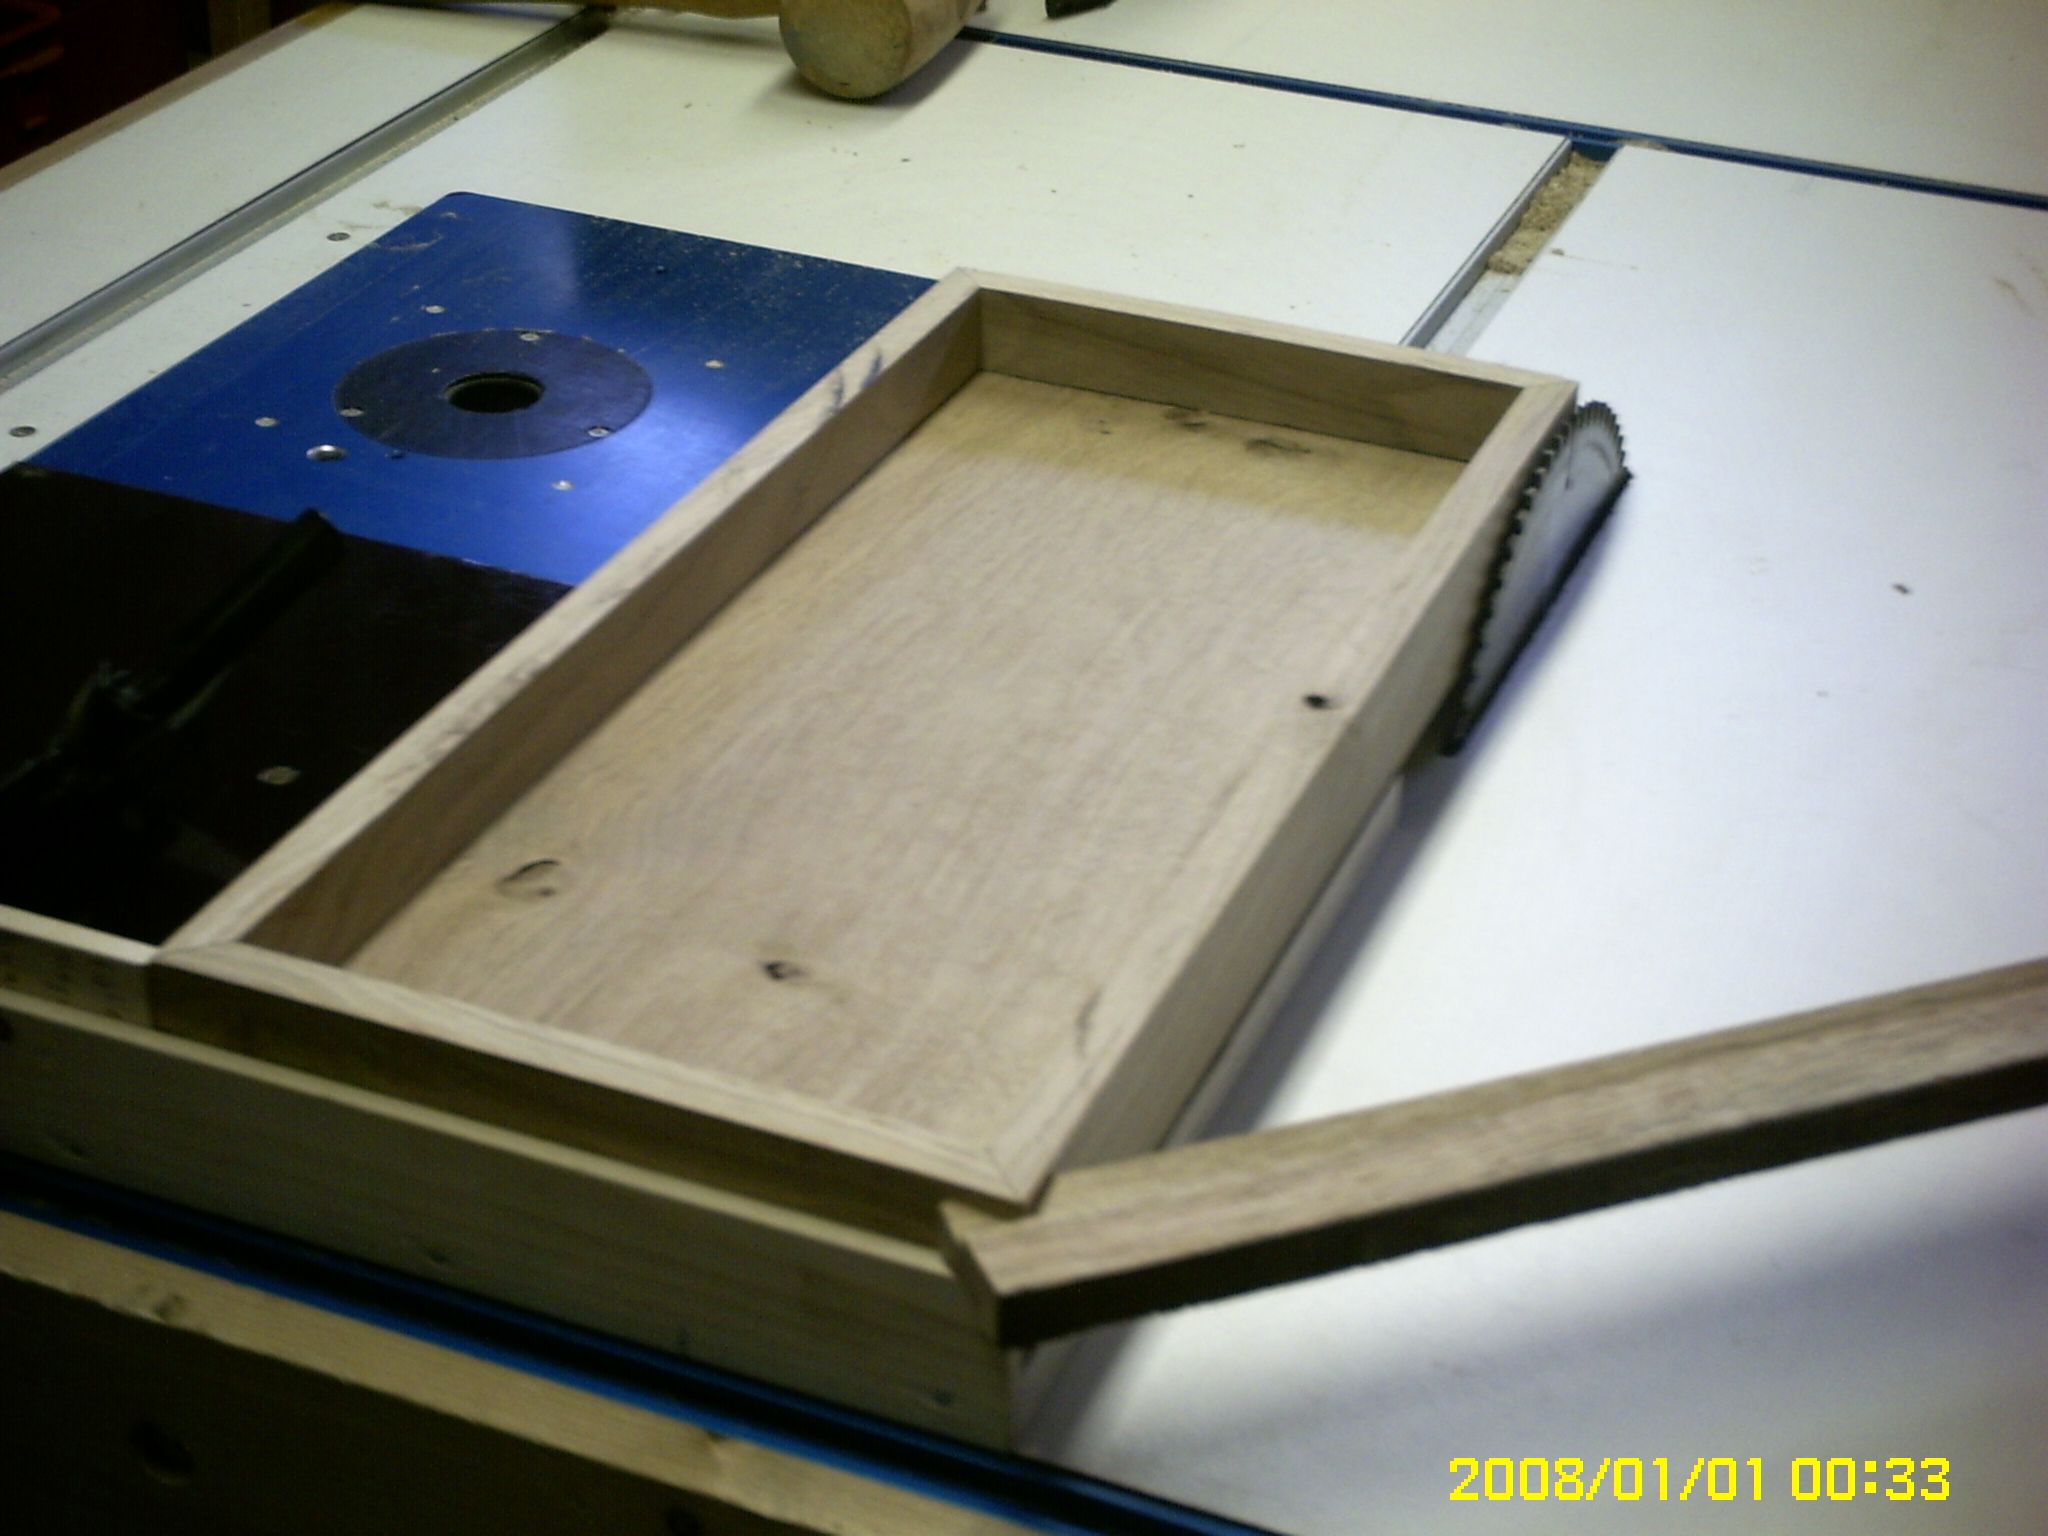
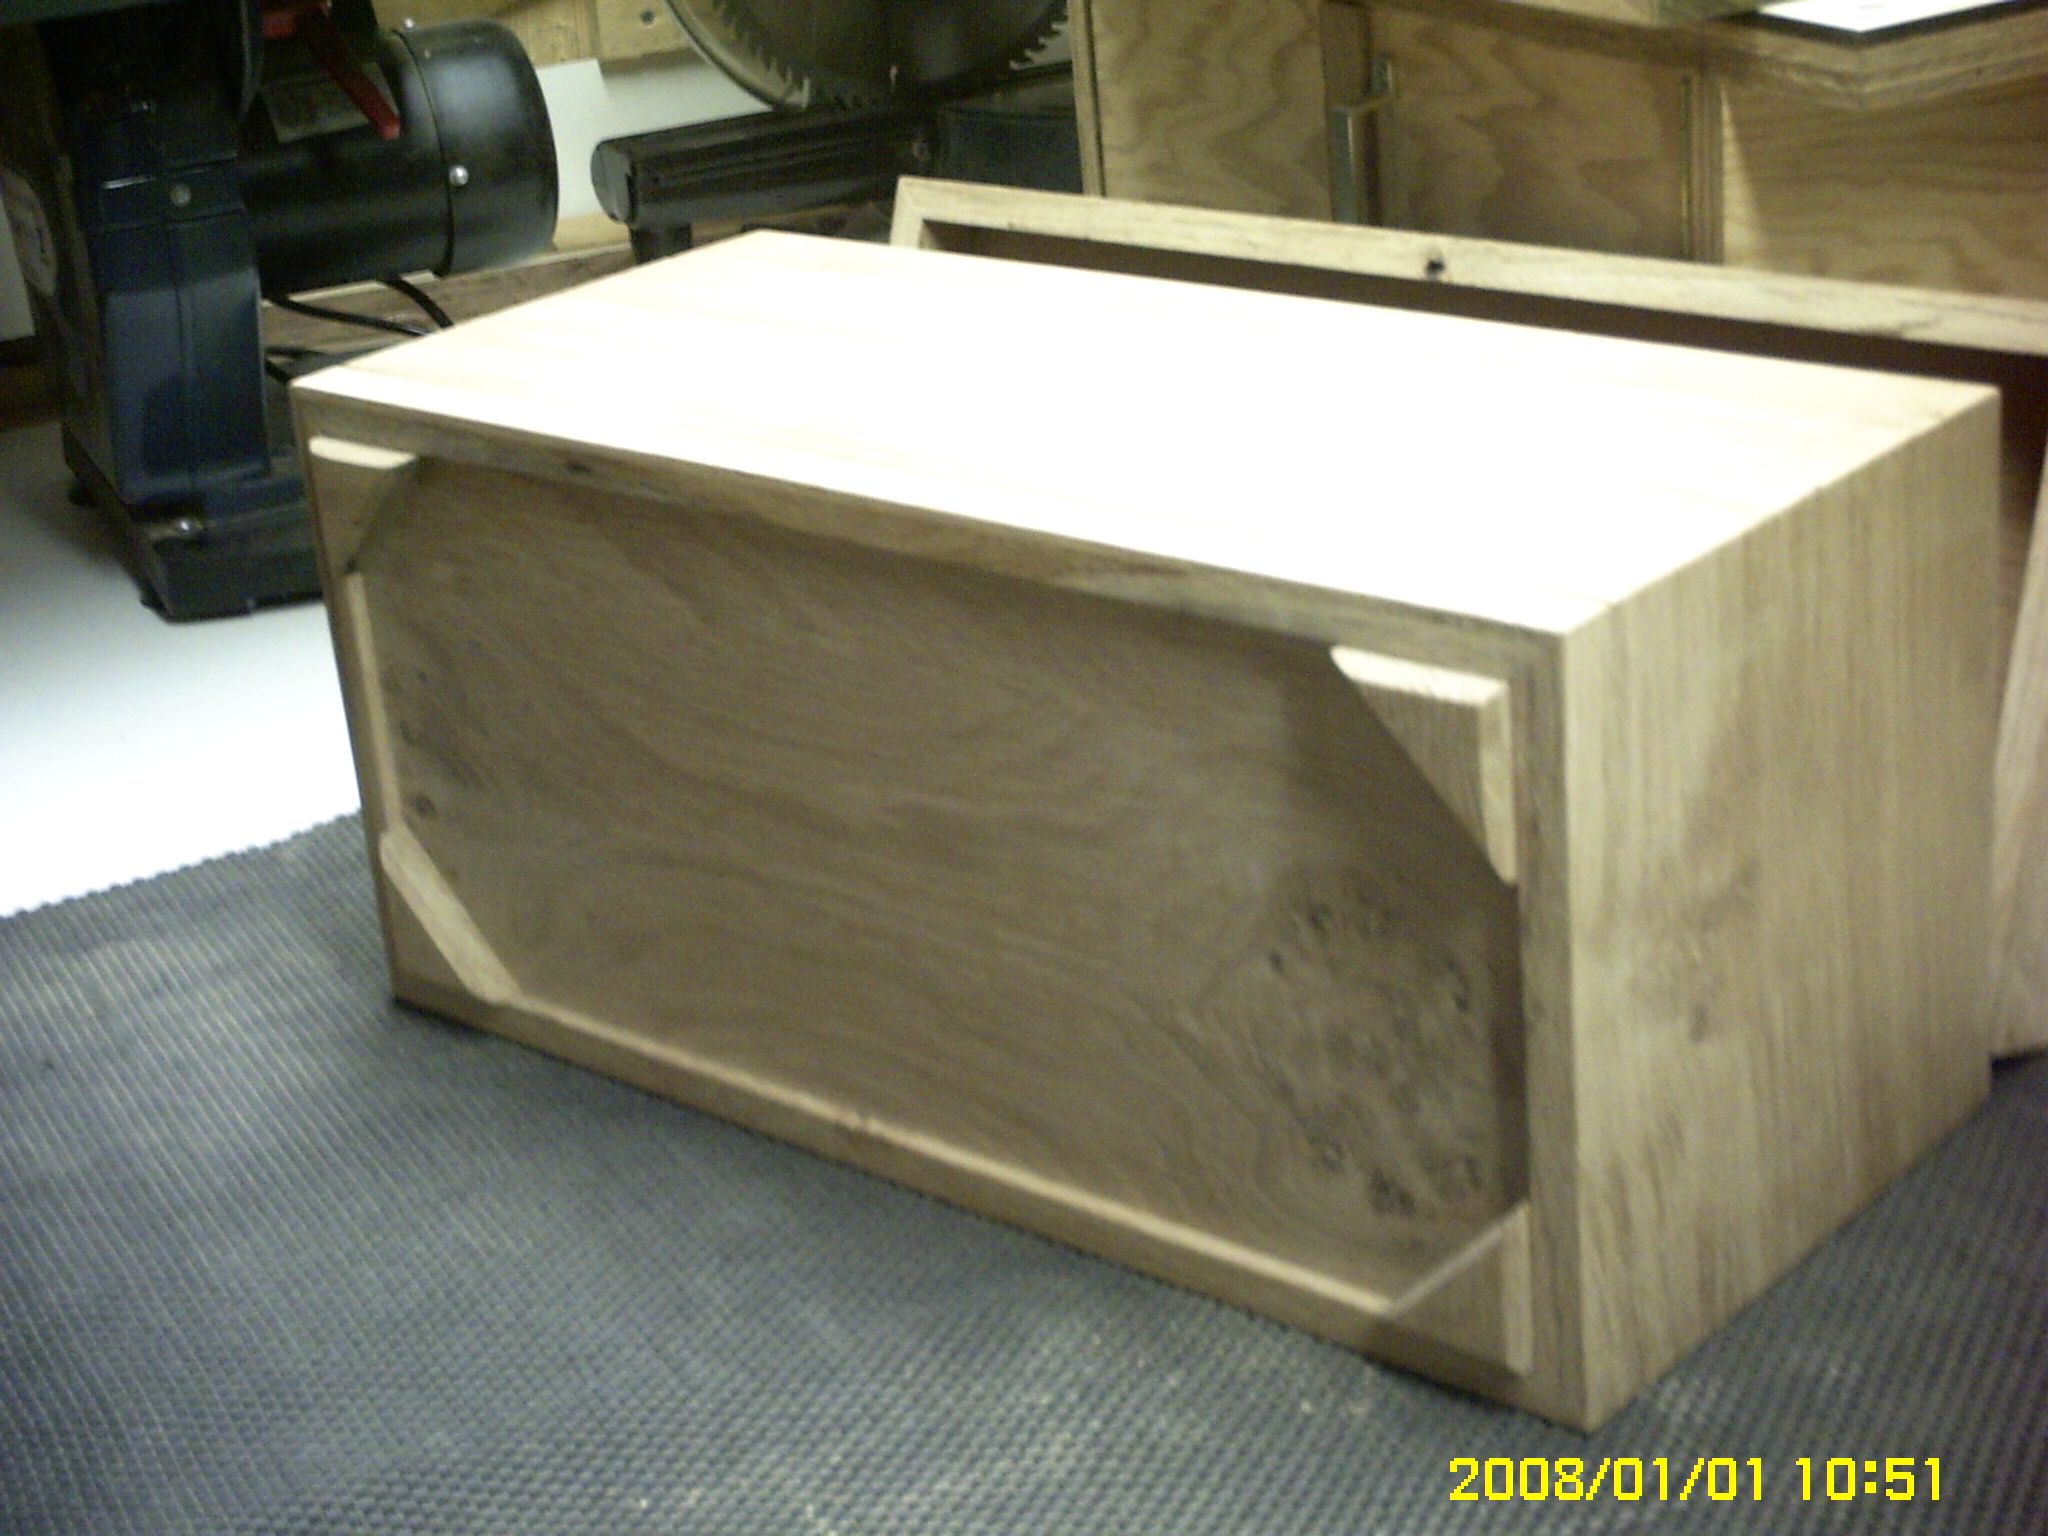
After cleaning up the wood and letting it dry and rest for some time in my one car garage / workshop, I started with making the lid. Made a rabbet along the inside of the side to hold the top and mitered the corners. I made a jig to route the dovetails in the corners to hold these together.
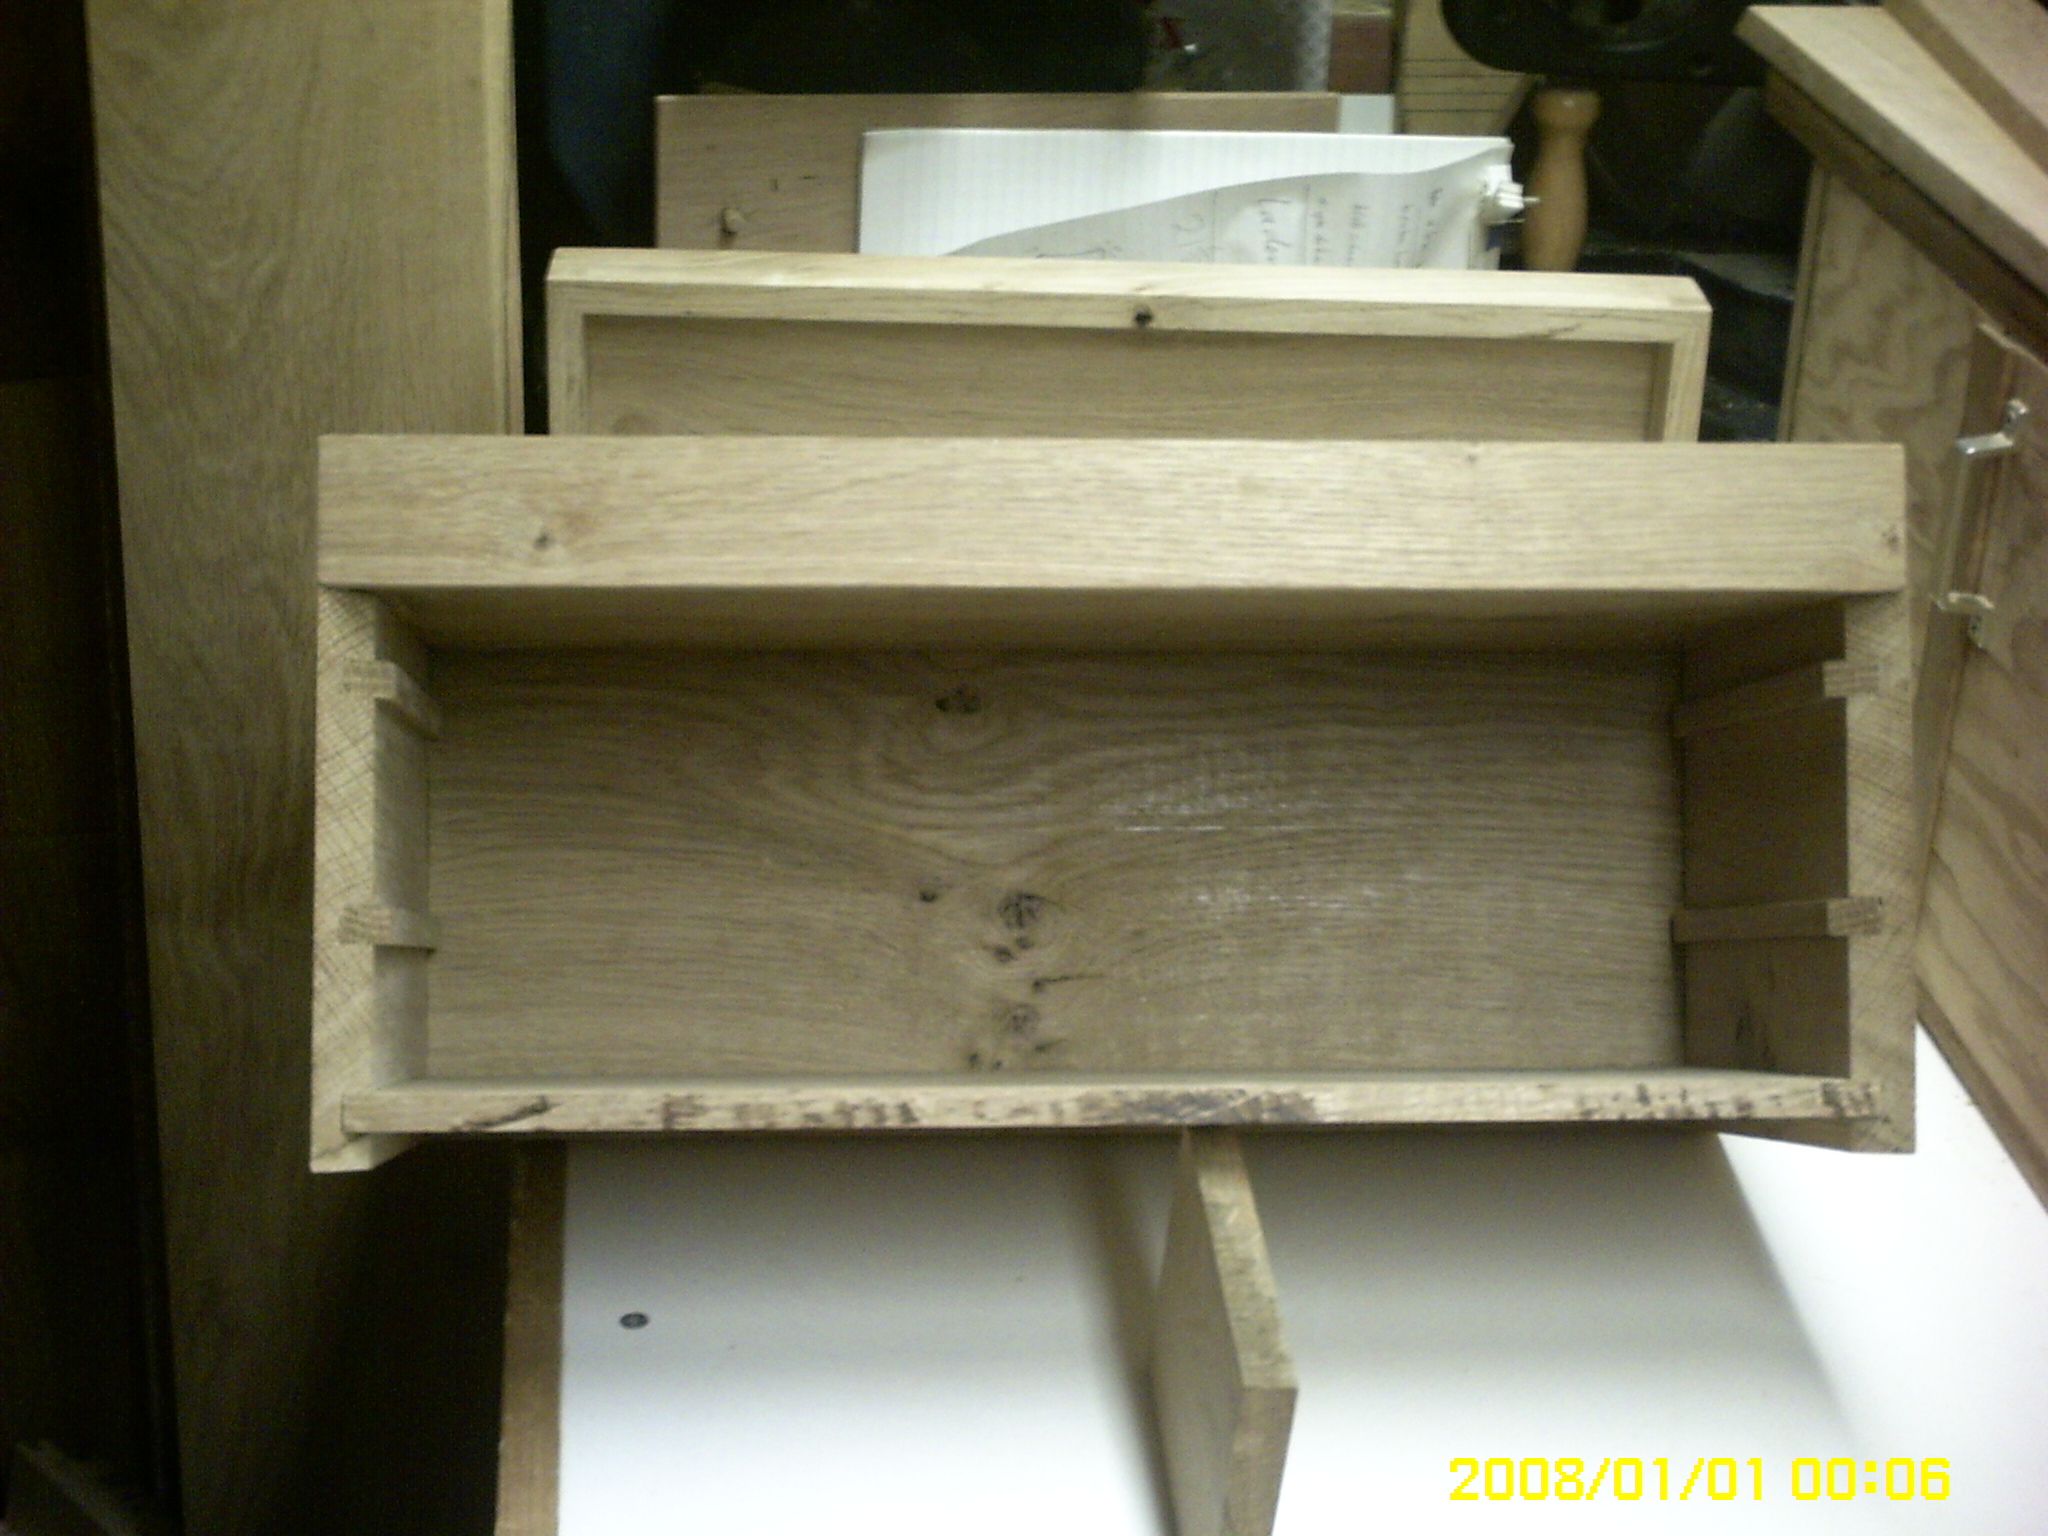
The base was the next on the list. A tooltray on top and two drawer. that was my idea. A rabbet in the sides hold the bodem of the tooltray and the bodem of the toolchest. Drawerslides were also set in an rabbet.
The front of the drawers was connected to the sides with sliding dovetails. the back was connected with locking miters.
I’m very pleased with the result. This was my first project in fine woodworking.
After the toolchest was finished there was some wood left, which I used to make the Adirondeck chair you see in the first picture.




Comments
Really like the drawer suspensions and miters.
Thanks Ron
Log in or create an account to post a comment.
Sign up Log in