THE ADJUSTABLE CHEST
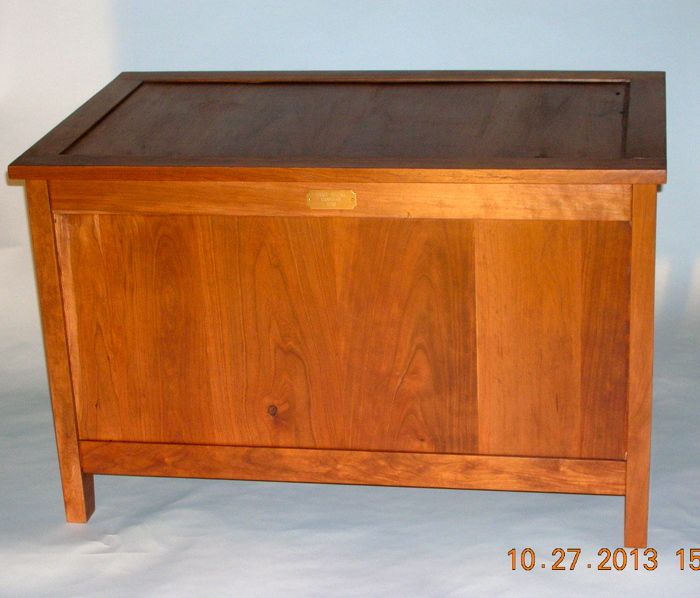
THE ADJUSTABLE CHEST By: Jim Richards
In 1970, at our first house located in Saugerties, NY, seven black cherry trees in the front yard had been struck by lightning and were dying. The largest tree was about three feet in diameter. The tree cutter owned a sawmill and agreed to cut them into different thicknesses as rough lumber. The lumber was air dried under cover for about forty years, until I decided I had better do something with it.
When we moved, the pile moved with us, ending up in our basement-garage at Kingston, NY. Recently I began to outfit part of our large garage into a woodworking space.
As a result, “The Adjustable Chest” is the first major project to be undertaken. Careful designing and a scale drawing of the chest were produced. The “adjustable parts” of length and width may be changed, however, the height should remain the same. The dimensions would be determined by the woodworker’s project and the available lumber.
The stack of lumber was sorted for useable thicknesses, laid out on the floor and reduced to approximate length. The thick rough sawn piece had split down the middle and had to be cut to rough size. The pieces were then planned to thickness producing the legs and stiles. The pieces were set out to determine the best direction of grain and pattern.
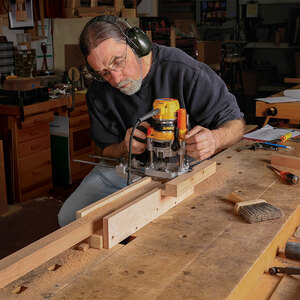
The router with a 3/8″ cutter and a long fence was used to cut the stile grooves for the panels. The legs have a plunge groove and the mortises were cut with a square chisel attachment on the drill press. A long straight board was fastened in place on the bench to keep the router on a straight path. The length of the stiles must include the tenons sizes.
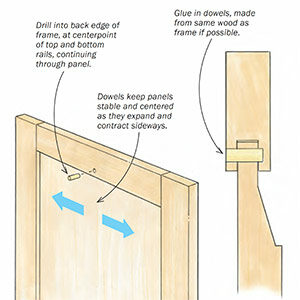
The 5/16″ panel pieces were rough cut and laid out for pattern detail and grain direction. They were then reduced to size using the jointer and 13″ planer. To construct the panels, the biscuit cutter was set up to place three biscuits on each joint. On the thin panels the centering of the cut is important.
The panels were then carefully test assembled until they could be assembled and glued using TiteBond 111. Use as many clamps as possible to keep the panels straight and level. The cauls were covered with clear packing tape to keep the glue under control.
The finished chest panels were now ready to be test fitted into the legs and stiles. A 1 x 3/4 inch bottom board was fastened with brass screws to the bottom stile. If a till box is going to be added, place a 1 x 3/4 piece about six inches from the top to be fastened on the ends only by two dowel pins. To avoid splitting later, do not glue this piece to the panels.
Before construction the individual pieces were sanded using 220 grit or finer. The individual panels and legs were then glued and clamped in place.
The end panels were added to the fronts and glued and clamped into place. The chest must be placed upon a level surface and checked for square when the clamping is completed. This appears to be easily done, however two people best complete this process with great patience.
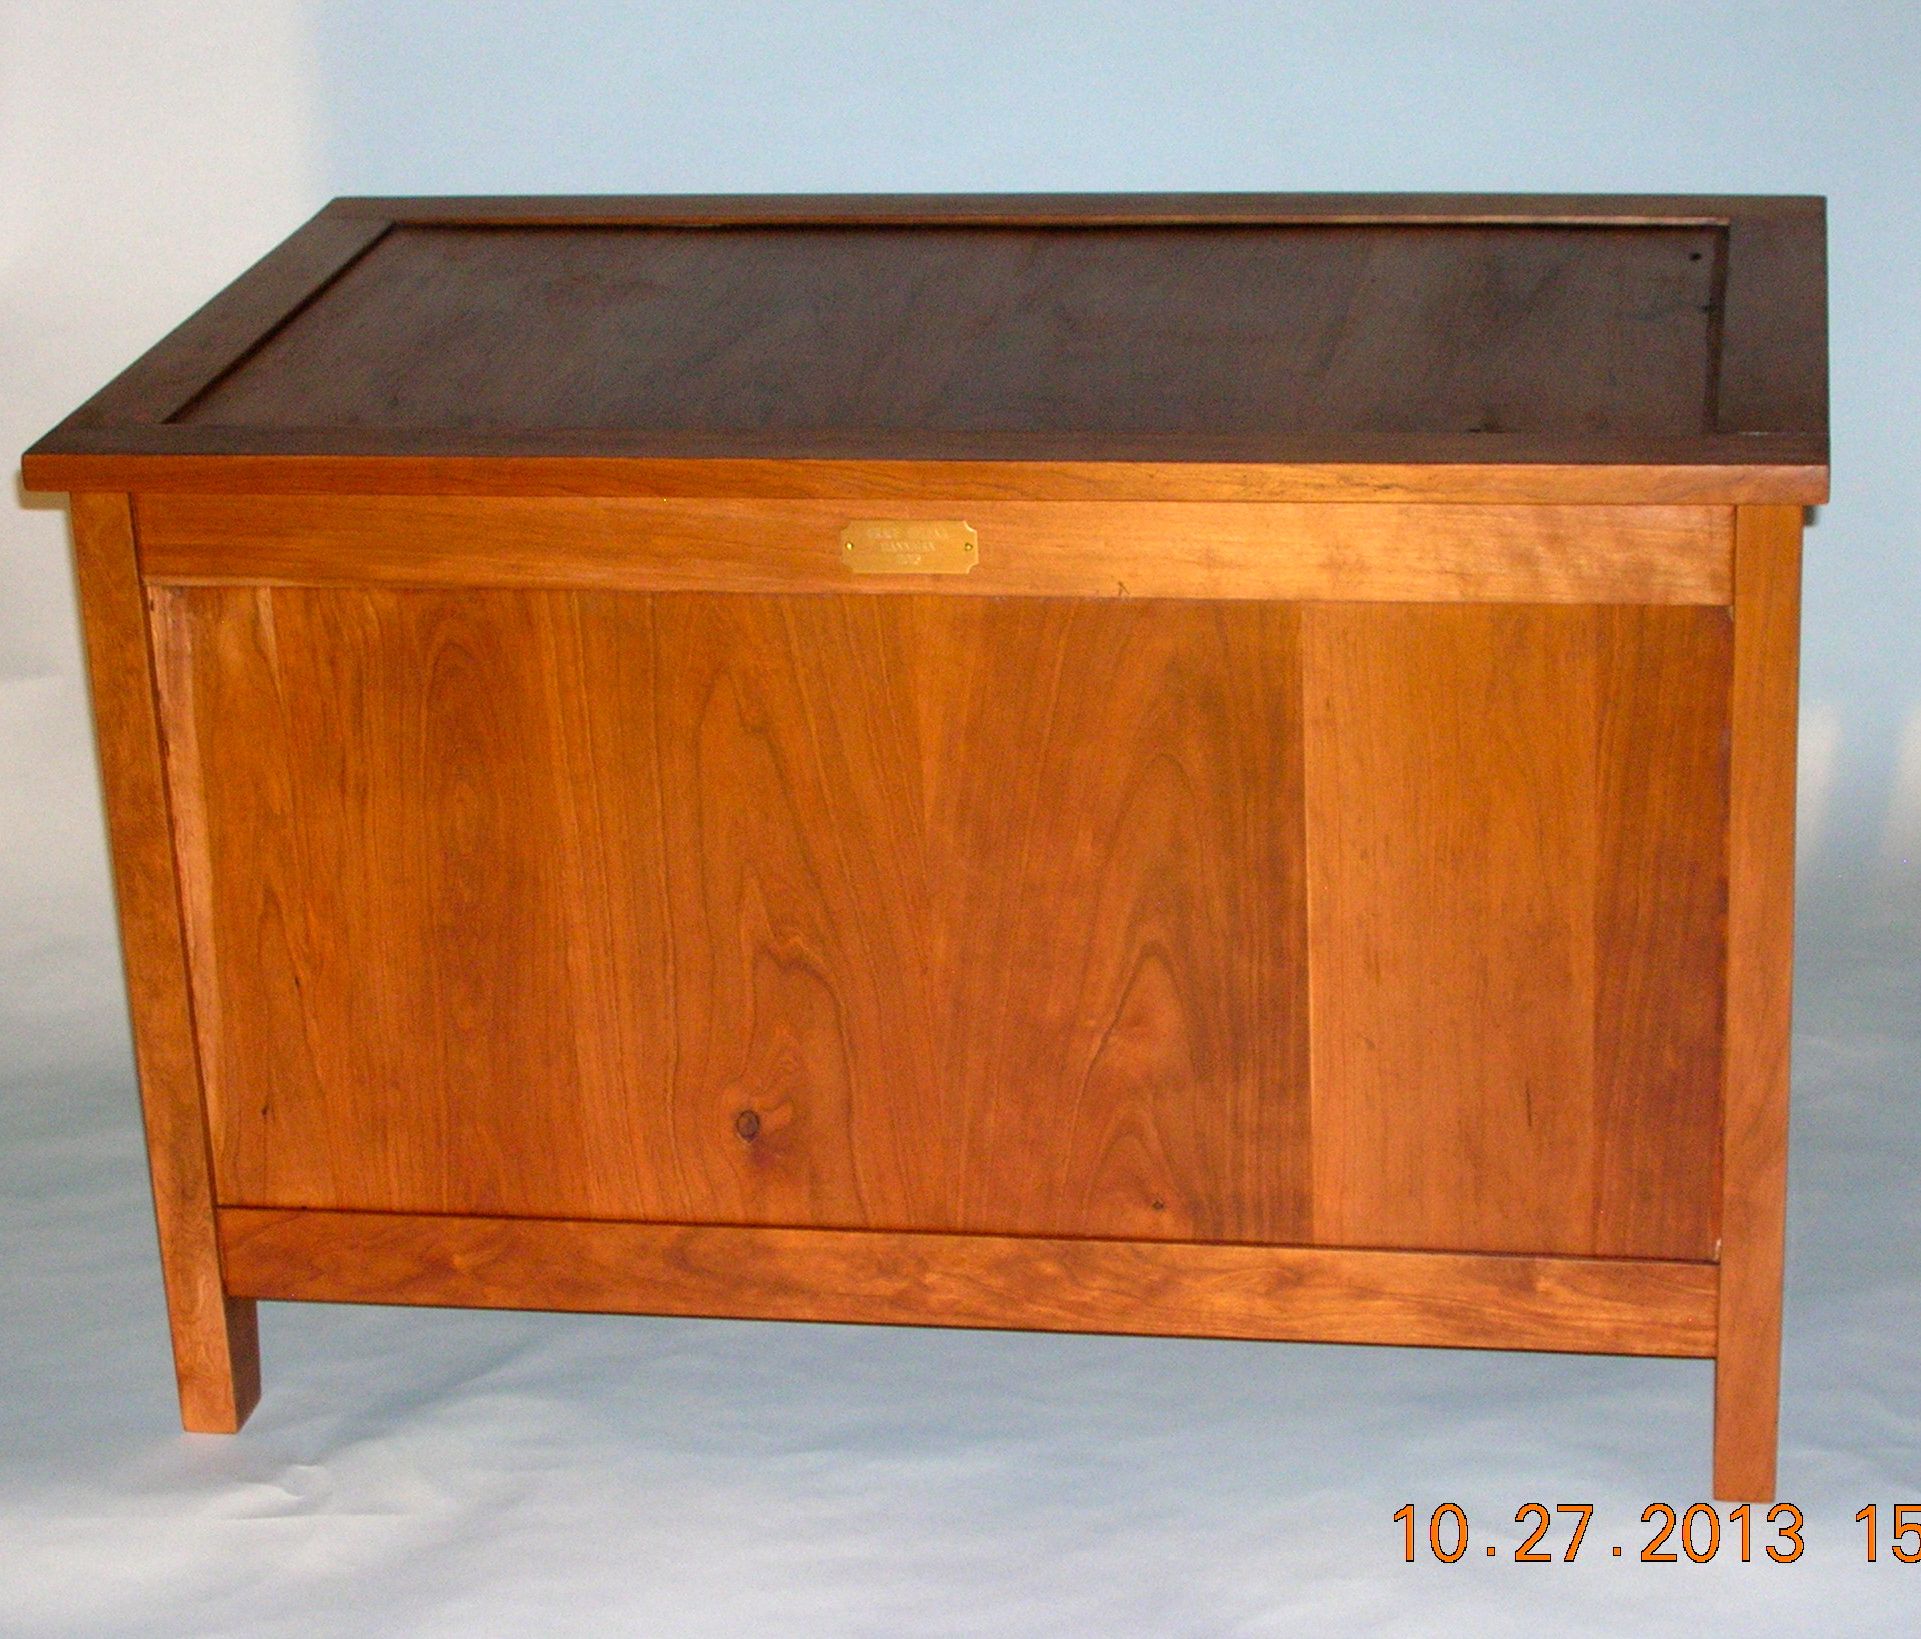
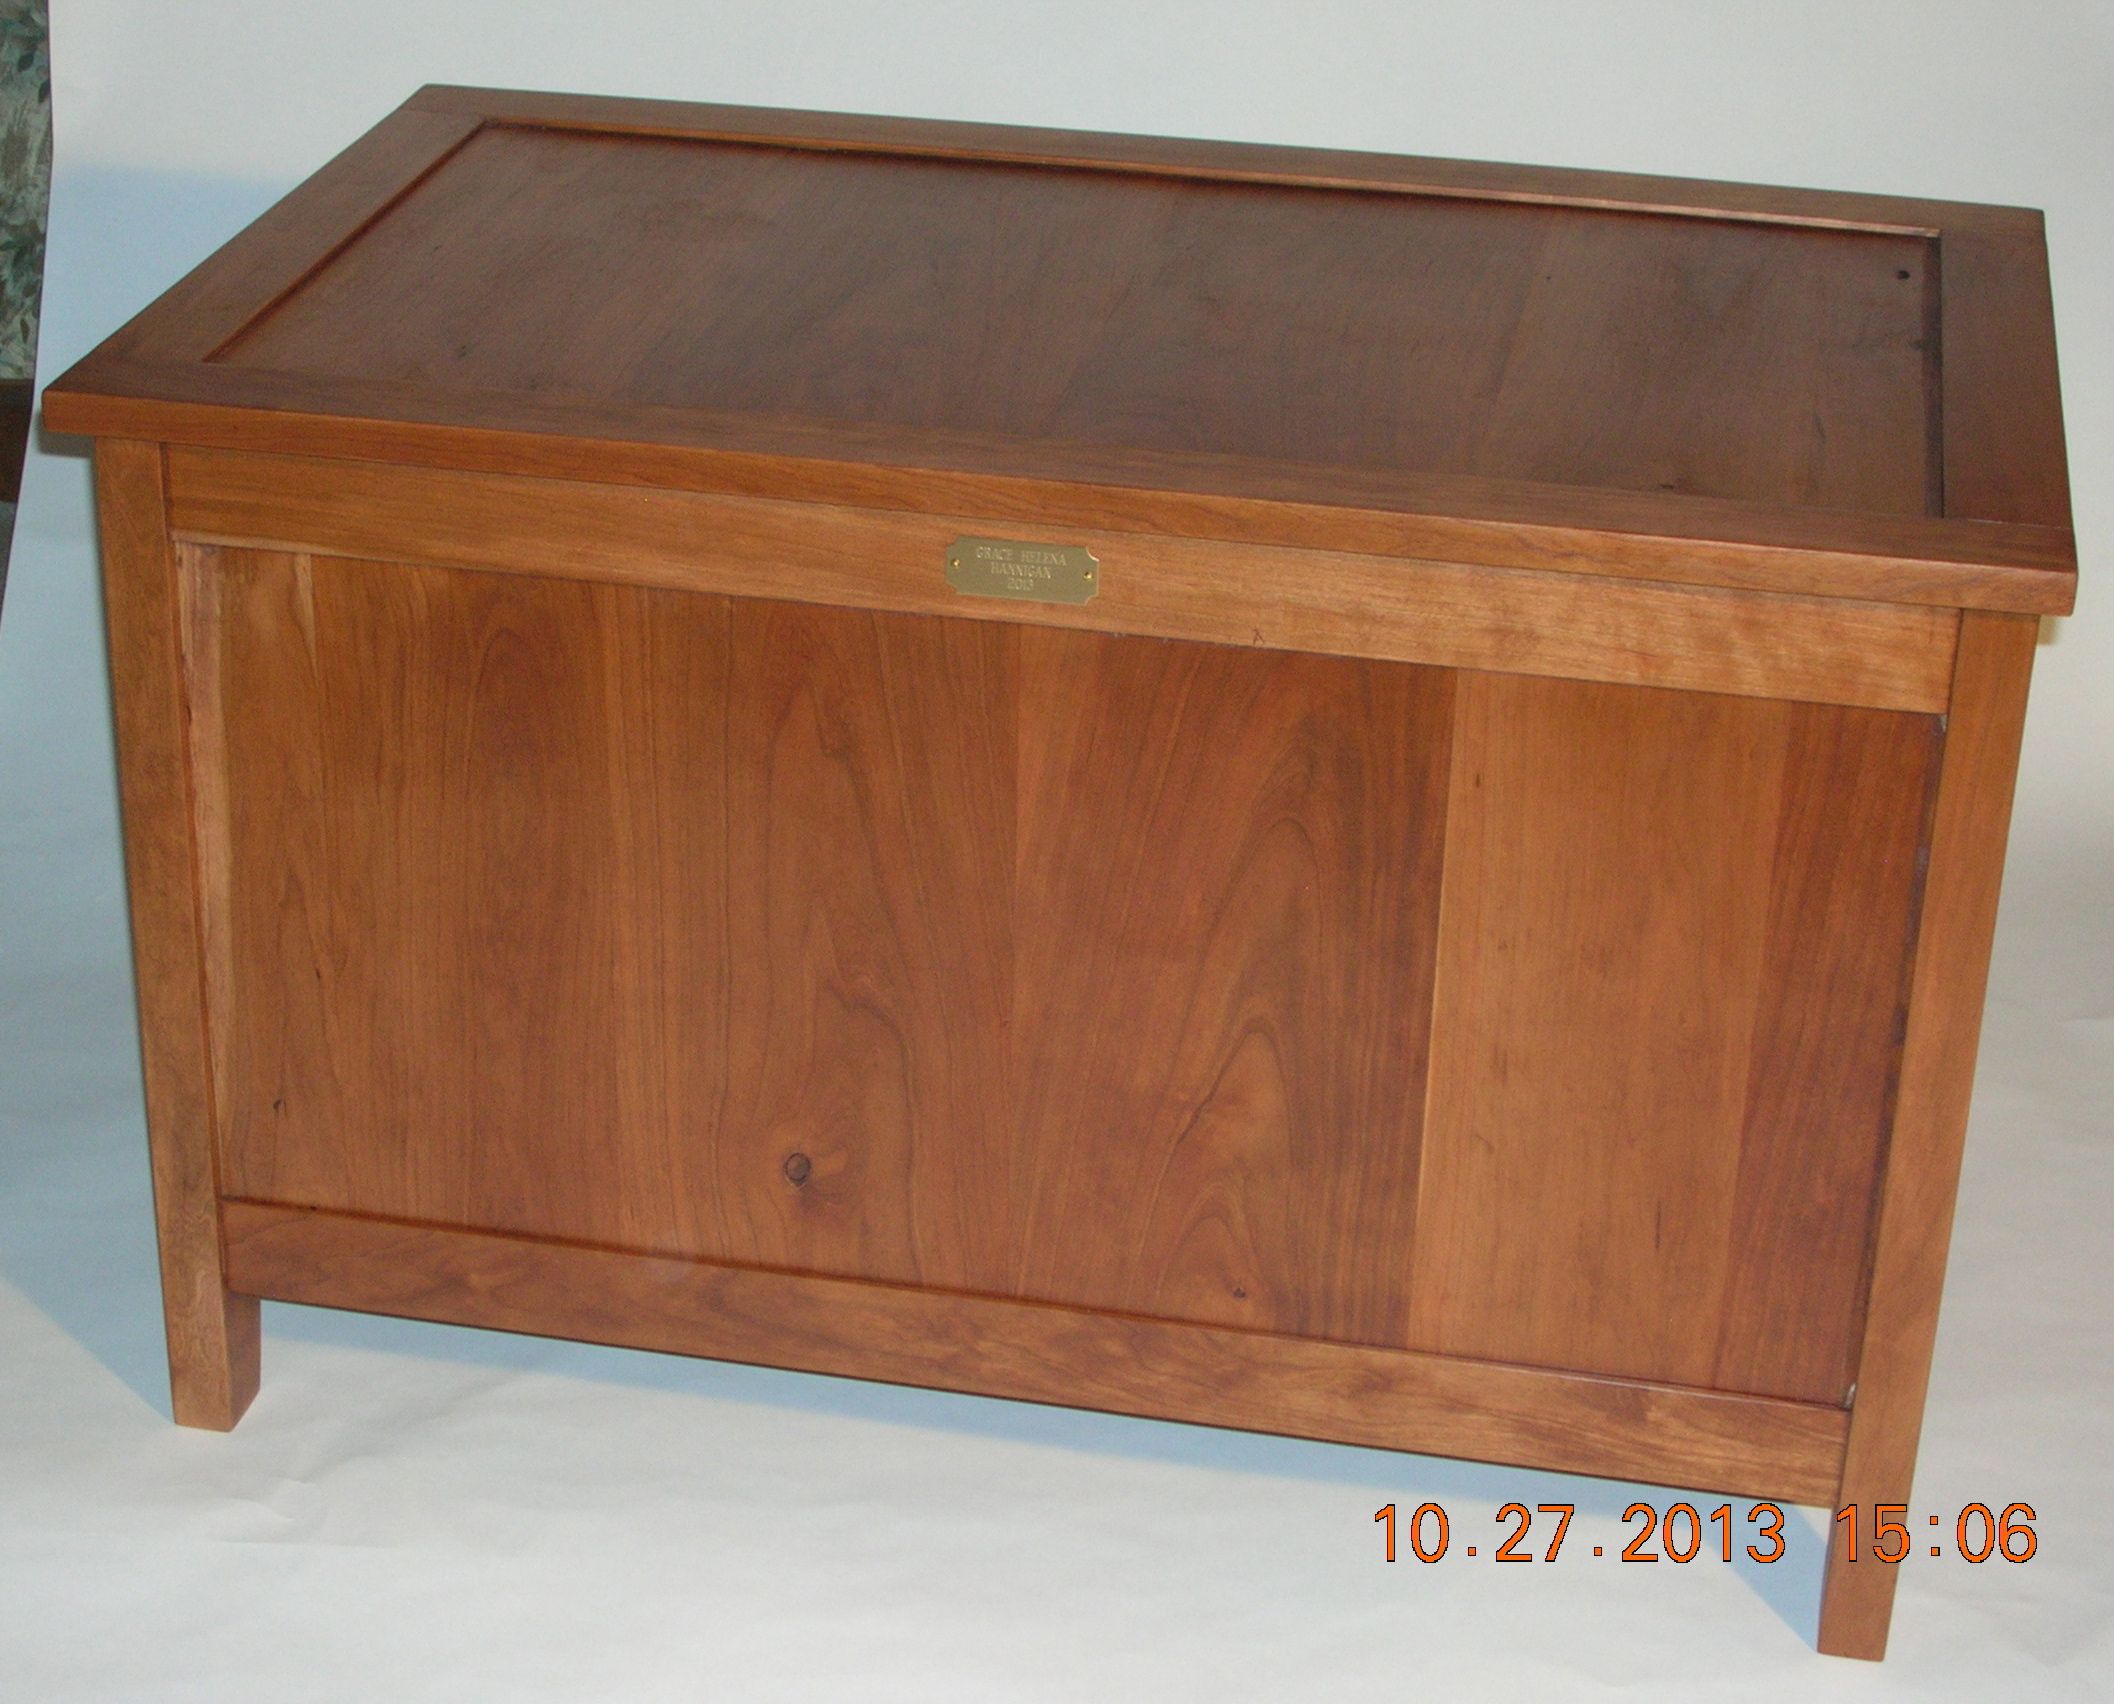
The top of the chest is constructed much the same manner, but the top’s panel is a different size than the front panels. There is a one half-inch overhang on the front and sides. No overhang on the backside.
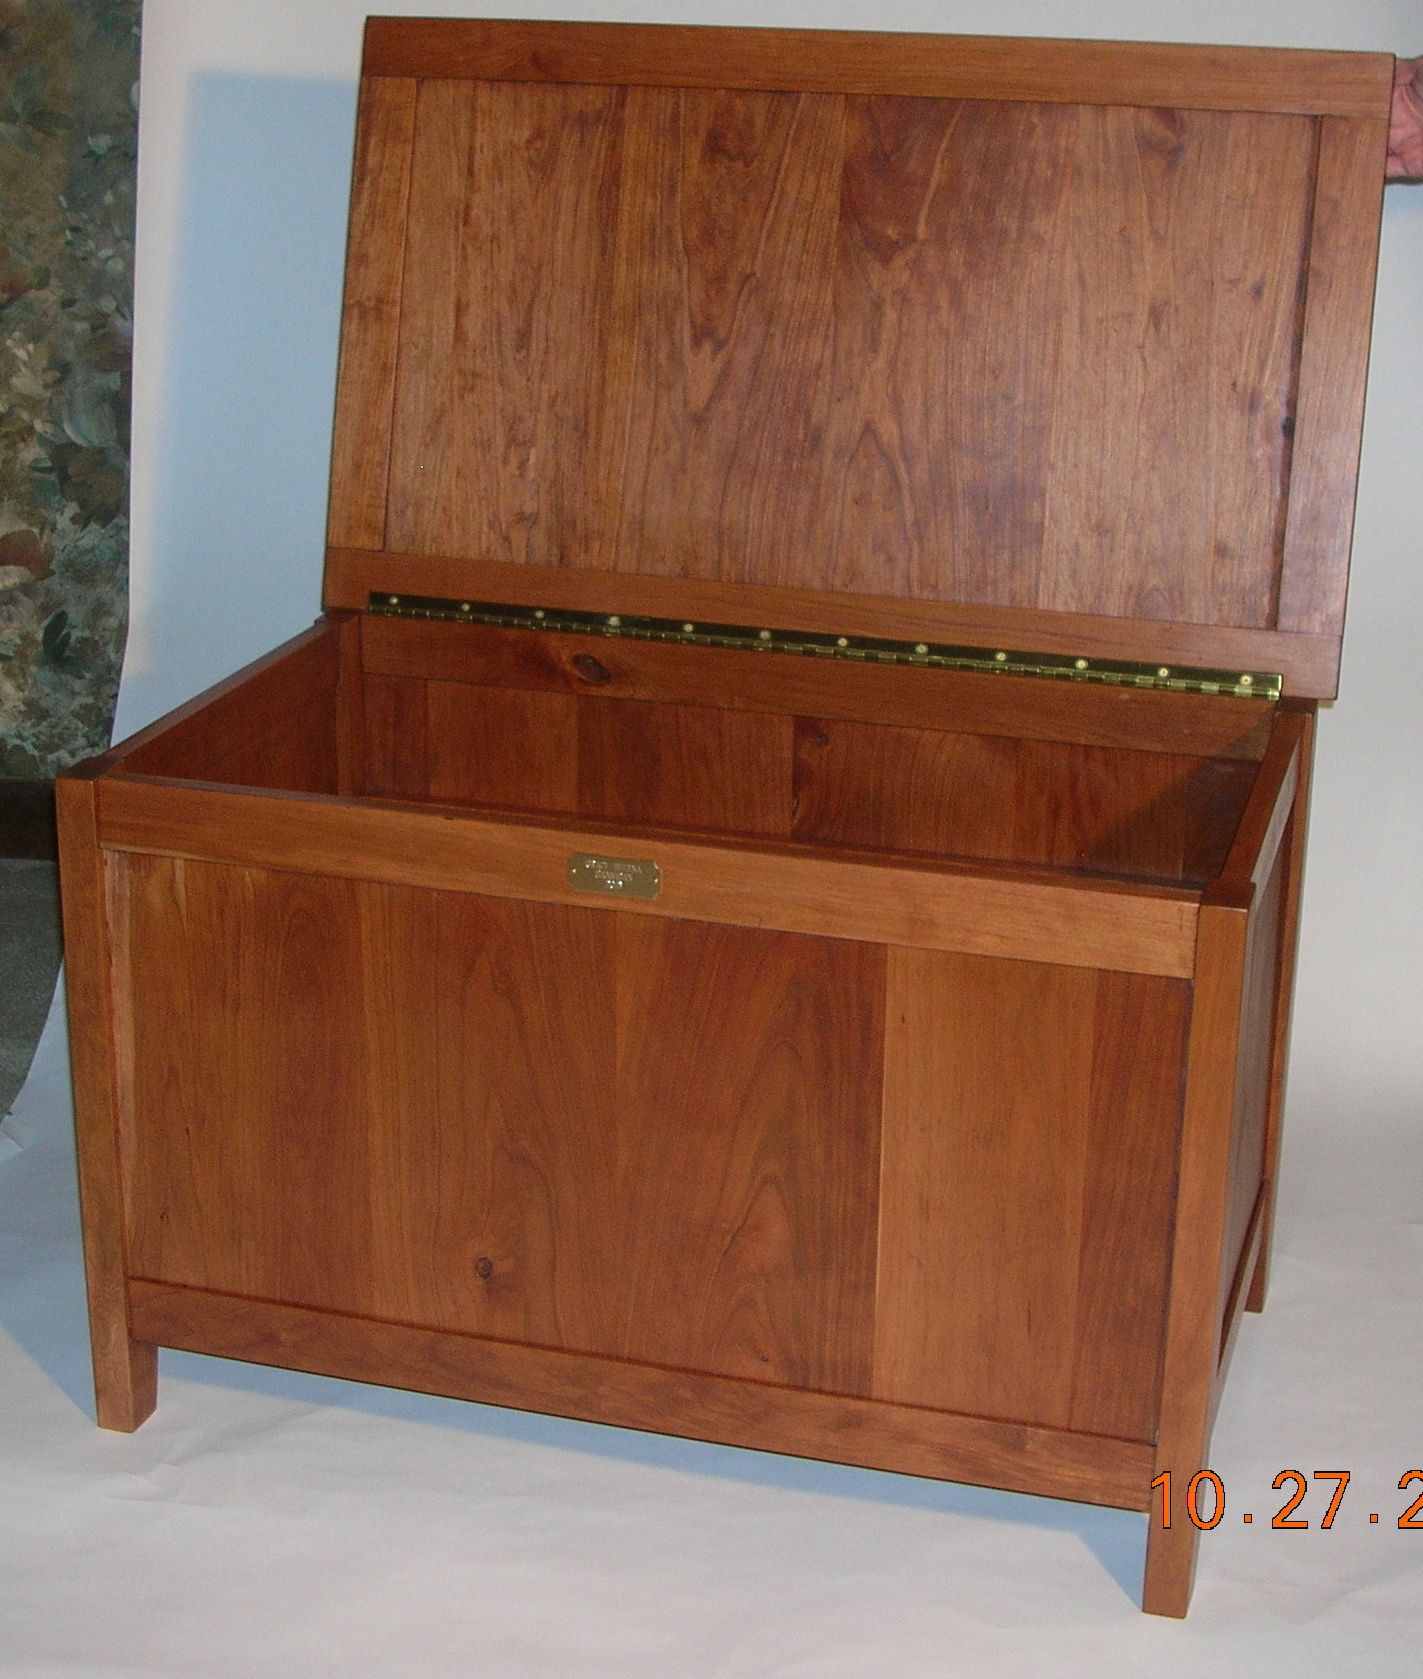
The photo shows the inside rails for attaching the bottom piece of 1/2″ sanded birch plyboard. This is fastened with evenly spaced short brass screws from the bottom. Sand the panel, stain and finish it before fastening it into place.
The surface for the brass piano hinge is cut into the rear stile and the bottom of the back of the top and the screws are temporarily fitted. The hinge should be even with the back of the chest allowing the top to just miss the rear of the leg. The top of the leg may be slanted 1″ down to relieve the angle of the top. Remove the top and set aside for finishing.
Clean the wood with mineral spirits and allow to completely dry. The chest was stained using two coats of Minwax Cherry stain.
The finish is Minwax wipe-on polyurethane applied with a clean lint free cloth. Very lightly hand sand with 800 grit paper, and clean surfaces with mineral spirits before applying the second coat. With careful application, sanding may not be necessary.
Using the bottom panel as a pattern, tightly stretch suede material on a 1/8″ Masonite panel. Only glue the underside of the suede and place the panel in the bottom.
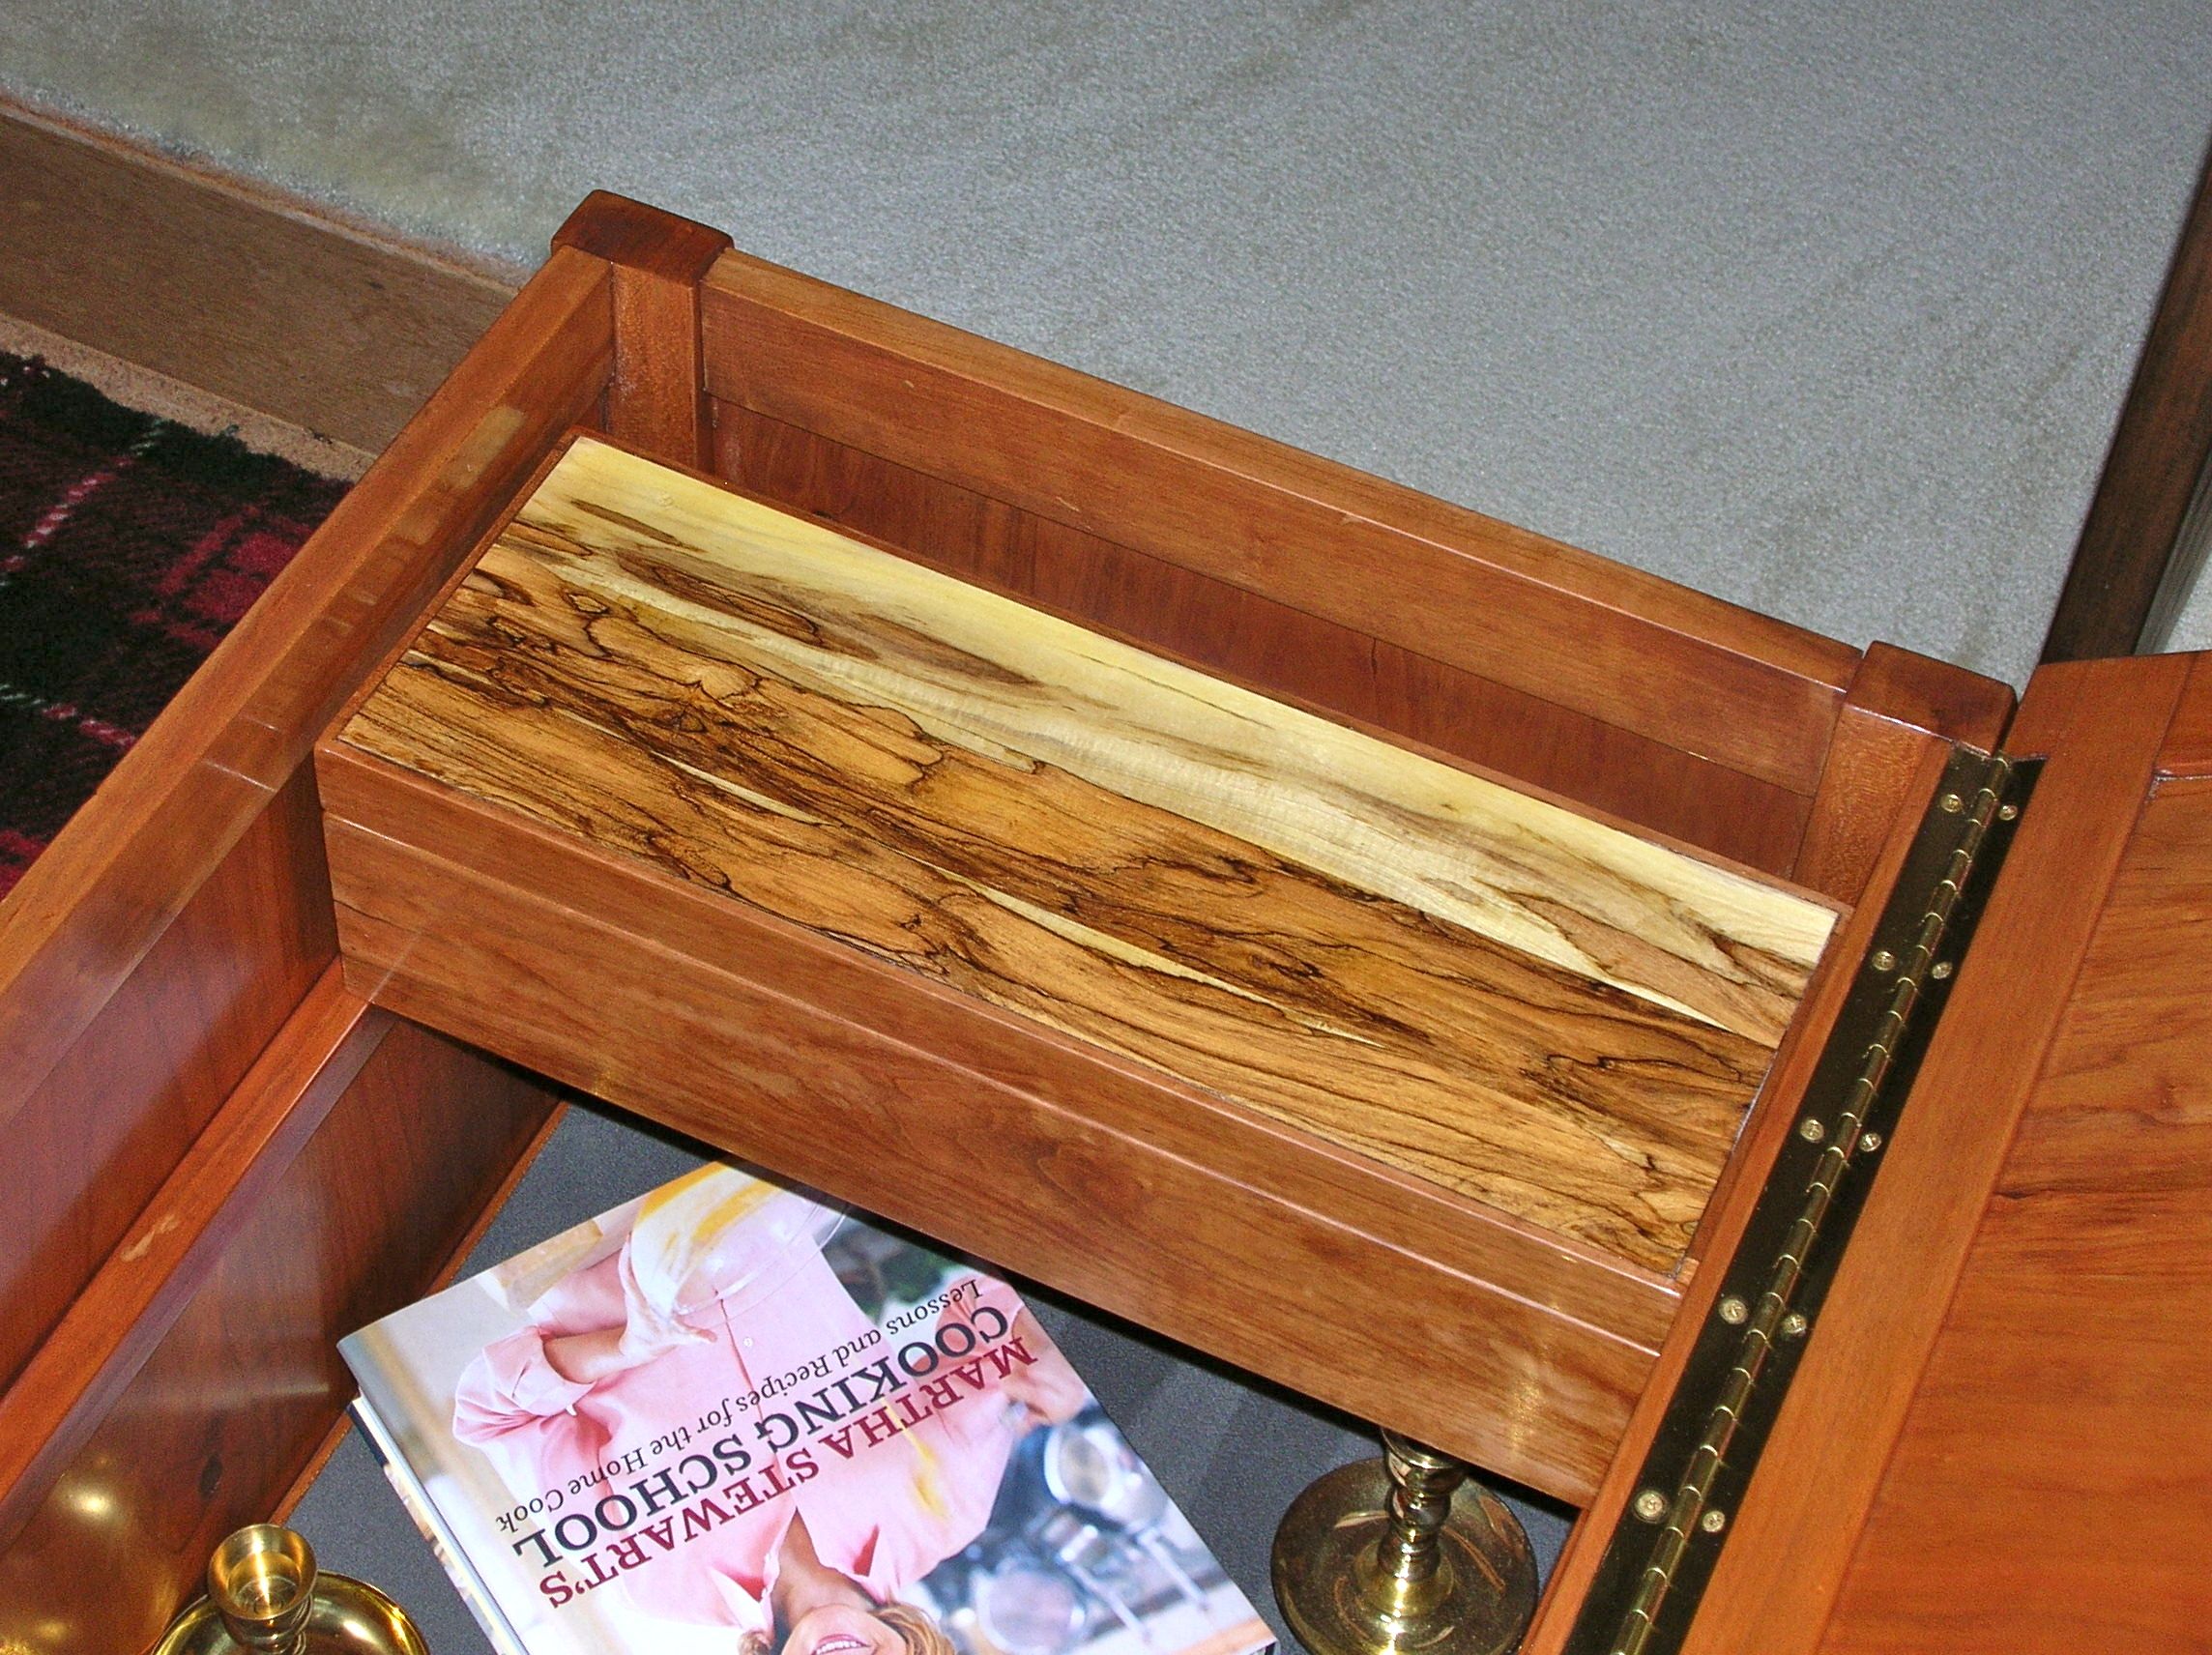
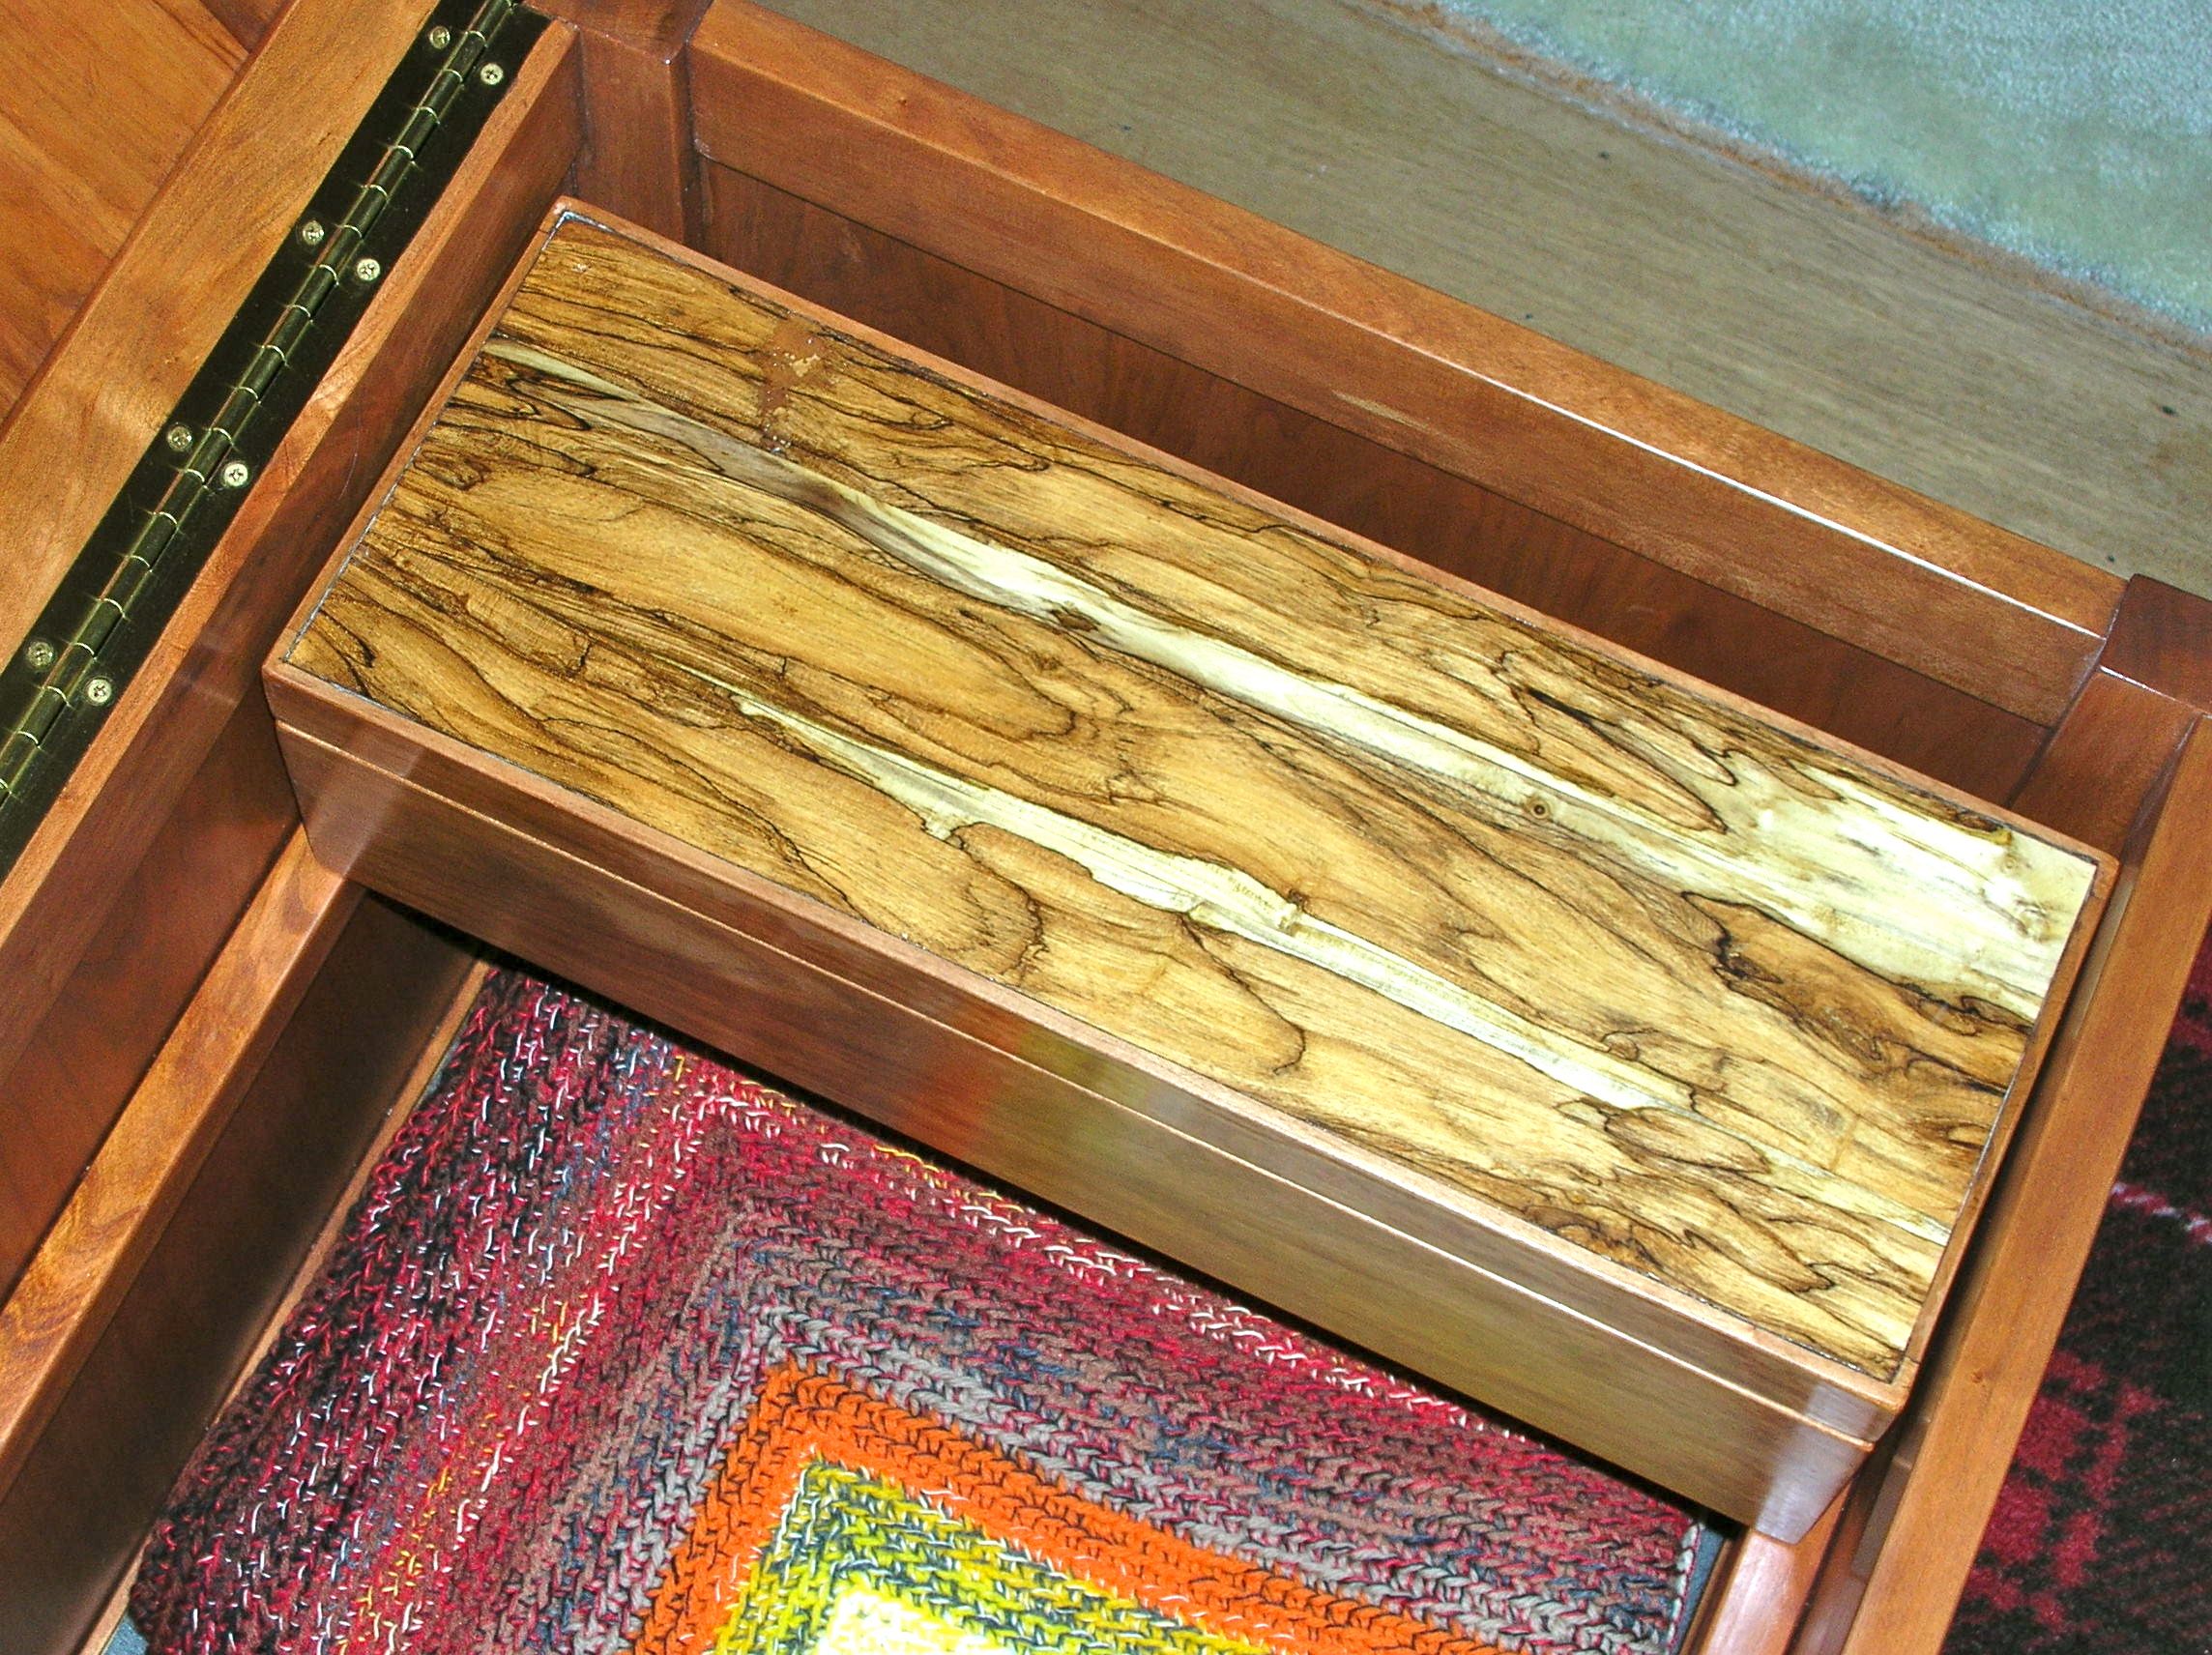
Brass nameplates were obtained and centered on the front of the chests. Martha’s cooking lessons were added. Two Baldwin Brass candlesticks, a piece of Arkansas clear quartz, and a “Shiver Blanket” were placed inside. The blankets were hand made in the 60s by the girl’s great grandmother.
The chests were made for grand children Francis Mae Hannigan and her older sister, Grace Helena Hannigan of Monroe, CT.
These two projects are featured on YouTube.
_______________________




Log in or create an account to post a comment.
Sign up Log in