Counter-weighted H-frame Studio Easel in Cherry
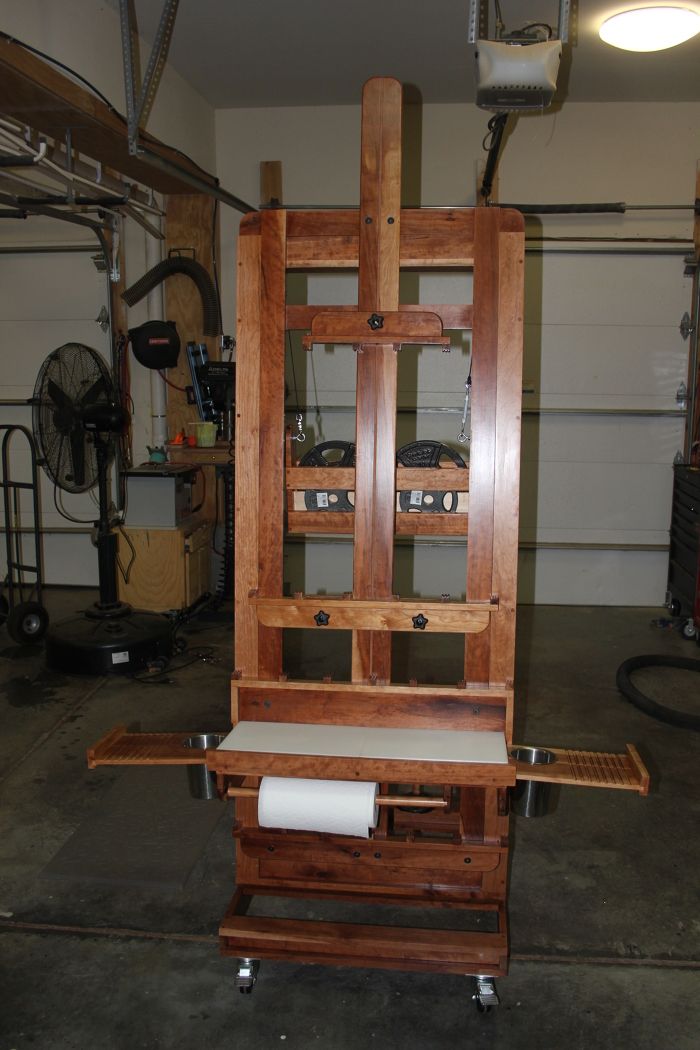
Finished project
My art skills are limited to poorly drawn stick figures but a colleague, who is a professional artist, commissioned me to build him a studio easel even though I am only a semi-competent woodworker. Having never built such a thing before we searched for an existing plan. We found one that was pretty close to what he wanted in the Cadmium H-frame Easel plan and set to making some engineering and aesthetic improvements. The plan as-is is a perfectly usable plan but is designed to be buildable by someone with rather limited equipment in their shop and is easily enhanced for those who want to take advantage of additional tooling in their shop and are willing to put a little more time into the project.
I recently got a good deal ($1 / bf) on some cherry that had been sitting in a barn for 30 plus years so I decided to use that for the project. The wood had a lot of checking in it so I didn’t have enough for all the long pieces and had to supplement with some less aged stock. This can be seen in the somewhat two tone look in the project. The old cherry had darkened to a deep rich red while the newer cherry was a bit more pale. The old cherry as also quarter-sawn with some nice curling and flecking.
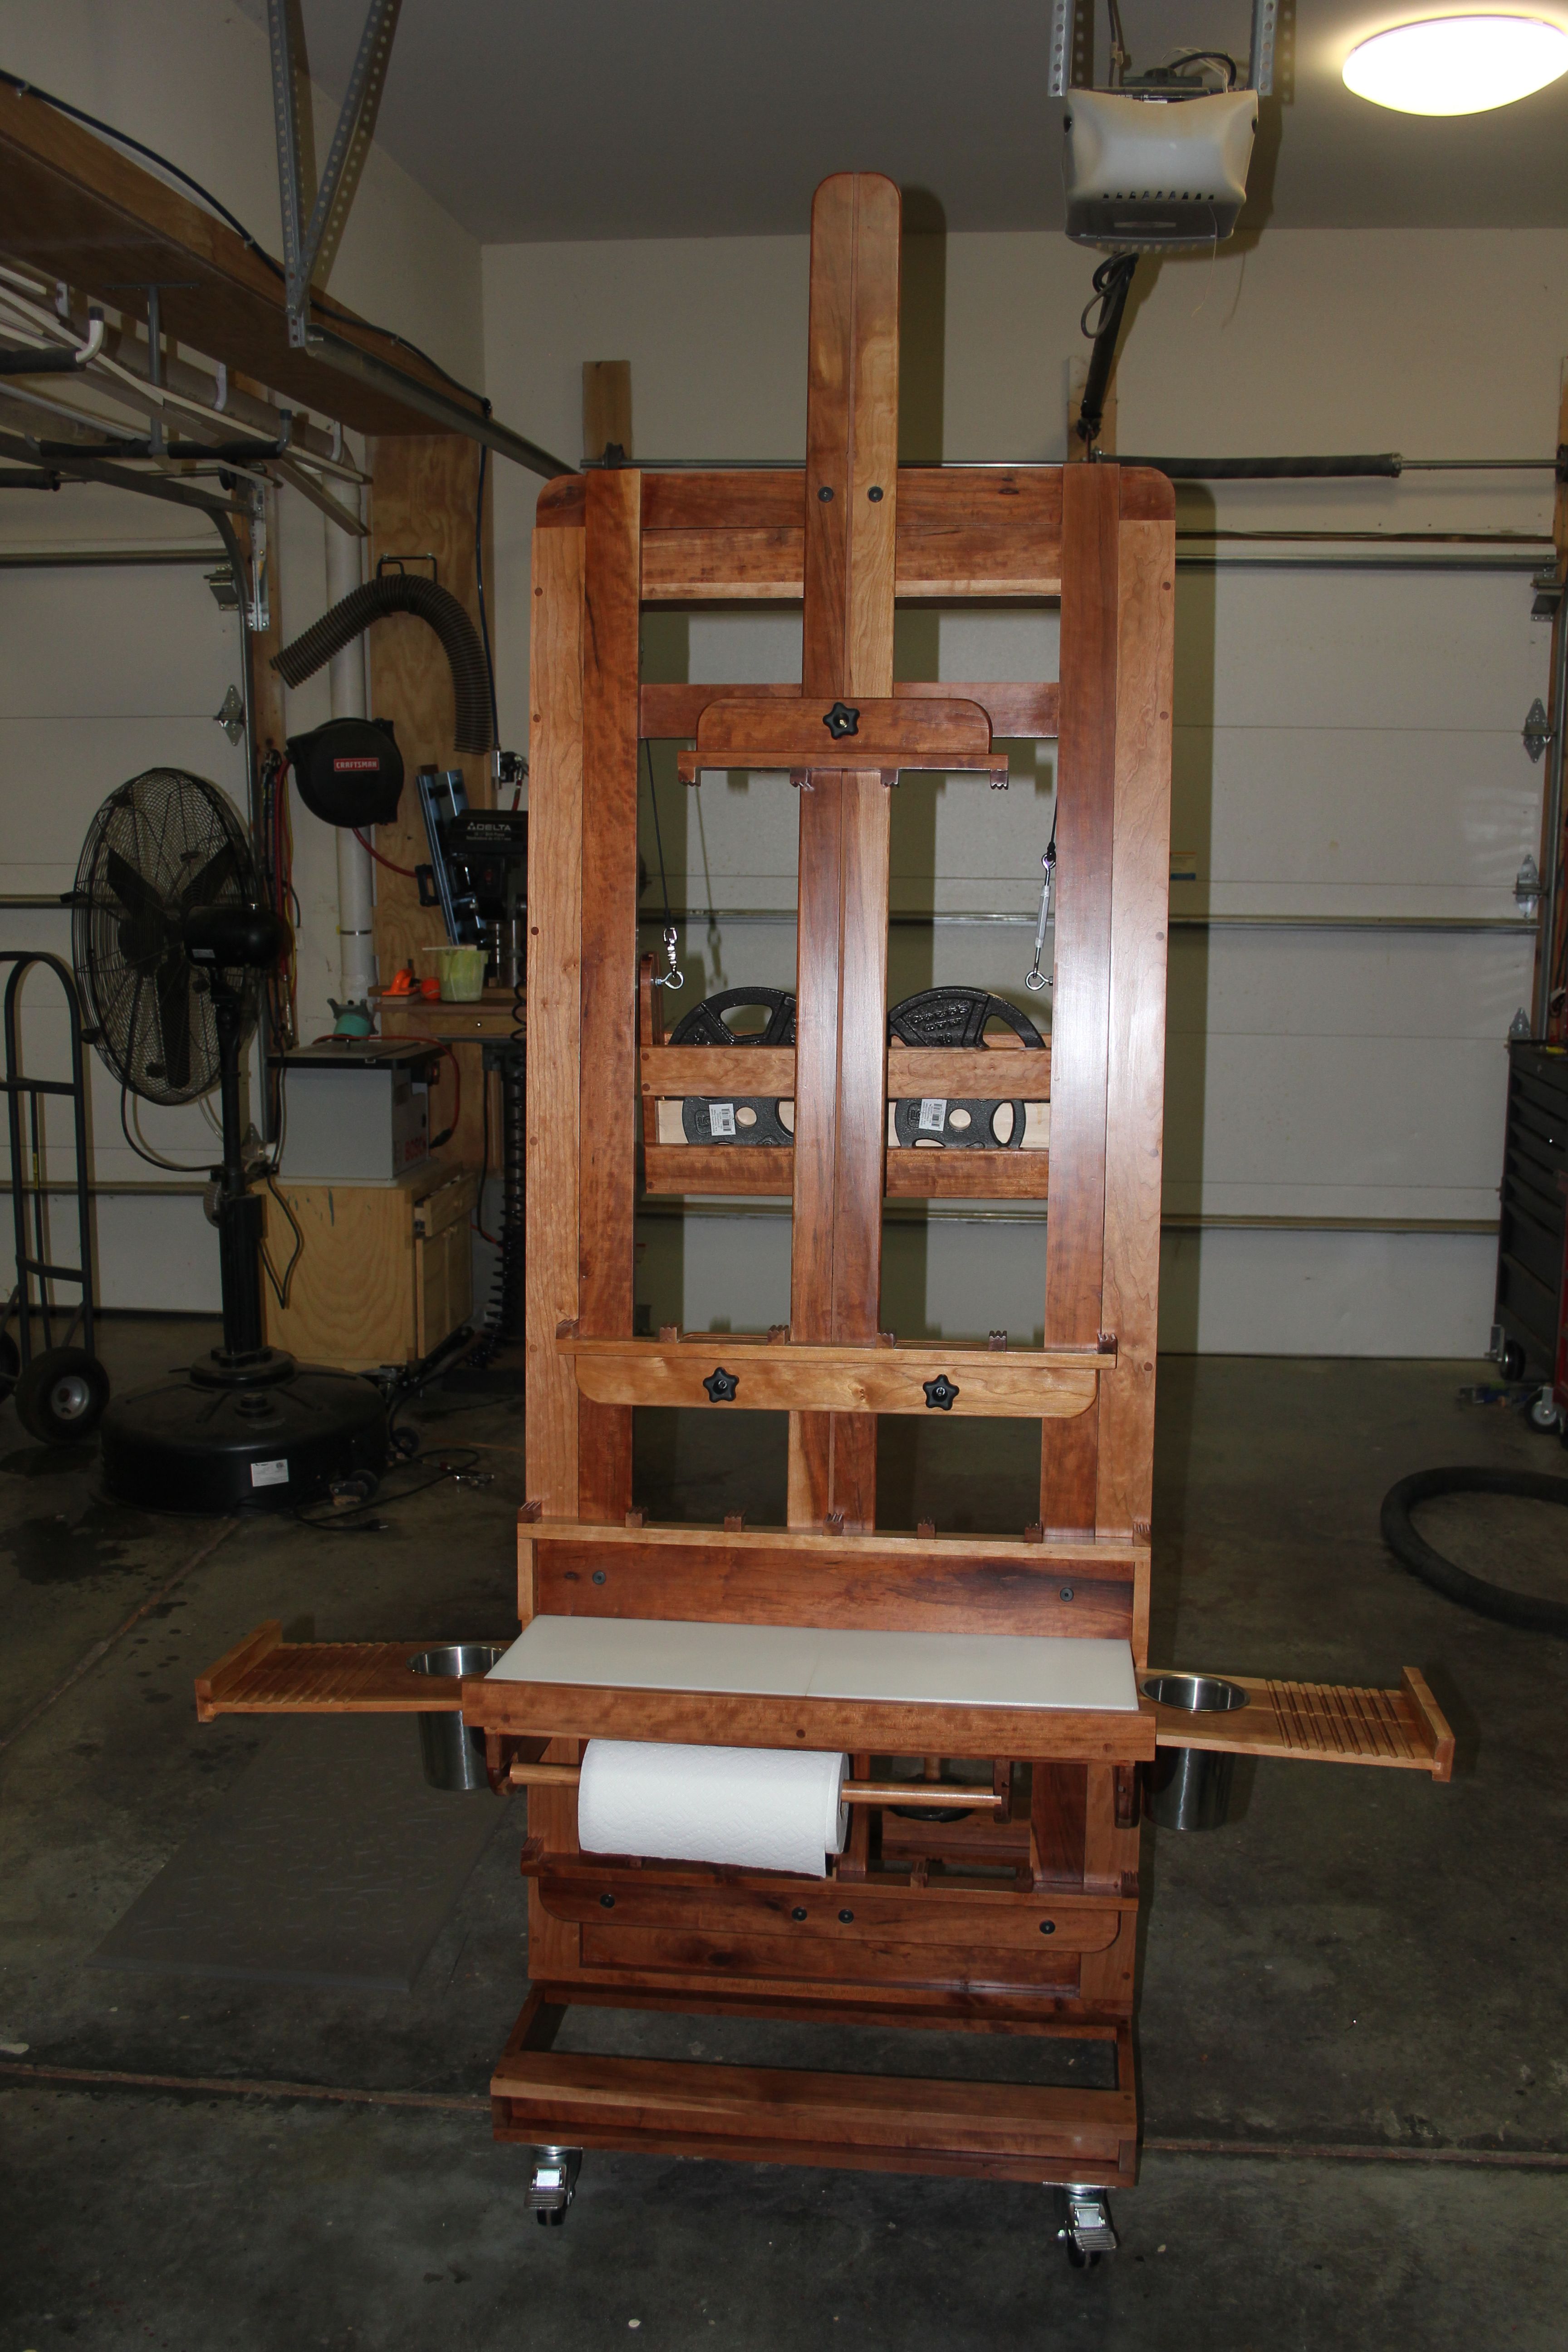
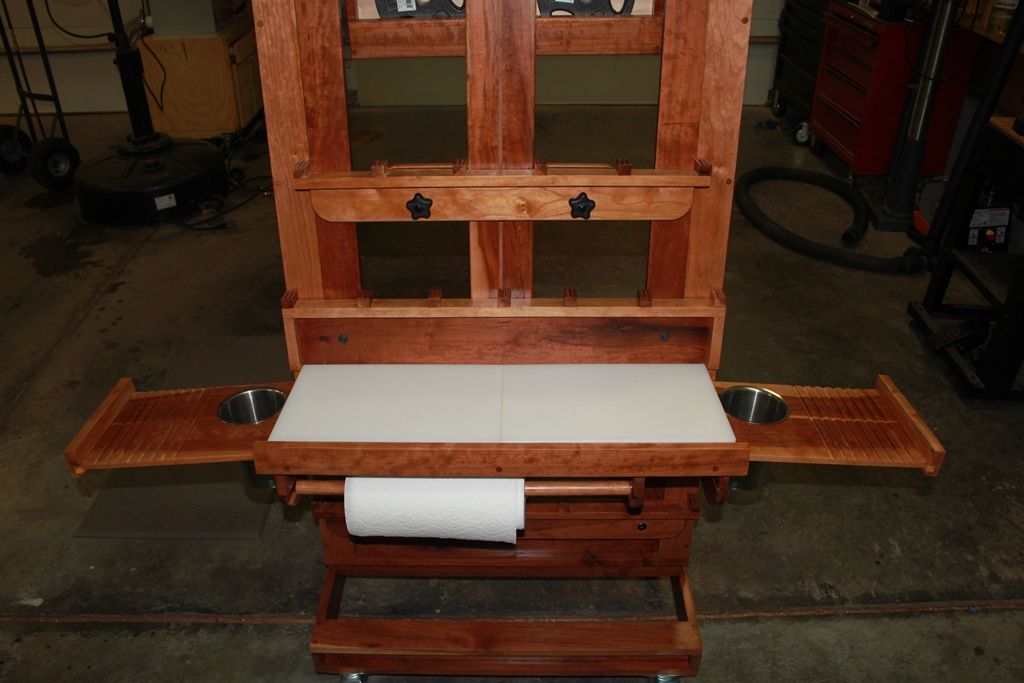
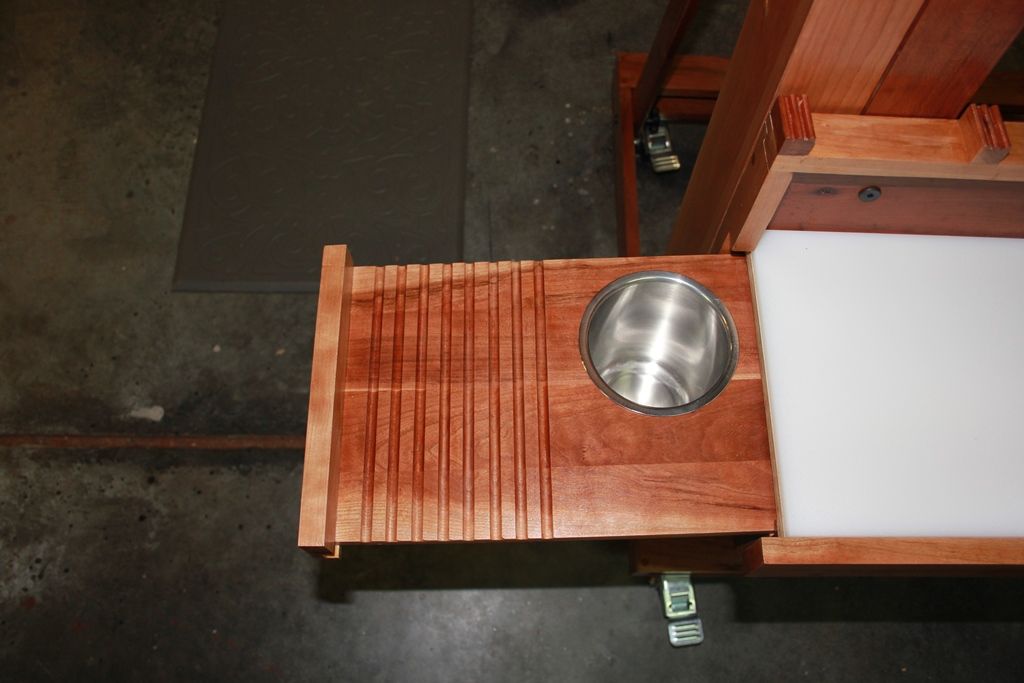
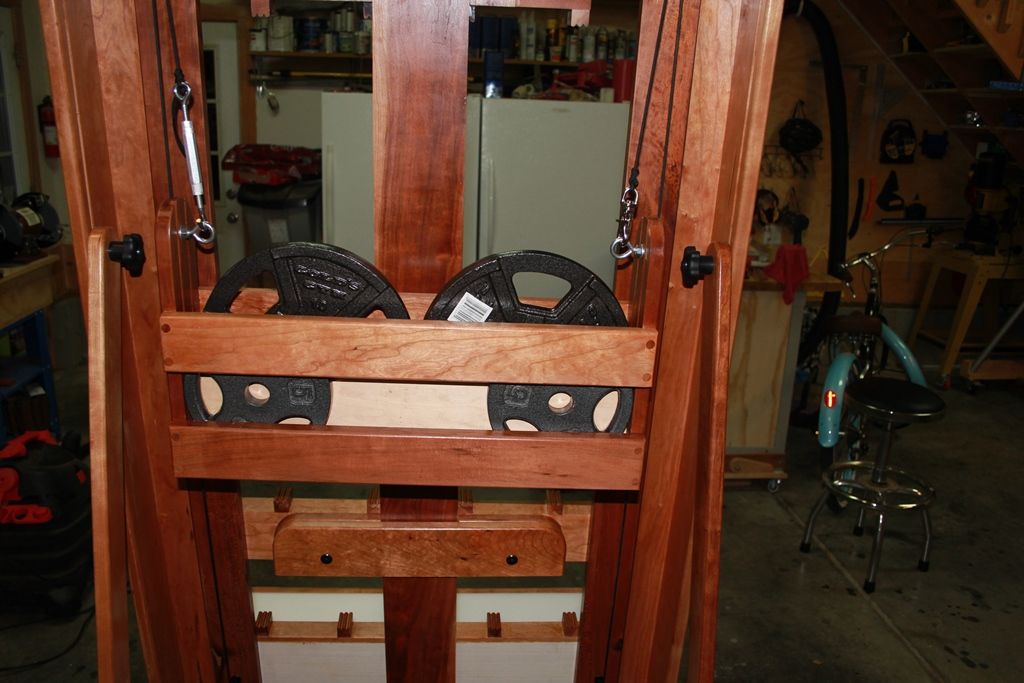
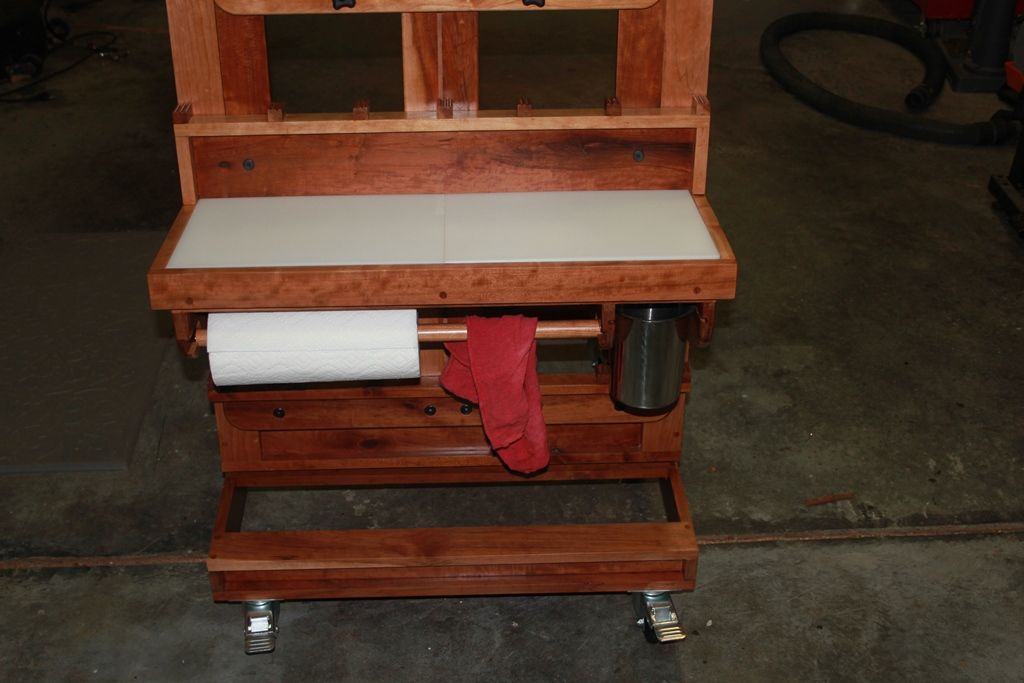
Modifications made to the base plan include using radii rather than dog ears, using a t-slot down the center mast to secure the top support rather than a pressure plate, redesigned adjustable rear support also using t-slots, use of a weight carriage box rather than a pendulum like weight suspension, more substatial adjustable work supports, addition of a towel bar and storage for solvent canisters underneath the taboret base, routed grooves to keep brushes from rolling on the slide out brush rests, holes for holding the solvent canisters in the slide out rests, inclusion of a lower fixed rest at the bottom of the slider so the taboret can be removed and very large canvases can be supported, HDPE panel ($9 cutting board from Sam’s Club) for use as a mixing pallet on the top of the taboret, a taller center mast and finally two dowels mounted in the back of the base for convenient storage of extra counterweight plates.
The project was finished with a sanding sealer and several coats of satin poly.
I built two of these. The first one was in maple and cherry and this one in all cherry. The first one took a month of weekends and evenings as I figured out many of the design modifications on the fly. The second one took two weekends and two weeks of eveings in the shop as I had a better idea of what I was doing. I am a software developer by trade so woodworking is just my recently taken up diversion.





Comments
Hi,
Great job on the easel! I'm preparing to build the same one, and I don't like the idea of the weights just hanging from the back either. I was considering some sort of carriage for the weights, and then I saw your post here – that's just was I was imagining!
You don't happen to have any plans for the weight carriage you built, do you? I'm not an experienced woodworker, so I need all the help i can get!
Thanks,
David
Log in or create an account to post a comment.
Sign up Log in