DIY Wooden Tiles
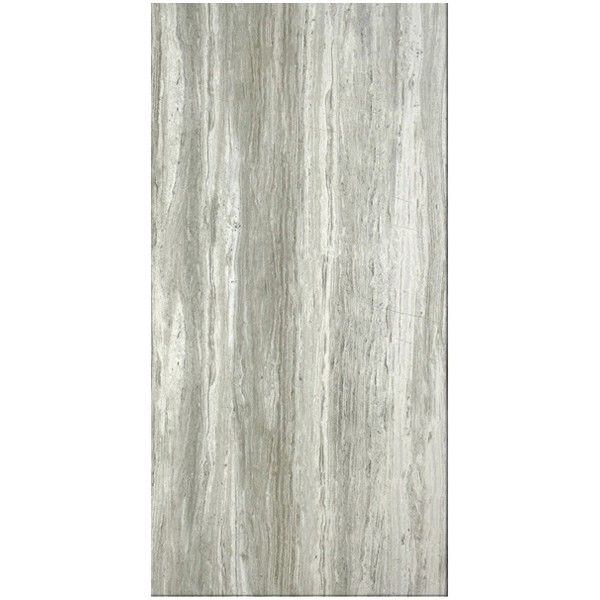
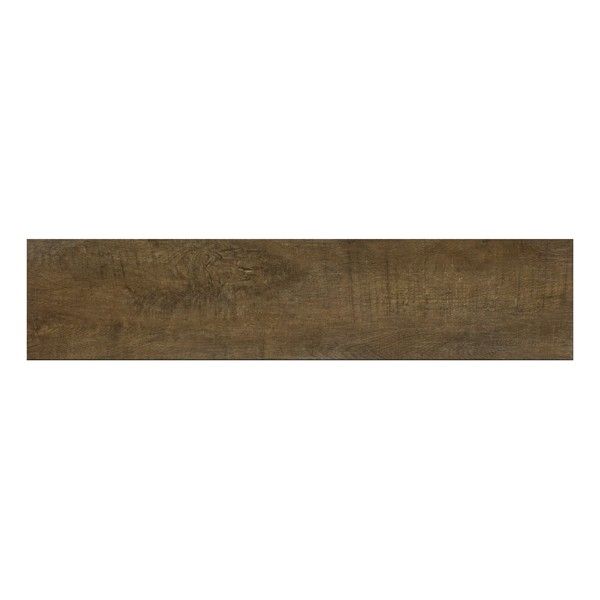
Wood tile flooring is quickly becoming the hottest trend in the flooring industry. With advancing technologies in the manufacturing sector, it now means it is easier to find an elegant looking wood pattern. Installing wood tiles in your home will make the house look natural and attractive, with the budget kept on the lower side. Flooring wooden tiles should offer you durability especially if you install in your residential home. Outdoor wooden tiles can as well be incorporated to complement the interior look of your house with the outside.
Before embarking on a DIY project to install wooden floor tiles, make sure you have the following materials and tools.
ü Coordinating filler or touch-up kit
ü Adhesives
ü A carpenter’s square
ü Safety glasses
ü Nail set and a level
ü Chalk and chalk box
ü Tile spacers
ü Wood saw
ü Mortar and wood tiles
ü Hammer/ rubber mallet
Choosing and determining the pattern is always the first step in tiles installation. Make sure to settle for the best as wooden tiles are meant to last and a good design will reflect your taste and style
Step 1. Measuring and marking floor guidelines
Taking floor measurements will help you know if you have enough tiles to finish the job. If your room is not fitting square, you will need to run chalk guidelines to make your tiles fit with ease. The step is necessary to eliminate pattern drifting across the floor
Step 2. Tile cutting
Use a carpenter’s square and a pencil to make cutting marks. Use your wooden saw to cut the tile across. Avoid cutting too many tiles at the same time since a single miscalculation can ruin many tiles.
Step 3. Mixing the mortar
Floor tiles will require mortar to bond well with the ground. Adhesives work well though they are vulnerable to wet conditions especially when considering outdoor wooden tiles. A pre-mixed mortar can be purchased for those without mixing tools though it is a bit expensive than doing it yourself.
Step 4. Spreading the mortar
Using your chalk guidelines, apply the mortar on the floor. Leave the chalk line exposed to act as a guide. Use a trowel to evenly spread the mortar on the floor. Work on small areas first as applying mortar on large floor areas will mean other spots start drying before you can lay the tiles.
Step 5. Lay the tiles
Beginning at the corner of your room, follow the chalk guidelines and start laying the cut wooden tiles. Use tile spacers to achieve desired spacing. Note that working towards the exit is a preferred method as you will easily tile yourself out of the house. Corners of adjacent tiles should be of equal elevation to avoid protrusions in the room’s floor. Give the tiles 24 hours to dry.
Step 6. Grout
Grouting between the tiles is the final step. This should be done once the tiles have completely dried. Use sanded grout whenever possible as it is durable, but should be avoided on very fine grout lines. After 15 minutes, scrub off the excess before wiping down the tiles so they are cleaned. Make sure you remove any grout before it dries off completely.
Flooring wooden tiles should be furnished to ensure they are moisture resistant especially in high moisture areas.


Log in or create an account to post a comment.
Sign up Log in