“Vertebrae”
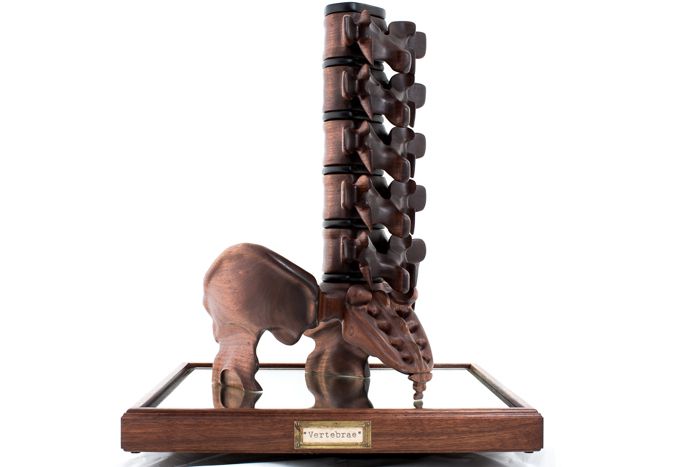
Two years ago I had a bad fall that resulted in a non-dislocated fracture of the sacrum. This fracture kept me out of the studio for an extended period of time. During this time I started walking as a form or rehab. When visiting my parents in Door County I was walking down the road I grew up on and noticed the skeletal remains of deer that just didn’t make it across the road. Spinal columns and the interlocking vertebras are very beautiful when you really study them. Between the deer and researching human anatomy, due to the fall, I started sketching.
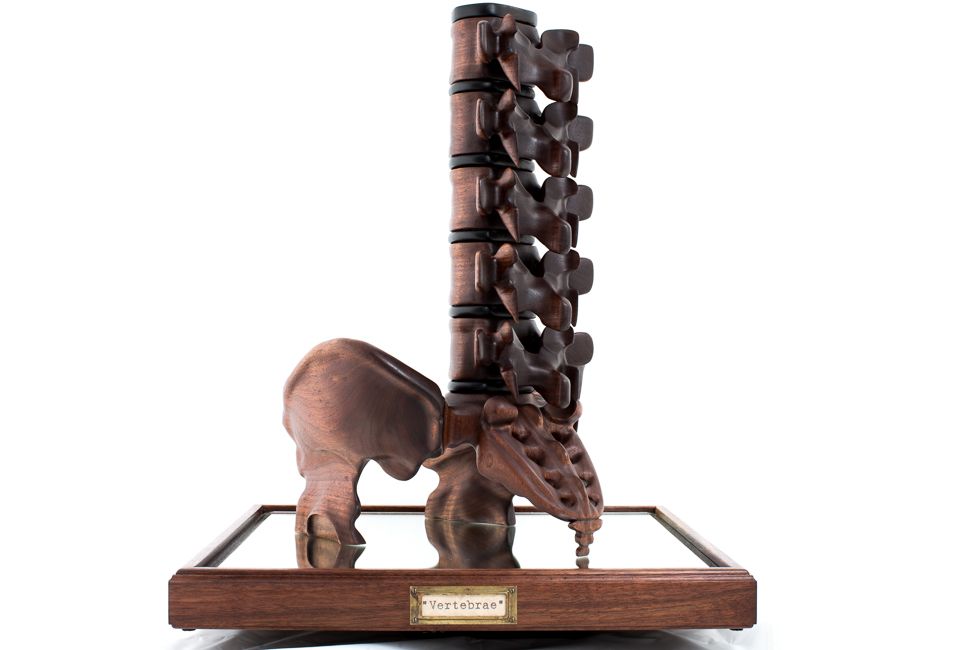
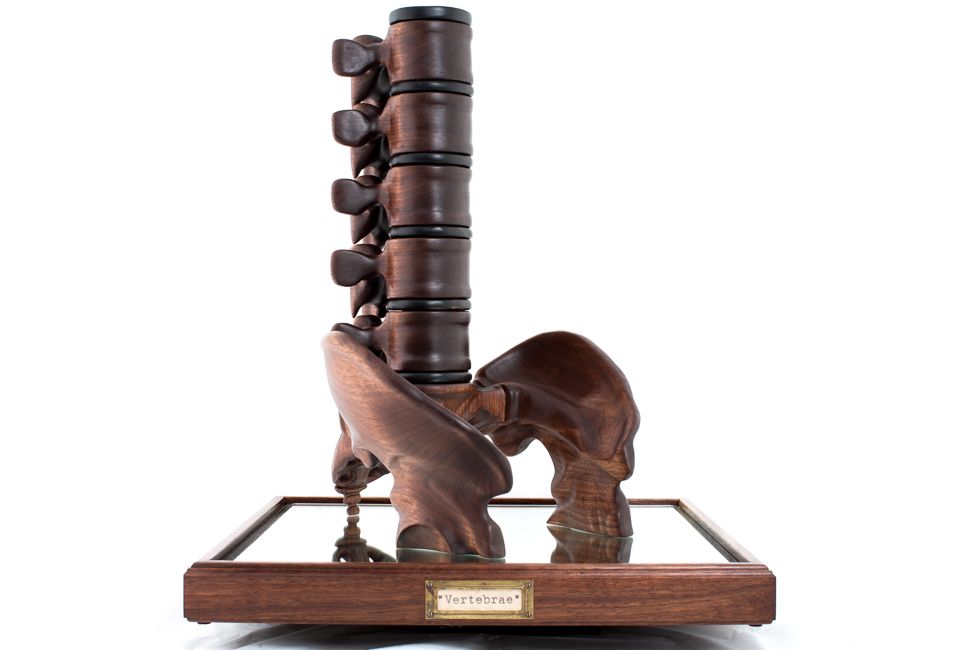
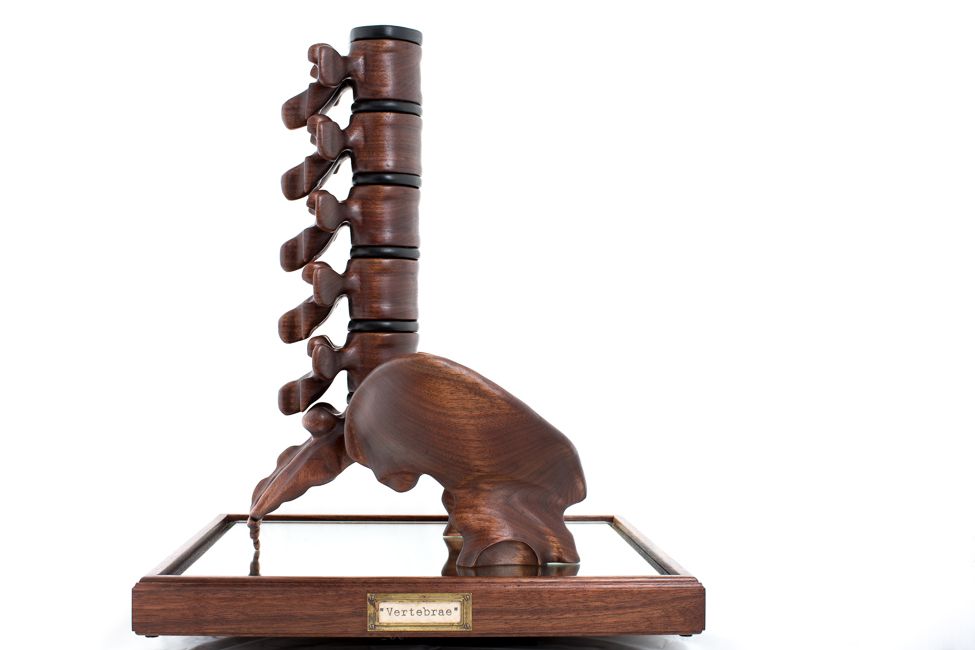
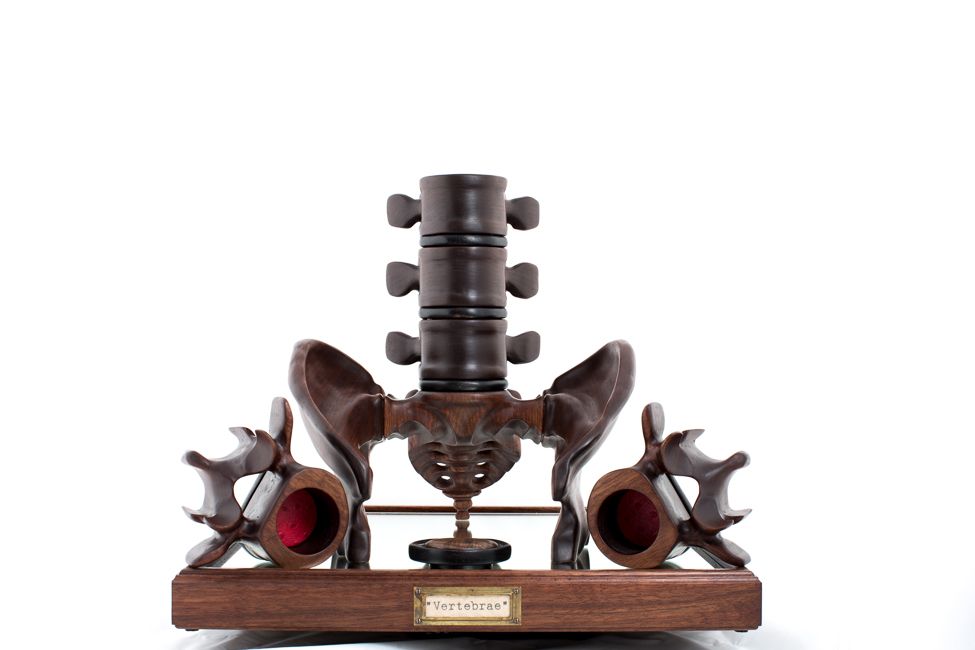
All components of “Vertebrae” started from an 84″ x 3″ x 7″ piece of black walnut. Each vertebrae began by attaching compound cut sketches to a block. Next I drilled a 2″ diameter hole about ¾ of the way through the block to create the cavity. Then all the fun started. Using a mixture of bandsaw, chisels, rasps, Foredom, coping saw, drill press, etc … I hand carved/shaped all the vertebrae.
I created a fixture to make the intervertebral discs. Doing the discs separate from the vertebra allowed me to ebonize them. I used a vinegar/steel wool mixture to accomplish that. One side of the lid was also created using the fixture. Although, for the top of the lid I created another routing fixture to make a figured walnut insert. I domed this insert using rasps. I left the insert natural so it would really stand out against the ebonized walnut. The insert represents the nucleus of an intervertebral disc.
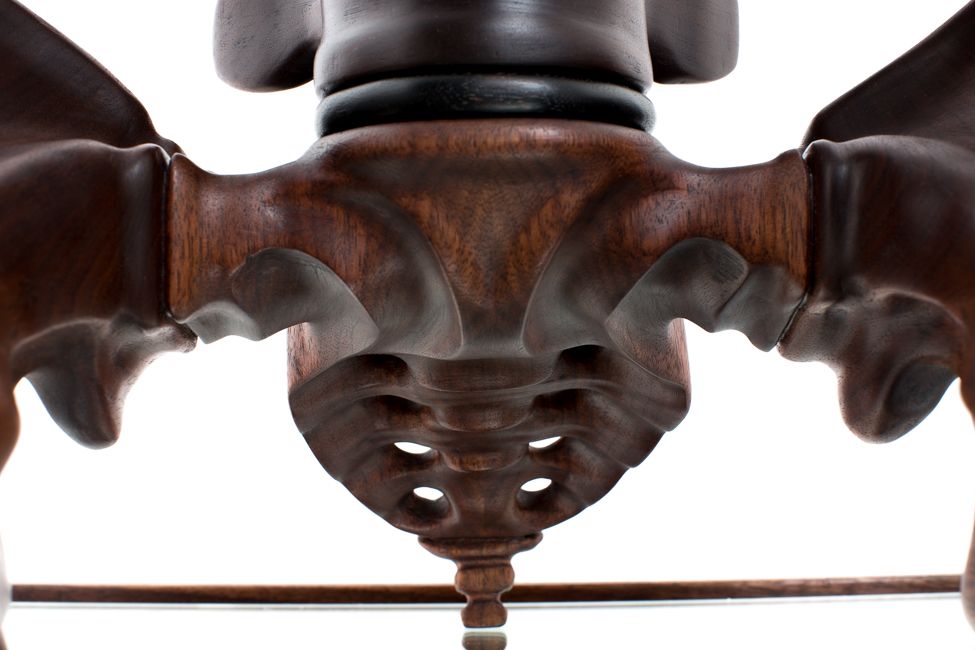
The sacrum portion of the box started as 6″ x 6″ x 7″ block of glued up black walnut. I sketched up the shape I wanted and attached the compound cut sketches, drilled a 2″ diameter cavity to except the first intervertebral disc and then started the cutting and hand carving. I left two flats on the ends to create mounting locations for the two pelvic bone carvings. I created two routing fixtures that allowed me to mount the pelvic bones using a mortise and tenon and dowel joint. Once I got the rough pelvic bone blocks to mount I removed them and started the lengthy carving session on them.
The stand was also created from black walnut. I antiqued the paper label using a coffee/coffee grounds/bake at 200 degree method.
“Vertebrae” was finished with four soakings of Danish Oil. It was waxed once with natural Briwax and then again with Satin liquid wax. “Vertebrae” is 12.5″ x 12″ x 18.75″. The stand is 17.5″ x 17.5″ x 2″.


Comments
Fantastic work!
As a fellow woodworker who also has worked in the spinal orthopedic field for the last 20 years I have a special appreciation for this piece - thank you.
A very interesting and intriguing piece.
Well done!
Thank you guys! Jeff, really happy you like it. I've had a few chiropractors respond also which is pretty cool.
great one
Wow brilliant work done!
Remarkable Design. Its amazing.
awesome job
Great Craftsmanship.
Fantastic design!
I liked it. Thumbs up for crafting
Wow brilliant work done!
Nice design!
Congratulations - a masterpiece!
Its looking different, thanks for the post
Great Craftsmanship.
Nice one!
Thanks for amazing design.
Its good idea and beautiful creativity.
Great craftsmanship.
Log in or create an account to post a comment.
Sign up Log in