Modern Maloof Rocker
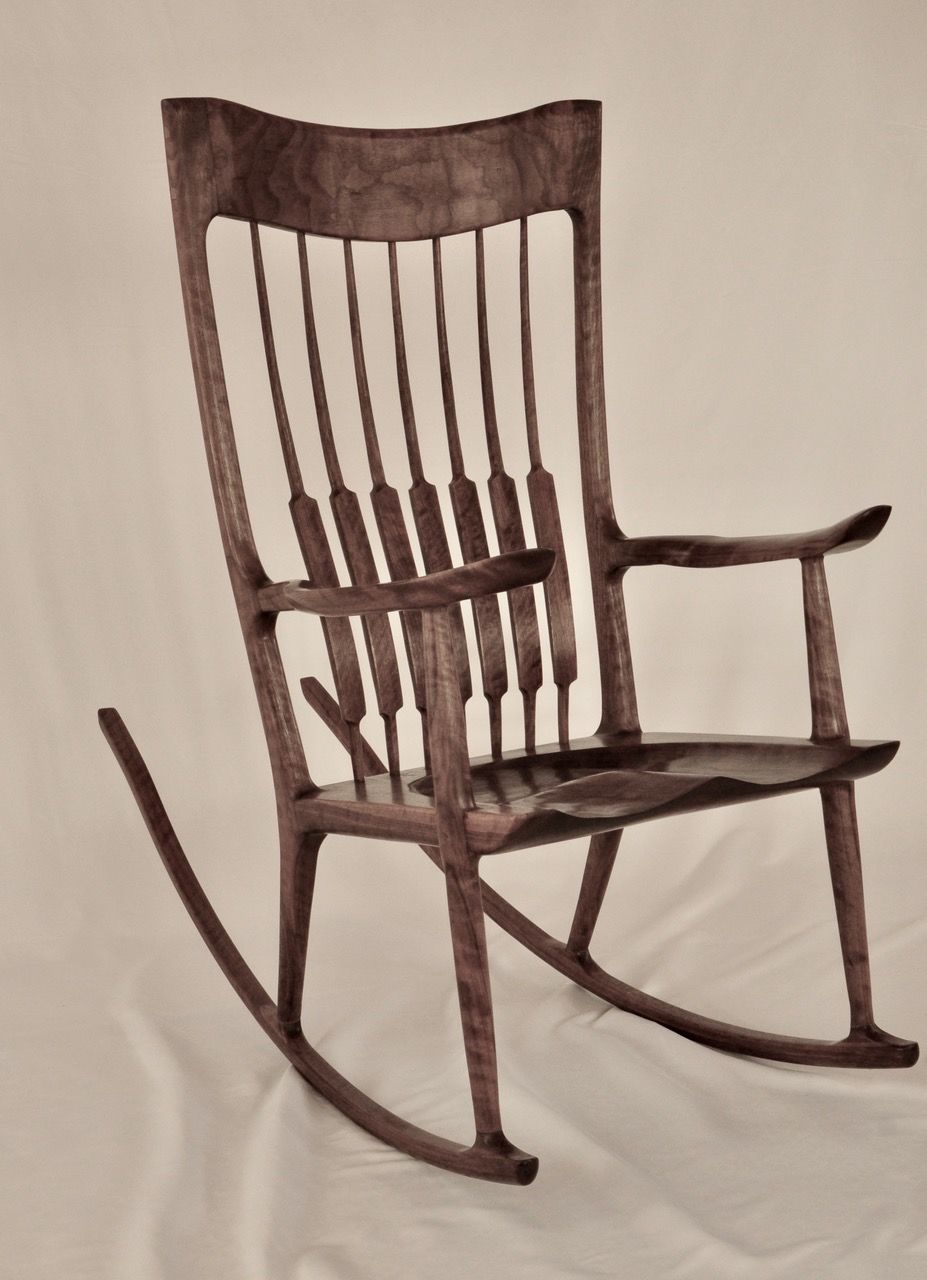
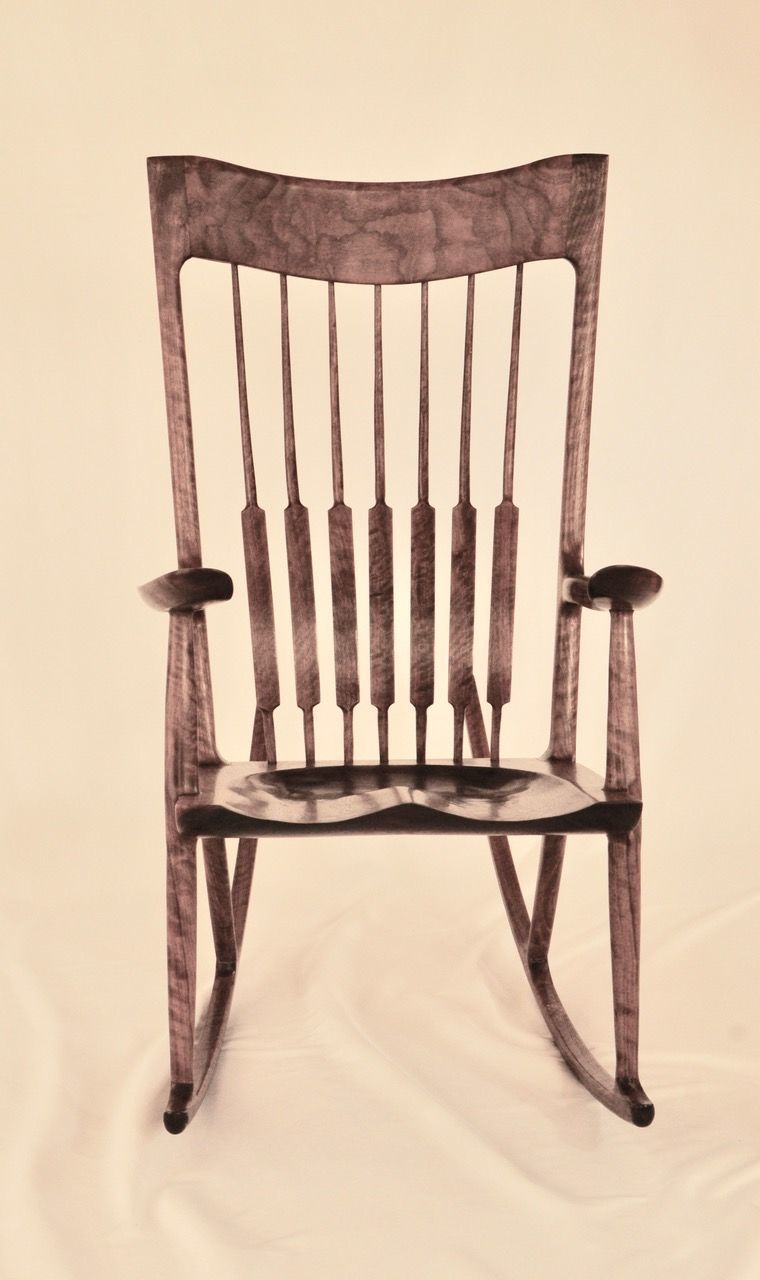
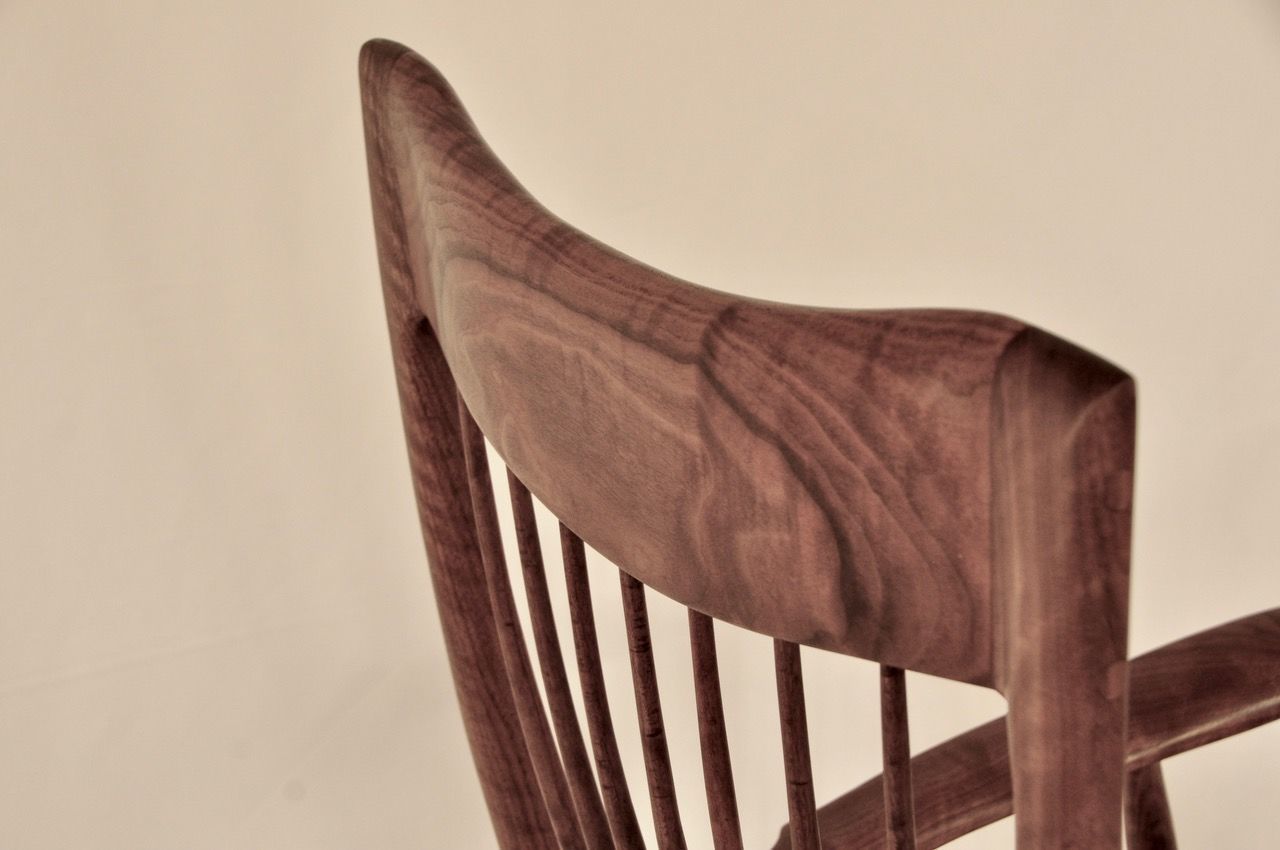
Motivated by the realization that the days I will be able to enjoy making fine furniture are numbered, I decided to attempt to make a classic Maloof rocking chair. After reviewing more than a hundred photos of Maloof style rockers on Google, I picked my two favorites. I used these as a basis for developing the SketchUp plans for my modern Maloof rocking chair.
Throughout most of the process, my goal was to successfully make a functional, comfortable rocking chair. As each component came out better than I could have hoped, my goal changed. I wanted to produce a rocker comparable to the two outstanding examples I had chosen as my “go-byes”.
In addition, as I designed and crafted my chair, I identified several tweaks to the methods as outlined in the 1983 Fine Woodworking magazine article “How I Make a Rocker” by Sam Maloof. Without the Maloof article, I would never have attempted a project this complex. The tweaks include:
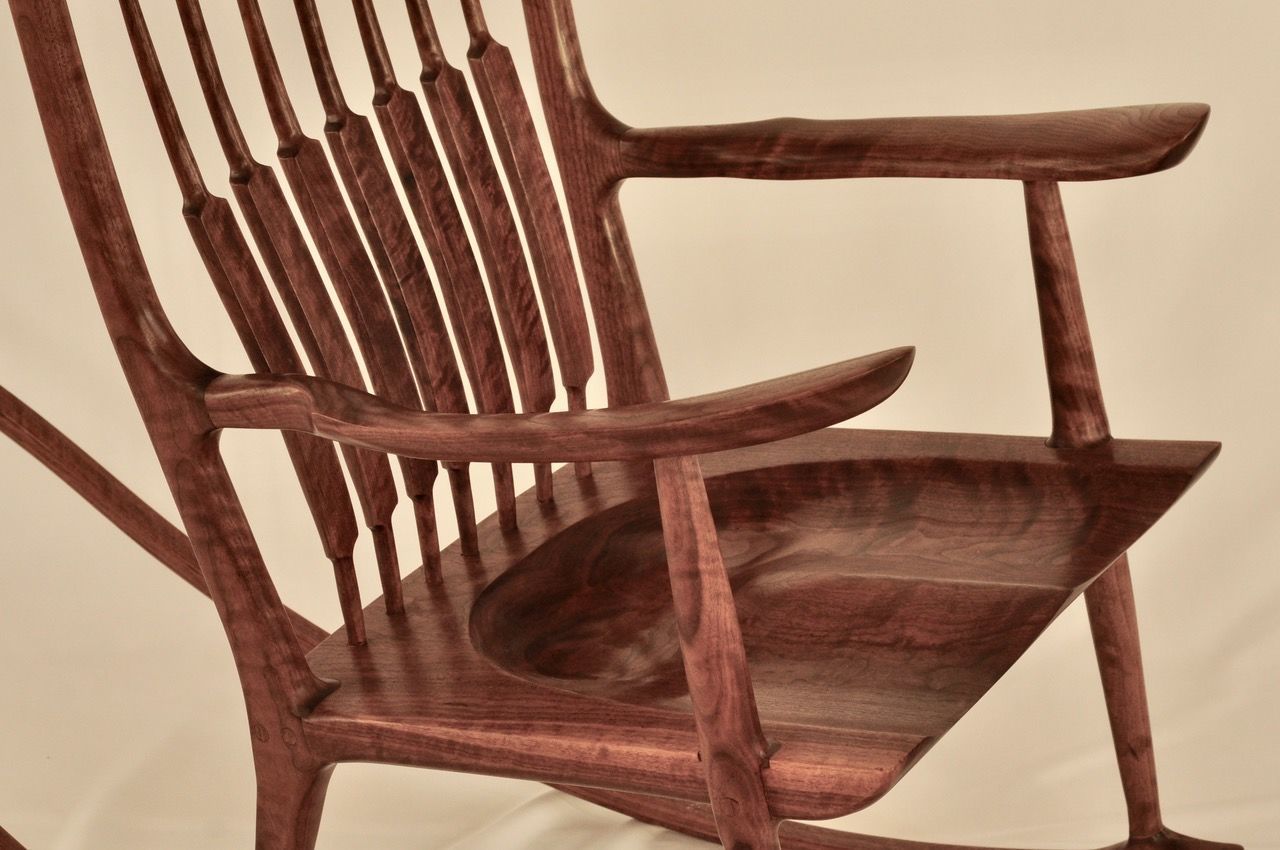
- I used 8/4 select figured walnut with each component from a single board. The seat had a single hickory splined joint down the center. Maloof preferred common #1 and #2 walnut 3” to 7” wide, glued into boards of the width required.
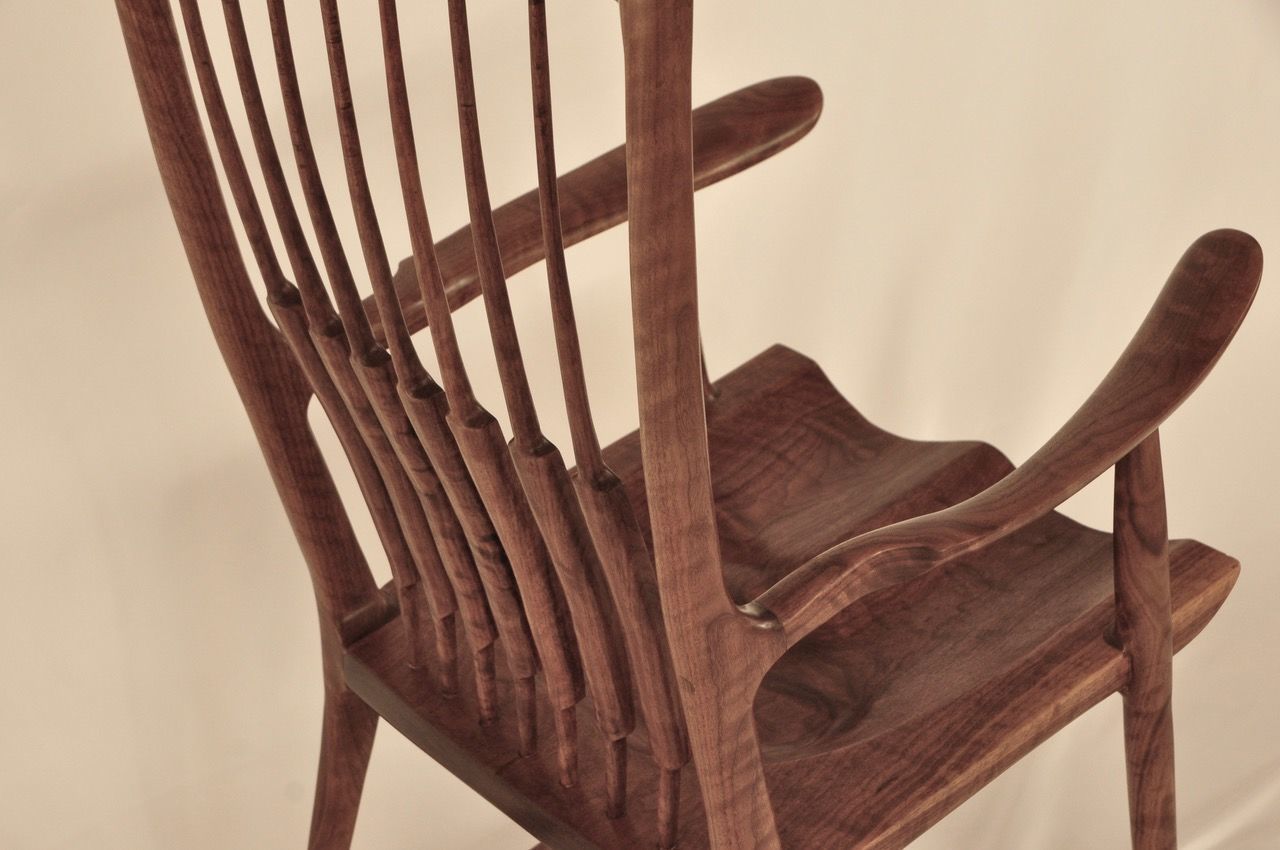
- I used 3” #9 high strength framing screws that were designed for zero stripping, no splitting and no predrilling. Using these screws, only one screw was needed for each front leg (which is fully enclosed on three sides), and two screws for each side of the crest rail. Maloof used drywall screws.
- I rough shaped the seat by coving the two halves on my table saw. Maloof rough shaped his individual narrower boards by free-handing on a band saw.
- Maloof hand cut the 5 degree angled rear leg joint. I used a jig to hold the seat half on edge and cut the angled joint on my table saw using my mitre gauge set to +/- 5 degrees.
- Maloof used ebony plugs to accent the joints. I used figured walnut plugs cut from scraps from near the counter sunk locations to make the screw locations as inconspicuous as possible.
- I used Titebond II for the laminated rockers and the seat joint, but used high strength polyurethane glue for all the other joints. Maloof used white glue.
- I modified the rocker from Maloof’s circular cross section to a half square (with rounded corners) over a half circle. My rockers are 1 1/4” wide and 1 1/8” thick. This section provides a 40% increase in stiffness (which is inversely proportional to deflection under load) over the 1 1/8” circular section. I prefer the look of the flat top rockers.
- I attached the front legs to the arms using a 1 1/4” Forstner bit rather than using a 1/2” wooden dowel.
- I attached the rockers to the legs using high strength framing screws and high strength polyurethane glue rather than using 1/2” wooden dowels.
- Maloof used a polyurethane, tung oil mix with bees wax added to the final coat. I filled the pores by sanding with 320 grit wet-dry sandpaper over wet natural Watco Danish Oil. After the oil was dry, I final sanded with 400 grit wet-dry sandpaper and buffed the components using the Beall Wood Buffing system.
- The finished components were glued together and clamped using the high strength framing screws. Final touch up and buffing of the joints completed the rocker finish.
There are a number of ways that a Maloof rocker can be judged. It can be judged by the aesthetics of the design, the strength of the construction, the execution of the joints, the smoothness and tactile feel of the finish, or comfort of the rocker. By any of these measures, I now have a new favorite modern Maloof rocker.


Log in or create an account to post a comment.
Sign up Log in