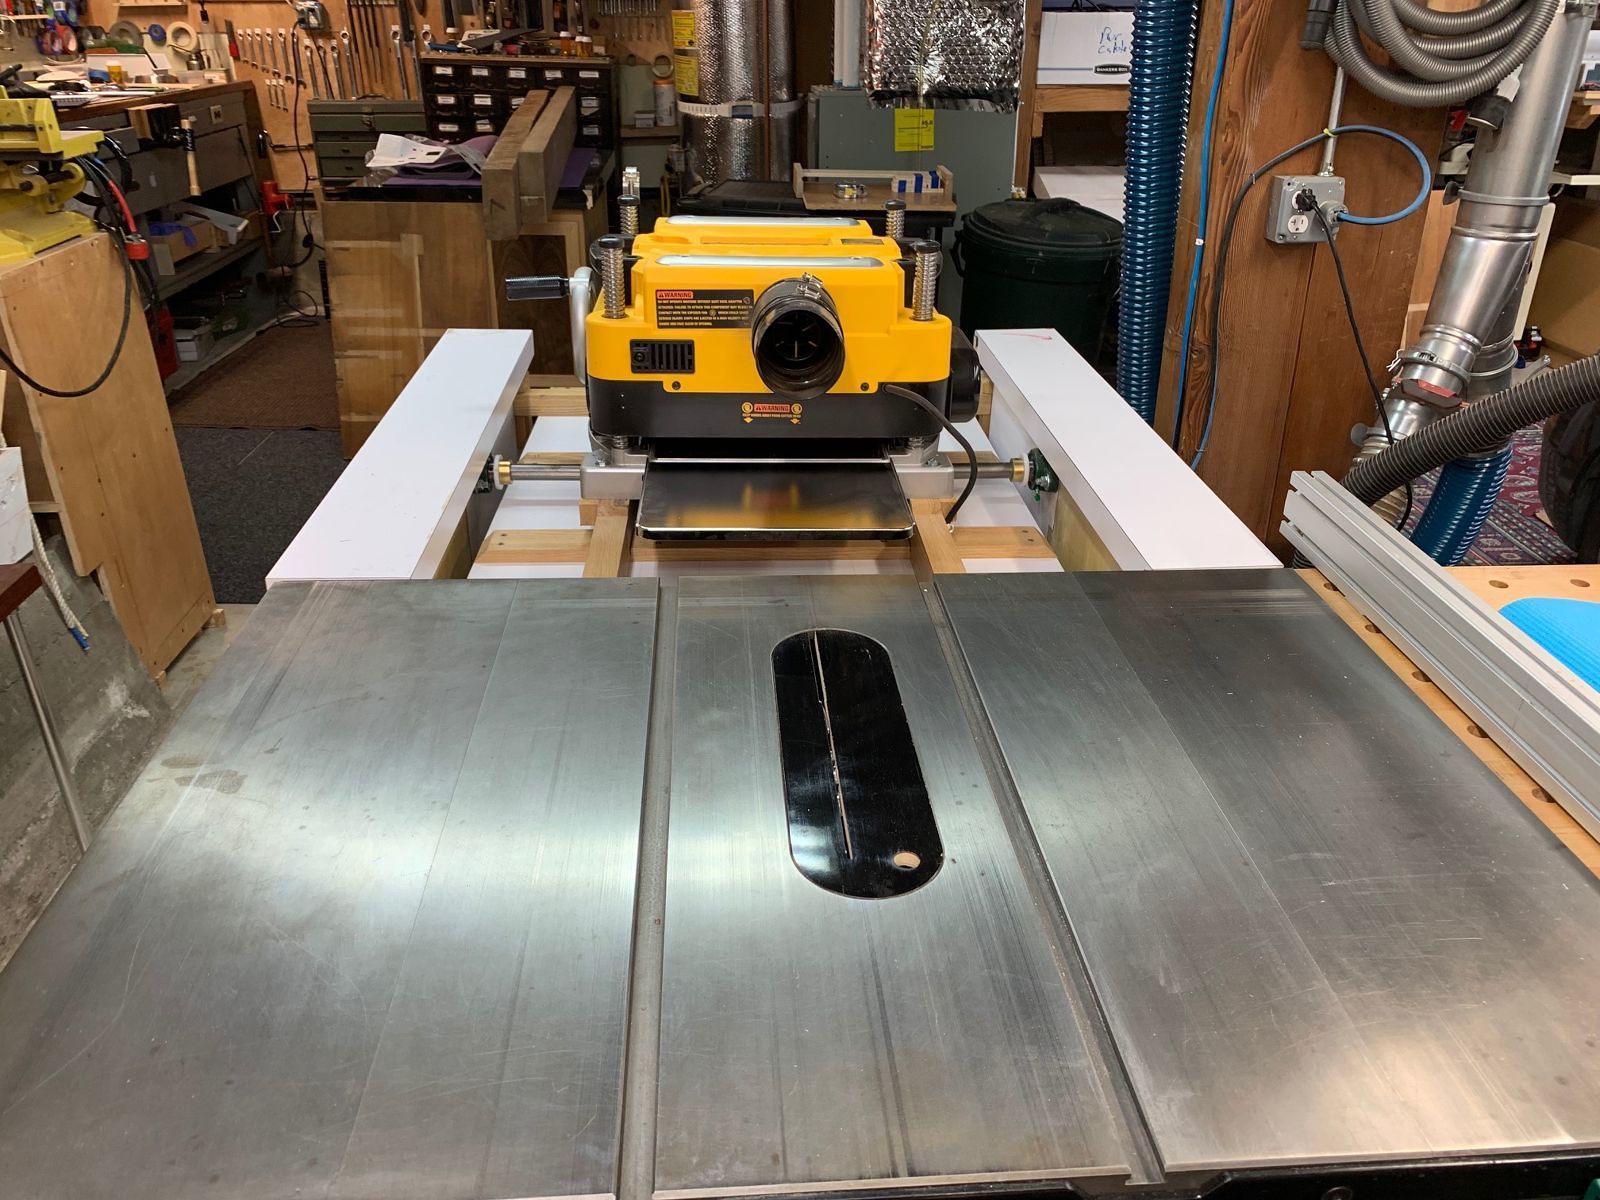
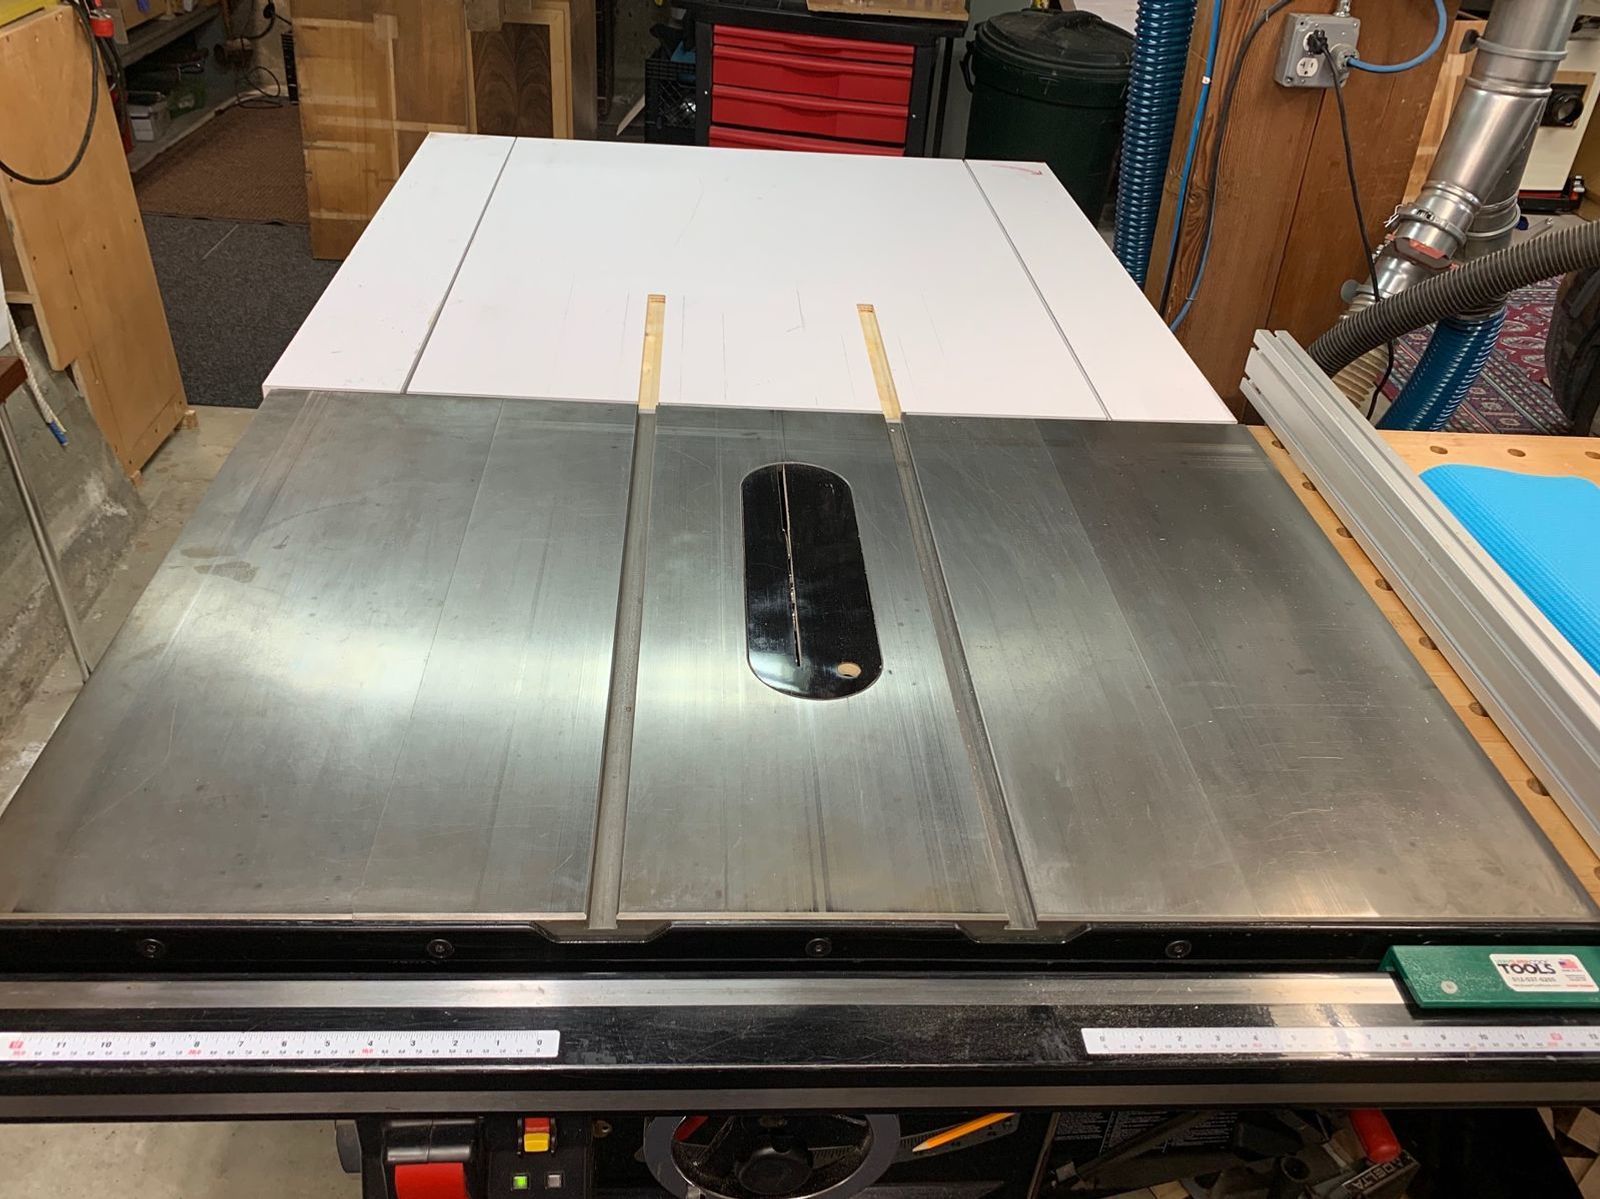
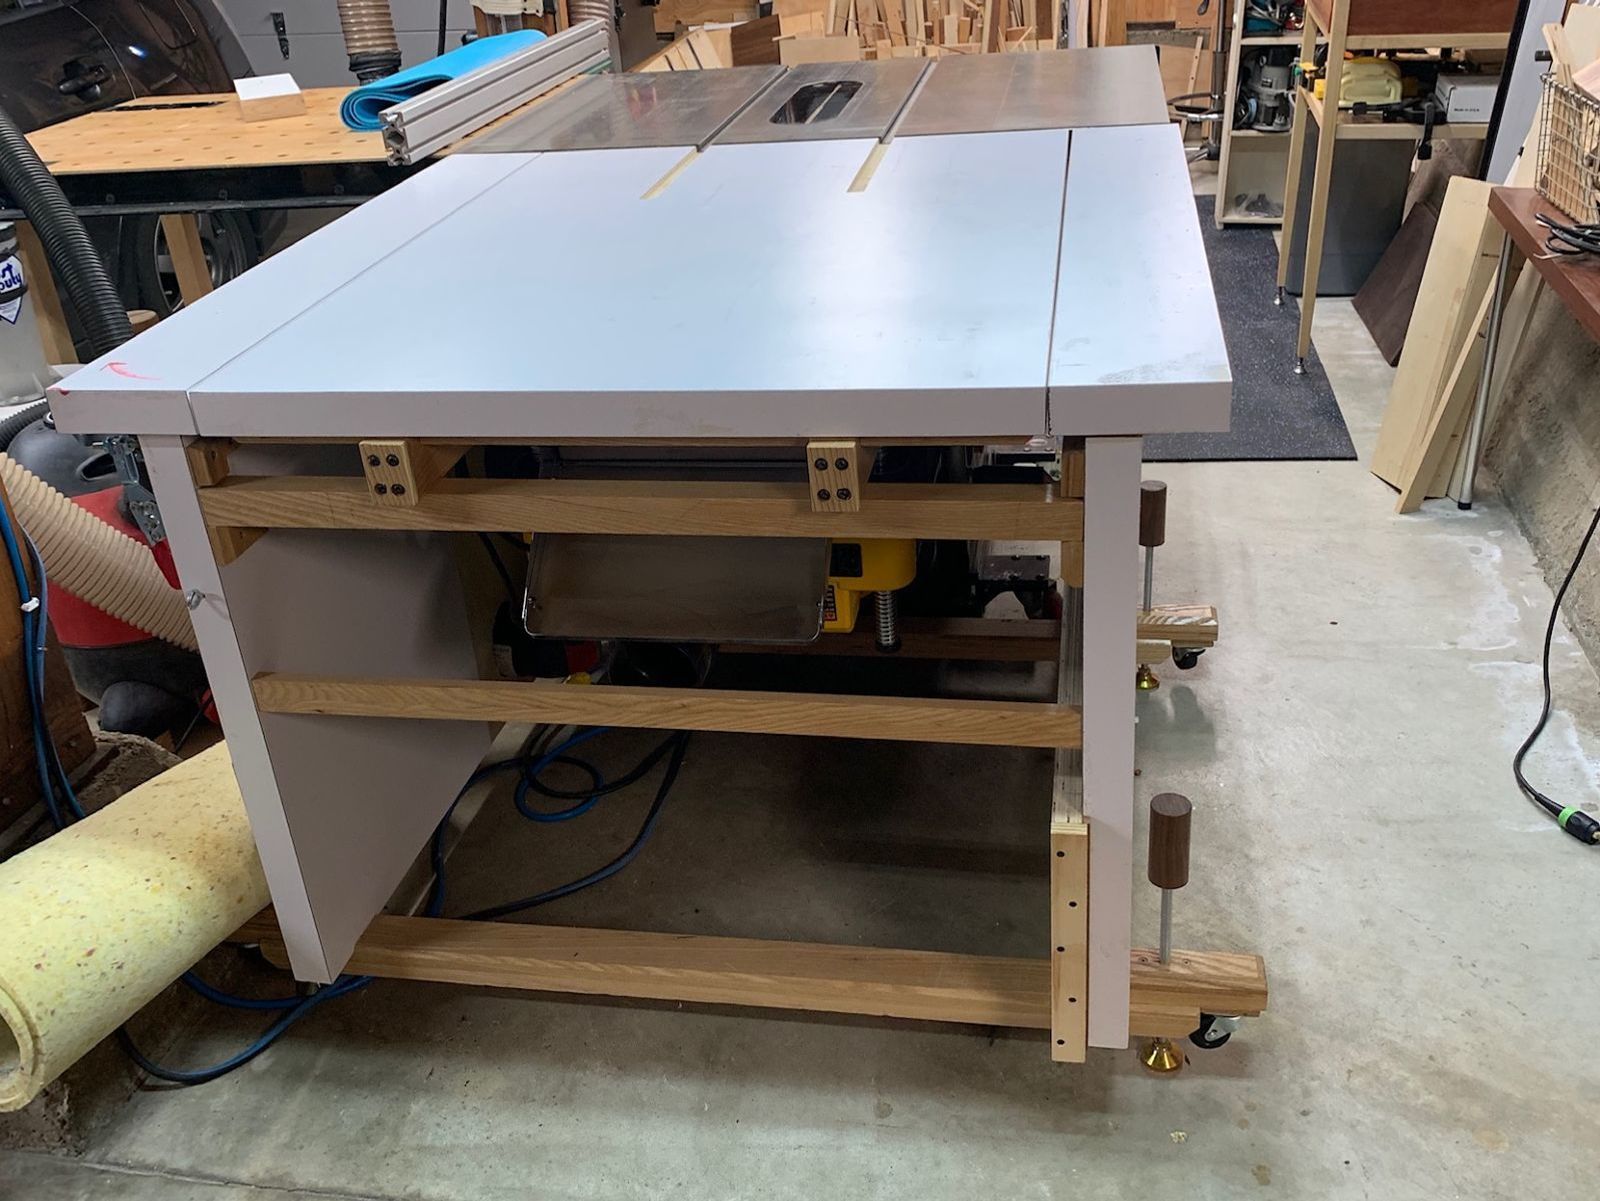
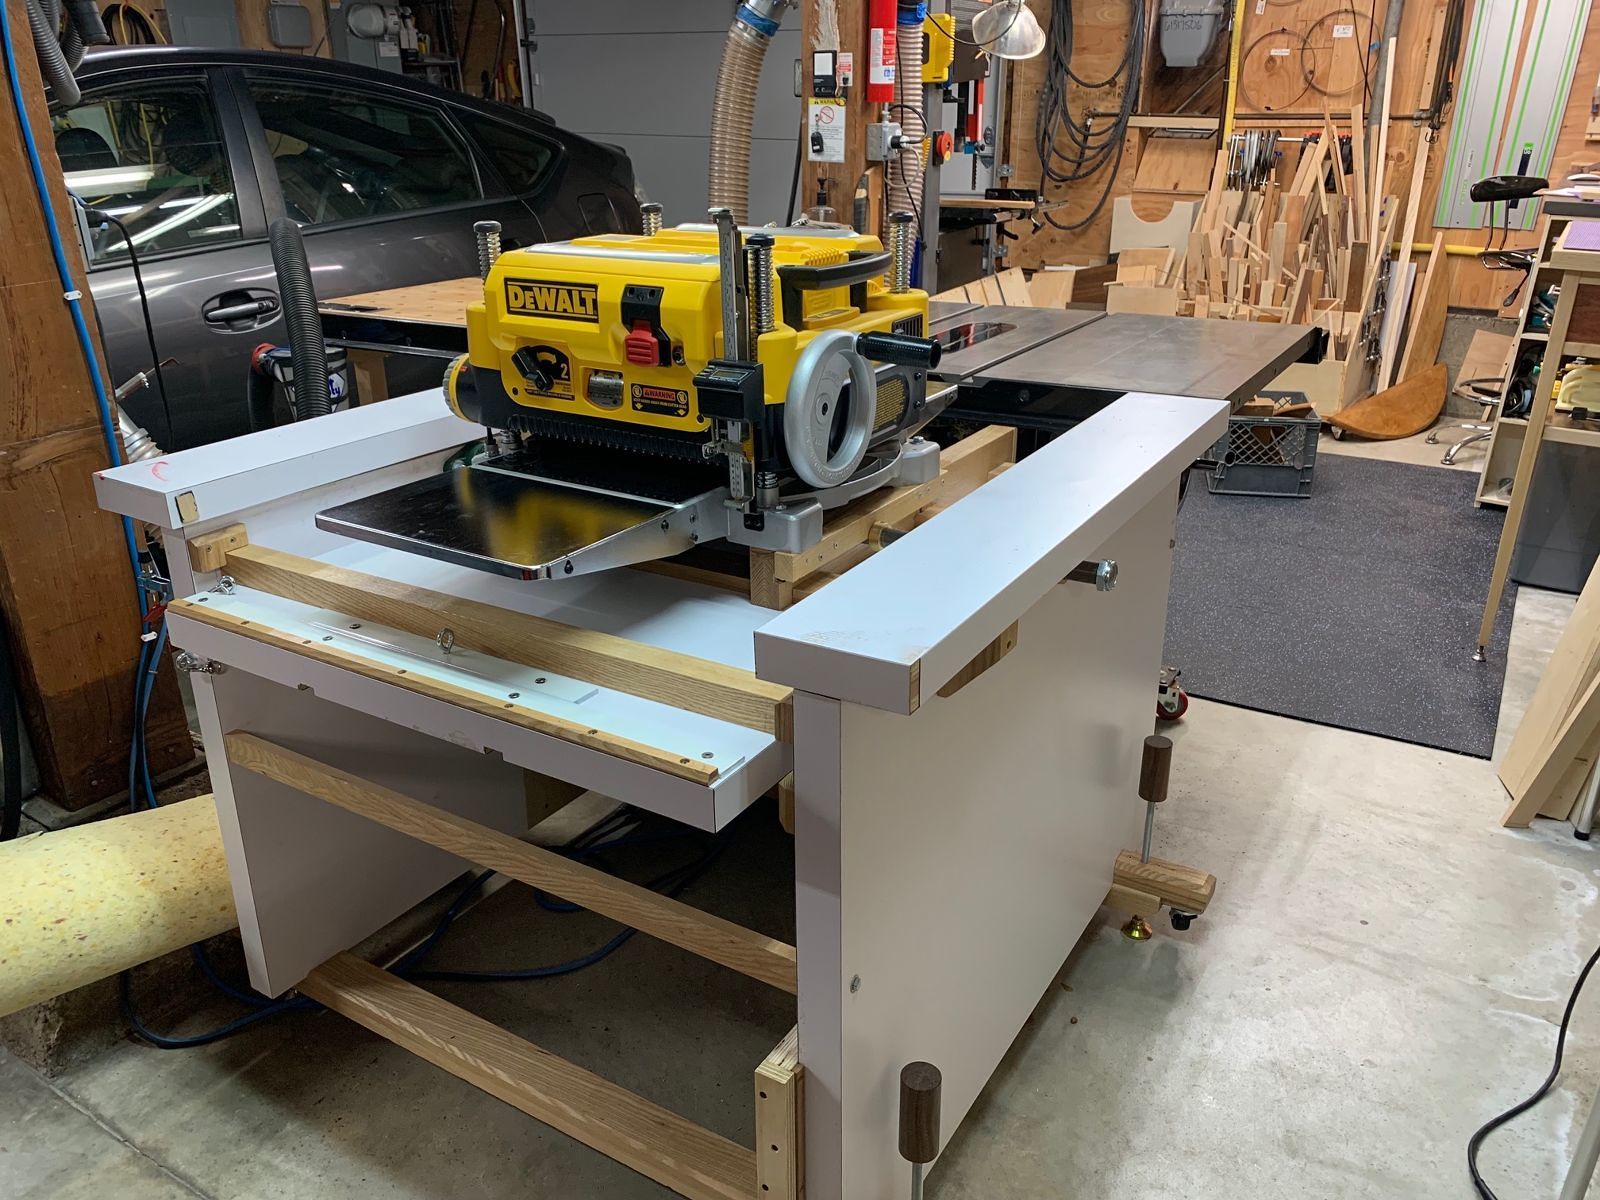
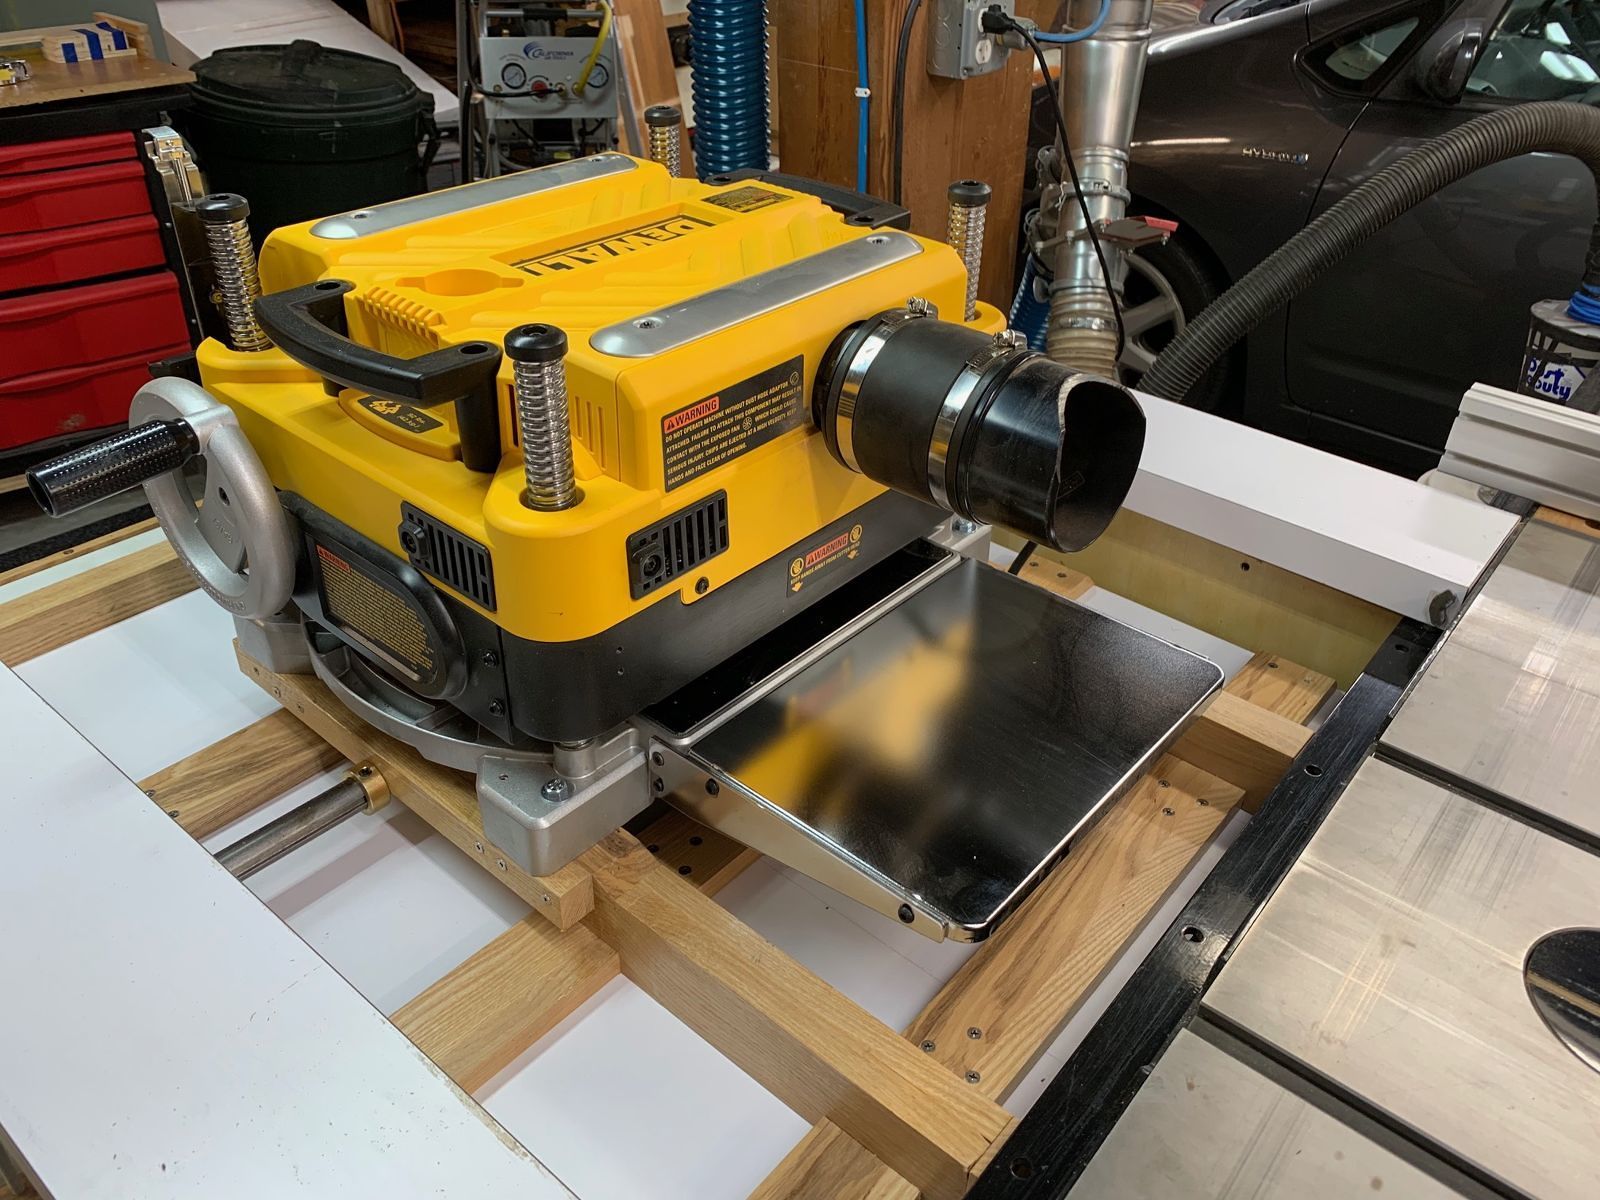
Table saw outfeed / Planer table
When in the planing position, the table saw top serves as support for planed stock. There’s less than a 1/2″ difference height difference between the planer and the table saw surfaces.
Get It All!
UNLIMITED Membership is like taking a master class in woodworking for less than $10 a month.
Start Your Free Trial
With its graceful curves, cabriole legs, and ornamental back splat, a Queen Anne side chair is a bucket list build for many woodworkers. Dan Faia had a very specific Queen…


UNLIMITED membership - Get access to it all
Start Free TrialBecome an UNLIMITED member and get it all: searchable online archive of every issue, how-to videos, Complete Illustrated Guide to Woodworking digital series, print magazine, e-newsletter, and more.
Get complete site access to video workshops, digital plans library, online archive, and more, plus the print magazine.
Already a member? Log in
We use cookies, pixels, script and other tracking technologies to analyze and improve our service, to improve and personalize content, and for advertising to you. We also share information about your use of our site with third-party social media, advertising and analytics partners. You can view our Privacy Policy here and our Terms of Use here.
Log in or create an account to post a comment.
Sign up Log in