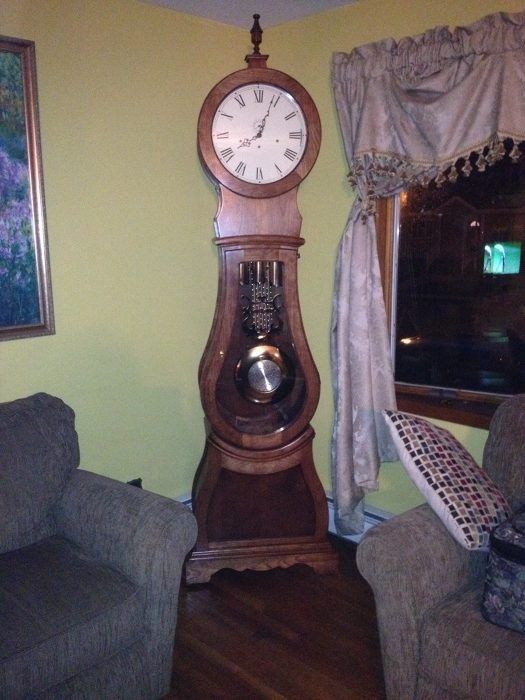
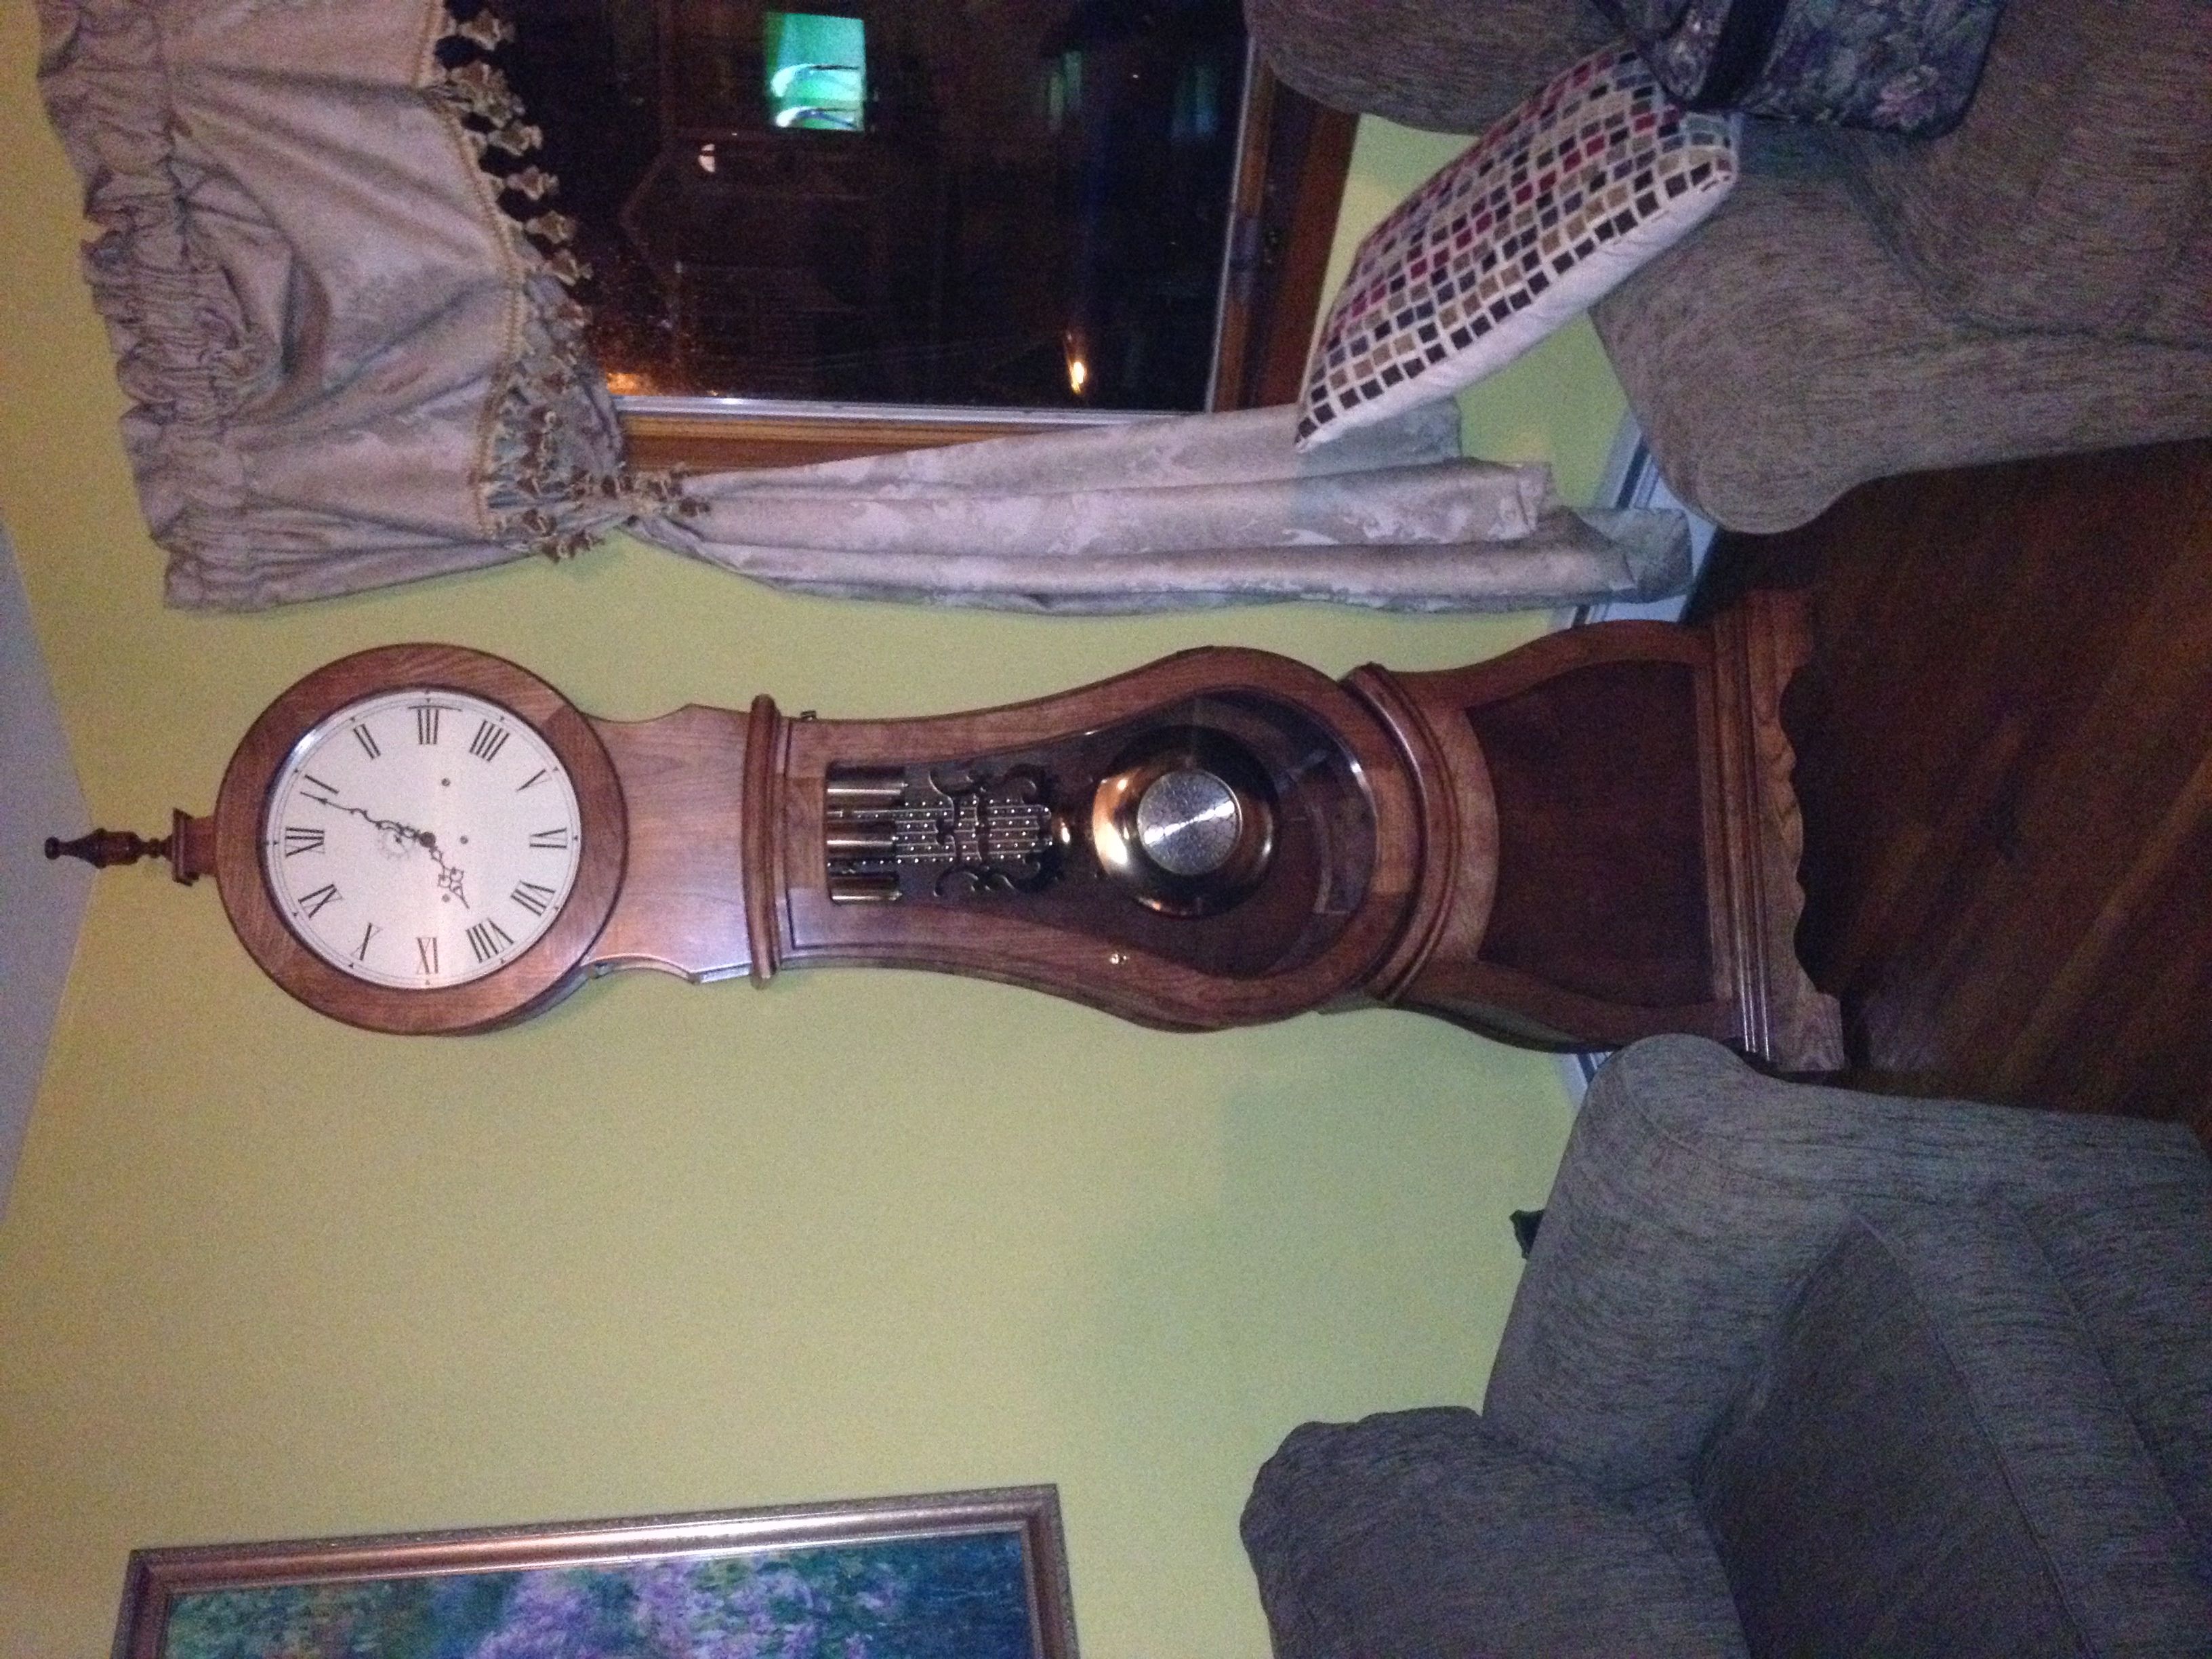
Mora Grandfather Clock

Mora Clock
I found the Mora Clock project to be very challenging yet rewarding. In my assessment I give the plans
a 9 of 10, I think they were very well through for the most part. I did feel that they could have been better arranged as far as sequence goes but that only required extra forethought not really the flaw in plans.
I am a retired local 28 sheet-metal worker who works with wood as a hobby. I consider my skill level near professional. Most challenging part for me was the veneering and rounded moldings. The project will only turn out as well as the templates you make for it, attention to detail is a must. As a word of advice, I strongly recommend using a spiral up solid carbide duplicating router bit to minimalize tearout while doing duplicating operations. One further word of caution, I strongly recommend sanding the stock to be duplicated within a 16th of an inch when introducing the stock to the duplicating router bit, the bit has a tendency to grab violently hopefully your fingers will never be in harms way.
I did start with the base this was pretty straightforward, I made the carcass only, I did not make any moldings. All moldings should be made once all the carcass are completed and fit properly. I also used a 5/32 router bit instead of the 8th inch bit that was called out in the plans for all the dadoes that will receive the bendable plywood. This allowed me to use 1/8 inch bendable plywood also known as Italian Birch. Instead of trying to cut the veneer perfectly as shown in the plains this enabled me to separate the front and back by about an eighth of an inch both front and back. I used 10 D nail in each end of the carcass as a spacer. Then I cut the paper backed Venere to the inside dimension and was able to slide both the Venere and the plywood into the dado when the nails were removed, on the base cabinet, the waist cabinet, the Neck and the Hood. I also the veneered the inside of the waist cabinet once it was completely together, I did not try to tuck this in to the dado.
Be very careful with the contact cement as not to allow any on any finished surface as it will affect the finish.
Next I worked on the Hood Front and back and door. All three one made from four pieces cut on 45° angle’s then doweled together. I used a circle Jig with my router to make the templates. I made them out of quarter inch birch plywood.
I then turn my attention to the base cabinet again pretty straightforward I used the templates with the plan paper glued to them to locate all holes.
Same goes for the waste cabinet. Please note the waste cabinet pieces 15 L and 15 R front and back simply need to be aligned with a jointed edge. But the door peaces 41 L and R require a half inch offset hence the reason is 42 and 43 are different lengths. Something I feel should have been called out in the drawings.
Now on to the bent side see method used above.
Now on to the rounded moldings. At first thought it was a bit intimidating looking, I did watch the video attached with the website also on YouTube. Unfortunately the video shows you cutting the bottom and top layer separately this is not the case. They must be glued together before any miter is to be made. Also in the drawings there is at the end of each template a 45° portion at first glance it did not seem necessary but with further thought it is in fact necessary. Take the time to cut the templates at each end to 45° this will allow you when cutting the compound miter on the round molding so it does not up on a rounded portion. Also note that only the front piece is a compound miter the returns are a single miter. In a perfect world we would be dealing with 45° angle’s in my case this was not so the angles did wind up being tenths of a degree off from 45%.
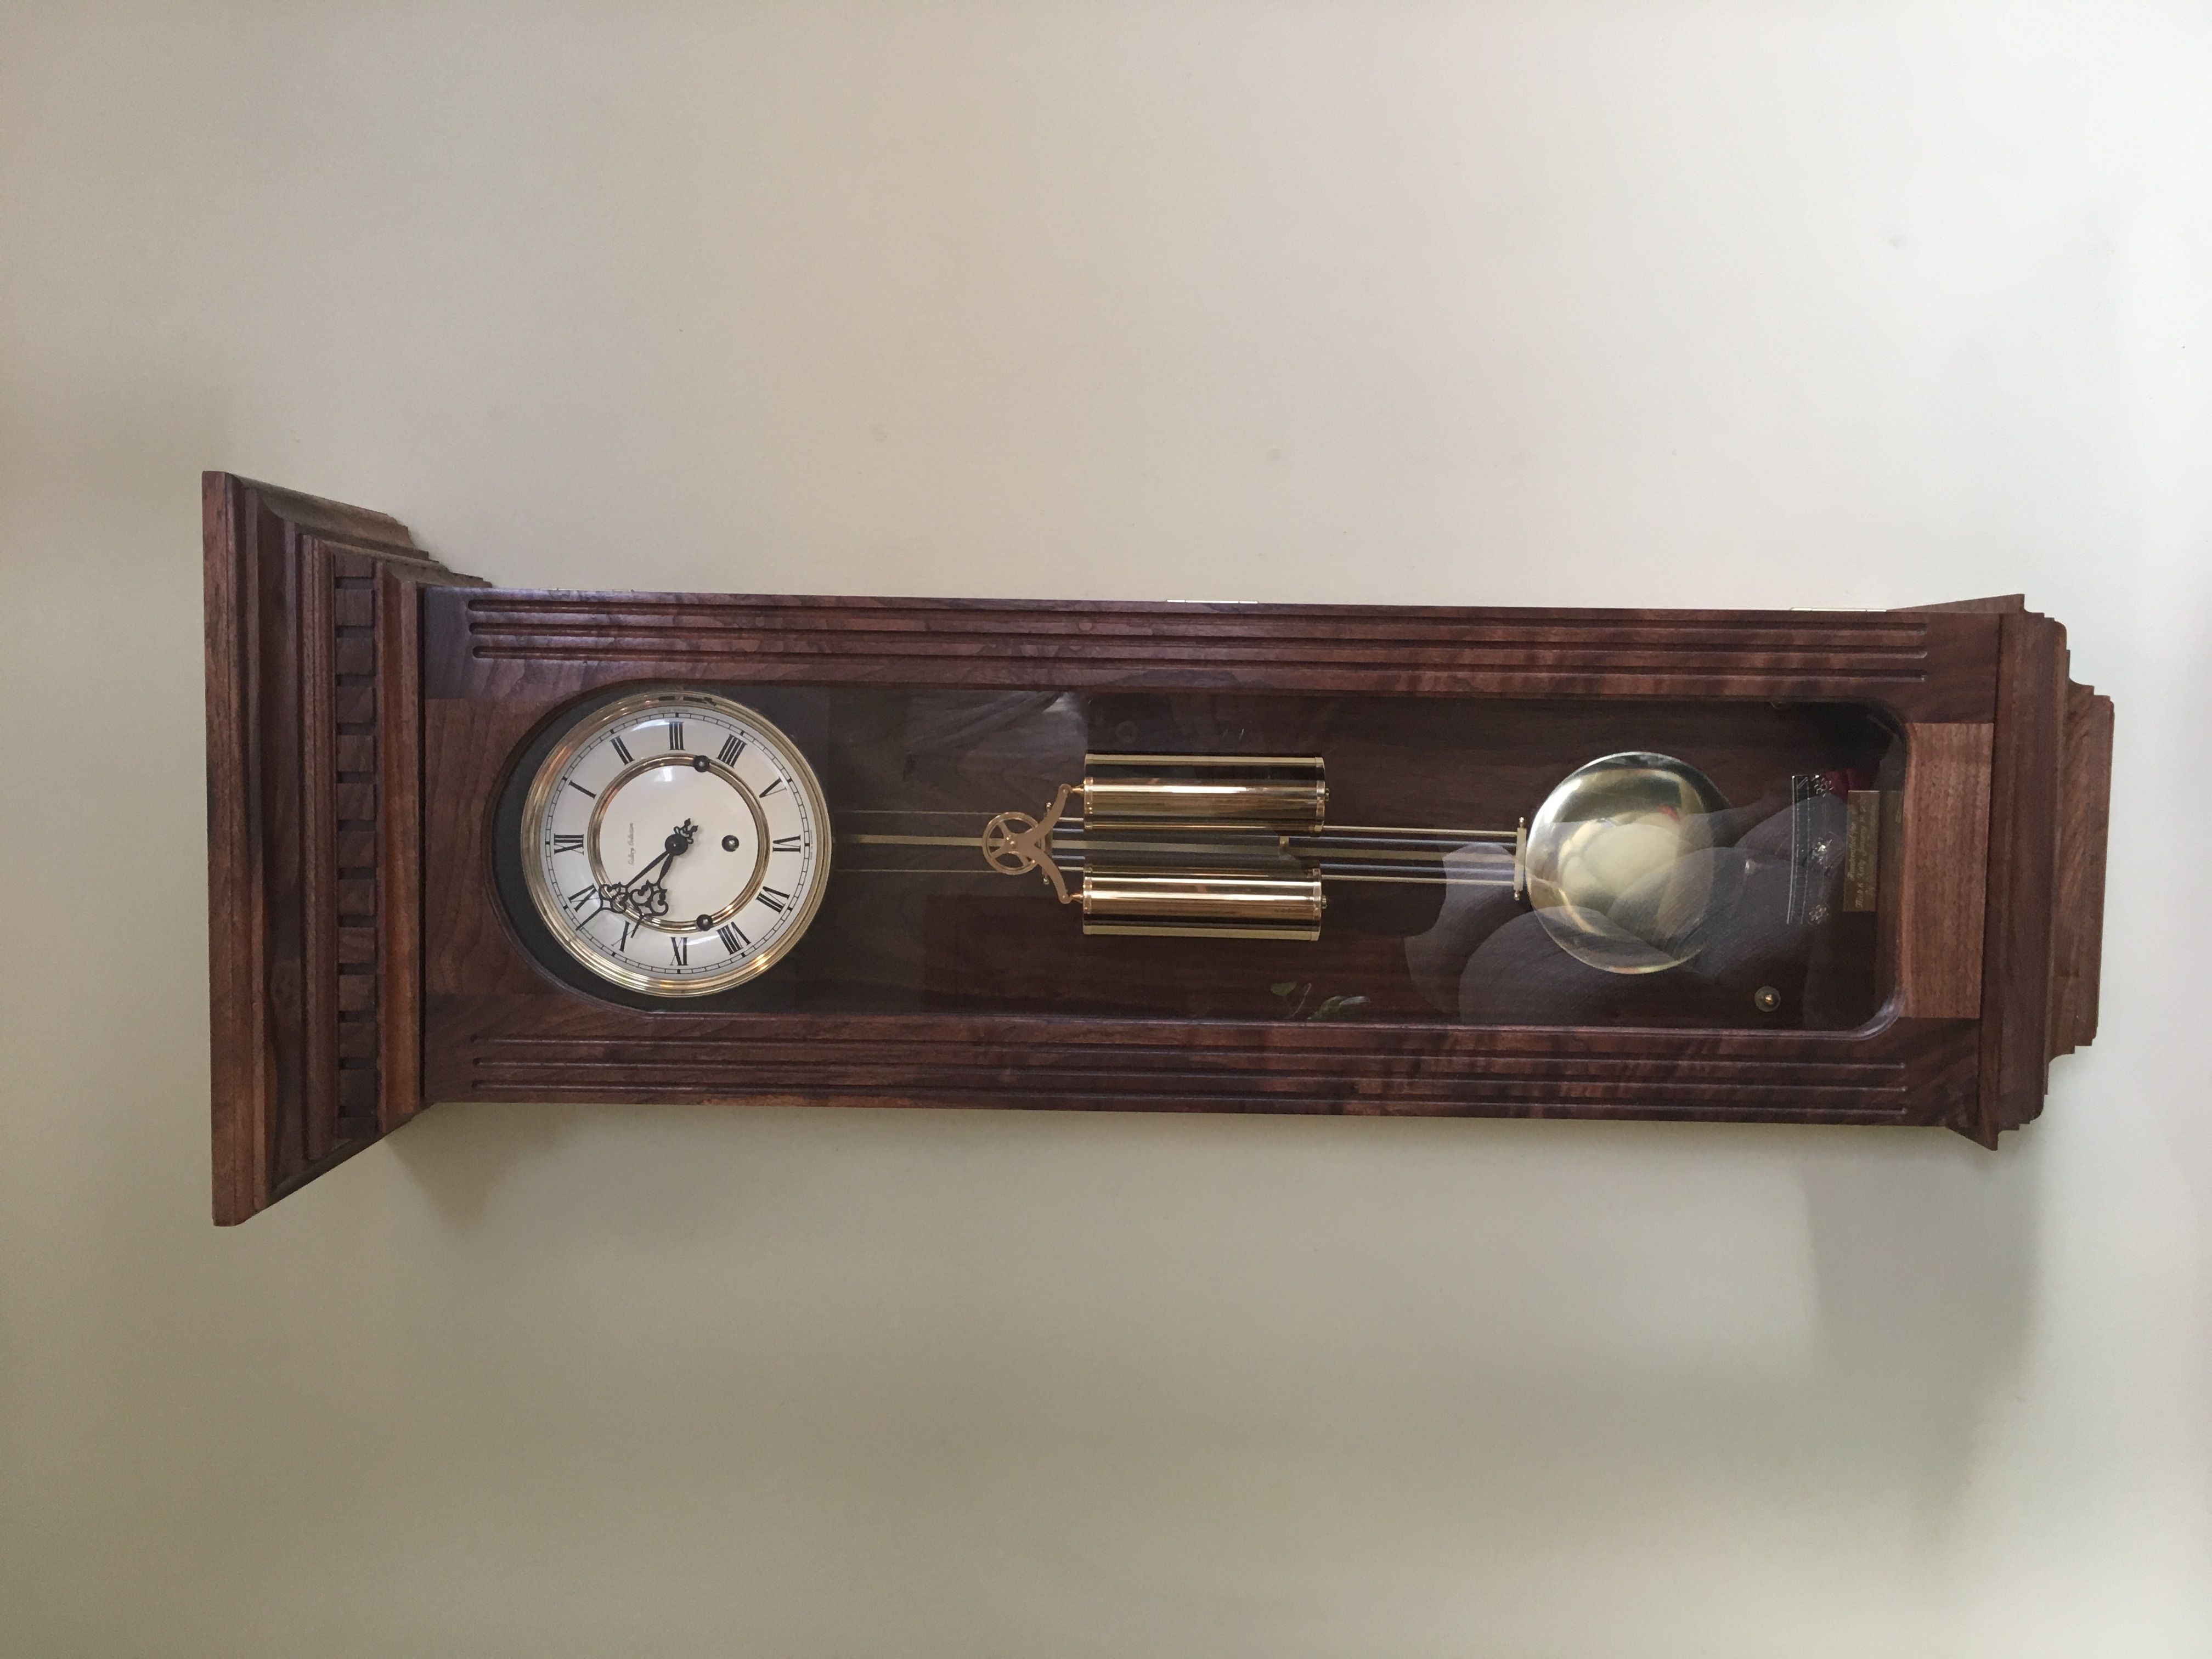
Now onto the hood. Please note I did windup with a couple of discrepancies when adhering to the plans. The Chime casting mounting plate wound up being too deep, it did require me to cut it down by 5/16 of an inch. Unfortunately I had glued it in place. I strongly recommend not gluing this piece. I also wound up with a small discrepancy in depth when trying to fit the hands on the clock once the Dial board and face were mounted the dial board was 1/8 of an inch thick, it did require me to cut the perimeter down to one 16th of an inch thick to fit the hands of the clock on without binding.
I sanded as I went, down to 400 grit then burnished all surfaces with 0000 steel wool. I made my clock of cherry wood I used a gel stain which I highly recommend it gives a very even finish. I then used a Sam Maloof product it is a combination of tung oil and linseed oil with a poly base. This product is put on and wiped off completely and allowed to dry for 24 to 48 hours in between coats five consecutive coats are necessary. I then finished it with a Sam Maloof oil wax product two coats. I am extremely happy with the outcome. I hope anyone that is up for the challenge will take on this project.


Log in or create an account to post a comment.
Sign up Log in