Marquetry for Grand Tour gentleman’s trunk
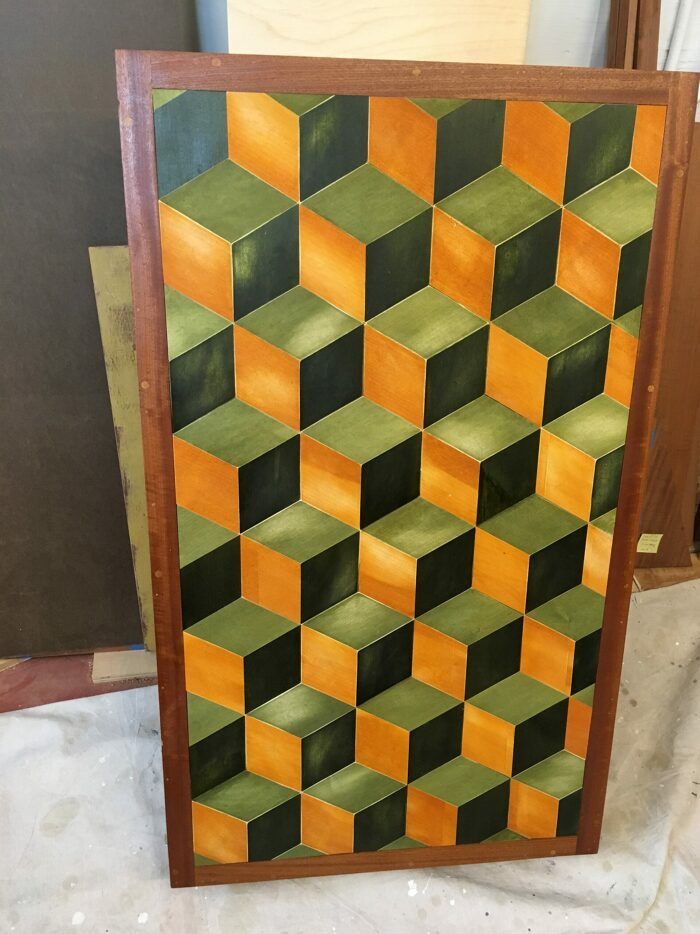
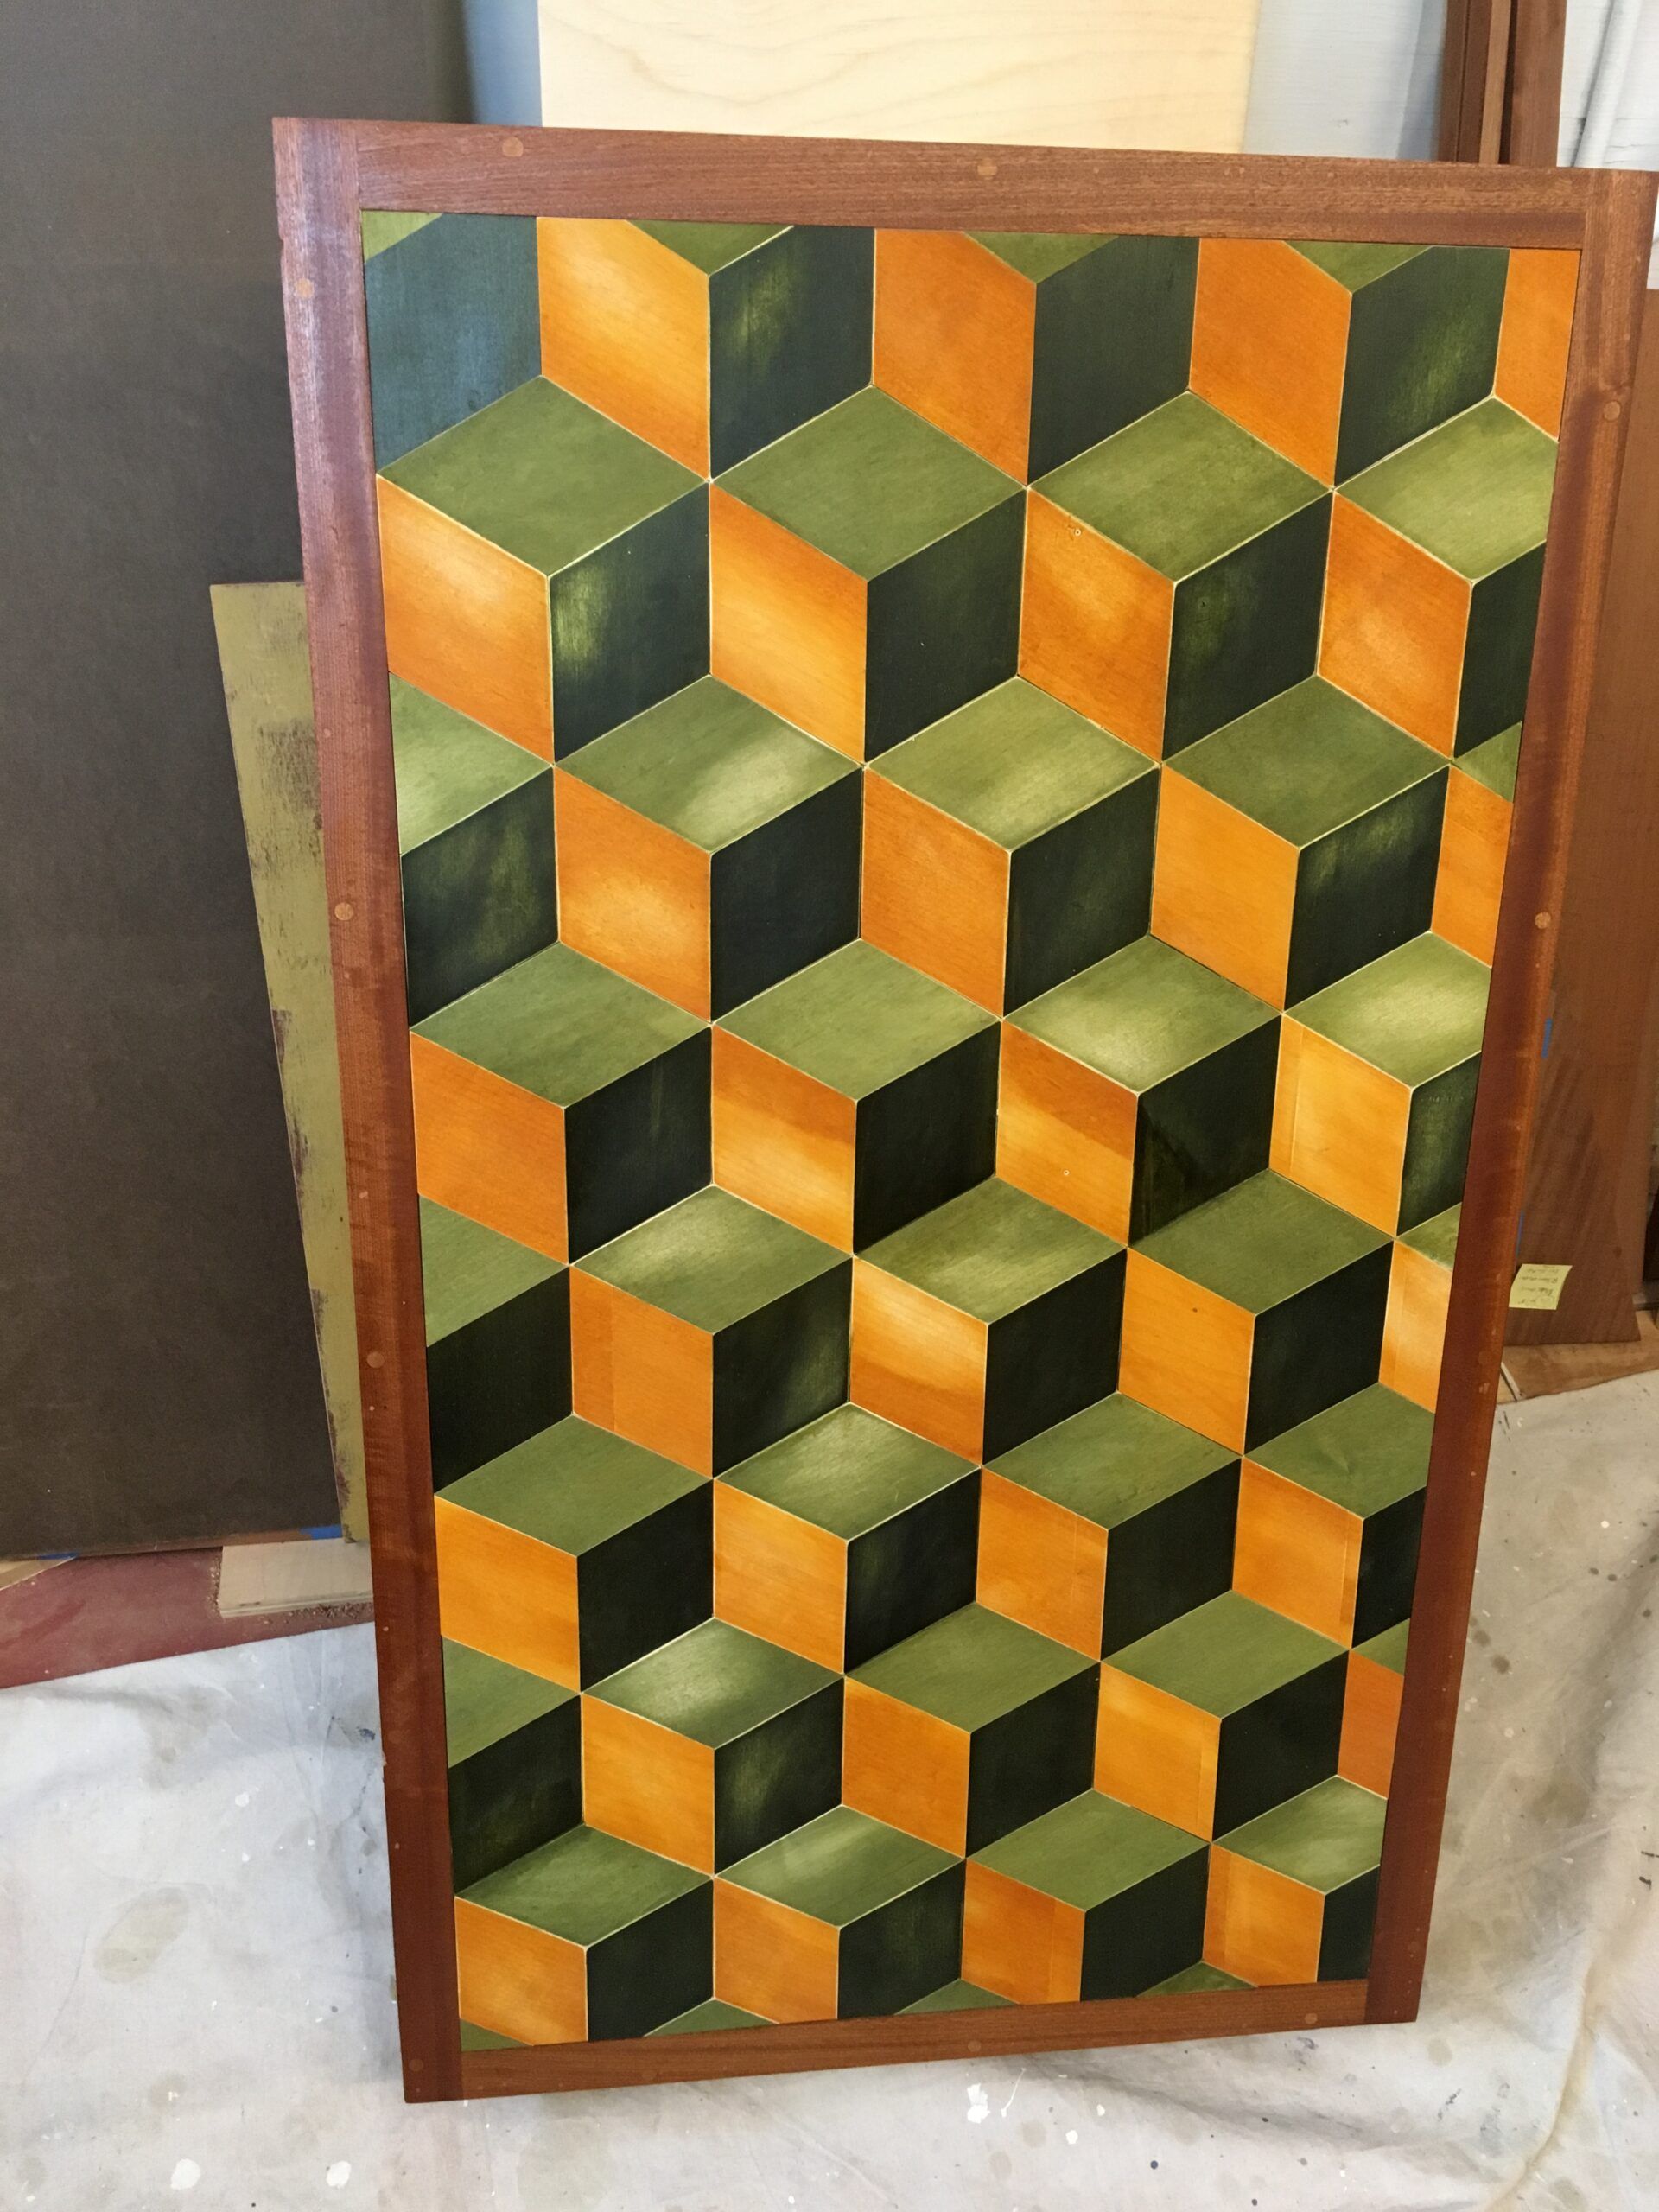
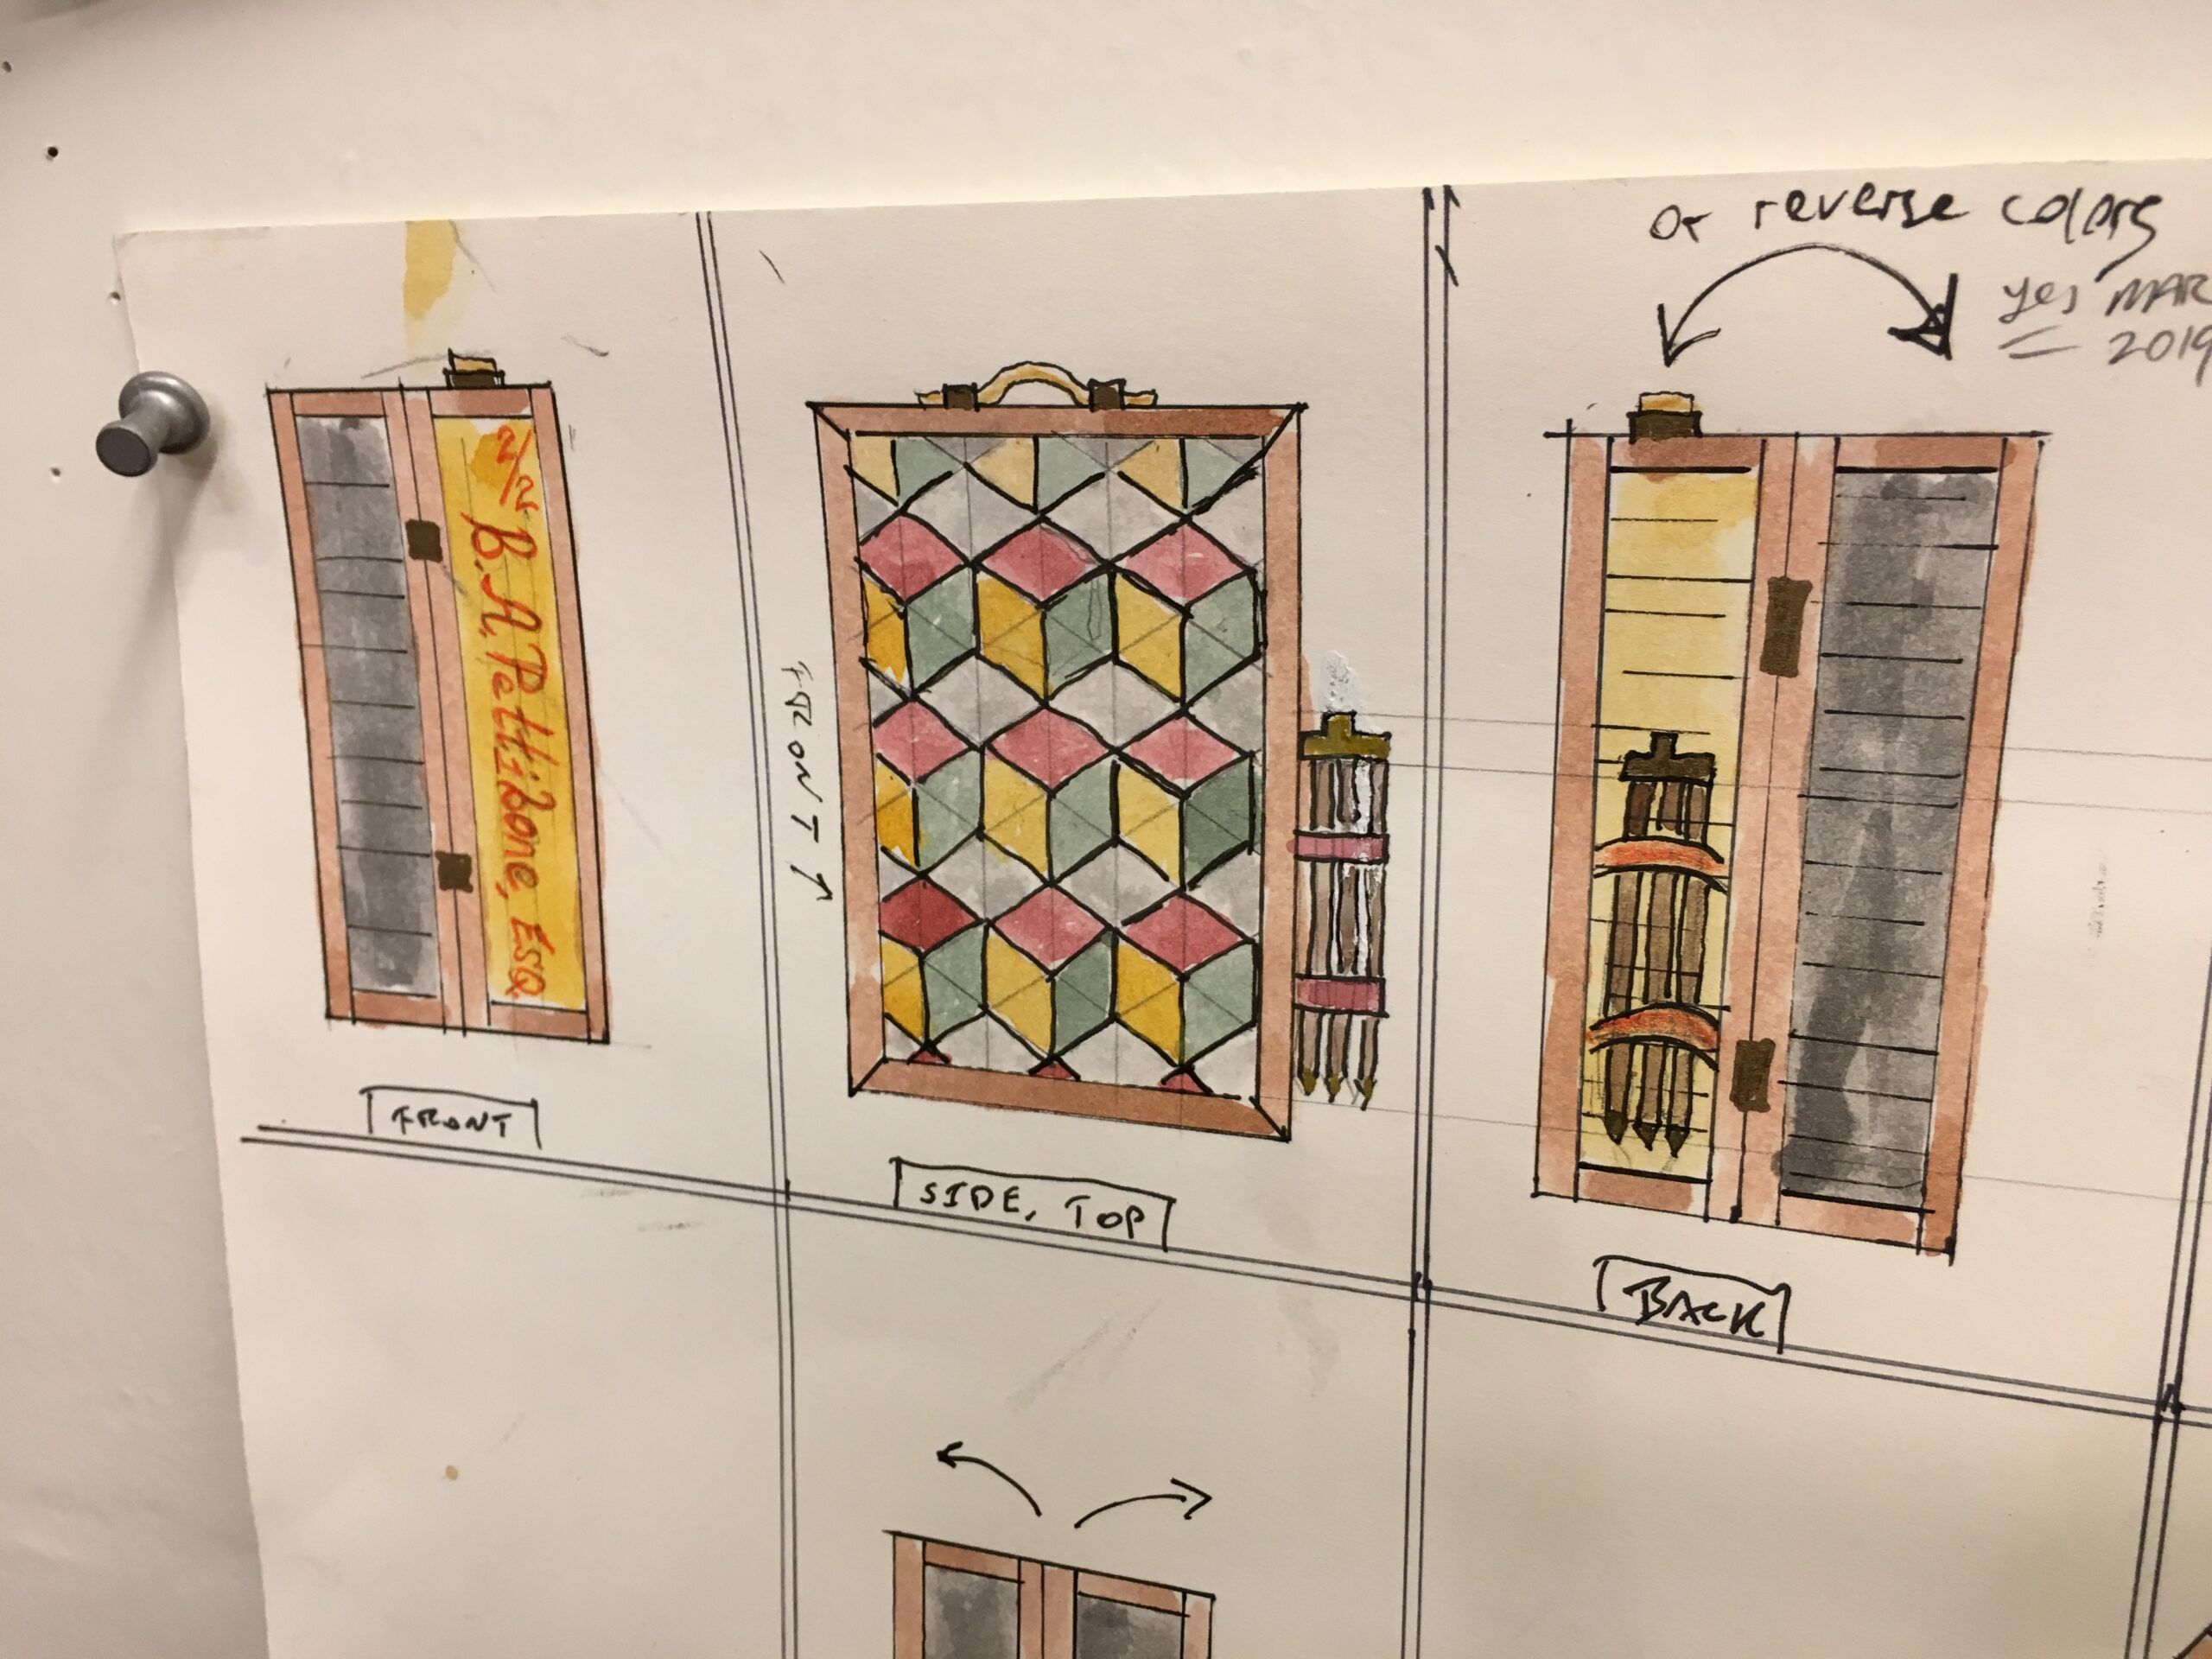
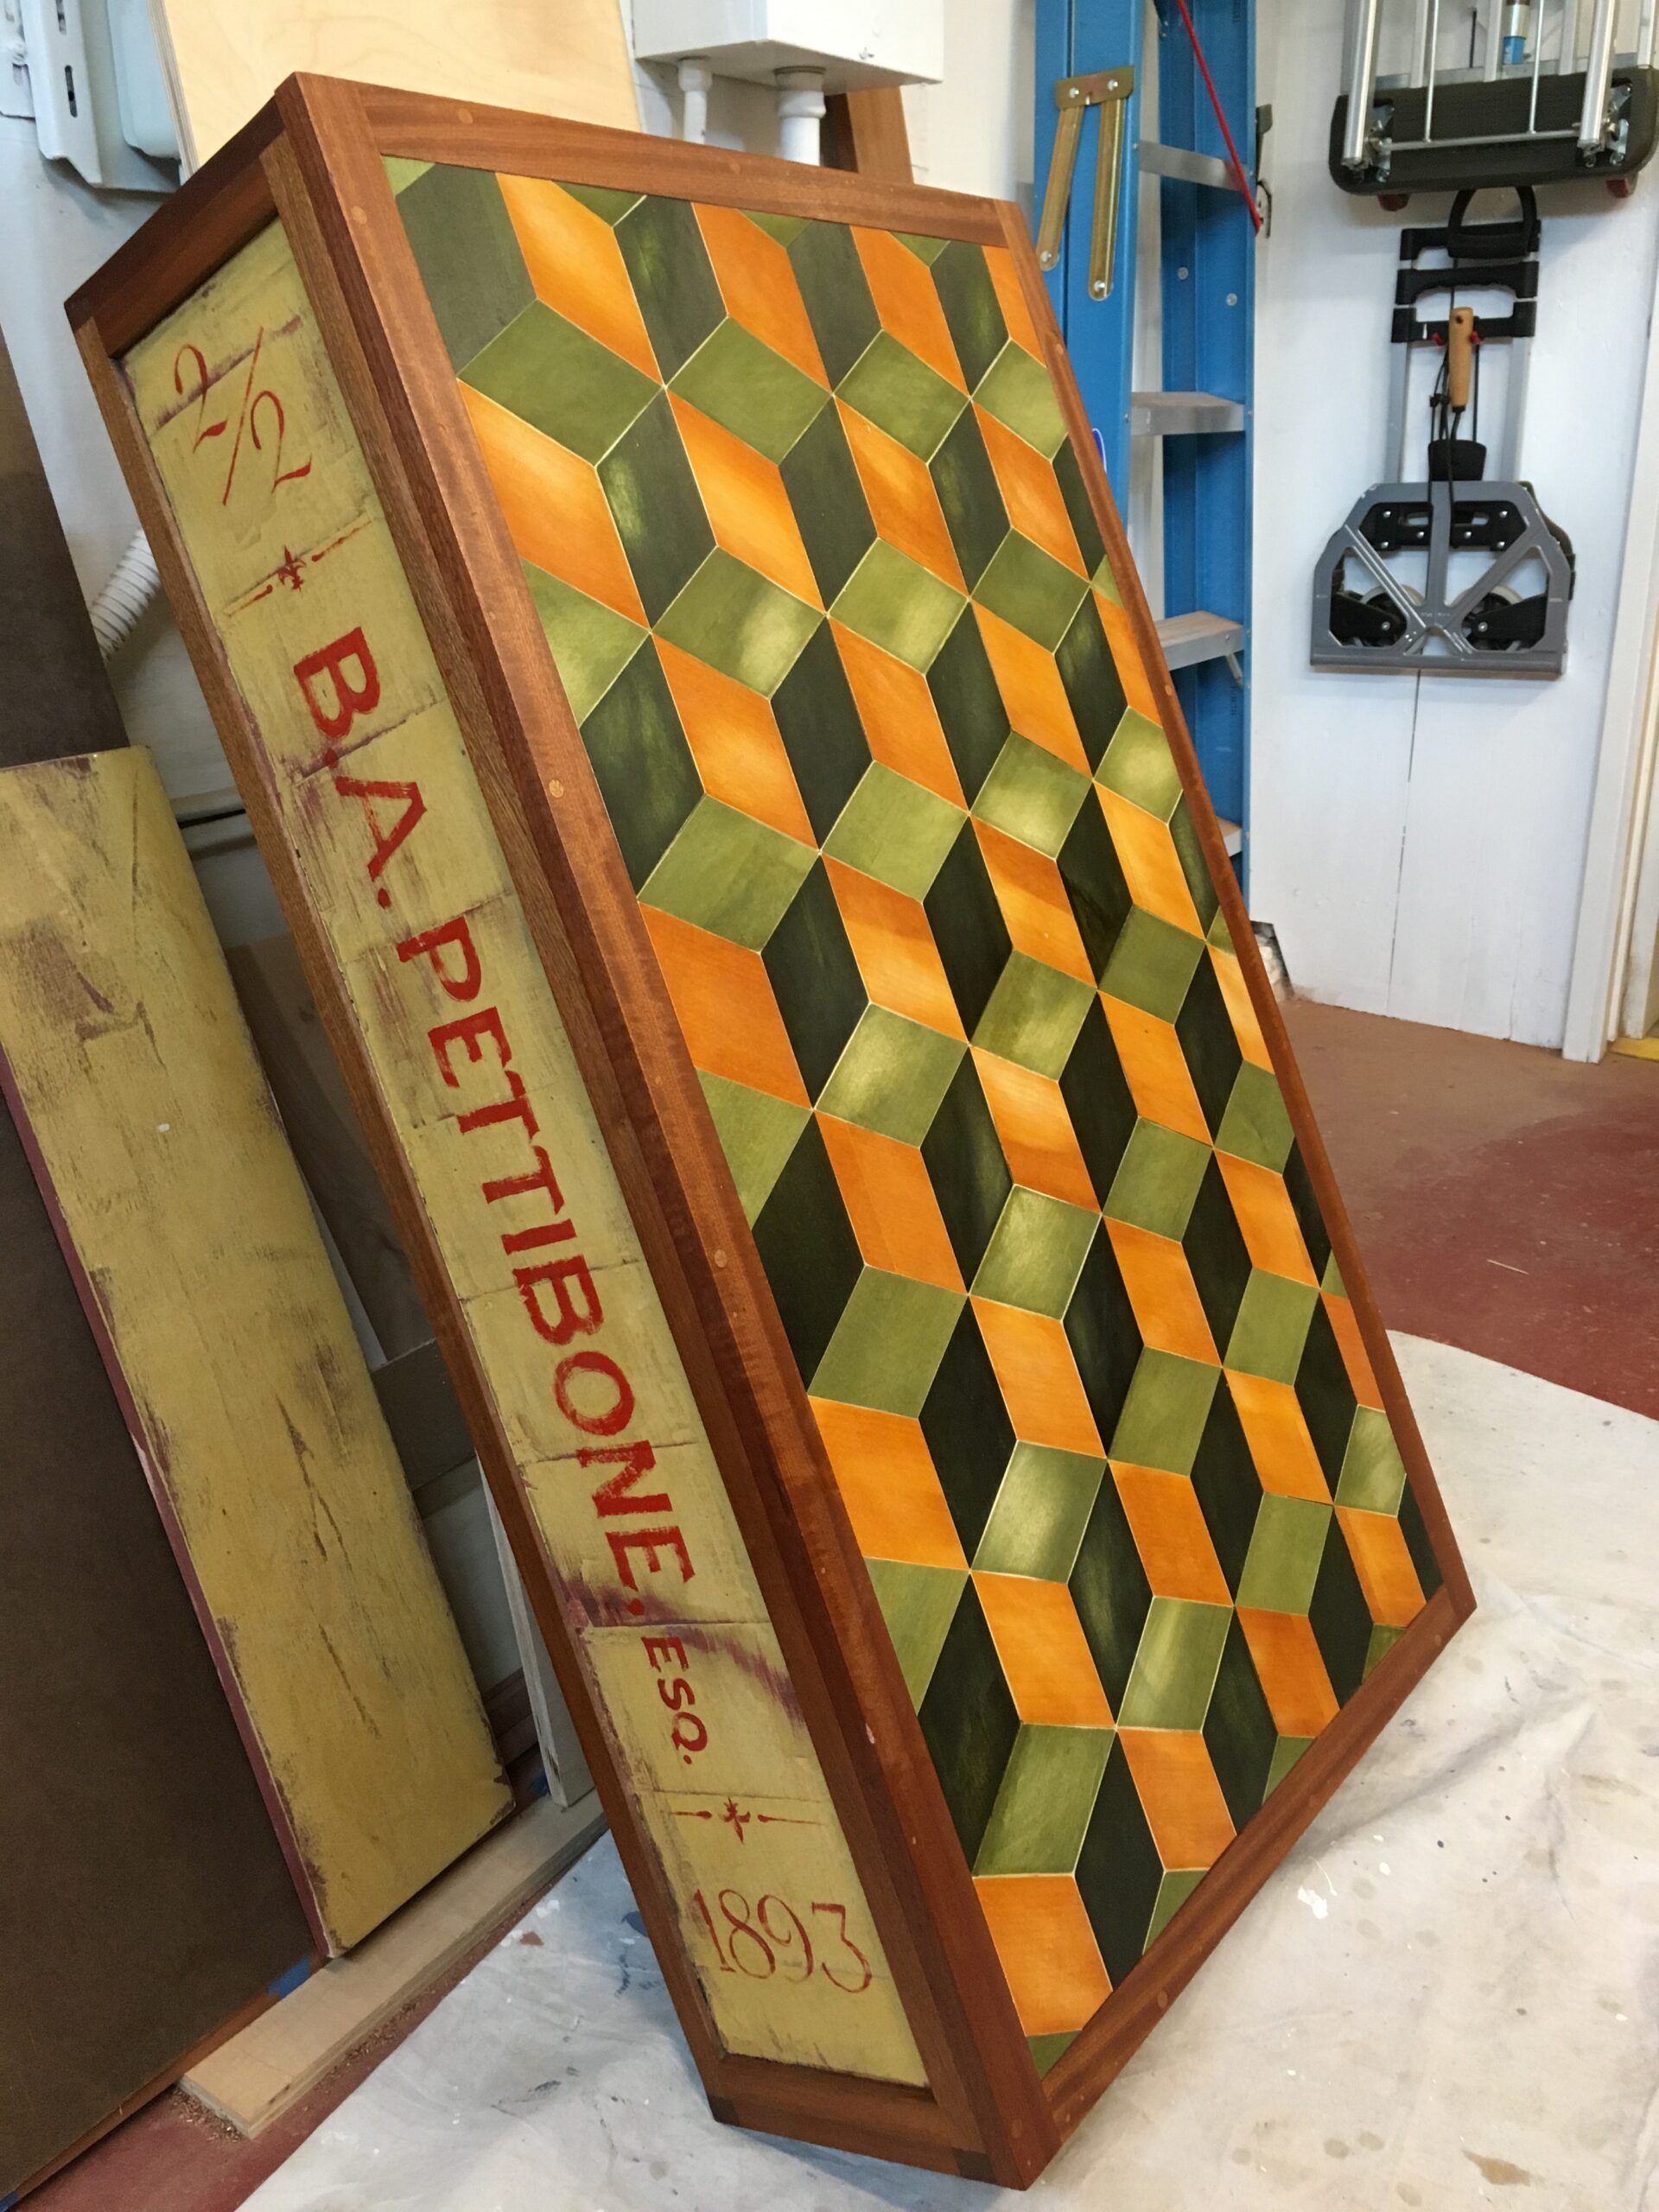
I had completed one side of my 25 x 48 x 9 gentleman’s trunk in sapele (with Baltic birch panels). These trunks, in a class of their own, were designed to always remain upright–holding the traveller’s suits and tuxedo wrinkle free. But that much real-estate needed something special. I’ve always admired 3-D marquetry and this was a great chance to learn something new. The secret: 1/4″ Baltic birch pieces, about 4 ft x 4ft, securely nailed with brads to its own backer of MDF. I then applied water-based dyes from General Finishes; they had the muted yet rich colors I needed. I let things dry completely for 5 to 6 days-probably over-kill, but I wanted all moisture out.
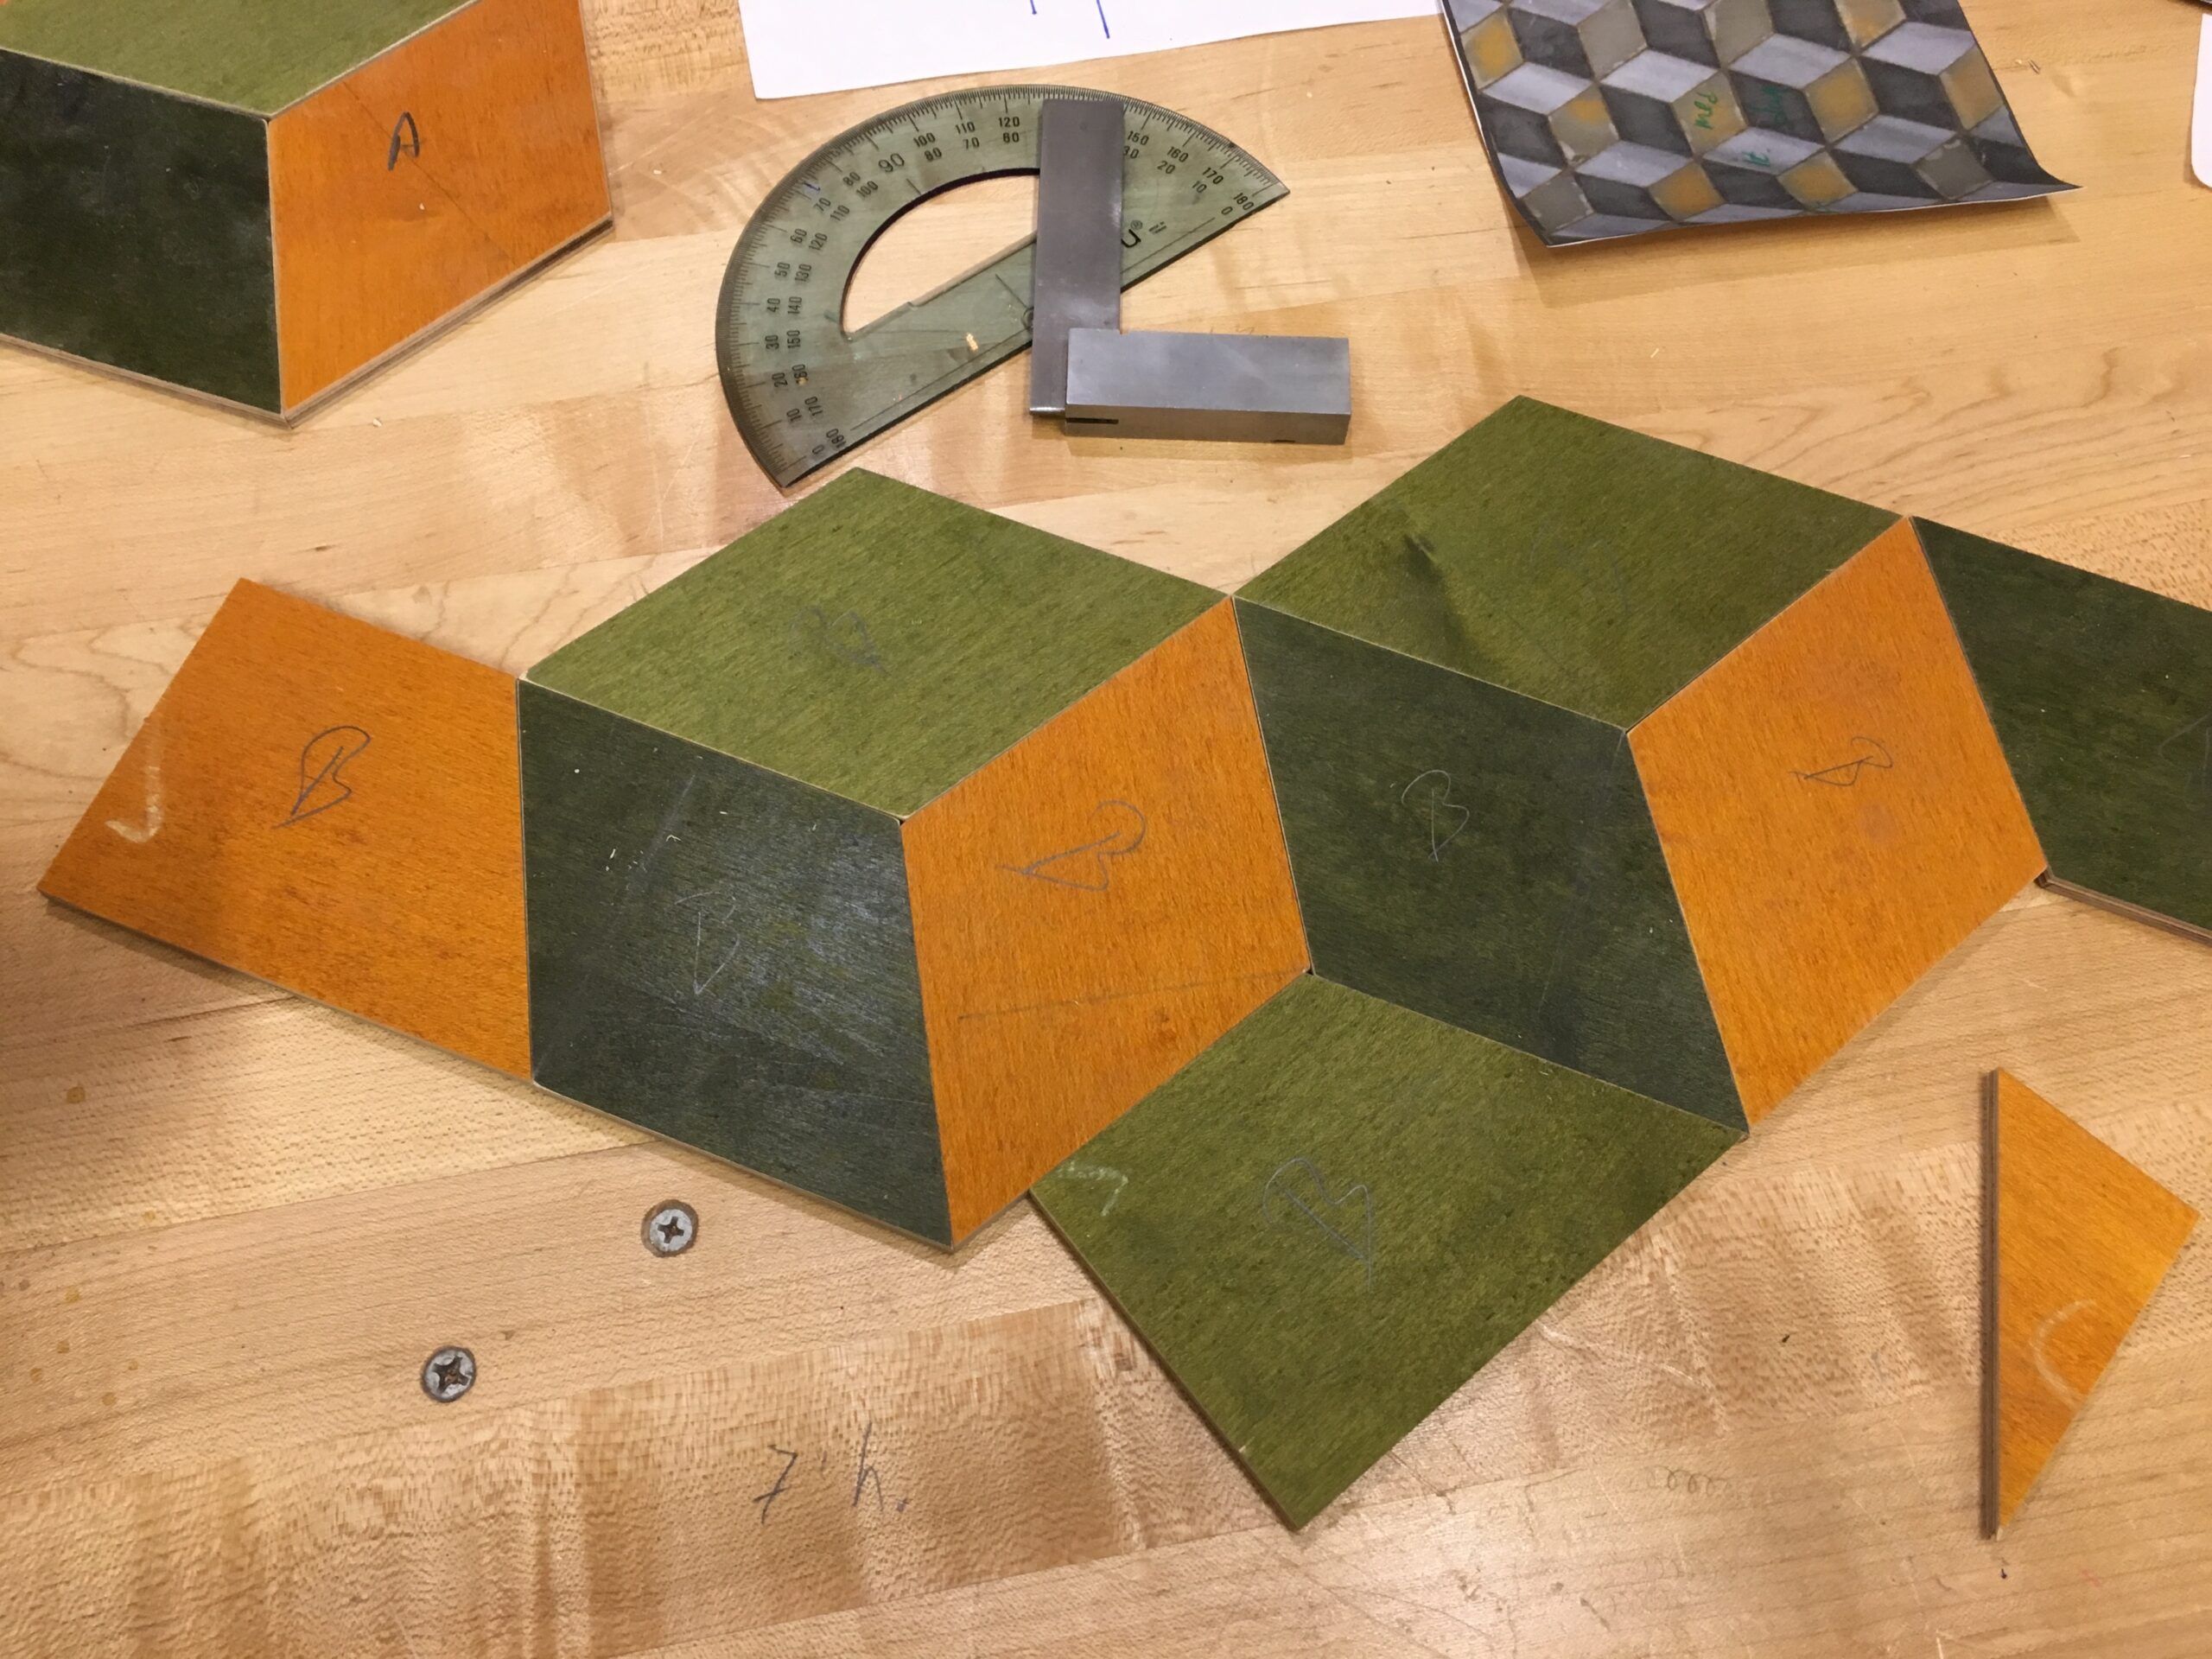
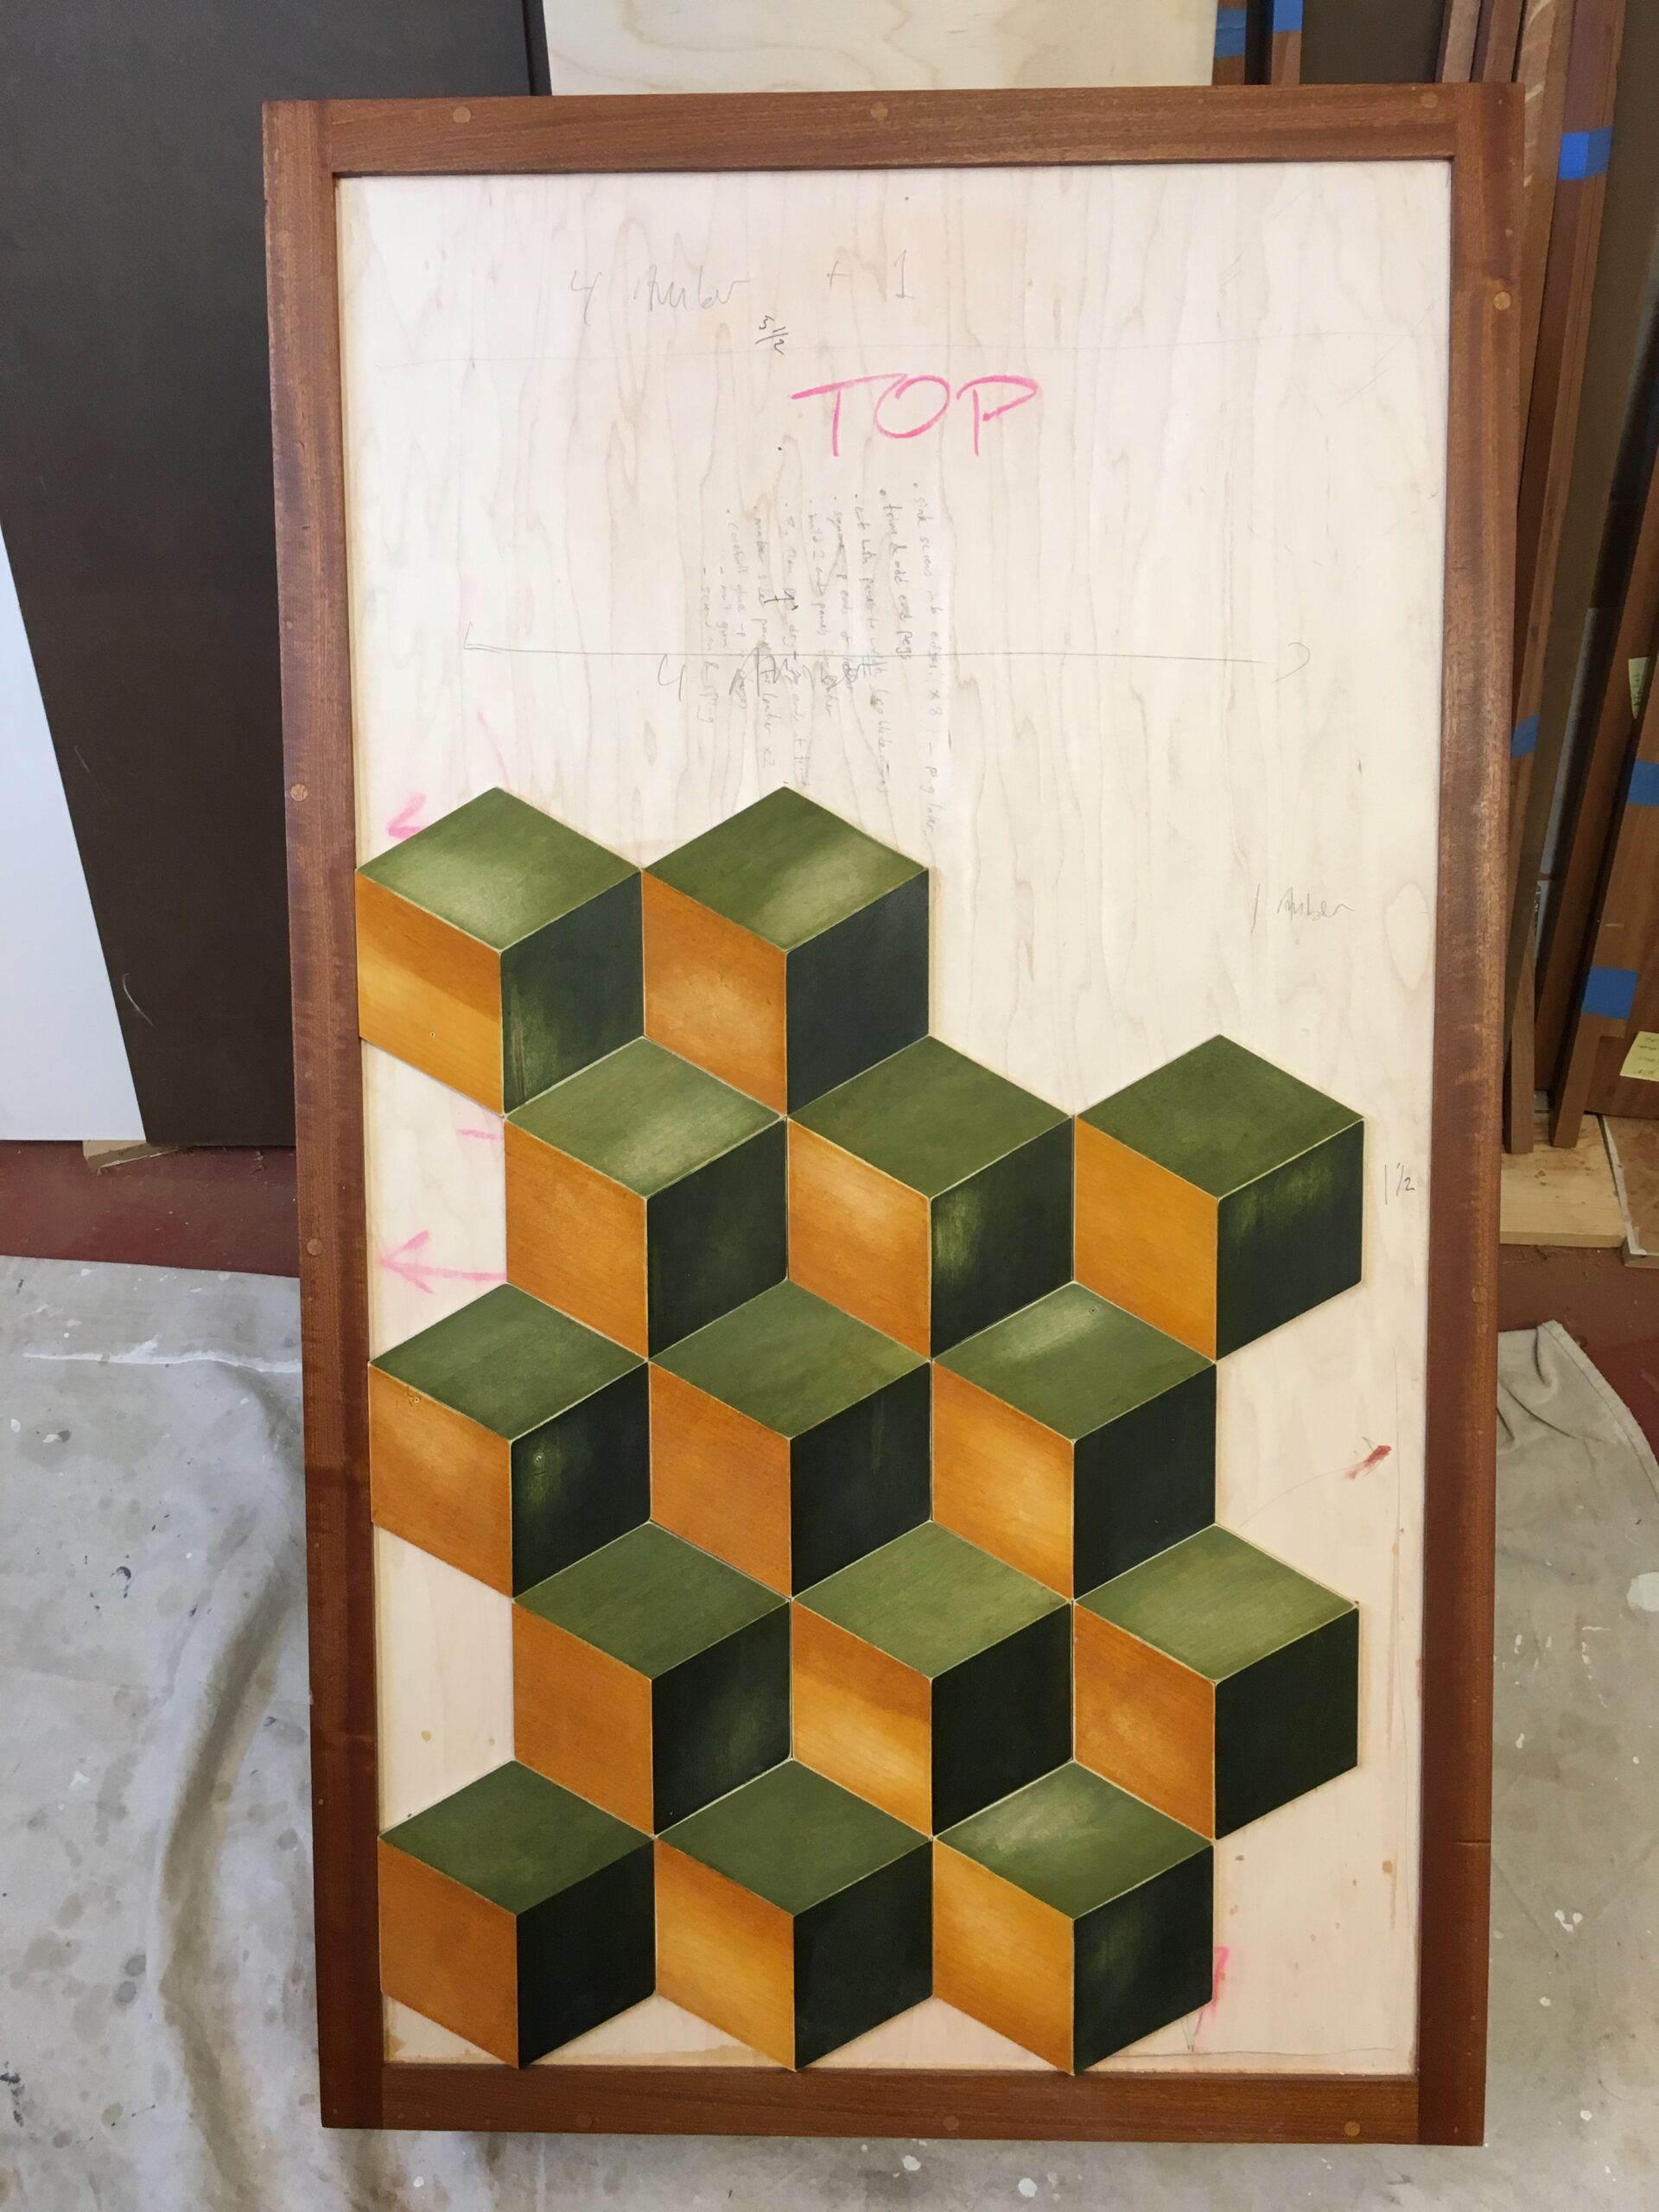
Remove the brass (no rust) brads; all small holes remaining simply enhance the distressed look. Decide the size of each piece so a unit of three will cover your panel with a pleasing pattern. Cut all using a jig. I found it’s then easiest to glue up each unit separately, atop waxed paper on a Melanine sheet. A rub joint followed by weights keeps everything tight and flat. Always arrange grain in the same pattern/direction for each 3-part unit. Sounds like a small thing, but this consistency contributes greatly to the 3-D effect when you stand back.
With its quick grab and fast dry, TiteBond Molding Glue throughout this project is perfect. Lay in your tri-units and glue down, weighting all edges (wax paper atop prevents scratching from weights.) A second advantage of using tri-units is it’s much easier to accurately cut partial sections–as at edge or top/bottom .
There will be small gaps all around your panel no matter how carefully you work; don’t worry; easily fixable. From sapele I cut thin molding on my table saw, ebonized it (more General Finishes), then mitered in the trim all around and held it down with glue and brads. Oddly, the narrow shadow thrown by this molding subtly enhances the illusion of depth. A couple coats of Briwax in their Light Brown, rubbed in hard, filled all narrow cracks and created the lightly distressed look I was after. Be sure to wax the black trim too, to create a cohesive-looking panel. Warning: I still get dizzy if I look at this classic 3-D design for too long!


Log in or create an account to post a comment.
Sign up Log in