Tage Frid Dutch Pull-Out Leaf Dining Table
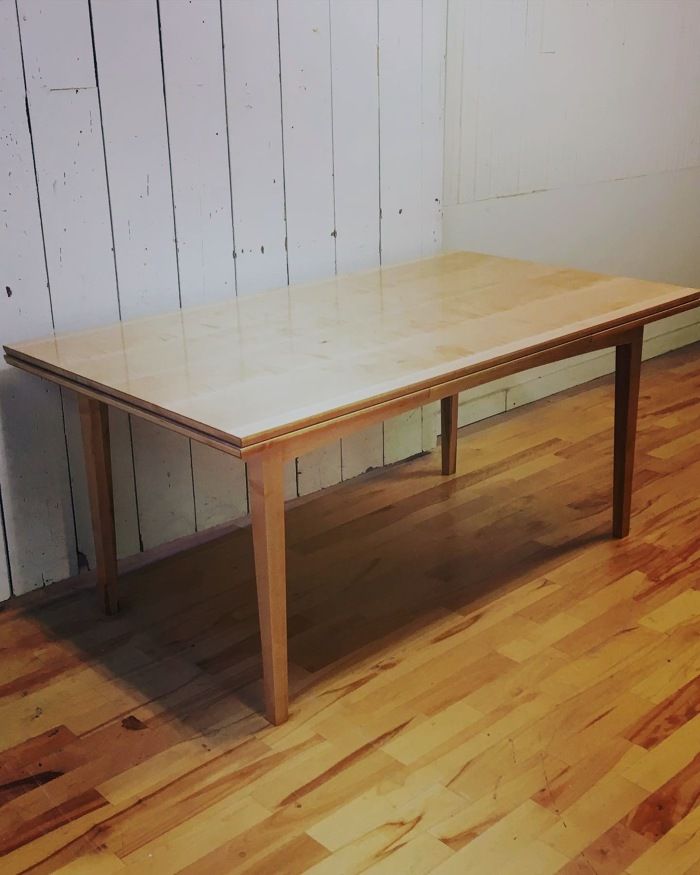
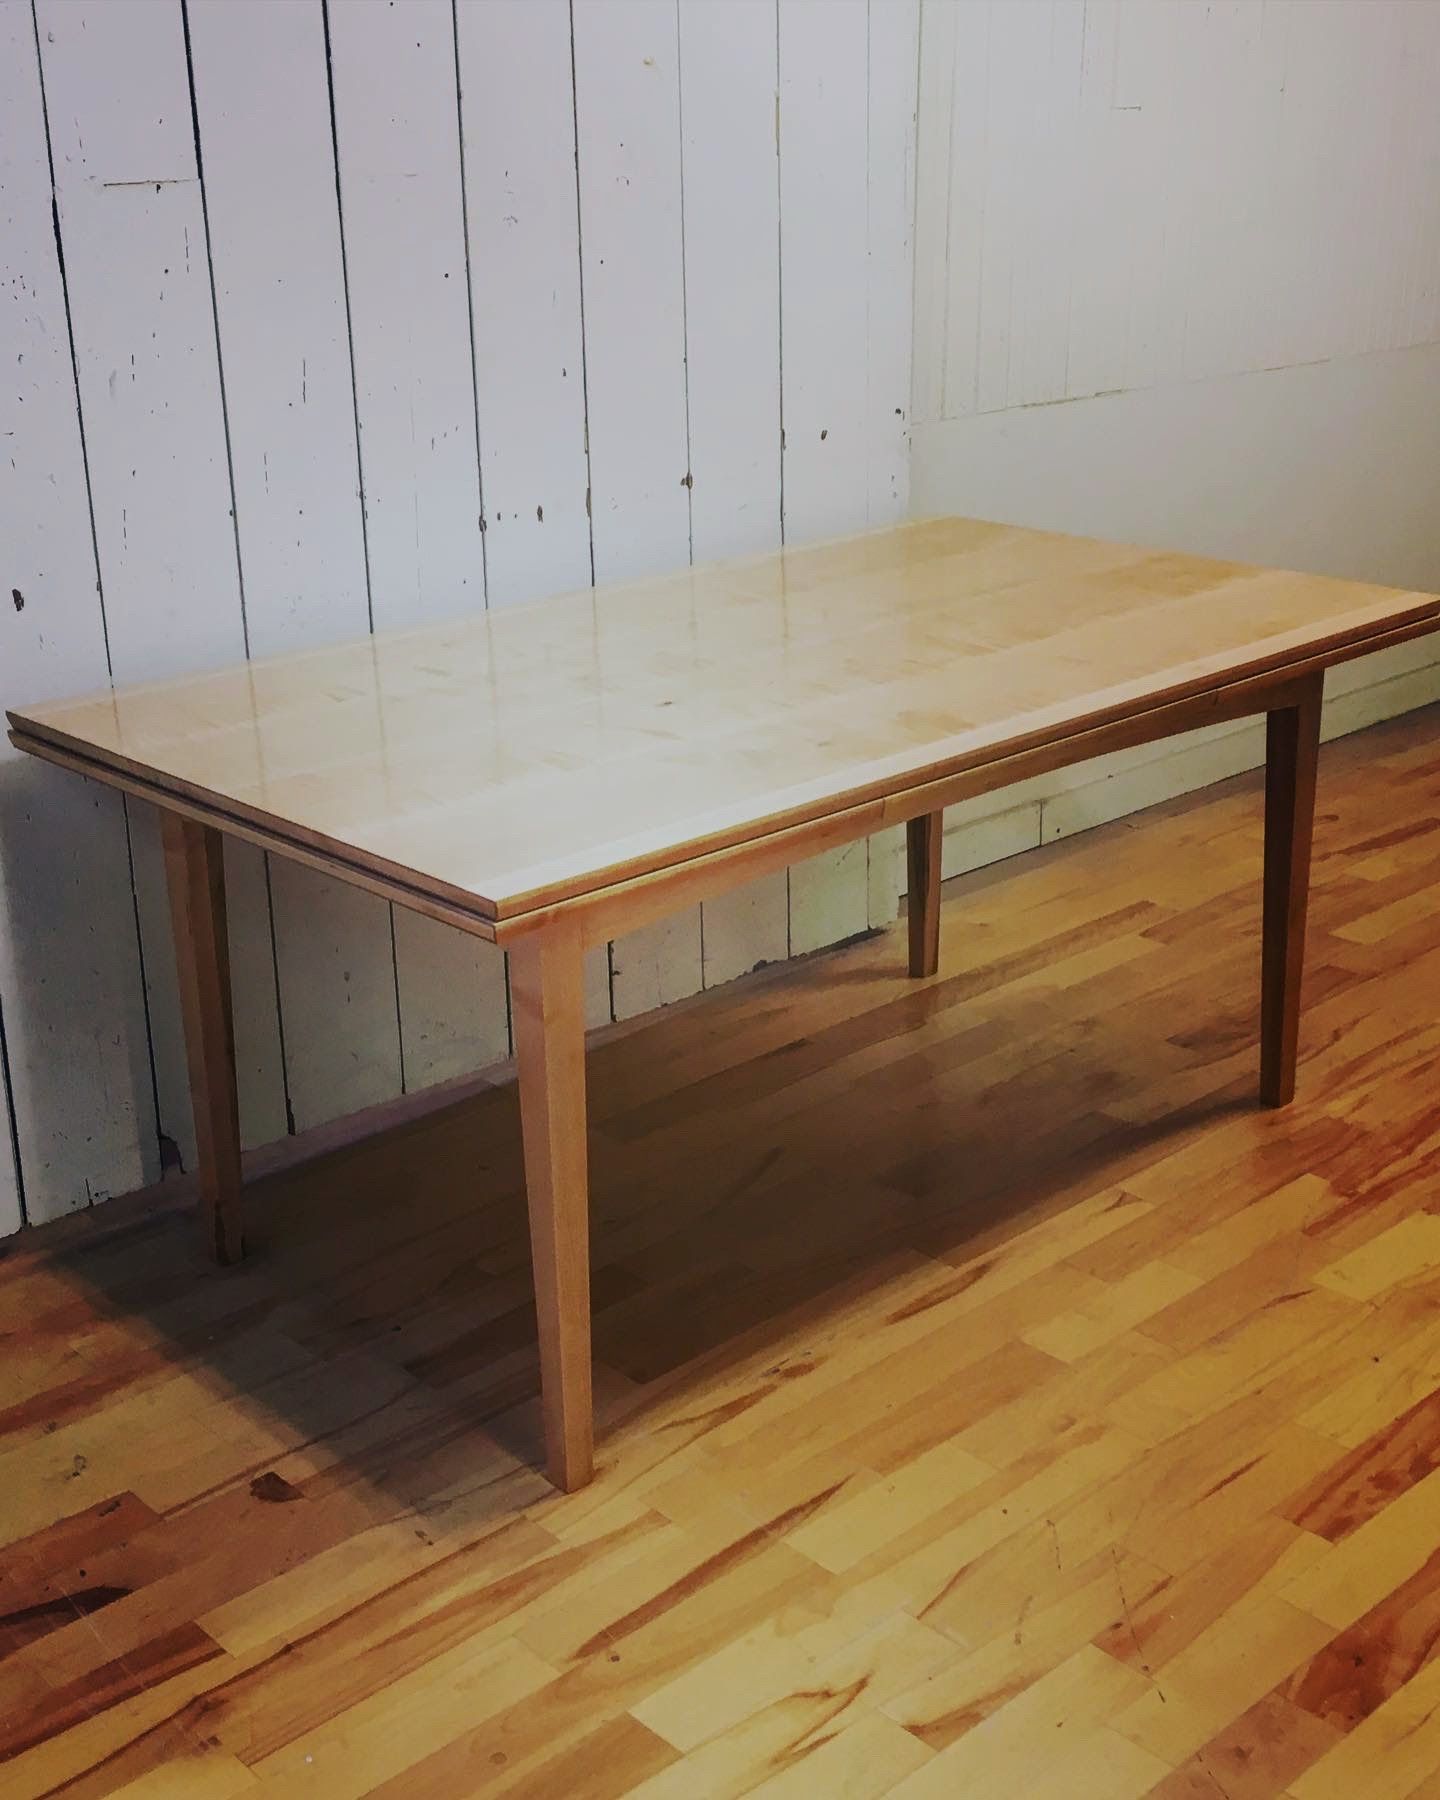
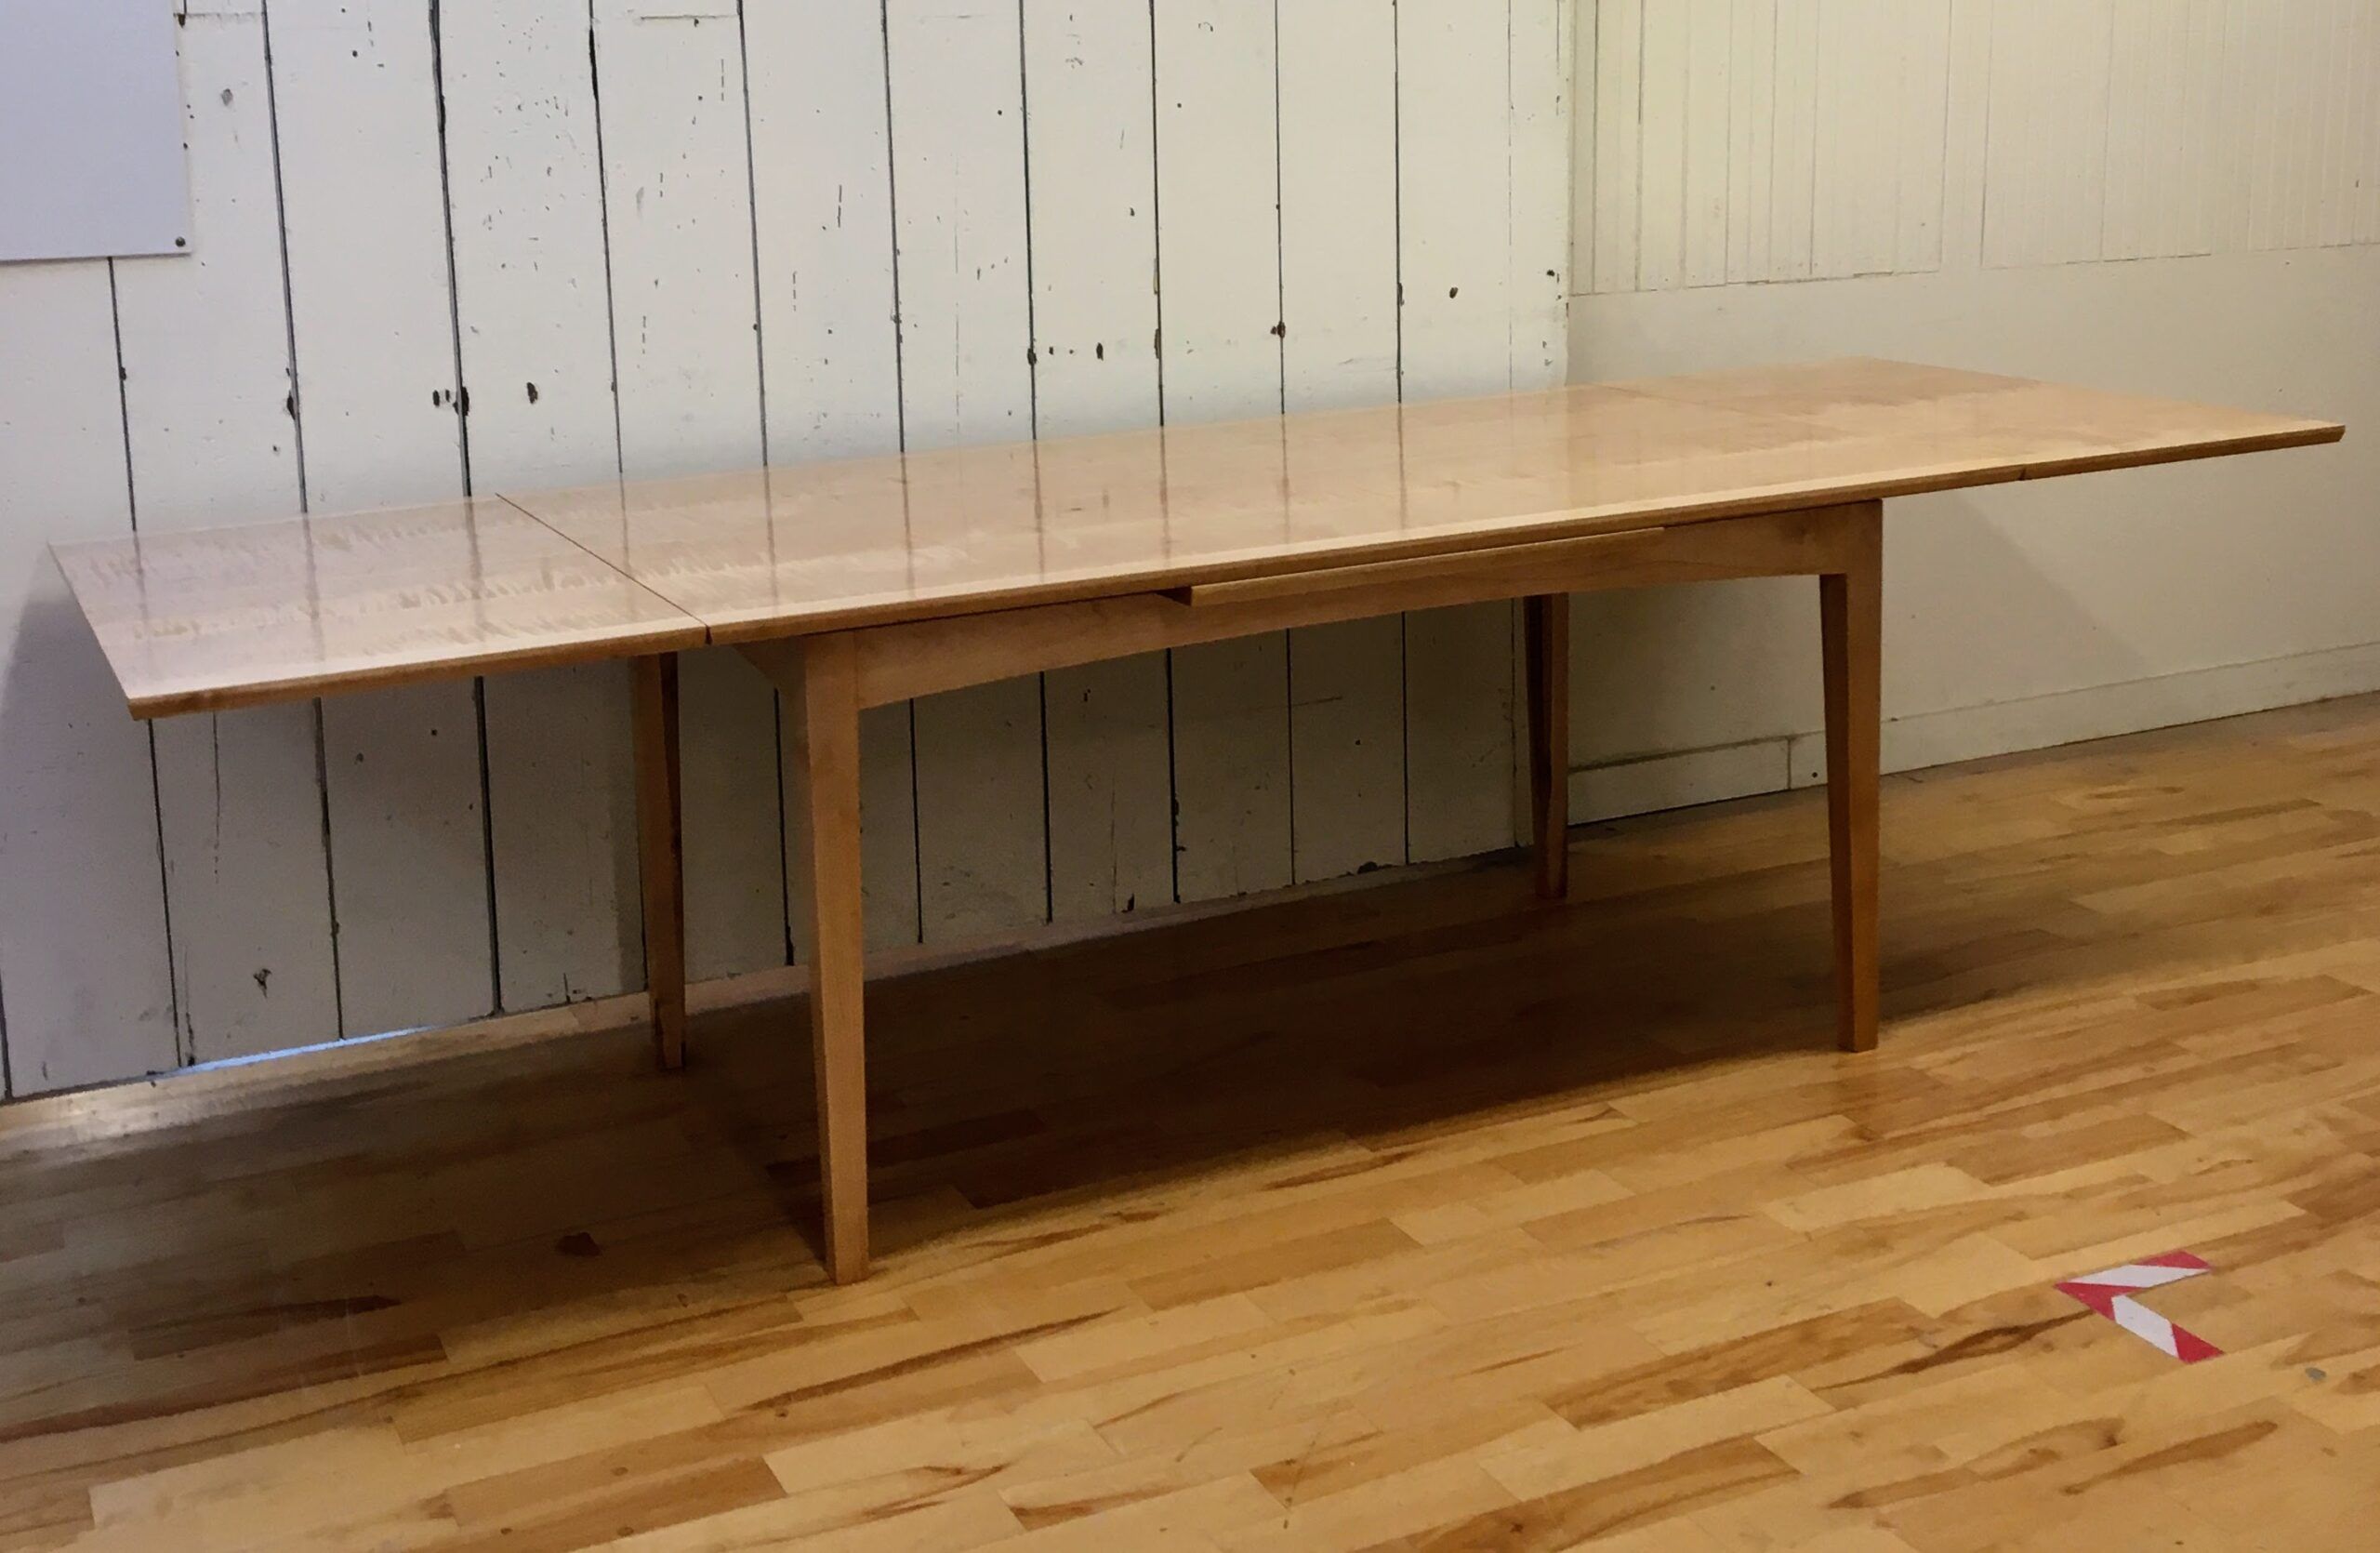
Using the plans provided by Tage Frid in Issue #9, I made this dining table for a customer who wanted something modern that would also fit in their historic Charlestown condo. The overall simplicity of the Shaker design lent itself well to appearing modern while hiding amongst the many antique pieces of the house. I made my top a bit bigger, 65″ long x 38″ wide when closed and 107 1/2″ long when open, and lengthened my aprons and rails to support it. There’s a 4′ overhang that goes around the whole table when closed.
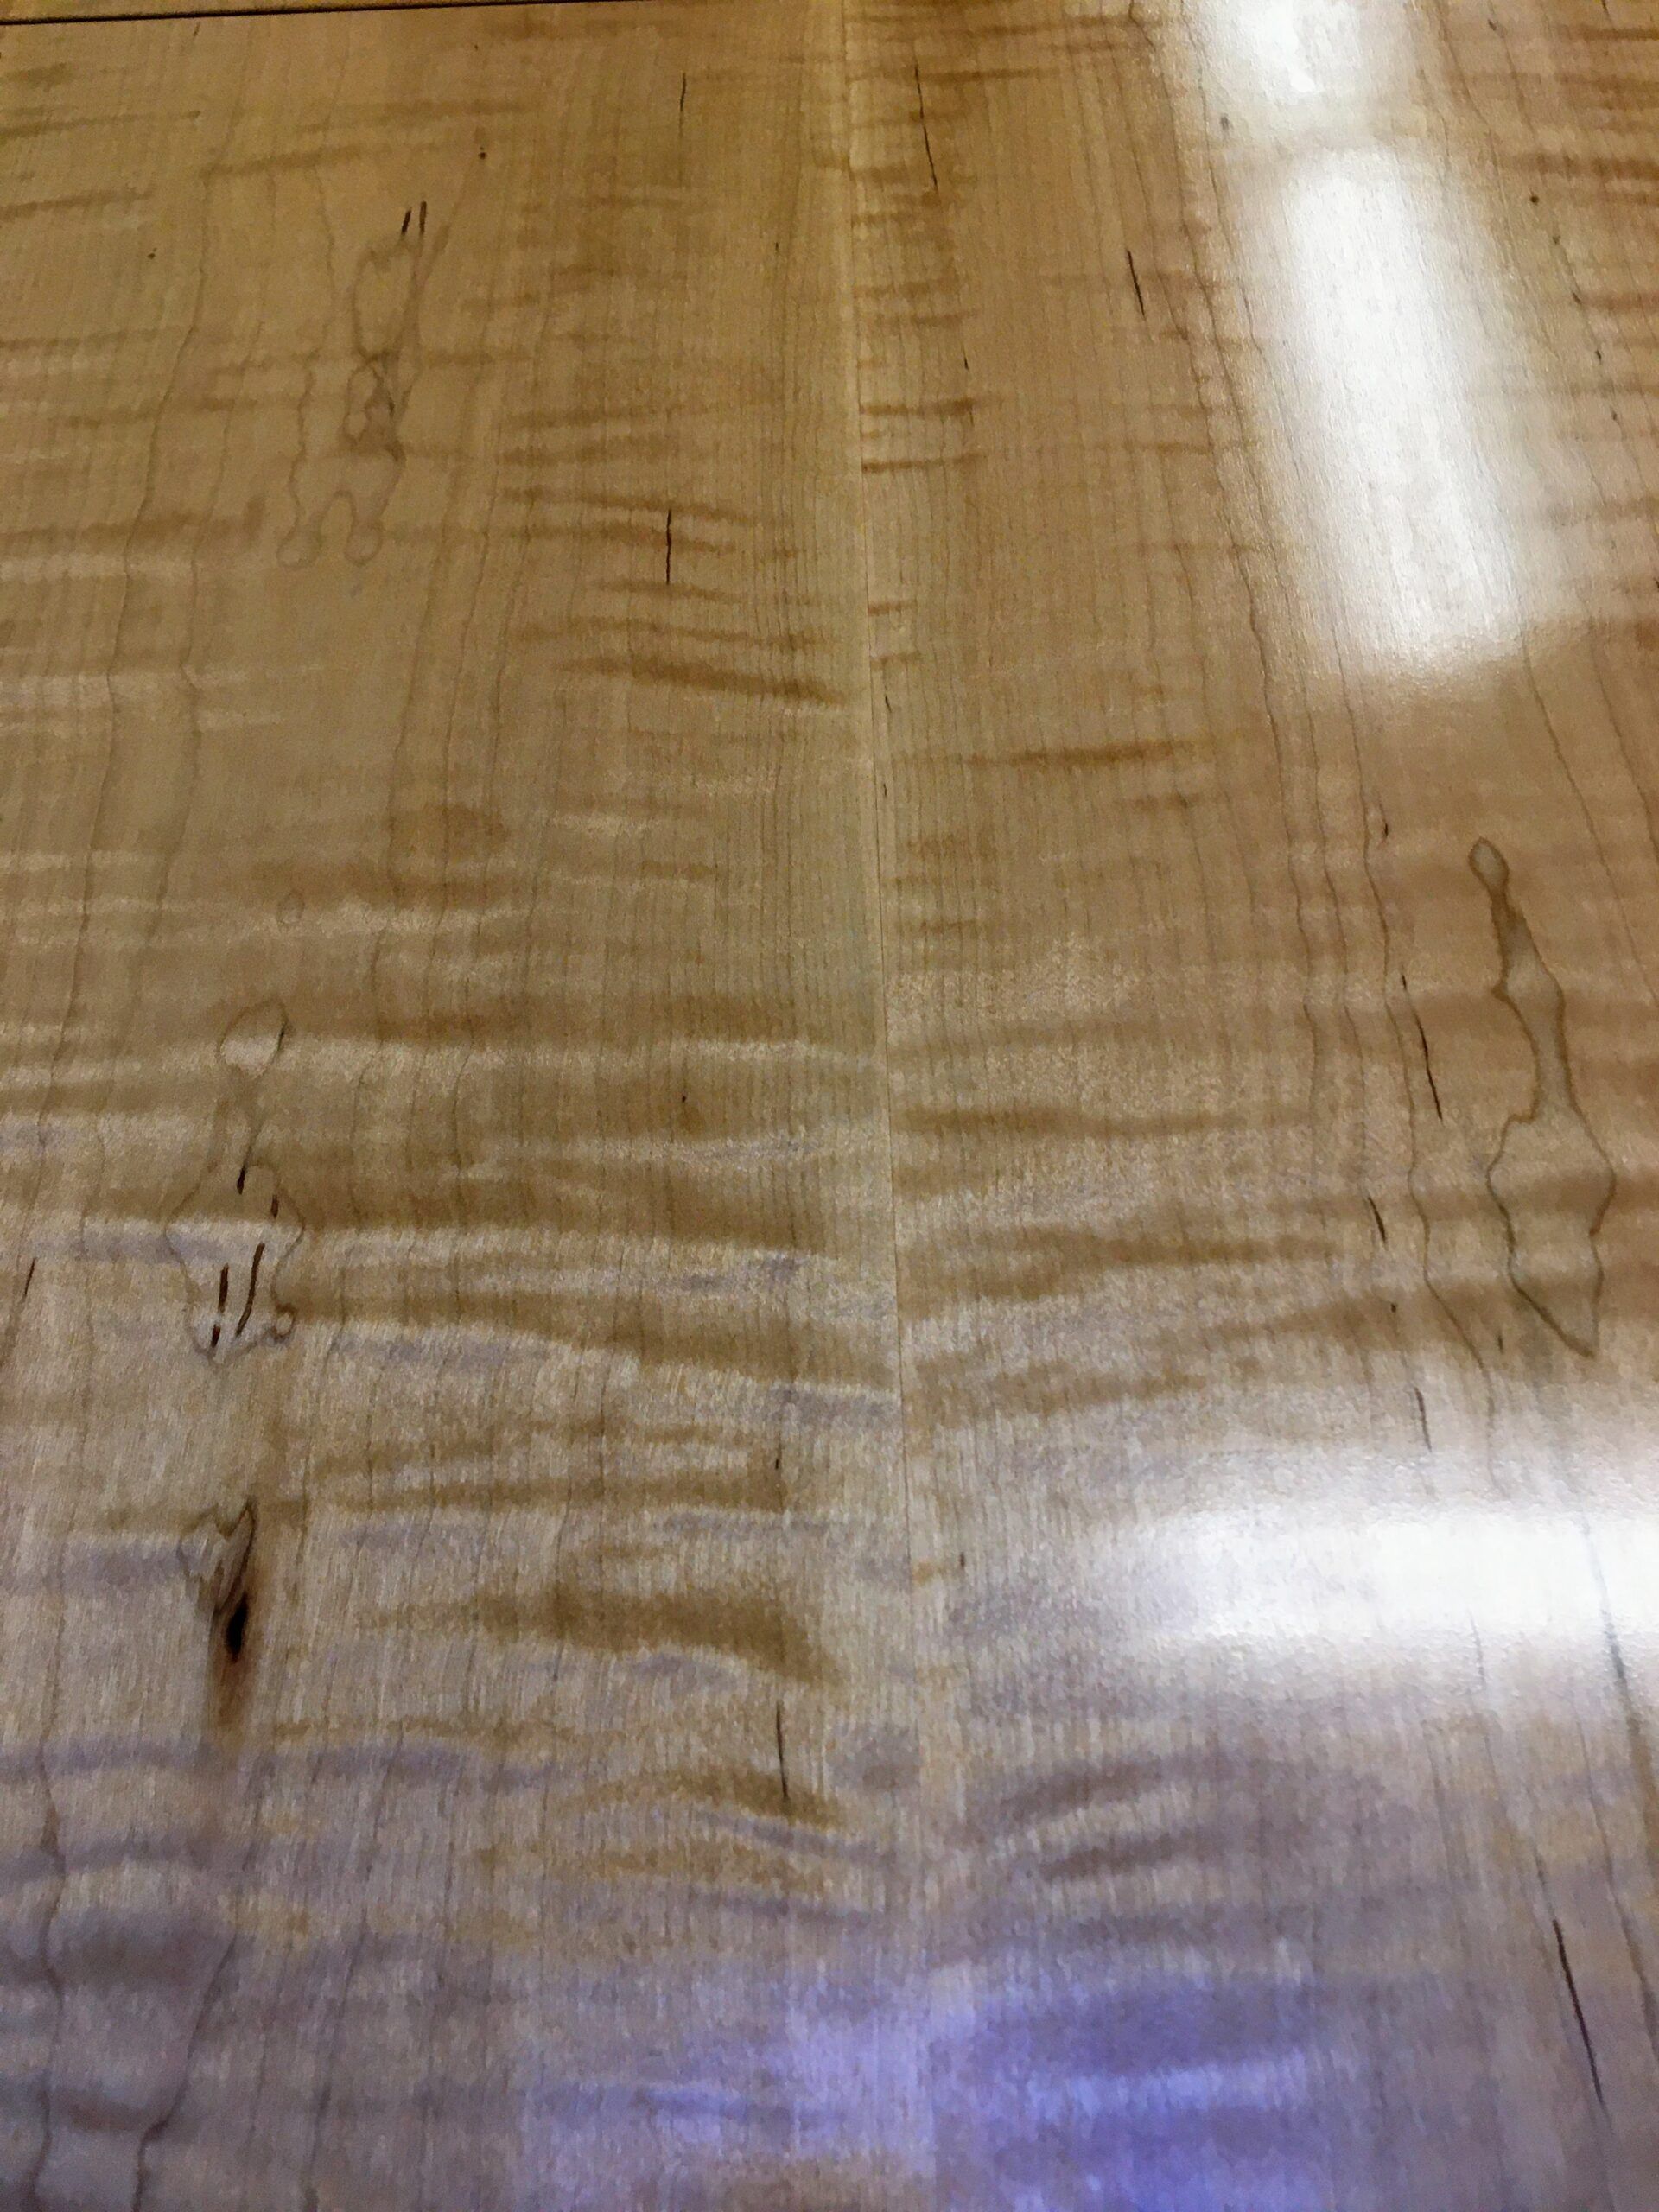
The first step of course to making this table is veneering the table top. After being unsatisfied with the veneers up for purchase I decided to make my own out of a couple boards of curly maple. After bandsawing the boards apart I stitched the seams together with blue painters tape and ran clear packing tape along the length then glued to an MDF substrate with 1″ wide edge banding glued all around in a vacuum press. At 38″ wide I had to take the top to a neighboring woodshop to use their overhead sander since the top was wider than the 24″ my shop’s sander could handle!
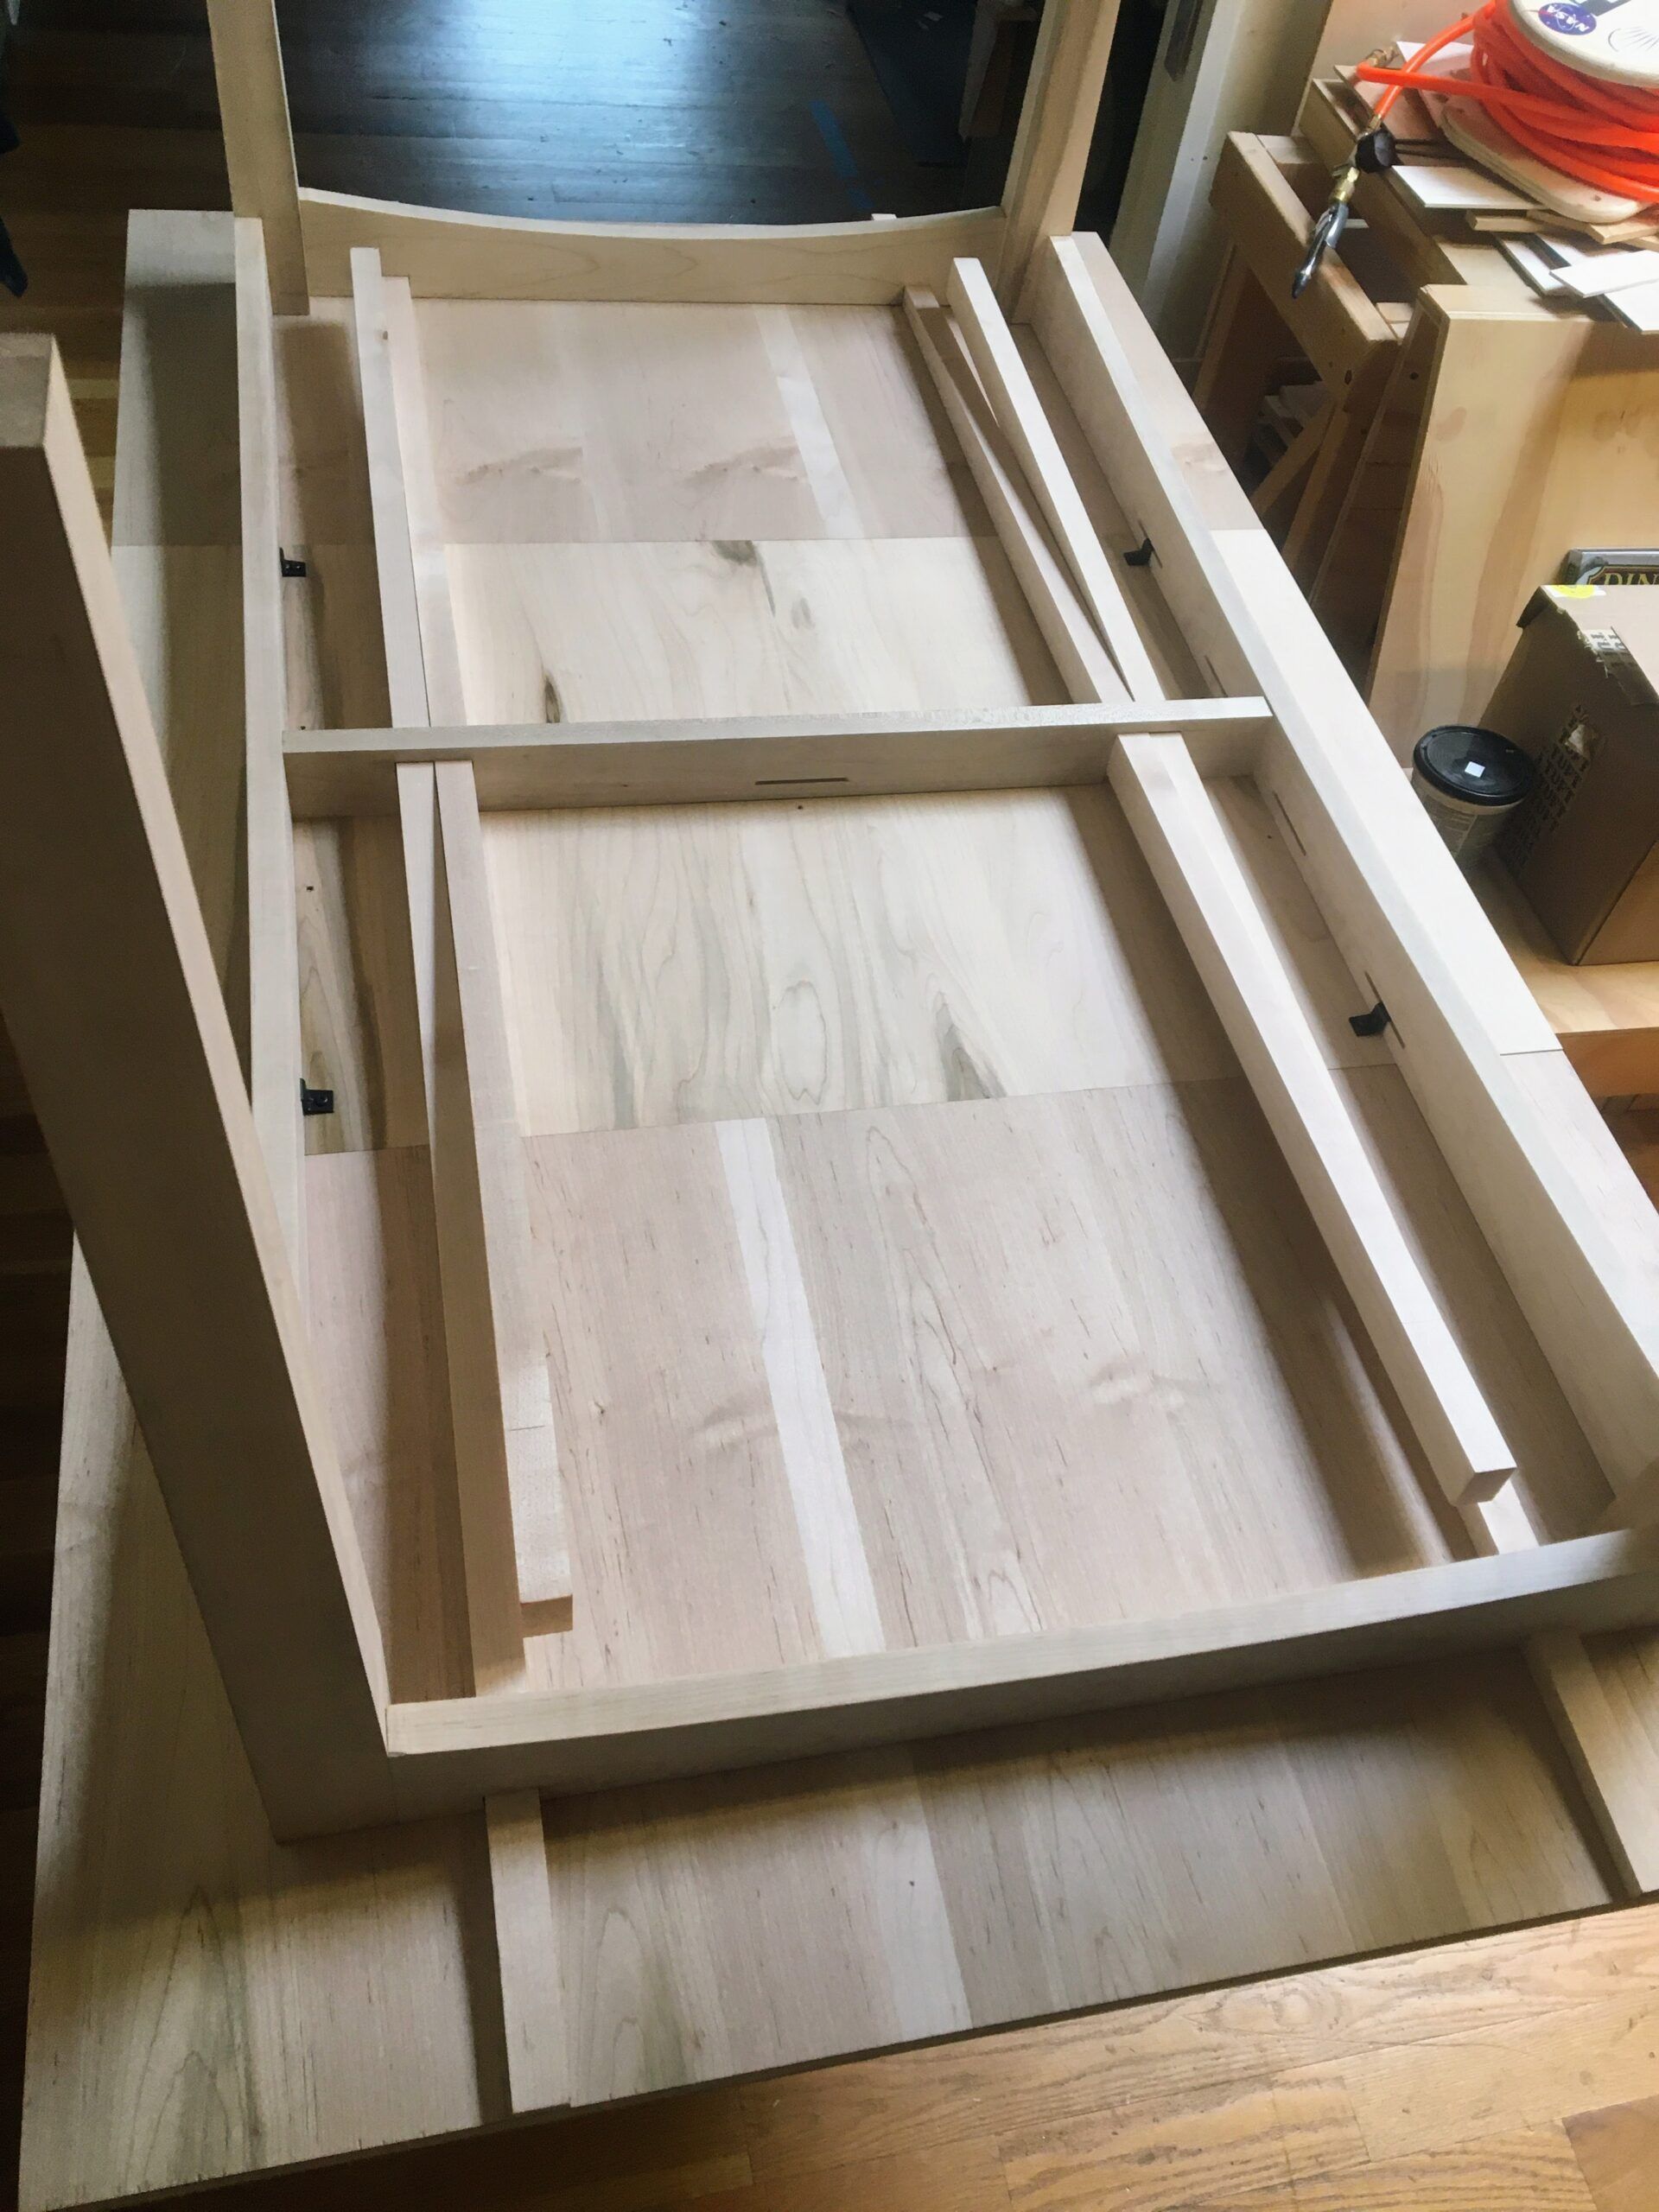
The aprons, rails, legs, and support pieces are regular maple. I narrowed the width of the 7/8″ thick rails and aprons a bit to 3 1/2″ and cut ellipses into them to lighten their appearance. I attached the rails and aprons with haunched tenons into mortises in the 2 1/2″ thick tapered legs. A simple full length tenon fit the central apron for the slides.
Getting the slots in the aprons accurate proved a little tricky, if you aren’t deep enough the leaves will slope down as they deflect against the top and too deep will give an uneven plane when extended. But after a little fussing, the top was level enough for a 24″ ruler to reach from the leaf edge to the main top and make contact for it’s whole length.
Each leaf is 21 1/4″ long and is quite heavy with the MDF core. I decided to add a strip of 1/4″ aluminum to the inside of the tapered slides to give it a bit more strength. Simply fitting the slides to final working dimensions and using an edge router to cut the excess aluminum off.
I must admit it took a bit longer than Frid’s “4 to 5 days” to complete the project and I had to take great care to keep the veneered top flat until it was time for finish. At night I would lay a sheet of 3/4 MDF on the floor, put down the leaves and centerpiece with the main top on top of them, another sheet of 3/4 MDF, and finally a tarp over the whole stack. The customer stated it took a couple days for the veneered top to acclimate to it’s new environment but once it settled it was back to flat just in time for the upcoming holiday and their growing family of children and grandchildren were able to all fit around it!


Log in or create an account to post a comment.
Sign up Log in