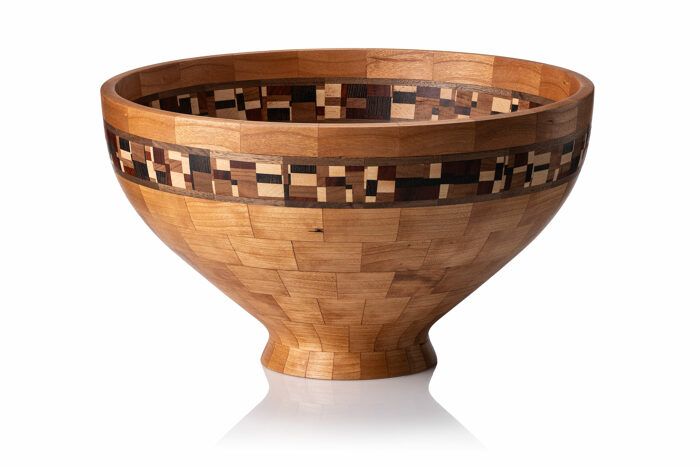
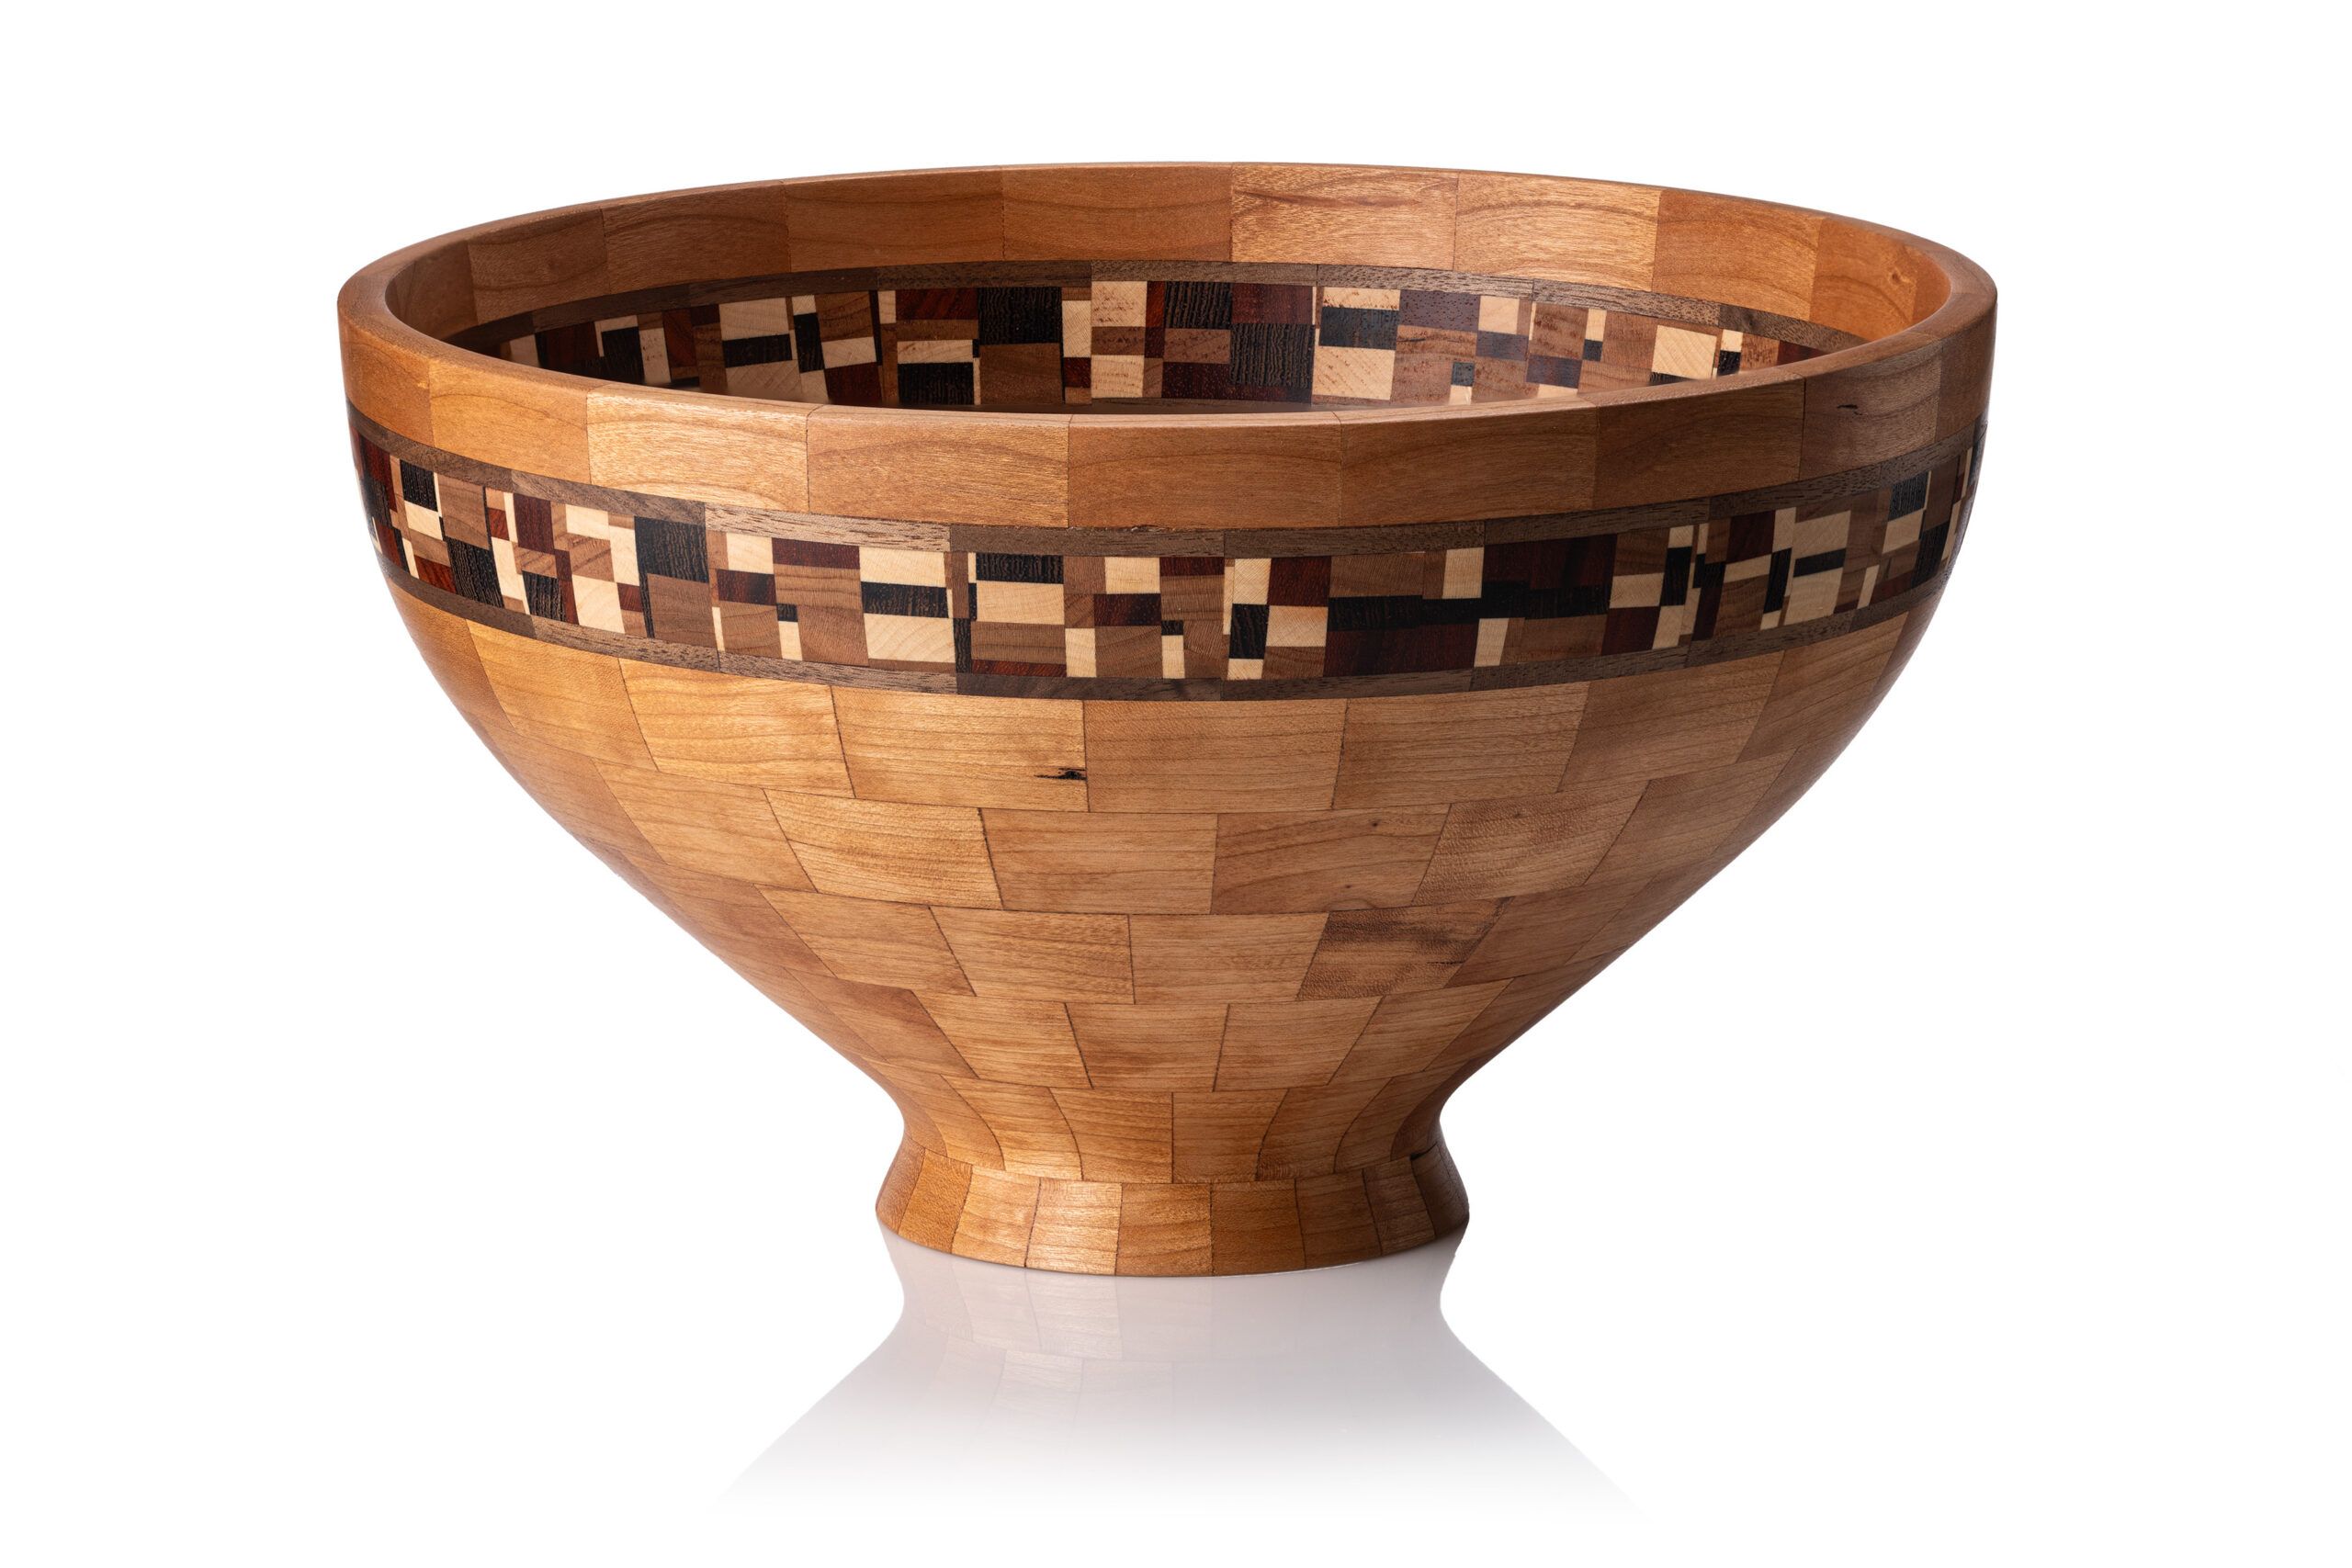
Award Winning Segmented Bowl

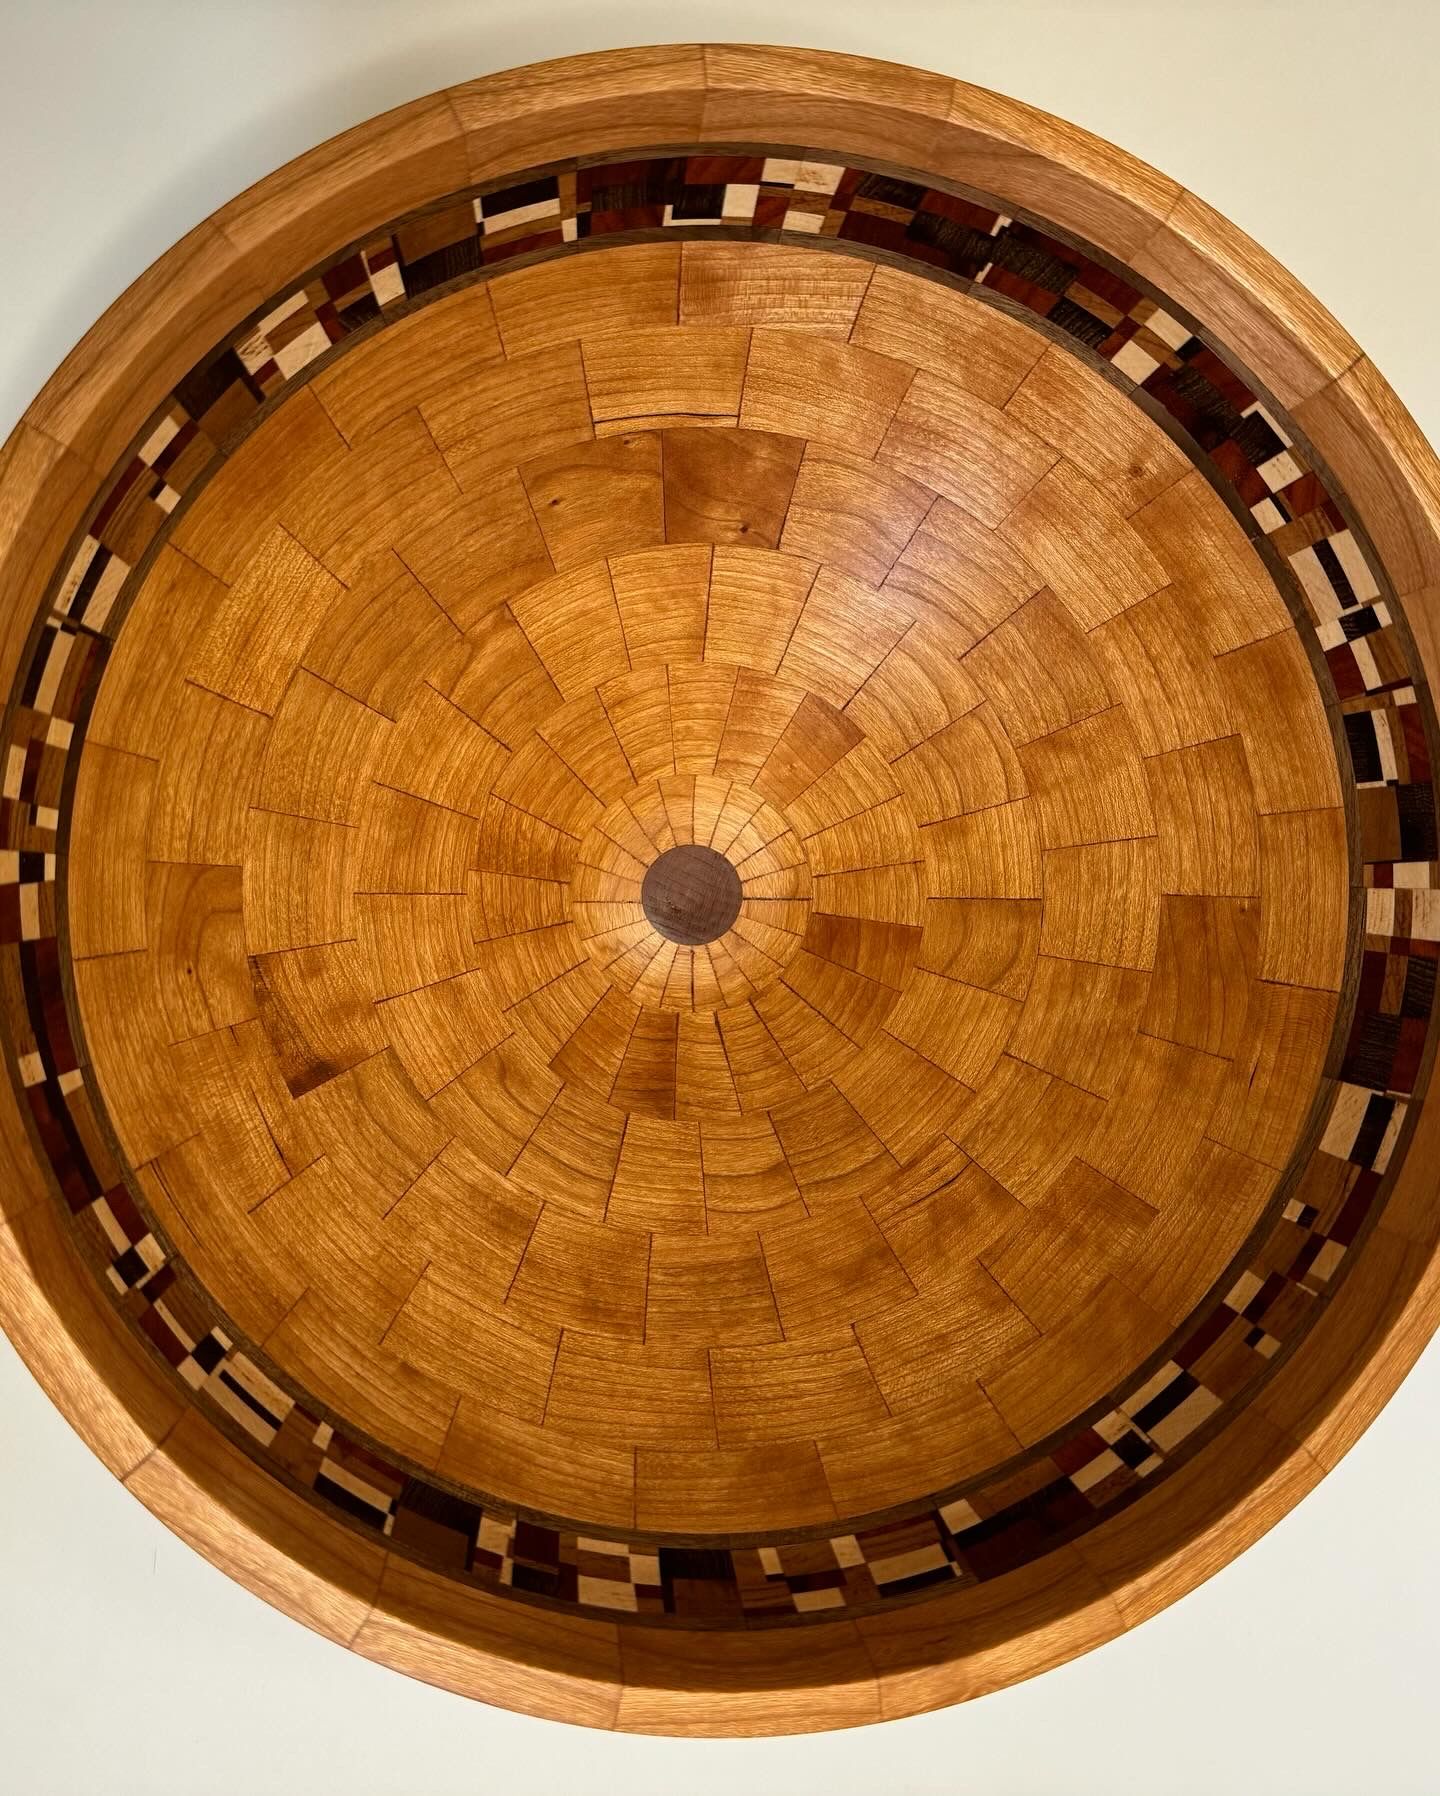
My name is Lorenzo Ferrazzano, I am a 17 year old high school student from Madison Wisconsin, and I have been Woodturning for 2 years. During this past school year, I had a goal to submit a segmented wood bowl to the 2024 Skills USA woodworking for display competition. My first step in creating this bowl was sketching, planning and buying wood for my project. To start my bowl, I selected three types of wood to create a unique accent band: wenge, maple, and padauk. The contrast in the natural color of these woods is visually striking. Using a table saw, I then ripped the 6” x 24” wenge, maple, and padauk into ¾” x 12” strips. I then performed multiple rounds of surfacing, cutting, rotating, and gluing until each strip contained layers of each type of wood in varying sizes. I then set my custom-built “Wedgie Sled” to the correct 20-segment, 18° preset. I cut the patterned strips into 20 wedge segments. For the remaining layers, I aimed for a consistent wood color, wanting the subtle segment pattern and natural cherry color to highlight the accent band. I first selected three pieces of 1” x 6” x 48” cherry wood. After cutting 20 segments at each of the following edge lengths: 2”, 1¾”, 1⅝”, 1⅜”, 1⅛”, ⅞”, and ½”, I organized them in bags to ensure that all segments stayed in their respective layers. I then began the process of assembling the wedges to create each layer. I first made two semicircles for each layer by lining up ten segments on a piece of tape and then gluing. I separately glued each semicircle using a hose clamp, with tape between the two halves. I then sanded the cross-section of each semicircle with a belt sander and glued the matching semicircles together using a hose clamp, resulting in 8 glued layers. I used a sanding plate on a lathe to achieve a flat surface on each face of the layers. I repeated this sanding on all eight layers, ensuring flat faces that can be glued without gaps. I then began assembling the layers to create a roughed bowl. I glued together two layers at a time, which is necessary because if all layers were glued together at once, they would likely slip and not remain aligned. I then glued all the layers together, clamping each one tightly to prevent gaps from forming as the glue sets. I attached the glued-up bowl to a lathe using a 4” self-centering chuck. I turned the outside of the bowl to shape first. Then, I shaped the inside using a combination of bowl gauges, scrapers, and fingernail gauges, sharpening the tools frequently to ensure a clean cut. After cutting the bowl to shape, I sanded the inside and outside using a handheld rotary sander on 80, 120, 150, 180, 220, and 400 grit sandpaper. After sanding, I cleaned the dust off the bowl using a dry towel to reveal the shiny surface. I applied one coat of Tried and True linseed oil and then let the bowl sit for 30 minutes before returning to buff the surface and wipe on a coat of paste wax. After five hours, I buffed off the paste wax to reveal the shiny finished surface of the wood. After months of work, I was lucky enough to have my bowl achieve a first place win in the 2024 Skills USA competition. I am very proud of this segmented bowl and the skills that I learned while making it.


Log in or create an account to post a comment.
Sign up Log in