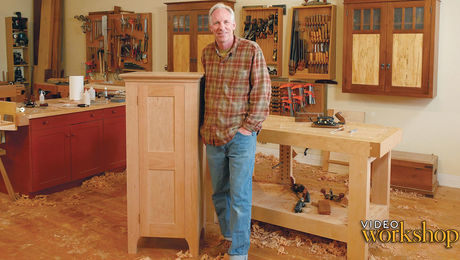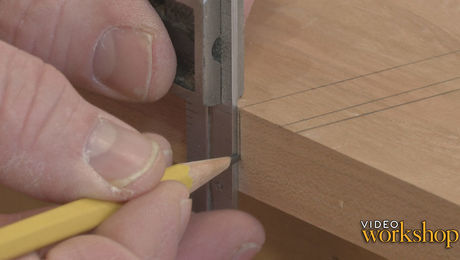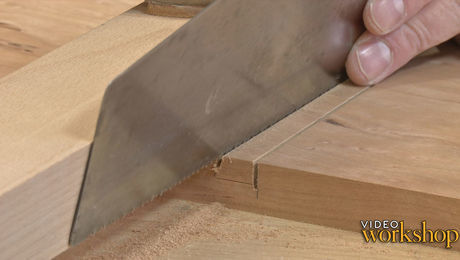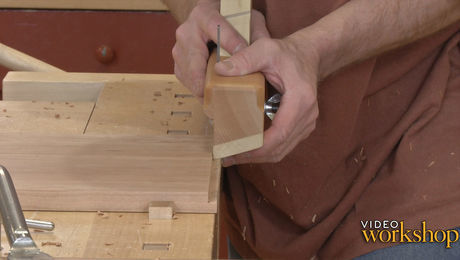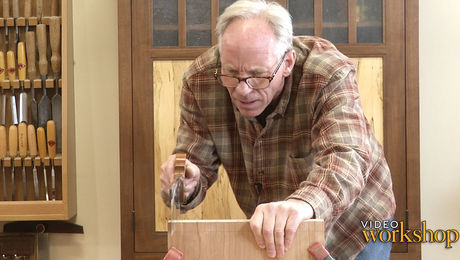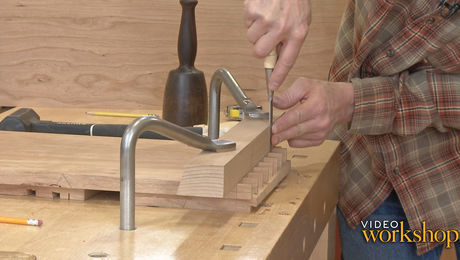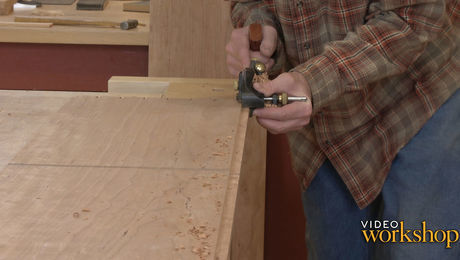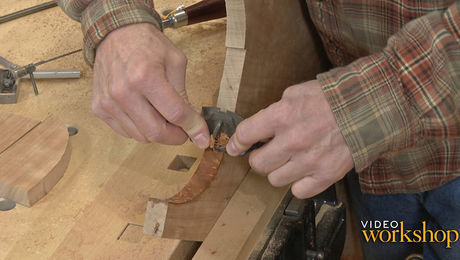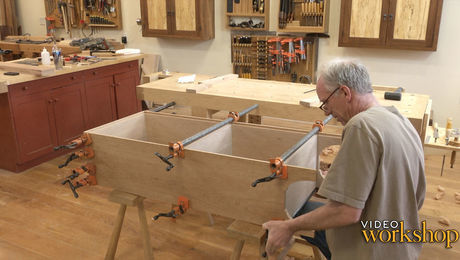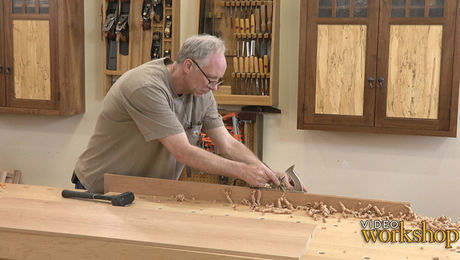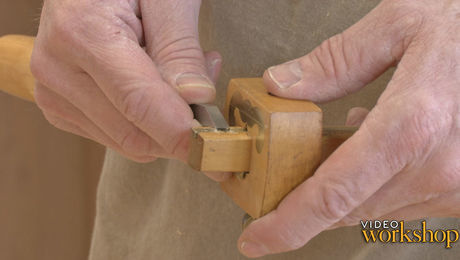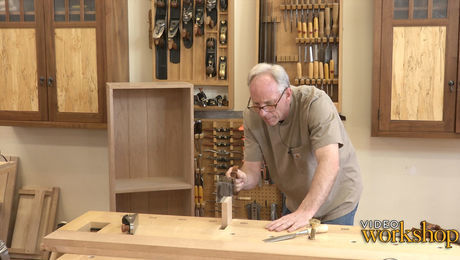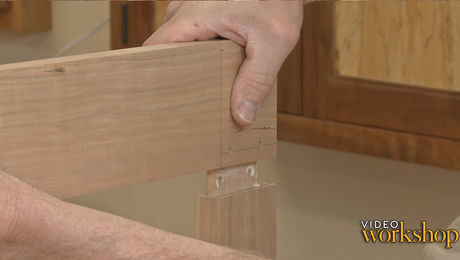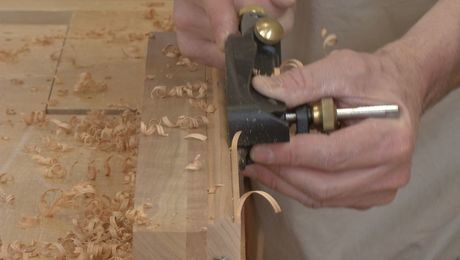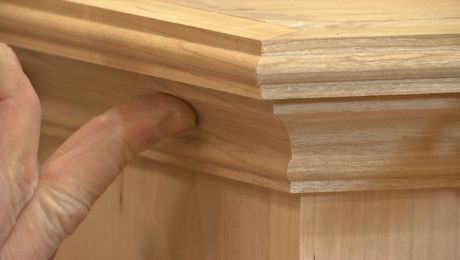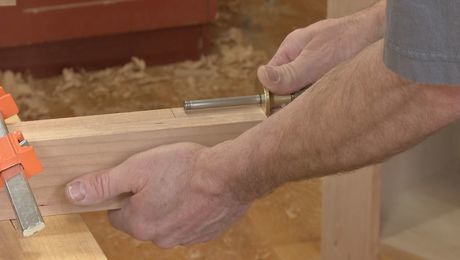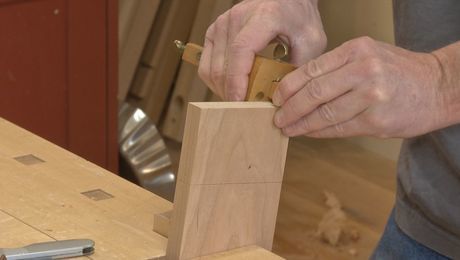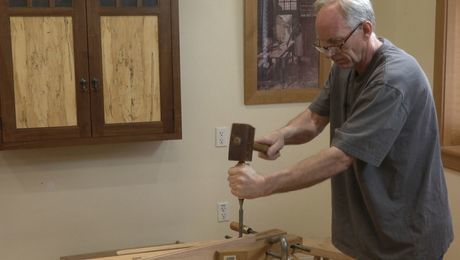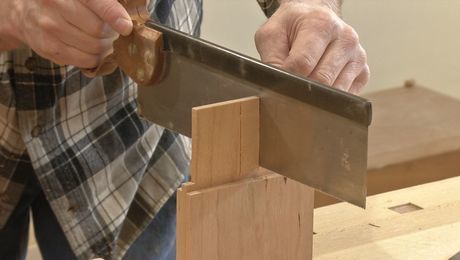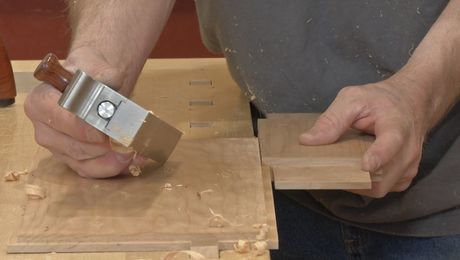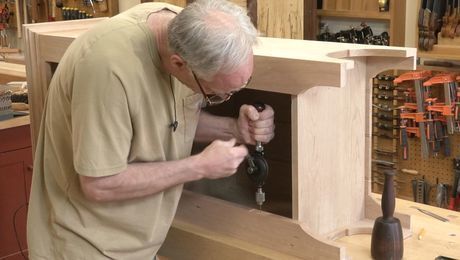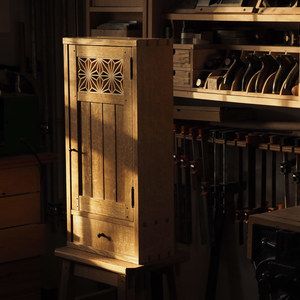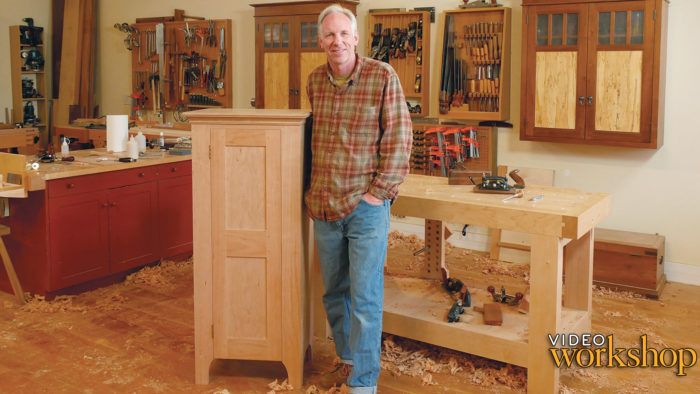
Using only hand tools, Chris Gochnour builds a Shaker classic that is as solidly constructed as it is beautiful.
In this video workshop, you’ll learn how to:
- Use a dovetail plane to cut tapered sliding dovetails
- Use tongue-and-groove planes and beading planes for backboards
- Cut mortise-and-tenon joints by hand
- Use molding planes to create custom moldings
Video by Jeff Roos and Ben Strano
Edited by Ben Strano and Jeff Roos
Produced by Ben Strano
Videos in the Series
-
Ep 1: Enfield Cupboard with Hand Tools – IntroOctober 30, 2018
- This site is protected by reCAPTCHA and the Google Privacy Policy and Terms of Service apply.
-
Ep 2: Case LayoutOctober 30, 2018
-
Ep 3a: Hand-cut Tapered Dovetails – SocketsOctober 30, 2018
-
Ep 3b: Hand-cut Tapered Dovetails – KeysOctober 30, 2018
-
Ep 4a: Case Dovetails – TailsNovember 6, 2018
-
Ep 4b: Case Dovetails – PinsNovember 6, 2018
-
Ep 4c: Handcut Rabbets and Dovetail FittingNovember 6, 2018
-
Ep 5a: Cutting the FeetNovember 13, 2018
-
Ep 5b: Gluing up the CaseNovember 13, 2018
-
Ep 6: BackboardsNovember 20, 2018
-
Ep 7a: Hand-cut MortisesNovember 27, 2018
-
Ep 7b: Hand-cut TenonsNovember 27, 2018
-
Ep 8: Drawboring and Gluing Up the Face FrameDecember 4, 2018
-
Ep 9a: Sticking the Crown MoldingDecember 11, 2018
-
Ep 9b: Attaching the Crown MoldingDecember 11, 2018
-
Ep 10a: Door Layout – Through-MortisesDecember 18, 2018
-
Ep 10b: Door Layout – Through-TenonsDecember 18, 2018
-
Ep 11a: Chopping the Through-MortisesJanuary 2, 2019
-
Ep 11b: Sawing the Through-TenonsJanuary 2, 2019
-
Ep 12a: Rabbeting the Panels and Door AssemblyJanuary 8, 2019
-
Ep 12b: Mounting and Fitting the Door–ConclusionJanuary 8, 2019
-
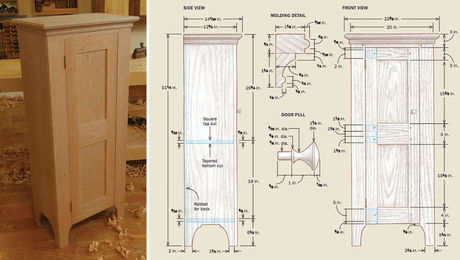 Free Plan: Shaker Enfield CupboardJanuary 14, 2019

