Organize Your Shop with Smart Carts
Dedicated tool cabinets make this shop versatile, organized, and efficient.
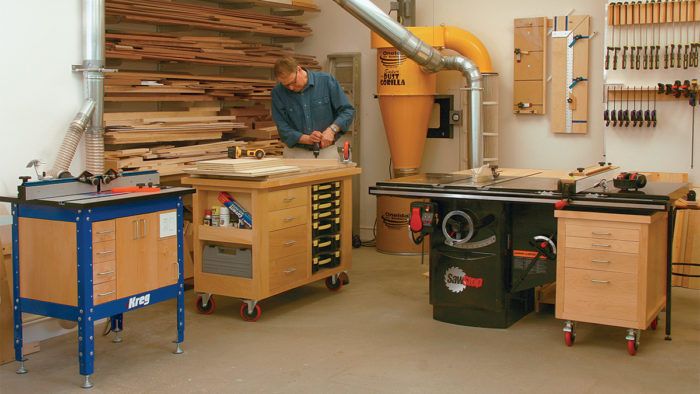
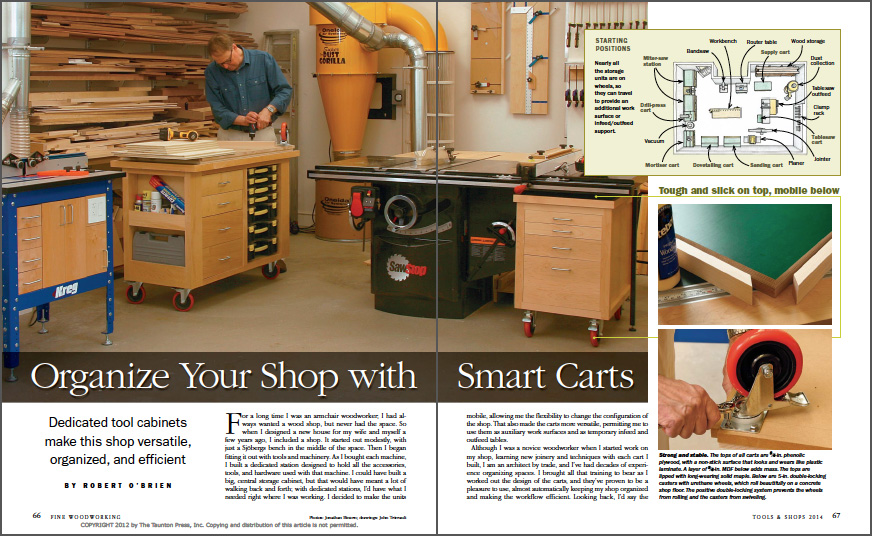
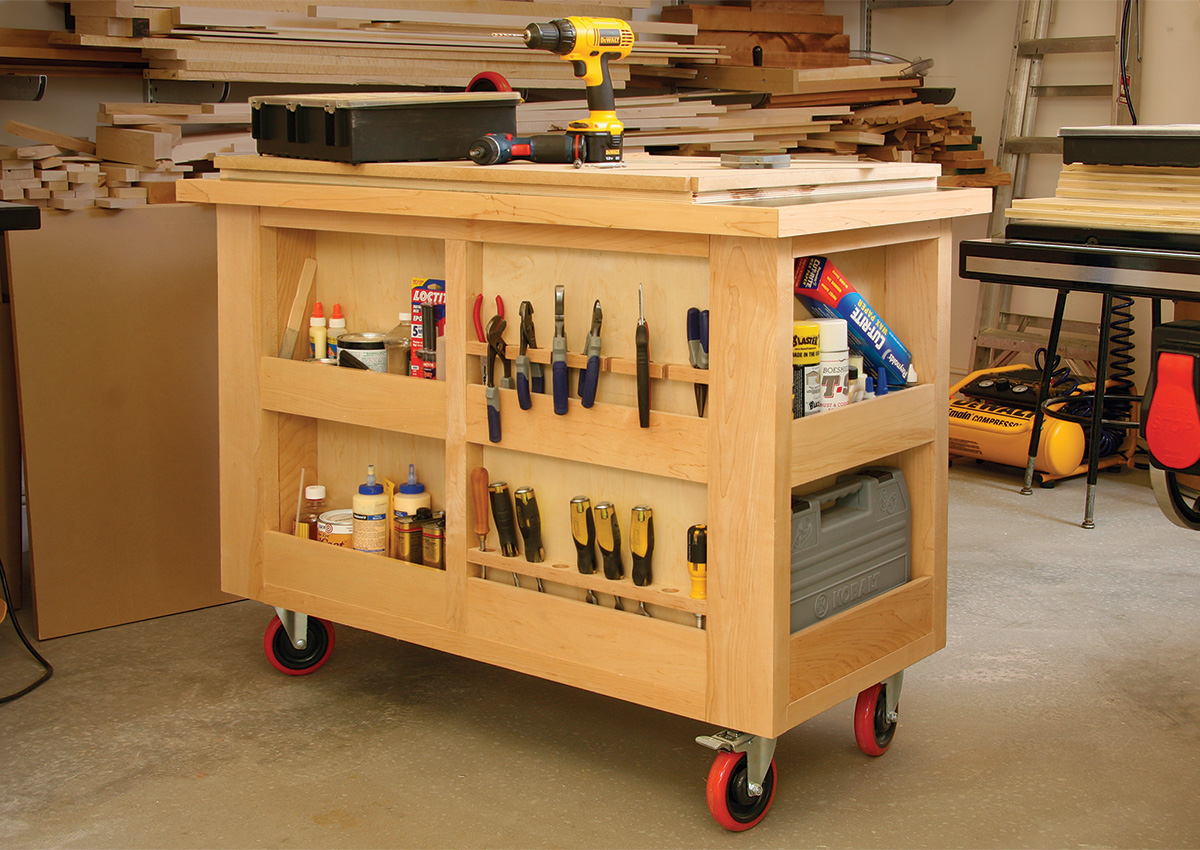
Synopsis: Robert O’Brien built his shop with dedicated, mobile stations for each machine. These carts not only serve as mobile storage space, holding all the accessories, tools, and hardware for that machine, but they also serve as auxiliary work surfaces and temporary infeed and outfeed tables. The tops of all carts are 3/4-in. phenolic plywood, with a non-stick surface that looks and wears like plastic laminate. A layer of 3/4-in. MDF below adds mass. In O’Brien’s shop, he has one cart for hand tools and hardware, one for sanding and sharpening, and one each for the tablesaw, dovetail jig, drill press, chopsaw, and router table.
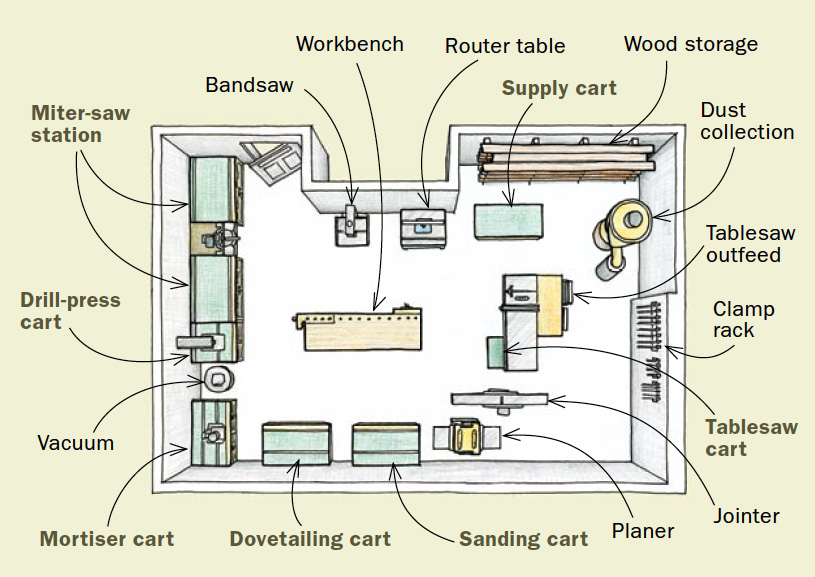
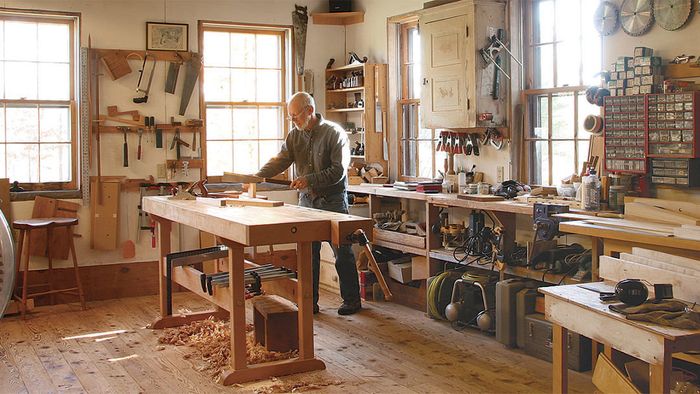
For a long time I was an armchair woodworker; I had always wanted a wood shop, but never had the space. So when I designed a new house for my wife and myself a few years ago, I included a shop. It started out modestly, with just a Sjöbergs bench in the middle of the space. Then I began fitting it out with tools and machinery. As I bought each machine, I built a dedicated station designed to hold all the accessories, tools, and hardware used with that machine. I could have built a big, central storage cabinet, but that would have meant a lot of walking back and forth; with dedicated stations, I’d have what I needed right where I was working. I decided to make the units mobile, allowing me the flexibility to change the configuration of the shop. That also made the carts more versatile, permitting me to use them as auxiliary work surfaces and as temporary infeed and outfeed tables.
Although I was a novice woodworker when I started work on my shop, learning new joinery and techniques with each cart I built, I am an architect by trade, and I’ve had decades of experience organizing spaces. I brought all that training to bear as I worked out the design of the carts, and they’ve proven to be a pleasure to use, almost automatically keeping my shop organized and making the workflow efficient. Looking back, I’d say the thoughtful use of space in carts like these is more important than any specific construction approach.
Fundamental features
Although details changed from one cart to the next as I tailored them to the different machines, a number of features and materials remained constant. The main cabinet structure is a solid-wood frame with plywood panels and partitions. I used hard maple— solid and plywood—as my primary material, because it is hard, light in color, and easy to work. For extra weight and stability I gave each cart a double-thick top and bottom—a layer of 3/4-in. plywood with a bottom layer of 3/4-in. MDF. To make the tops extra tough, I used phenolic-surfaced plywood, which provides a smooth, glue-resistant surface that has proved to be quite durable. In most of the carts I set T-tracks flush into the top, giving me a way to clamp machines, fences, and workpieces firmly and quickly to the cart surface.
To make the carts mobile, I used 5-in. double-locking urethane casters, which roll smoothly and lock down securely. I finished the carts with two or three coats of satin polyurethane wiping varnish.
From Fine Woodworking #237
To view the entire article, please click the View PDF button below.
Fine Woodworking Recommended Products
WoodRiver Router Bit Storage Case
Woodriver Rechargeable Desiccant Bag


Comments
Very clever. Would appreciate more detail so we can build some of these carts. Would buy the plans, but don't see them in the store.
Neat and organized...Would have expected detailed drawings of these so I can build my own. Where can I find them?
Is it possible to have the constructive detail of the cart with stanley containers?
thanks
I just got a membership and I'm surprised by the lack of detailed plans. This is yet another example where there are some great ideas and I would put to use ASAP. Yet, no plans.
Log in or create an account to post a comment.
Sign up Log in