Making a Crematory Urn Box, Part 2
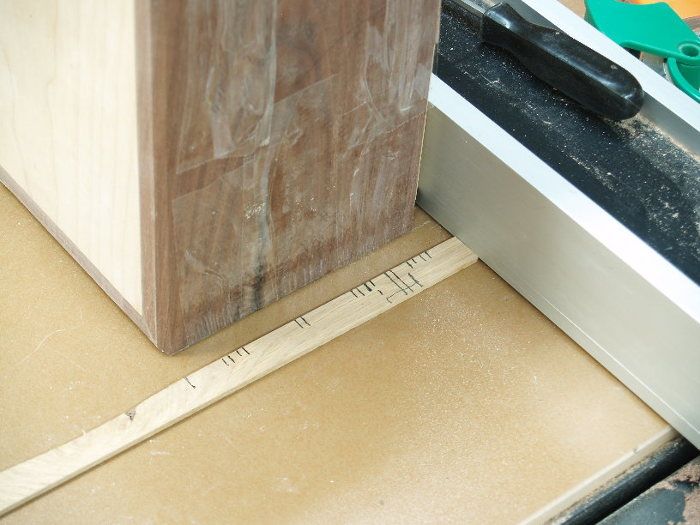
Photo 1 Design miter key placement using a story stick.
Making a crematory urn box, part two…
In part one of this article, I showed how to cut accurate miters and assemble a basic box with floating panel top. Now that the glue has set, it is time to peel the tape, strengthen the corners with contrasing wood keys, make saw cuts to open the box, add keeper strips to the inside so that the lid will nest when closed, and apply finish. While these techniques can be used on boxes that serve a vastly different purpose than this one, the application of attention is a clear way to express care whether in making a gift, or for someone loved and lost.
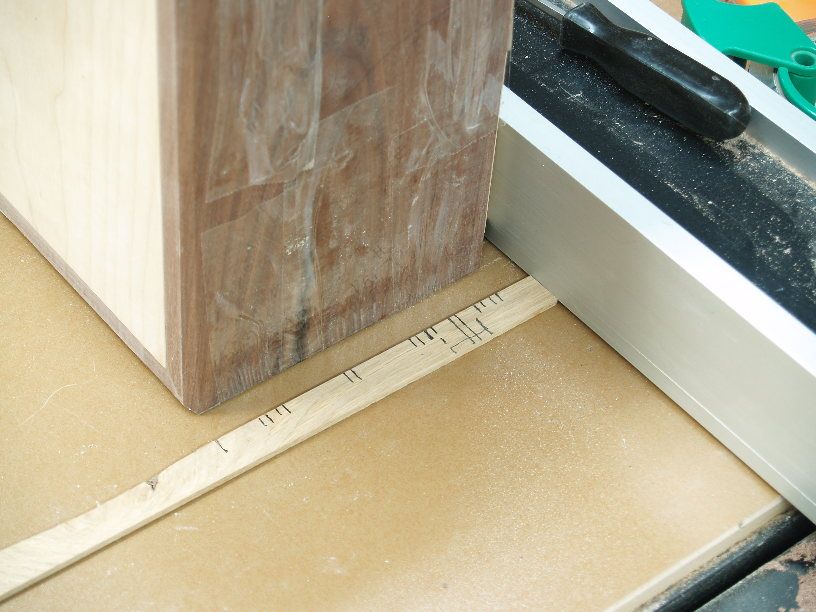
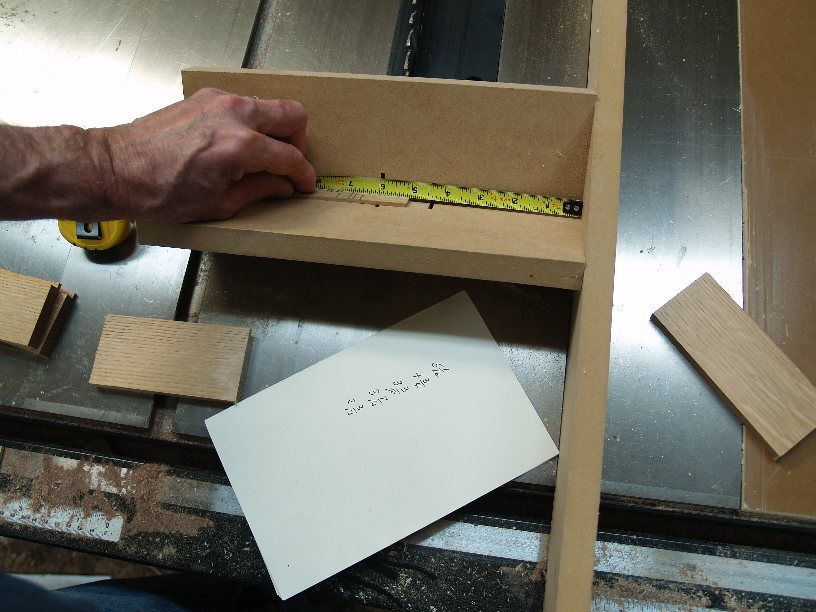
I use a story stick method of laying out the placement of keys. In photo one you can see the story stick and how it is used to describe both the placement of keys (short lines) and where the lid will be cut (long lines) from the base. Of course these lines could be made on the sides of the box instead, but the story stick provides a simple (and more visible) way to translate where the cuts are to be made to your set up of the sled used to position the box to make the cuts. You will note on photo 2 that the miter key sled I use has a tall runner that fits in the miter gauge slot, and I’m in the process of taking measurements for cutting scrapwood blocks of various lengths.
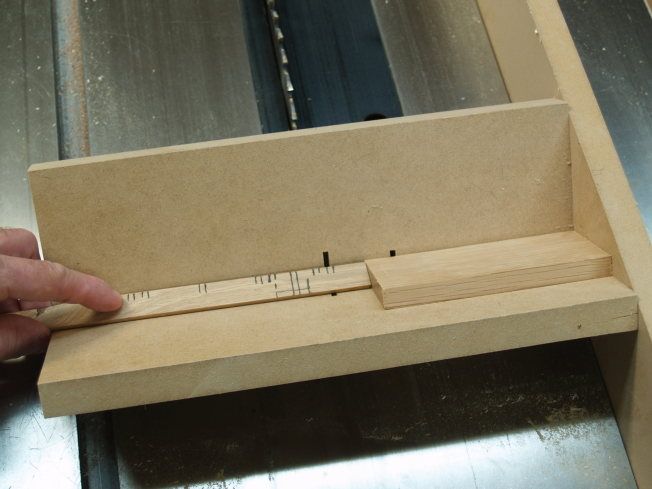
My earlier versions of this sled required a “c” clamp to hold a stop block in place to control the position of the box, but my method has evolved so that now I simply cut a series of blocks cut from scrap wood that nest between the box and the runner in place of the clamp. I use the story stick to determine the length of the block and cut the length of the blocks to correspond with the positions of each miter key cut. Photo 3 shows a block in place. A benefit of this technique is that while I may quickly sketch the positions of the keys on the story stick, cutting the blocks gives me added precision in how the keys are to be placed.
This system is one I came up with to keep students from standing in line at the table saw as they learn the technique. Once the distance between the runner and the saw cut, it is easy to determine the length of the necessary blocks without blocking the use of the saw for others. In addition, this technique makes easy duplication of box designs. Once you have planned the arrangement of keys on the sides of a box, the blocks (if they are kept) will allow you to remake that same design at the drop of a hat.
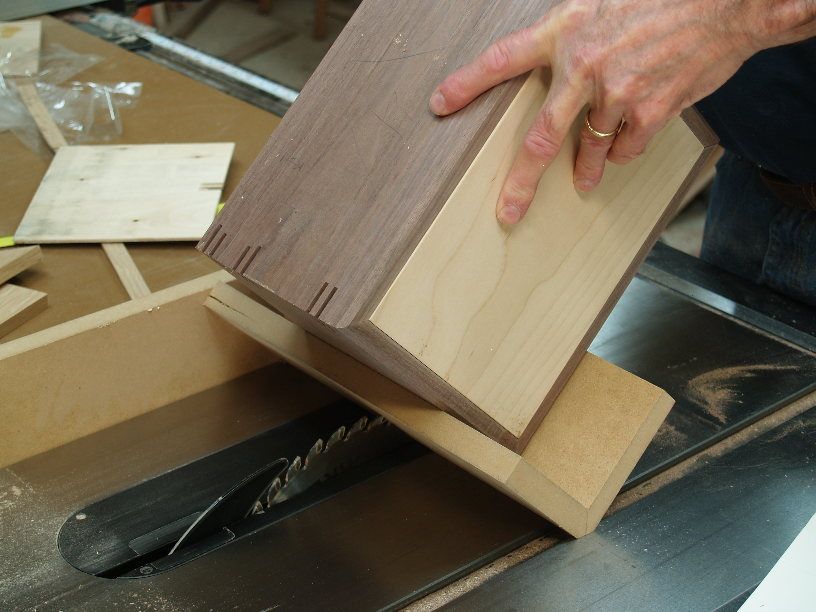
You will note as I cut the key slots, that not all are the same depth. (photo 4) Using this system, I can easily adjust the depths of the slots without changing the depth of the saw cut, by laying shim stock into the body of the sled to raise the box during the cut. This is far easier and more accurate than adjusting the height of the cut. I use various thicknesses of Baltic birch ply as my shims. 1/8 in. ply lifts the box 1/16 in. 1/4 in ply lifts it 1/8 in.
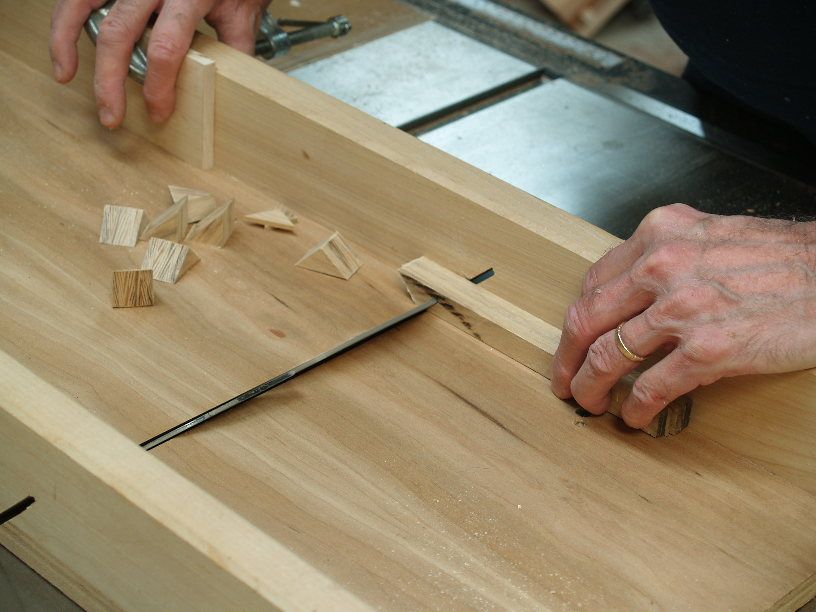
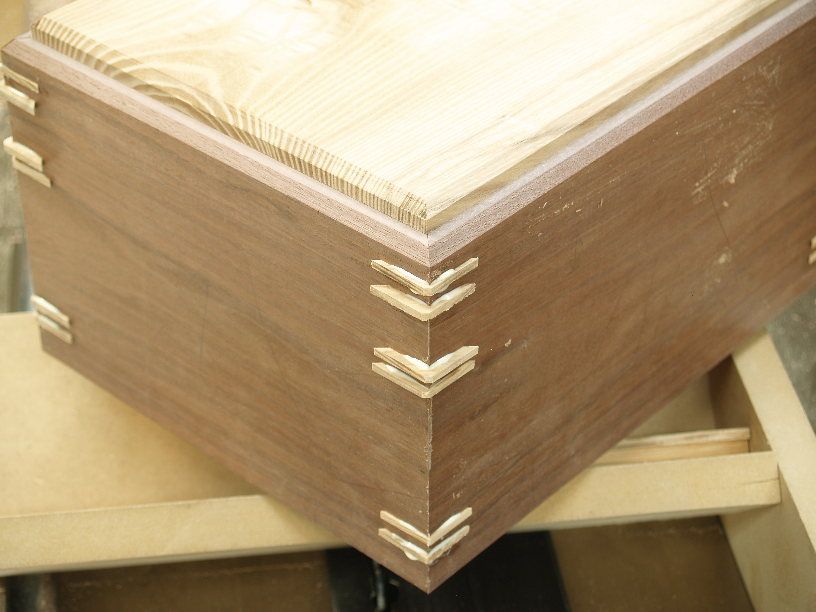
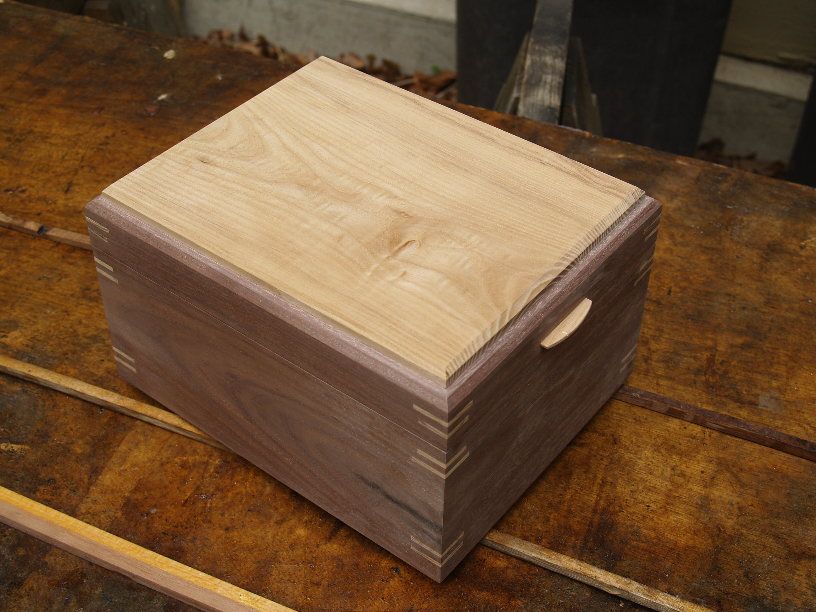
To make the miter key stock, I saw thin strips of contrasting wood to fit the slots, then tape them together into a bundle. Many box makers cut their keys rectangular and then saw them off flush. I have better luck cutting the keys triangular in the first place and then sanding them flush with the box sides. By flipping the bundled strips over after each cut on the miter sled, I get small bundles of triangles which have enough weight that they stay put on the sled rather than flying half way across the room. (Photo 5). Make certain your bundles of strips are long enough to keep your hands a safe 3 inches or more from the blade. After the keys have been glued in place, you can see the advantage of the triangle shape, as these can easily be sanded flush with a random orbit sander, and with less risk of keys becoming damaged at the corners. (Photo 6)
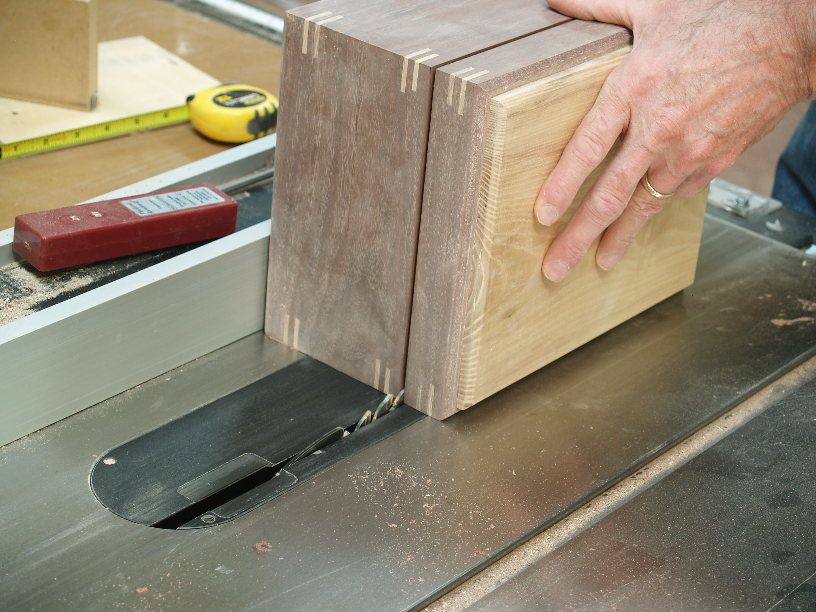
After sanding the keys flush with the box sides, cut the lid from the base of the box. I lower the table saw blade to the point that it almost cuts through the box sides, while leaving a thin sliver of stock to prevent the lid pushing in on the saw blade. I then use a sharp knife to make the final cuts. (photo 7) Remember at this point that you are cutting into the space formed for the lid keeper strips to fit, and not through the full thickness of the box sides.
After separating the lid from the rest of the box, plane or saw thin stock to form the keeper strips and miter them to fit in the sides of the box. These will give the lid a place to nest on the top of the box. Glue the lid keeper strips in place and then sand them as much as necessary to adjust how easy the lid is to lift from the base.
As you can see in photo 8, as the box is ready to apply a Danish oil finish, I have added one more simple touch, lift tabs at each end of the lid. These are made by first routing grooves at each end of the lid and then shaping left-over key stock to fit.
A box like this can be made on a weekend or a day if you’ve practiced and have the right tooling in place. These techniques, making boxes simply, but creatively, are among the many lessons I share in my box making classes at woodworking schools during the summer months. This summer I will be at the Marc Adams School of Woodworking in Franklin, Indiana and at the Center for Furniture Craftsmanship in Rockport, Maine. At each school, students will make a variety of boxes, and have time to find success exploring their own personal design inclinations.





Comments
This is a great article!
What are the typical dimensions for a box that is to be used as an Urn? I note that the article talks about a plastic box being inserted into the the wooden box.
This plastic box was 5in. x 7 in. x 9 in. They come in a variety of sizes. Don't seem to be any universal standards. Measure the plastic box, add 1/4 in. to each dimension to come up with an interior dimension.
Thank you Doug great timing in a way since I am in the process of making four boxes for the sons of a family member that died just before Easter. I'm really touched that the asked me to do so and I am considering a wide variety of designs. This is great. Thanks again.
I'm glad the timing worked for you. At just about any time, some box maker somewhere is doing the same thing, though the exact circumstances will vary. The first box I made for crematory remains was to hold a table spoon of a famous author's ashes to be carried to the Ganges River in India by his now famous daughter. Most of his ashes were planted with the irises in the daughter's garden, but just one tablespoon joined the flow of that great river.
Doug,
Thanks for the measurements for the box in your article. I will be cautious about the sizes of the boxes that come from the crematorium.
I have your book on making boxes and have enjoyed it immensely.
I see the post mentioning the measurements used for the box, but have not yet found those measurements, list of materials or cutting guide. What am I Missing? I love the box, and it is similar to boxes I have made previously. Dimensions would be very helpful. Thank you!
If you're referring to the post in the comments section, Doug gives rough measurements below, but the box is really built around the dimensions of the box provided by the crematory, which vary from place to place.
Log in or create an account to post a comment.
Sign up Log in