A Tool for Perfect Mortises
This router template is quick to make and easy to use for accurate mortises every timeMake this jig quickly on your router table to suit the mortise you need. Then clamp it to your stock and use a plunge router and template guide to make perfect cuts. For floating-tenon joints, make matching mortises.
Make the template on the router table
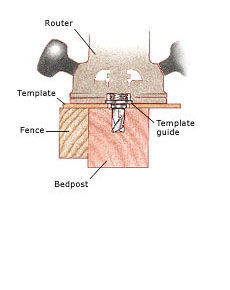
Attach a hardwood fence to the 1/4-in.-thick MDF template, leaving it slightly proud of the edge. Lay out the slots and drill starter holes to make it easier to rout the slots.
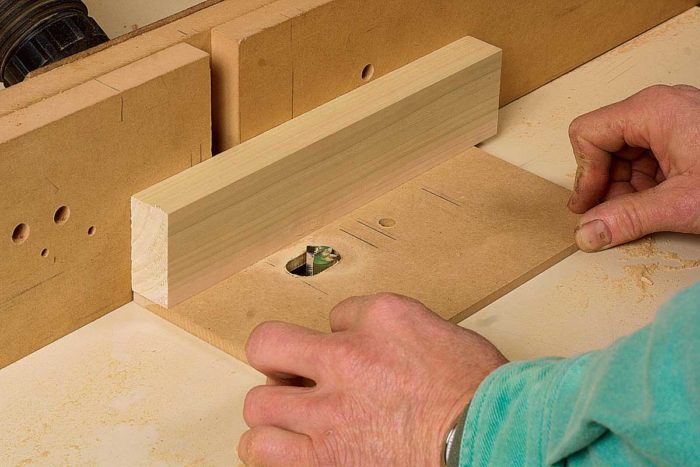
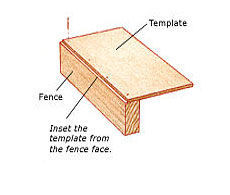
Mortise the posts first
Place the workpiece in a vise and clamp on the template. Take a few passes to get down to full depth, and stop often to vacuum out the chips.
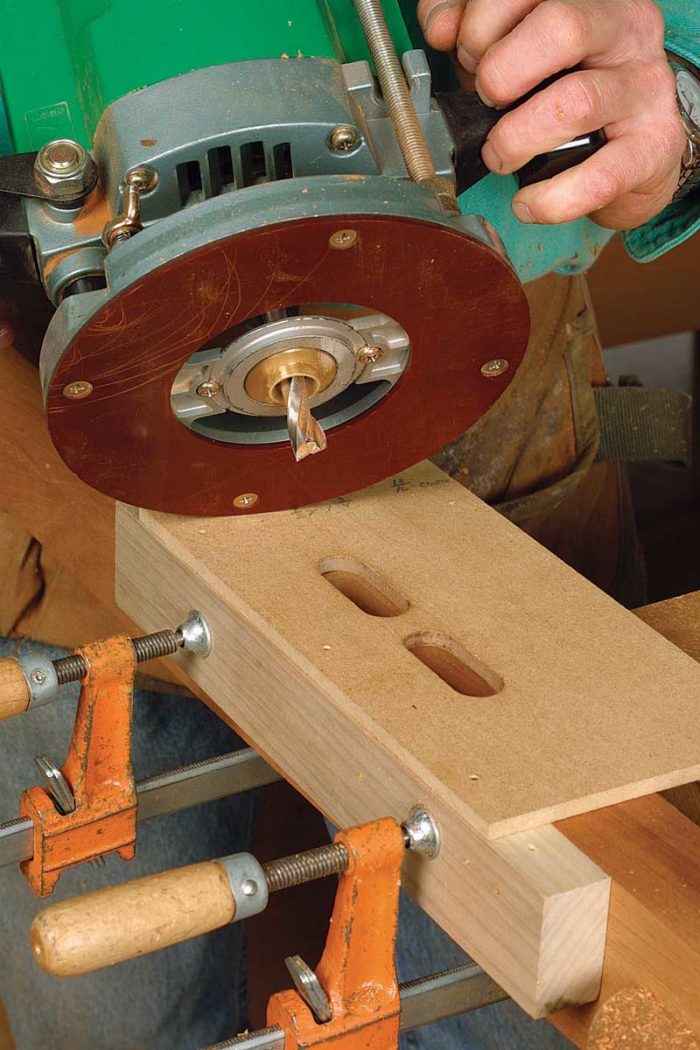
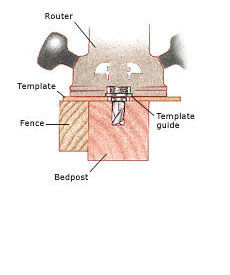
Template routing is easy on the ends of long rails
The rail is thinner than the post, so to center these mortises you must insert a shim between the workpiece and the template fence.
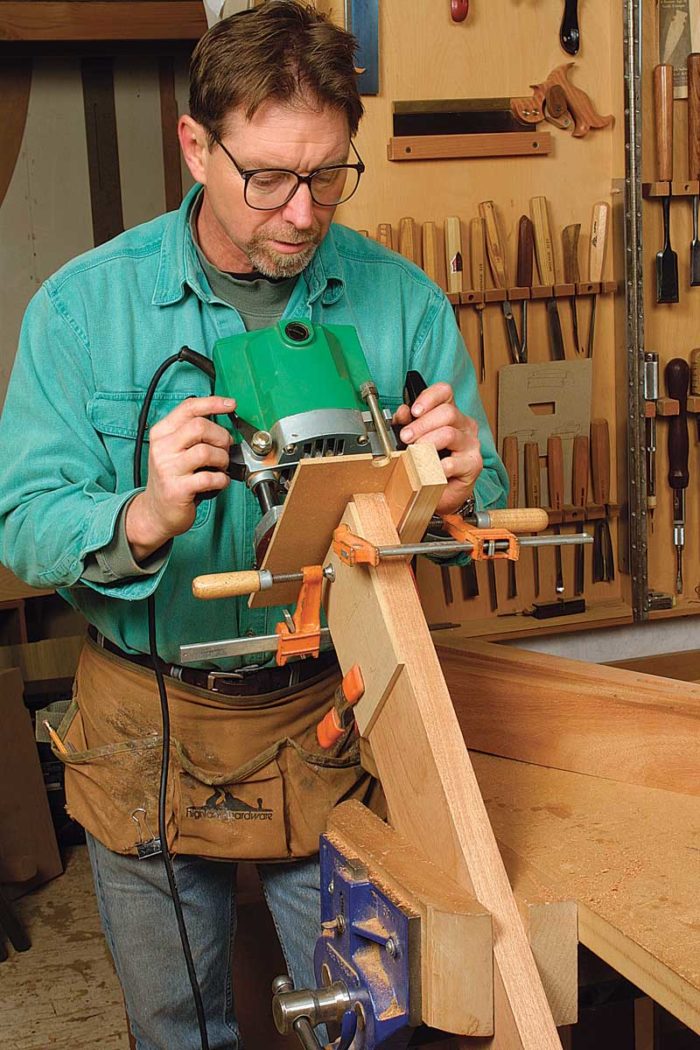
For more on using this jig for floating tenons, see my article “Arts and Crafts Bed” in the May/June 2002 issue of Fine Woodworking (#156).
Photos: Asa Christiana; drawings: Michael Gellatly


Comments
none of the associated images show up. All missing.
Thanks for the heads up, we'll get on it.
How do you prevent just routing right through your template as well as the work piece? This doesn't seem that much more foolproof than just drawing the mortise hole out and routing by hand. Am I missing something?
Jimmychaz, the author did not discuss this, but take a look at the picture, you will see that the router bit is centered in a brass bushing which rides on the template and prevents the bit from cutting into the template. The template must be cut precisely to accommodate the bushing offset, so the template opening is larger than the mortise it is designed to cut. Hope that helps explain why the template gives you positive control of the cut.
Log in or create an account to post a comment.
Sign up Log in