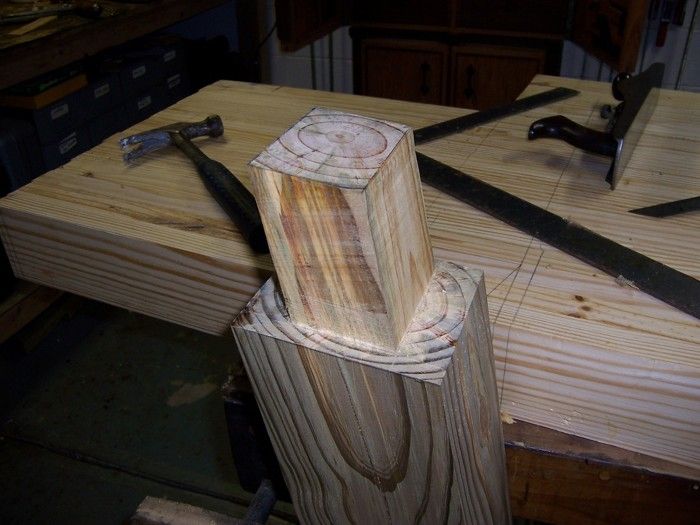
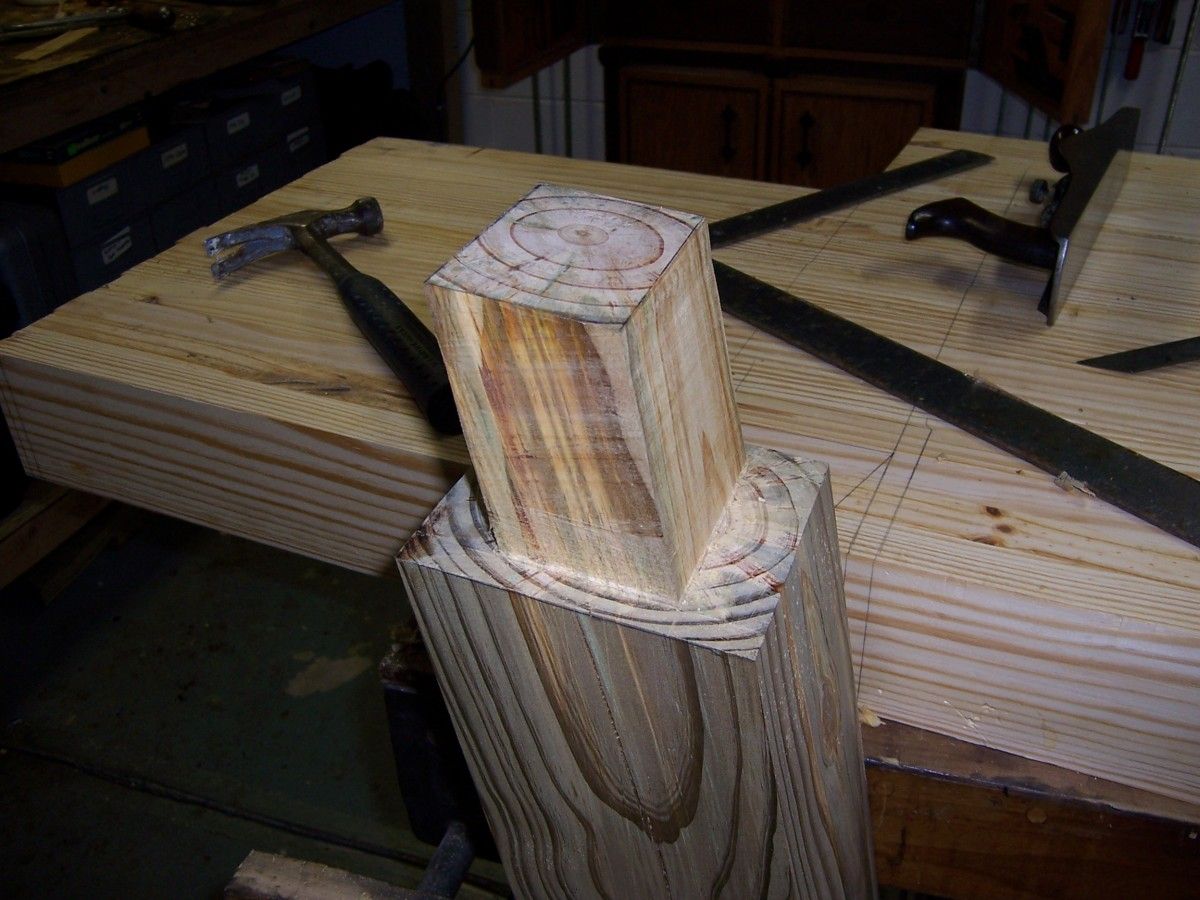
Back leg tenons are 2"x 3"x 4" long and are cut at a 20 degree angle.
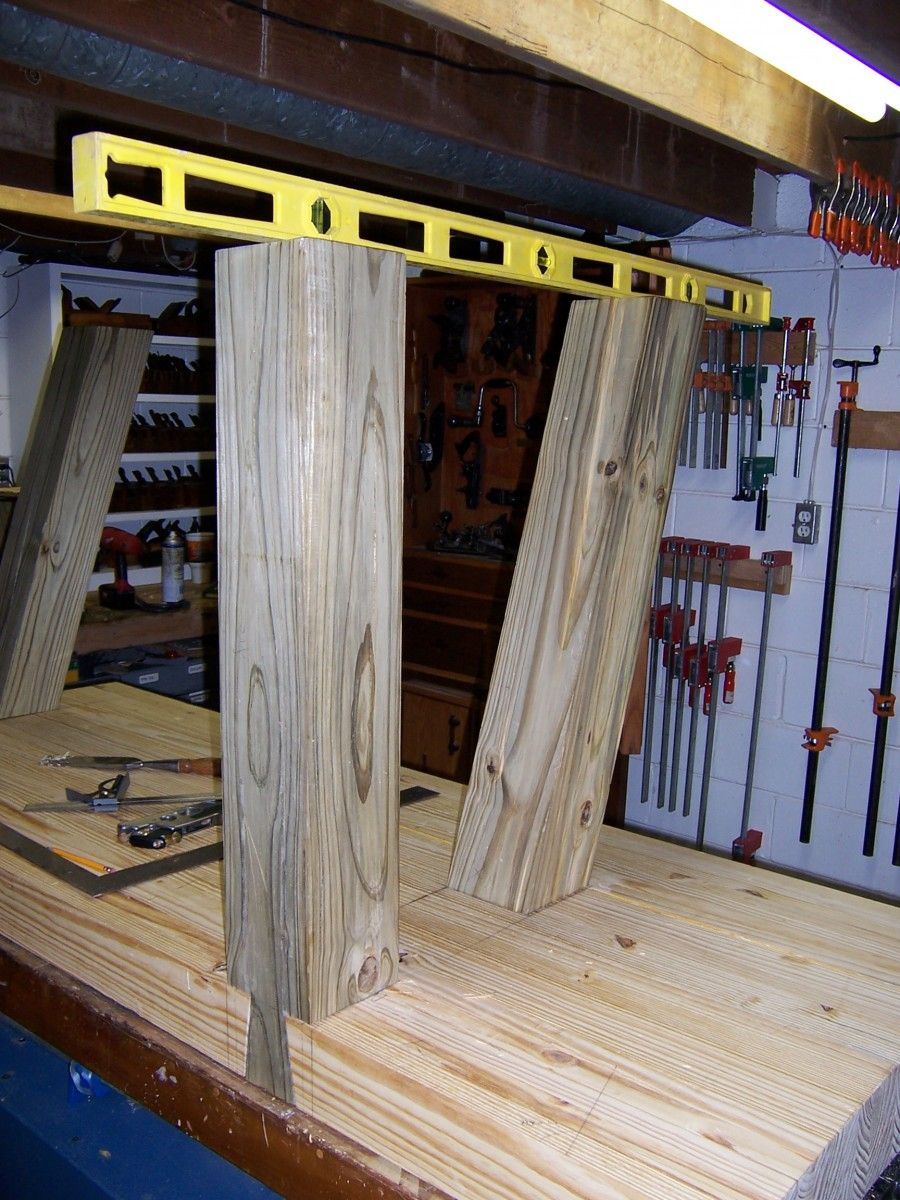
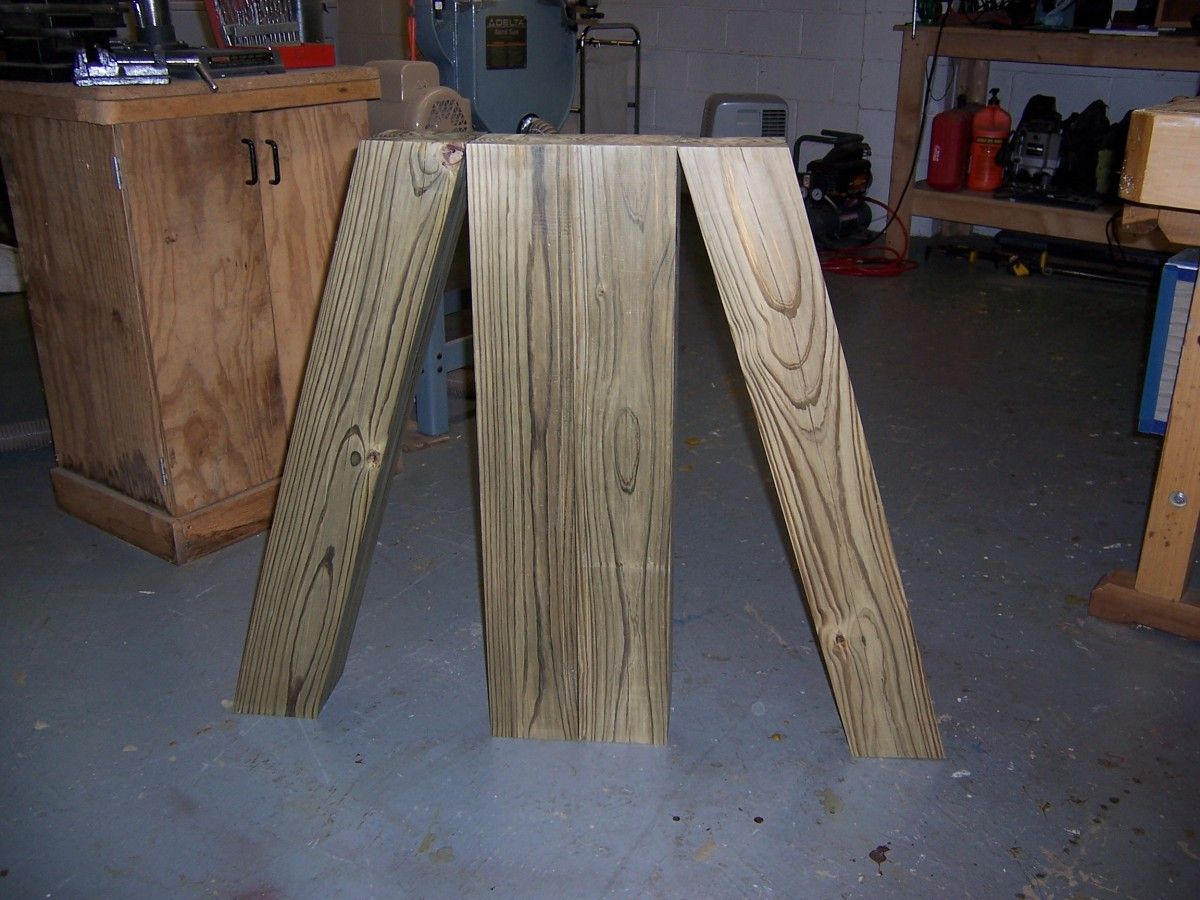
When I went to Woodworking in America Conference in Berea, KY last year I saw Roy’s Roubo bench. The bench’s back legs were splayed out because he had a tool tray at the back. When I went to shake the bench, it was a solid as a rock and I knew right there and then that I wanted to incorporate that feature into my bench even though I didn’t want a tool tray on my bench.
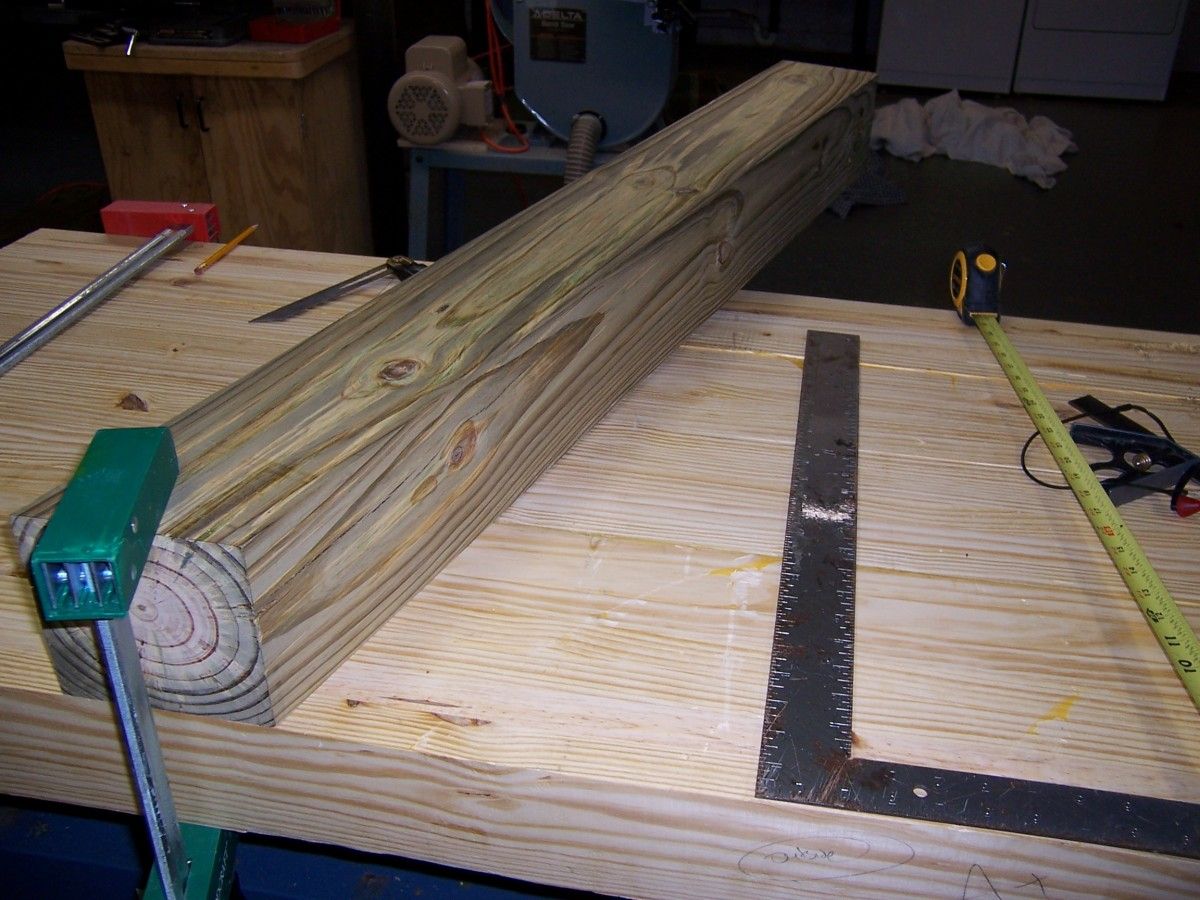
The legs of my workbench are made from 6 x 6 pressure treated post. I planed them down in a surface planer to about 5 1/4″ square as I wanted to remove as much of the wane form the post as I could. After surfacing them, I check to see how square the legs actually were. It turns out they weren’t square at all but rather each one was a rhombus. So I took each leg over to the jointer and squared one side to a face then returned to the planer to true them up to 5″ square.
Now I was ready to cut them to length. The bench will be 33″ tall so the two front legs will be 33″ long since they will protrude through the top. I cut each leg using my circular saw flipping it at each pass and cleaning up the end using my low angle jack plane. I measured the back legs by laying a framing square flush to the top of the leg and measuring up 90 degrees to mark where the leg hit 33″ on the tape measure. I cut the leg to size with a pass on each side finishing up in the middle with a handsaw.
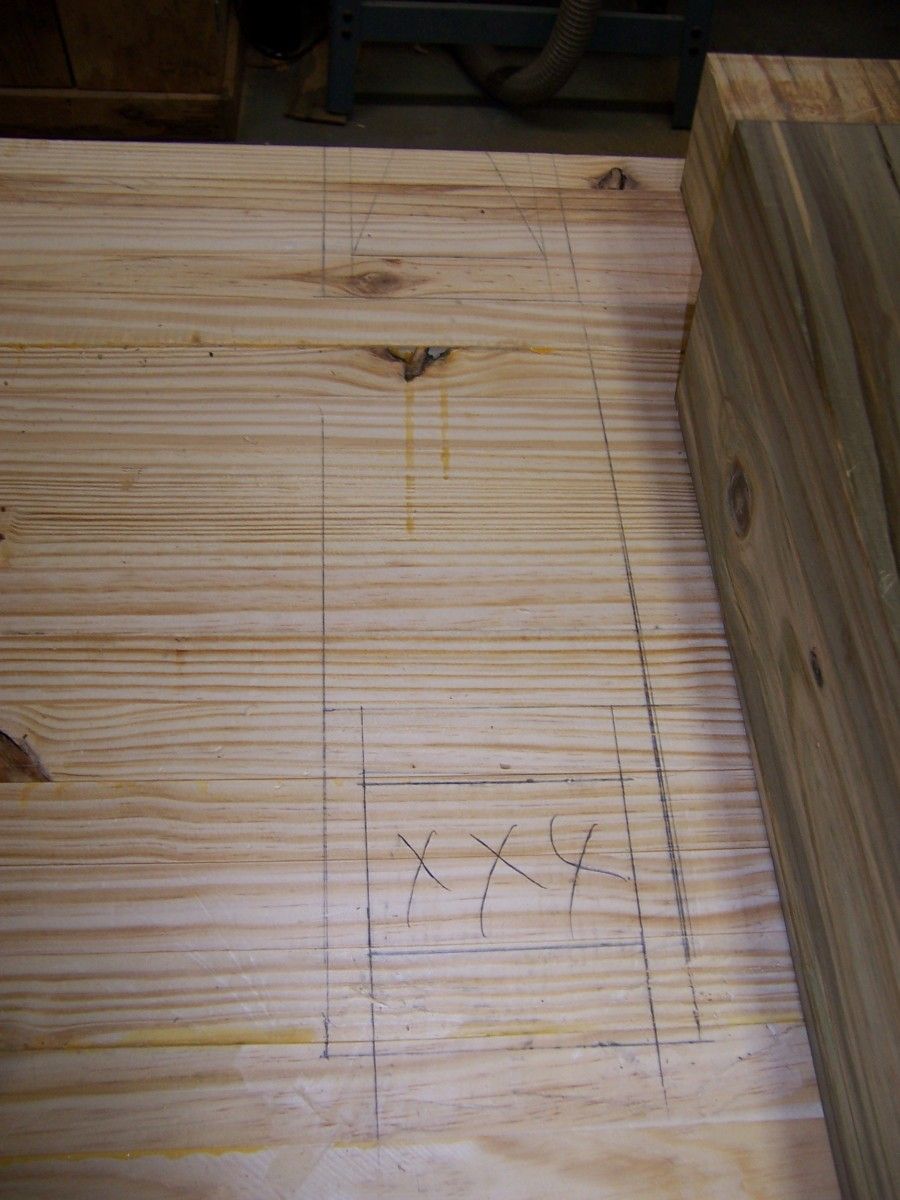
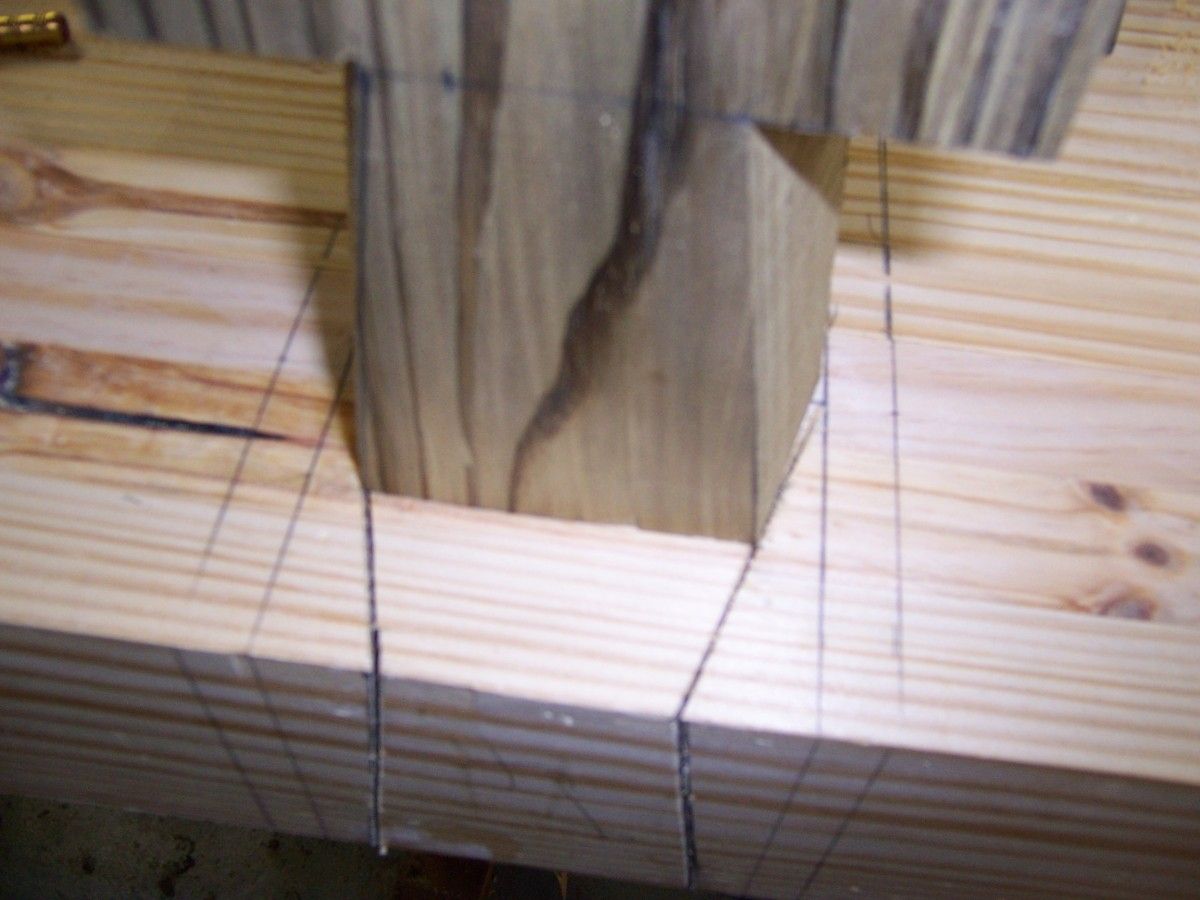
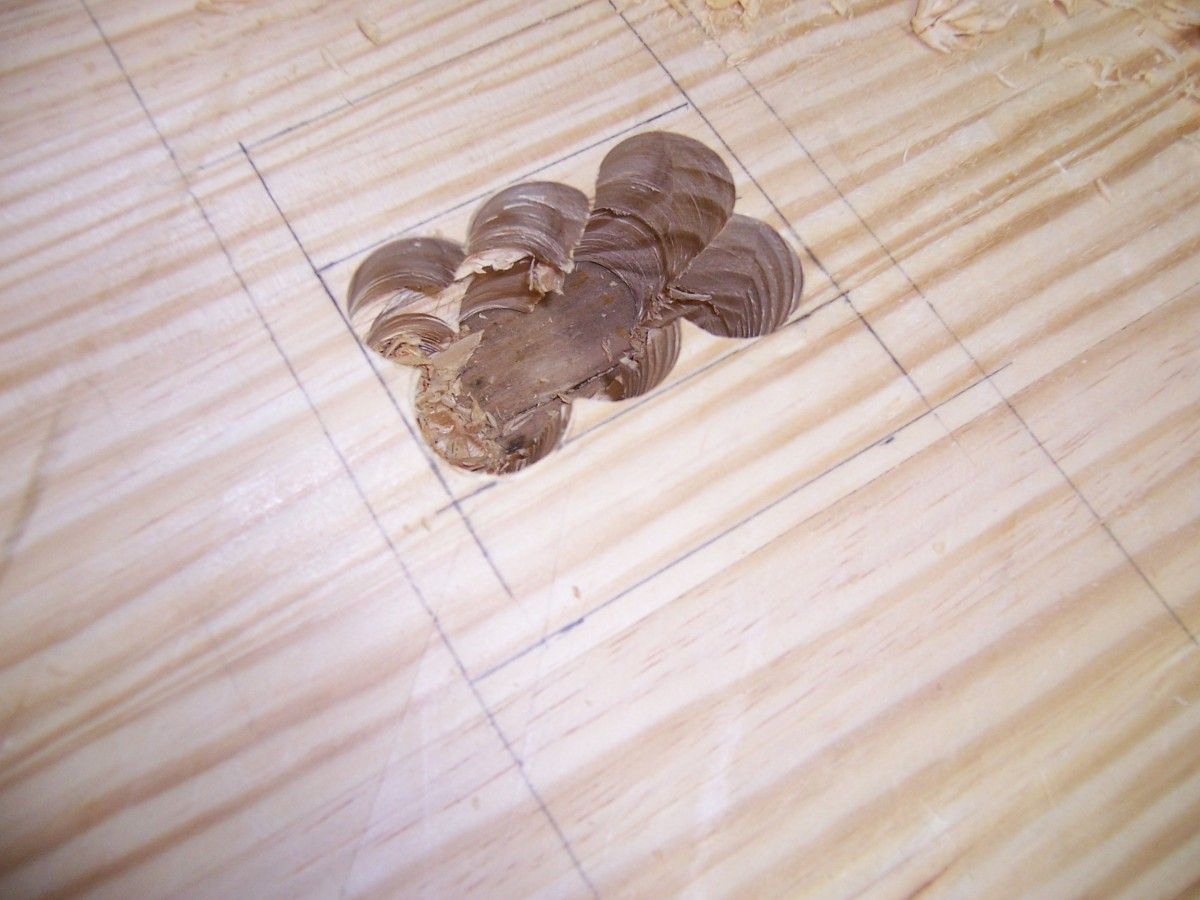
I then laid out the tenons and cut them to size with my bandsaw finishing it up with my handsaw and chisels. Once I made the tenon I laid out the mortise on the bottom of my bench top. I used a 1 1/4″ forstner bit and drilled several holes at a 20 degree angle. Then I flipped the top over and finished the mortise from the other side. I pared to the line with chisels until the tenon slipped into the mortise with ease.
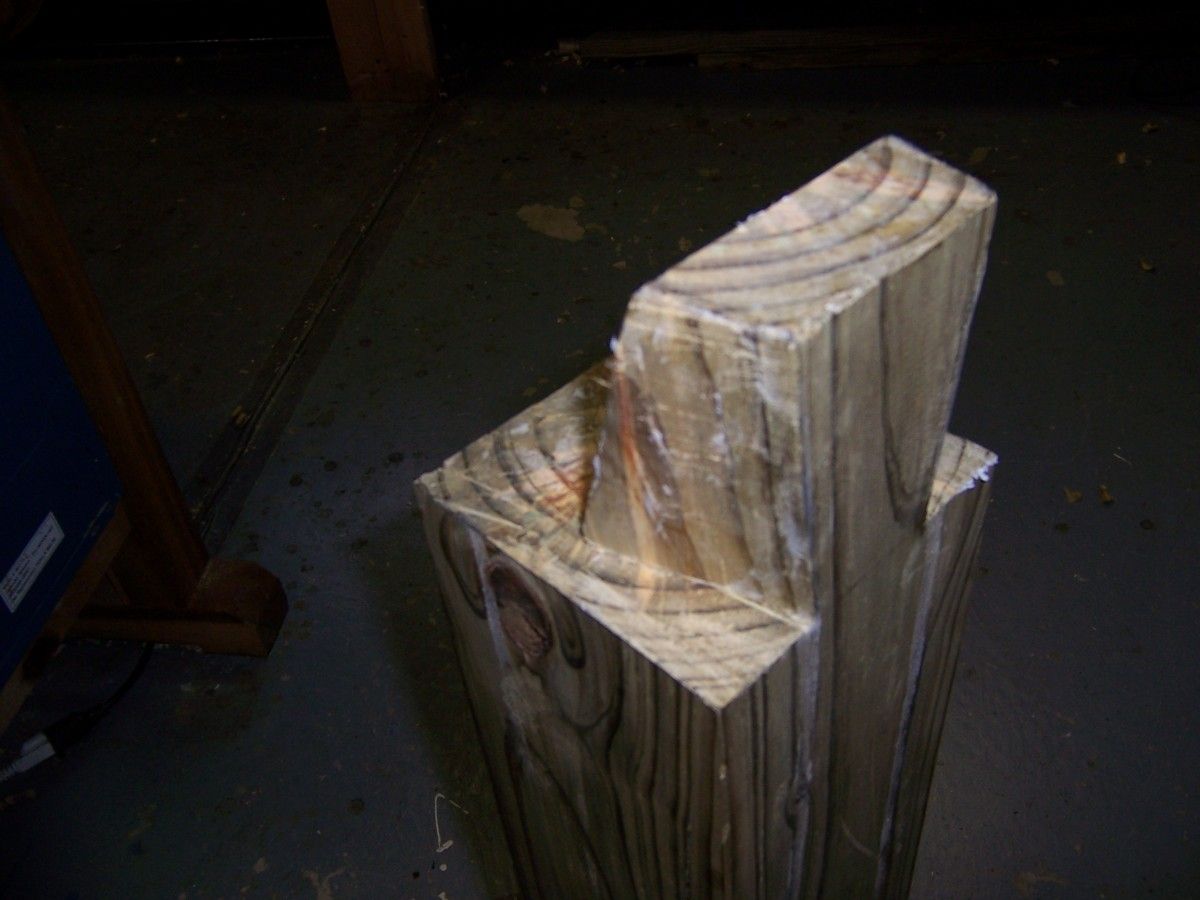
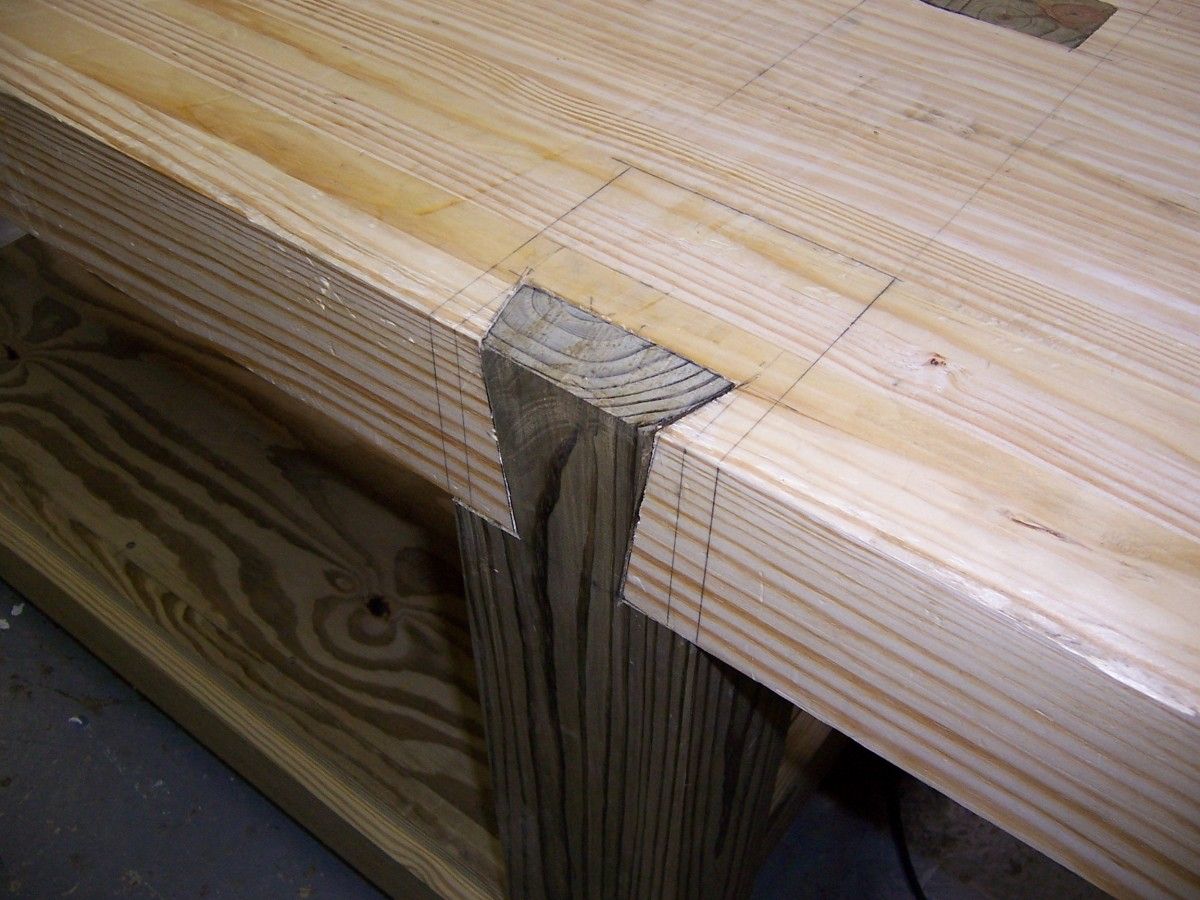
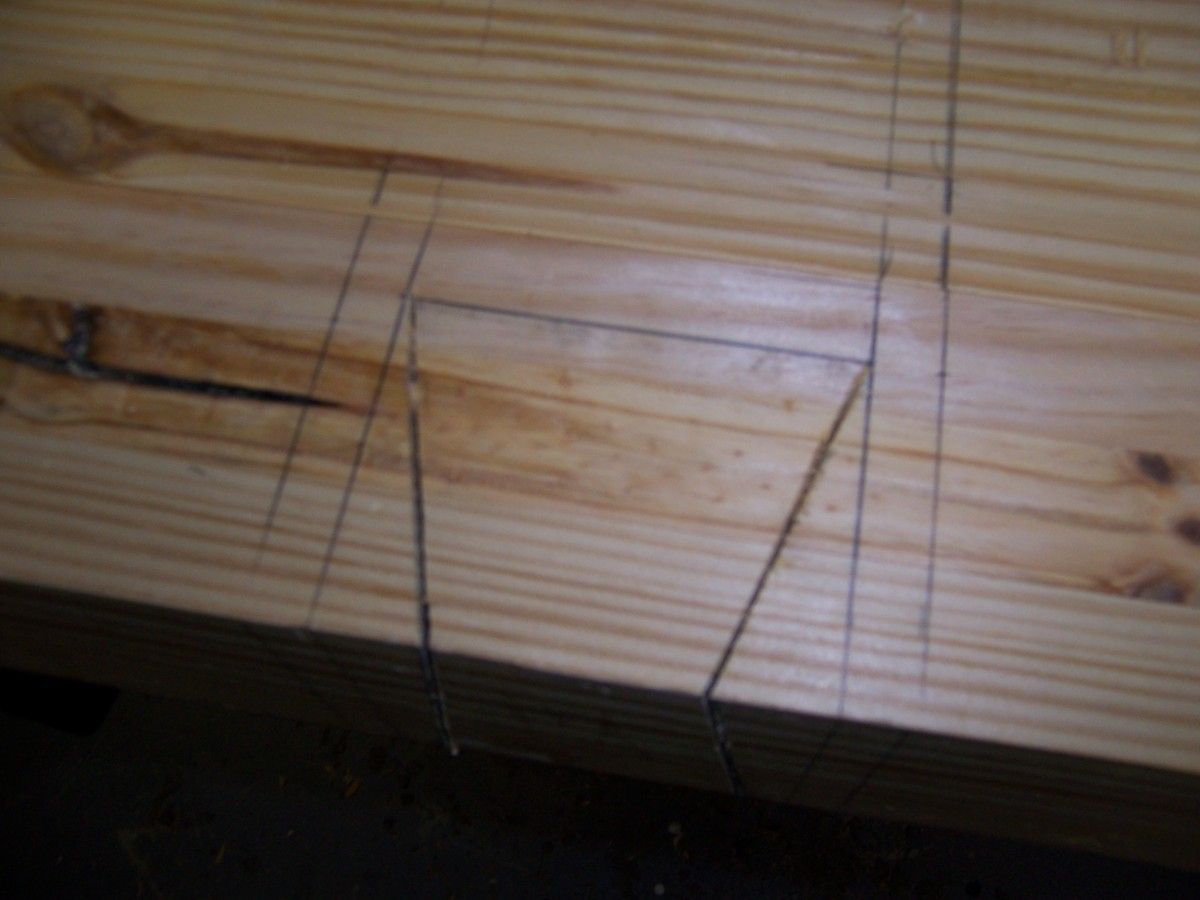
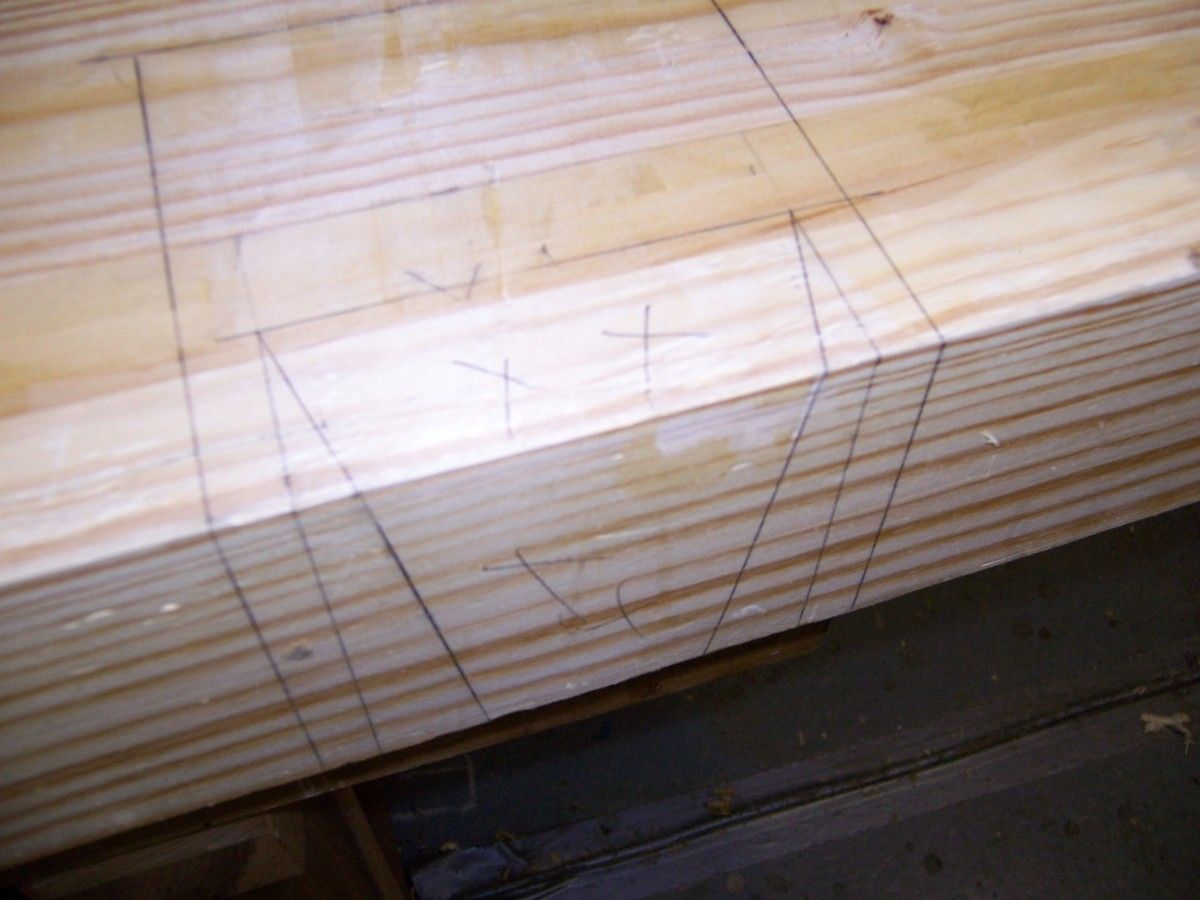
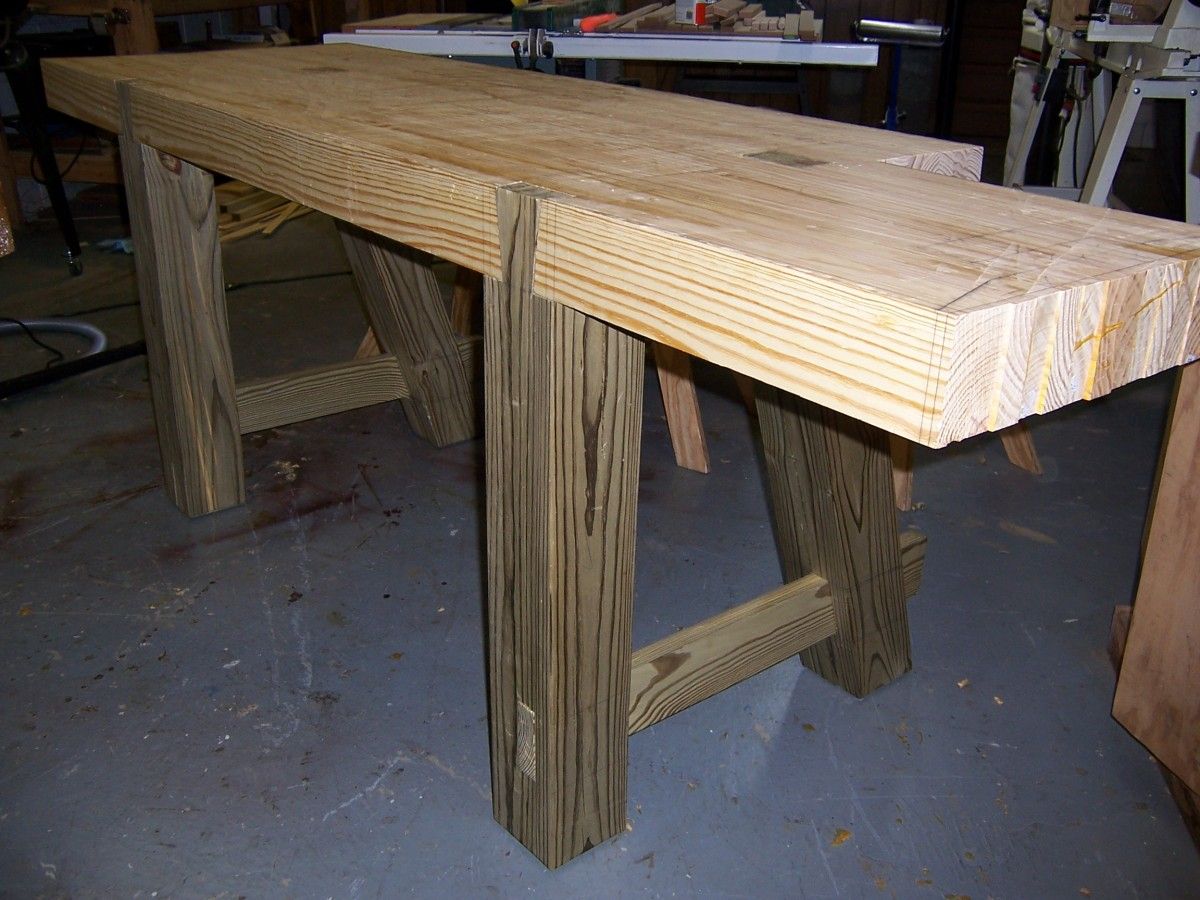
Once the back legs were cut, I laid out the rising dovetail on the front legs and cut to the lines using a back saw and trimmed to the line with a chisel. I then laid out the dovetailed mortise on the bottom and top of my workbench top and cut on the waste side of the line with a backsaw. Then I chopped away the center with chisels the same way you would chop out the waste material on a half blind dovetail joint. The trick in making a rising dovetail work is for the ability of the top of the dovetail to fit at the back end of mortise on the bottom (if that makes any sense). In order to truly understand it, you need to read Roy’s book “The Woodwright’s Guide; Working with Wedge and Edge” where he describes the joint far better than I can. I read over the details of the rising dovetail in the book but it wasn’t until I actually tried to make the joint did I fully understand how it is done. The best thing about the joint is that it looks impossible when you see it for the first time. The joint can not slide down nor can it pull out due to the double dovetails. The trick is the joint drops down at an angle.
Once all the joints were cut, I fitted them in the mortises and examined how well each leg was level with one another. Luckily they all lined up fairly well. Then, I flipped the bench over to see how well it sat on the floor. There was a little bit of rocking due to my basement floor not being level but when I cut the through mortises in the legs and temporarily fit the side stretchers, the bench became a lot sturdier. Next, I’ll work on the base and install a shelf to hold my air cleaner.
To see the other parts click: part 5, part 4, part 2, part 1.
Disclaimer: Some people may be apprehensive working with pressure treated lumber since it contains the harsh chemicals ACQ (Alkaline Copper Quaternary). If you’re uncomfortable working with pressure treated lumber, don’t use it. The main reason I decided to use it was for the additional weight it would give to the base. While building the base I did no sanding so there was no airborne dust present. In fact the only time I experienced any dust from the ACQ pressure treated lumber was when I emptied my dust collector bag from my surface planer.
I used to work for a pressure treated lumber company and have been exposed to CCA (Chromated Copper Arsenate) which was supposedly more volatile than ACQ due to the arsenate in the material. I handled CCA lumber on a daily basis for years yet I experience no side effects. I also experienced no side effects from handling the ACQ lumber i.e.; rashes, sneezing, congestion, etc. while building this bench as well as building my deck a few years ago. However that doesn’t mean you won’t. Use your best judgment if you decide to use pressure treated lumber.
As far as being in constant contact with the ACQ lumber, I believe it will be minimal at best. My top is built with regular southern yellow pine which is where I will be doing much of the handling of the bench. The base will just sit there undisturbed. I will have very minimal contact touching the base for any reason.
***** I am not an employee or agent of The Taunton Press. My views and procedures are solely my own and may not be shared by the people of The Taunton Press.*****



Comments
Hi Mike, I like your design. It looks very sturdy. I built a railing around my back porch out of pressure treated lumber. When I was done, it looked rock solid and I was very pleased with the results. However, over the next few weeks it started drying out in the hot Texas sun. The shrinkage and warping caused me to have to disassemble a couple of sections and rebuild it. I hope you have better luck working with green pressure treated lumber than I did. Please keep us updated on this great project. Thanks!
Mike, I was intriqued by the rising dovetail you used, and tracked down Roy Underhill's description of the joint. It can be found online, at The University of North Carolina Press website, as an appendix to a PDF exerpt from Roy Underhill's "The Woodwright's Guide" - http://uncpress.unc.edu/woodwright/images/Underhill_Guide_excerpt.pdf - I couldn't quite visualize the joint, until I used SketchUp to model the dovetail - http://sketchup.google.com/3dwarehouse/details?mid=14cfebc4f0402530965a0470b8d17c - Thank you for your report of your workbench project!
Hi TaffGoch,
SketchUp is absolutely amazing. I need to learn how to use it someday.
Thanks for the link,
Mike
You can see Roy's show on the Roubo bench here :
http://www.pbs.org/woodwrightsshop/schedule/27season_video.html
videos 2705 & 2706 "French Work Bench" parts 1 & 2.
I just can't understand why you would use pressure treated lumber. Its green for petes sake. If I were going through any trouble to build a bench I was going to use, I'd at least spring for some hardwood. The pressure treated stuff we have around here is just about the lowest quality lumber available. Also, articles in this magazine are always warning against using construction grade lumber for furniture, as mortises and tenons made in it won't hold up. I'm not sure I've ever seen a dovetail cut in PT lumber.
Log in or create an account to post a comment.
Sign up Log in