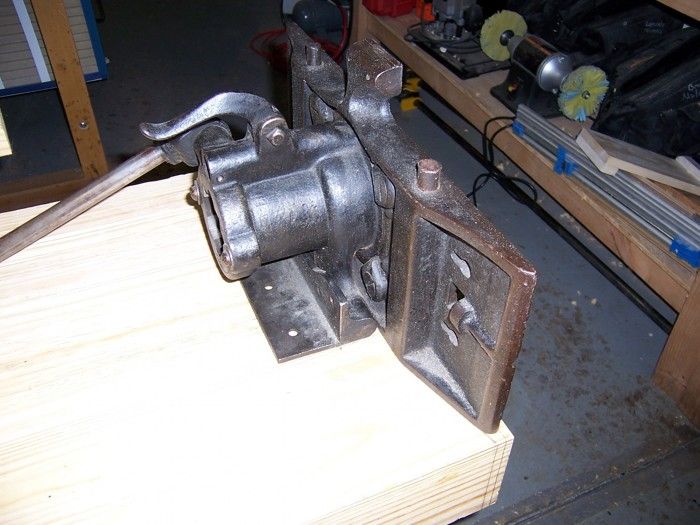
I begin by placing the vise on the bench and tracing around locating where to cut.
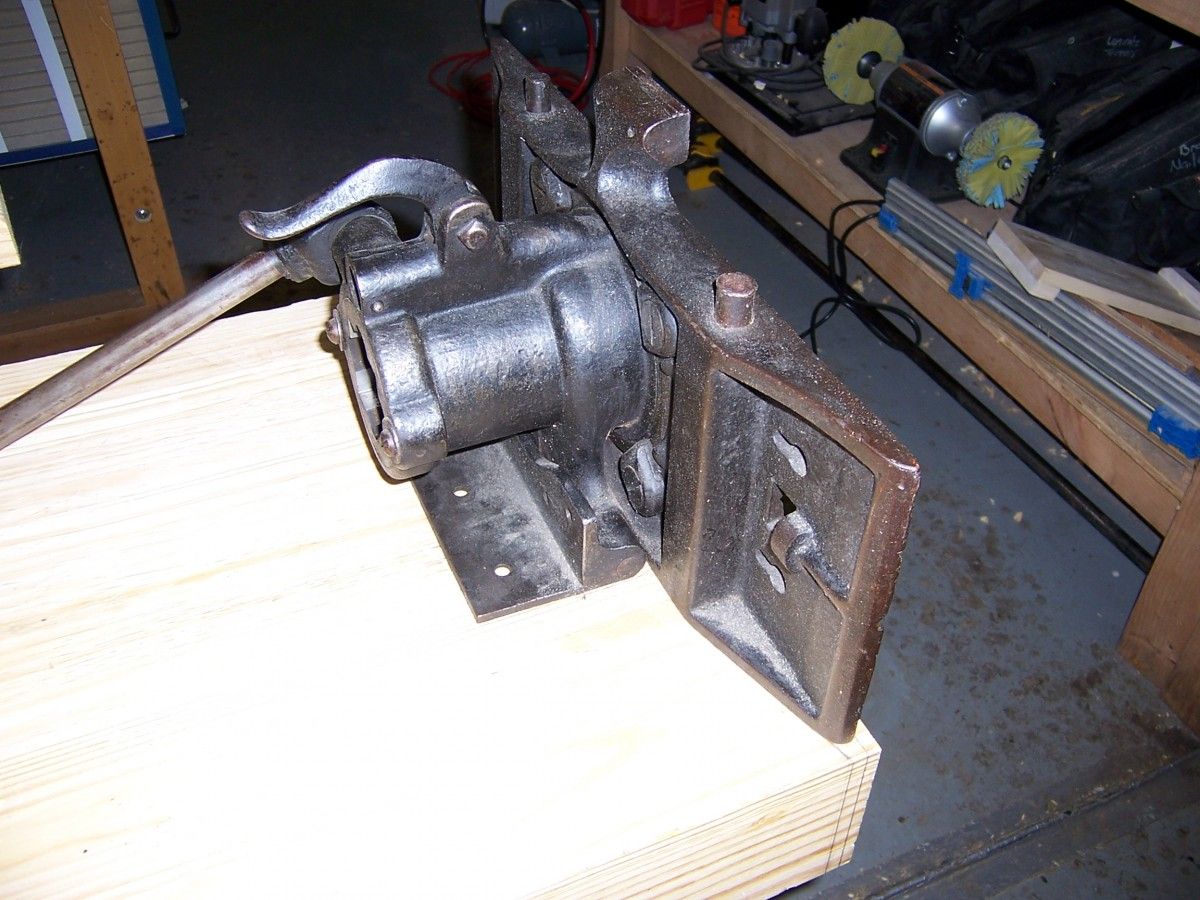
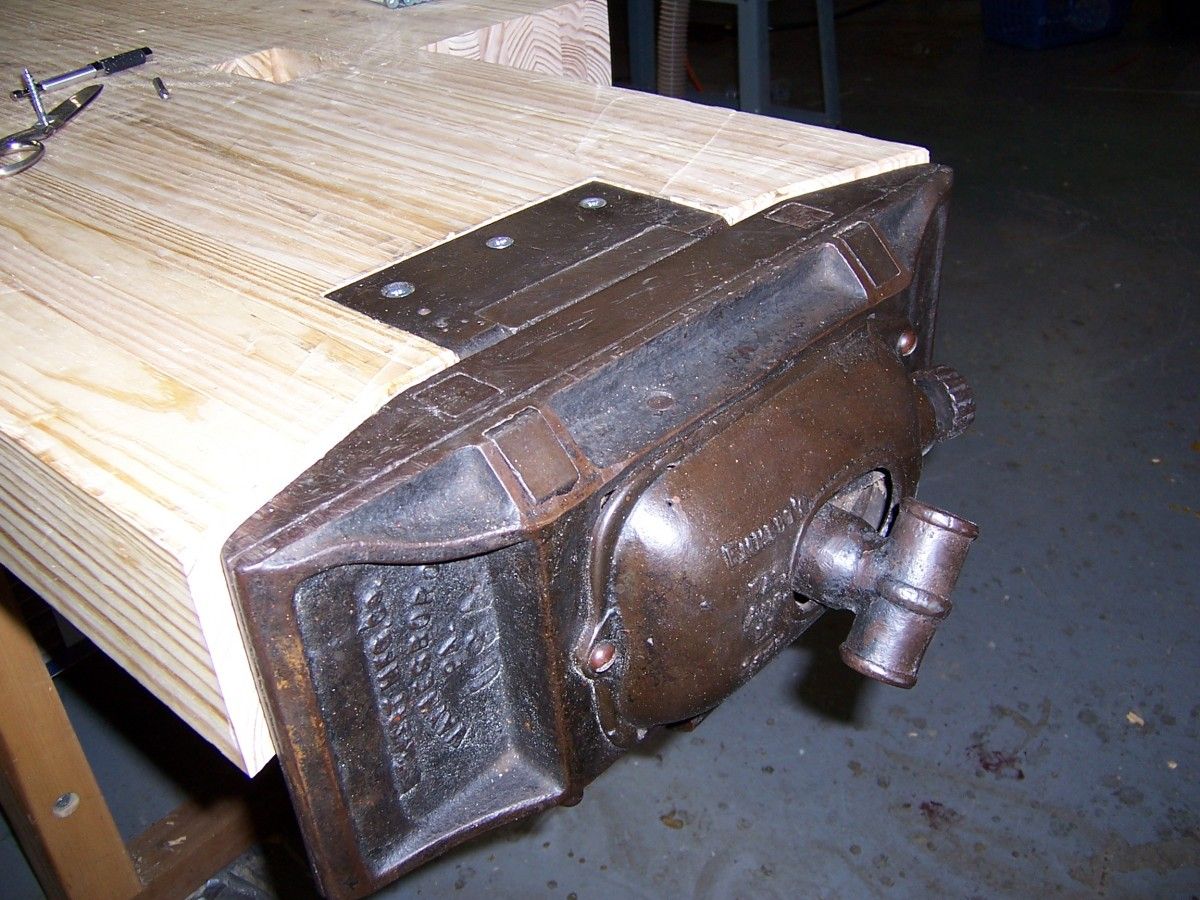
After I completed the assembly of the base I focused my attention on installing the Emmert Turtleback Patternmaker’s Vise. Called a turtleback because the front looks like a turtle’s shell, you can read more about these vises at http://www.mprime.com/Emmert The vise will be installed at the end of the bench so that I can use vise pins along with my bench dogs down the length of the bench.
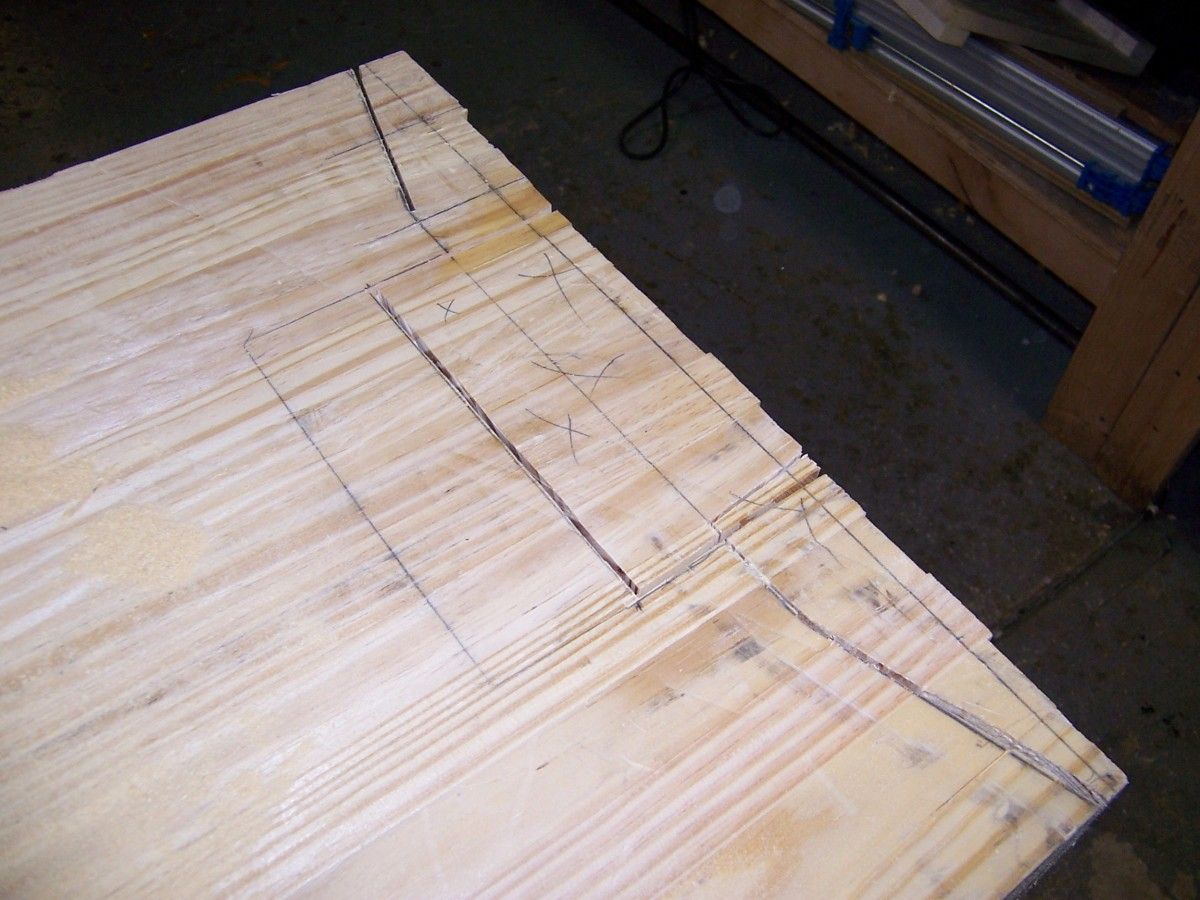
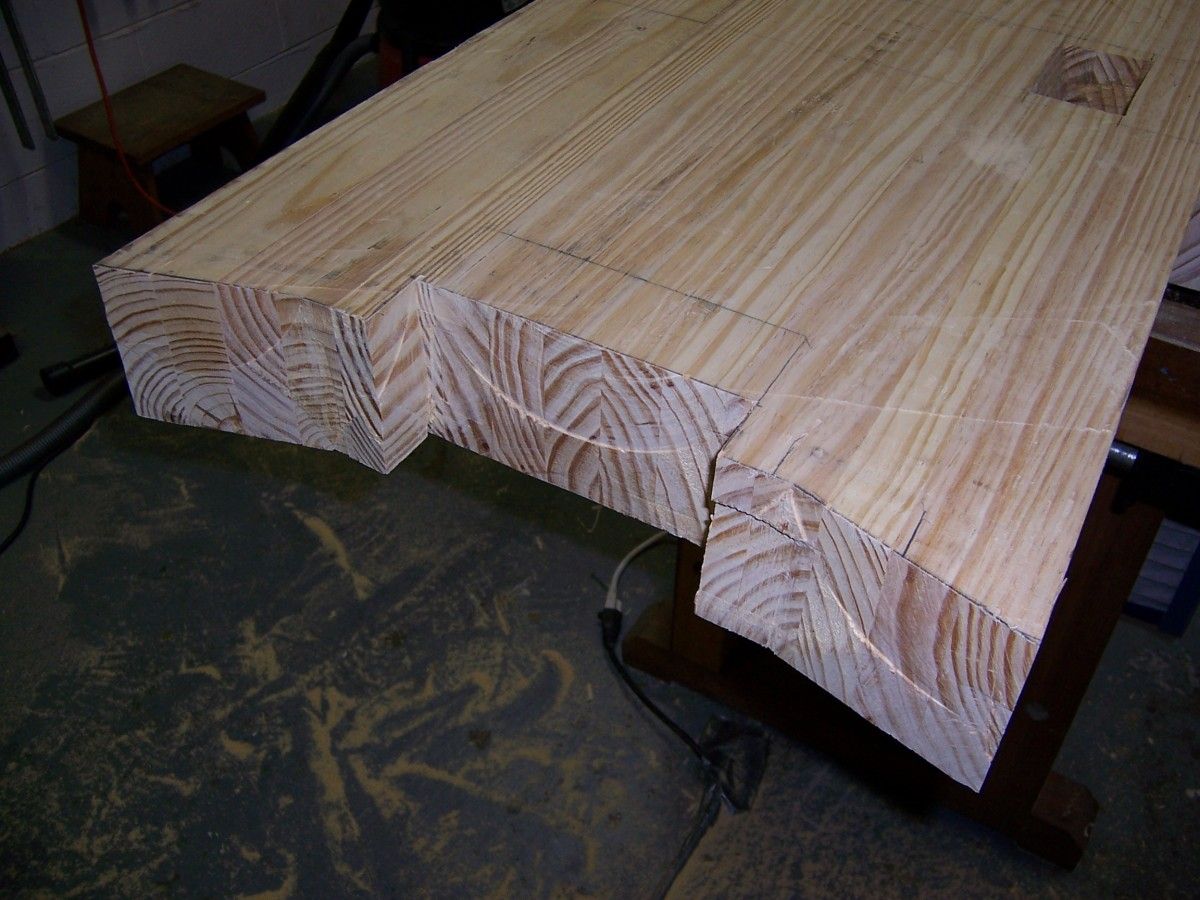
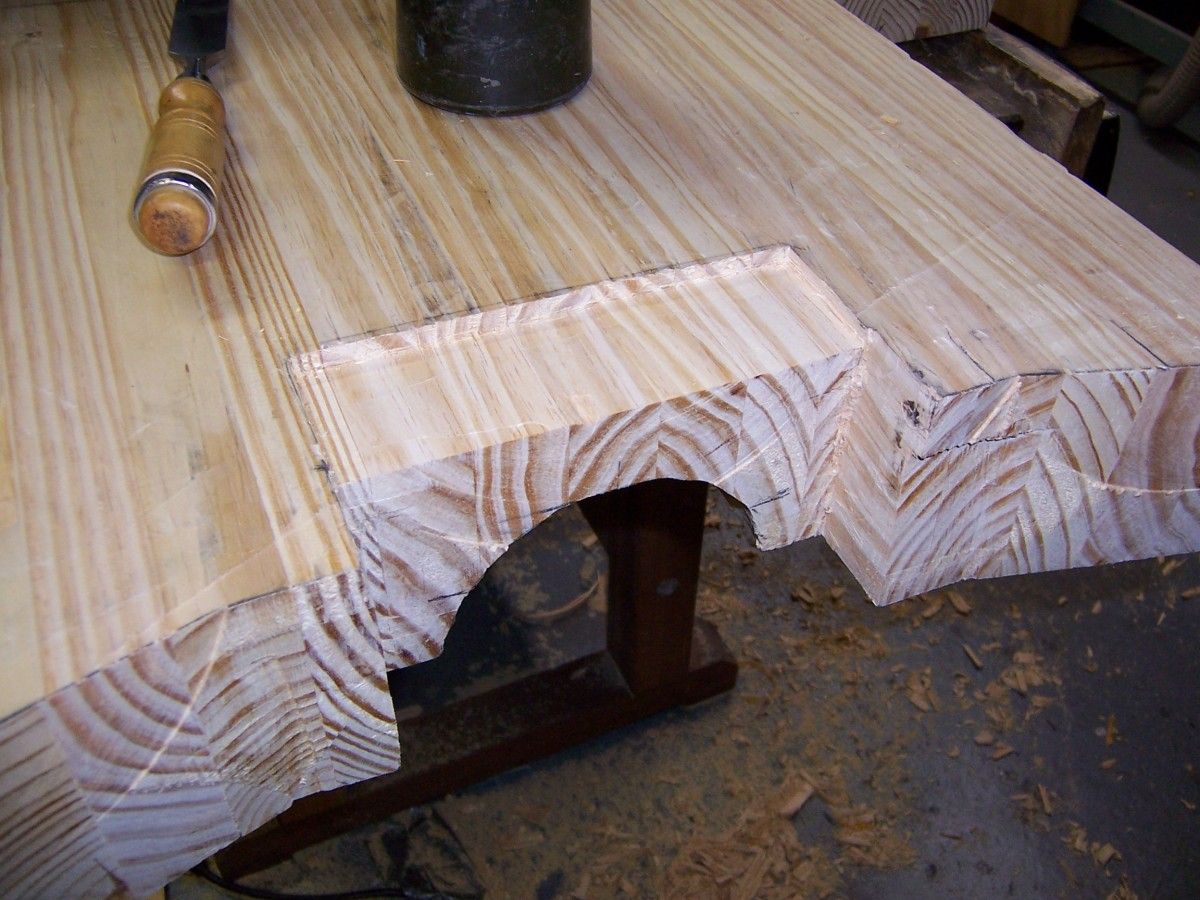
The first thing I did is determine exactly where I wanted the vise to sit. I sat the vise upside down on my bench and traced around it. Next I took my circular saw and cut half way through following the traced lines, plunging the saw down where necessary. Then I flipped over the top, retraced the vise and repeated the saw cuts. I finished up using a jigsaw in the area the circular saw wouldn’t reach. Once the chunk of wood is removed I cleaned up the cuts with my belt sander.
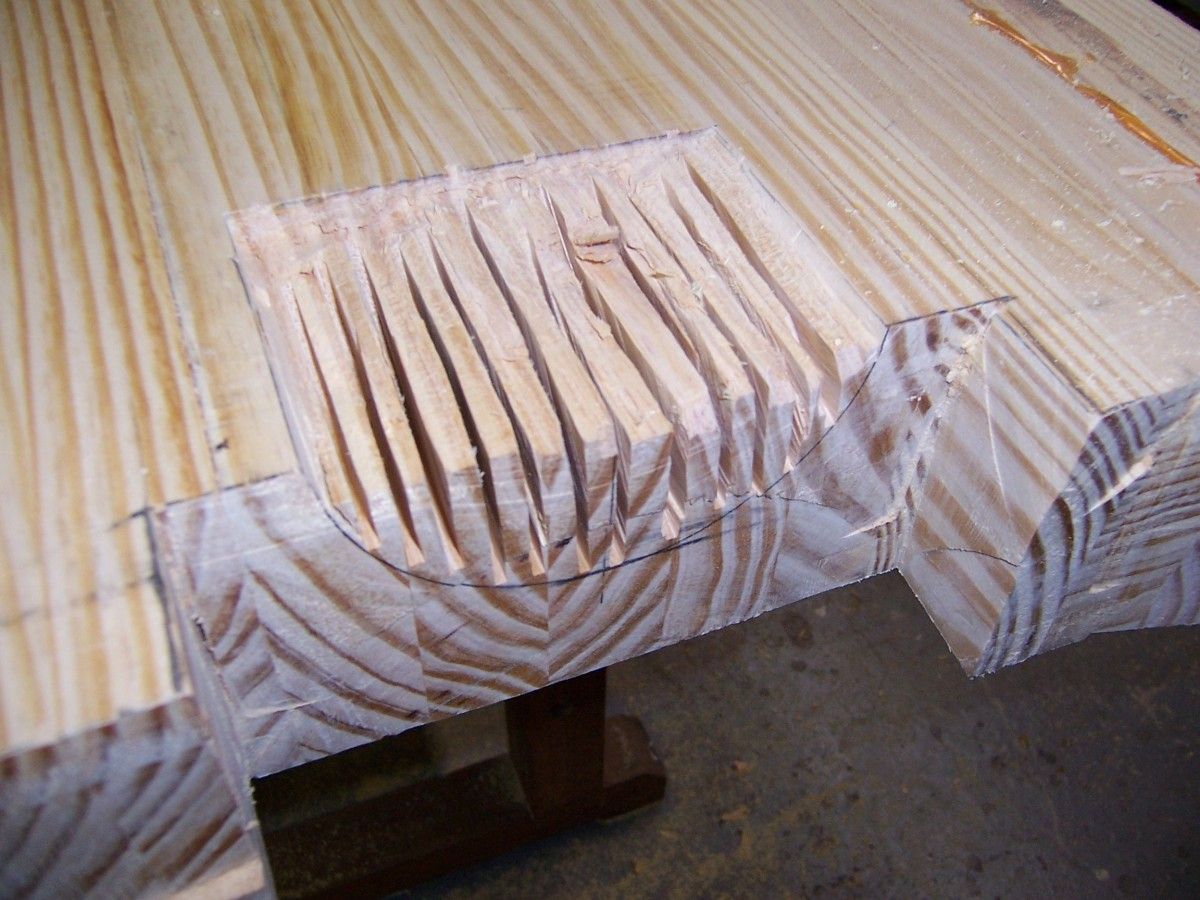
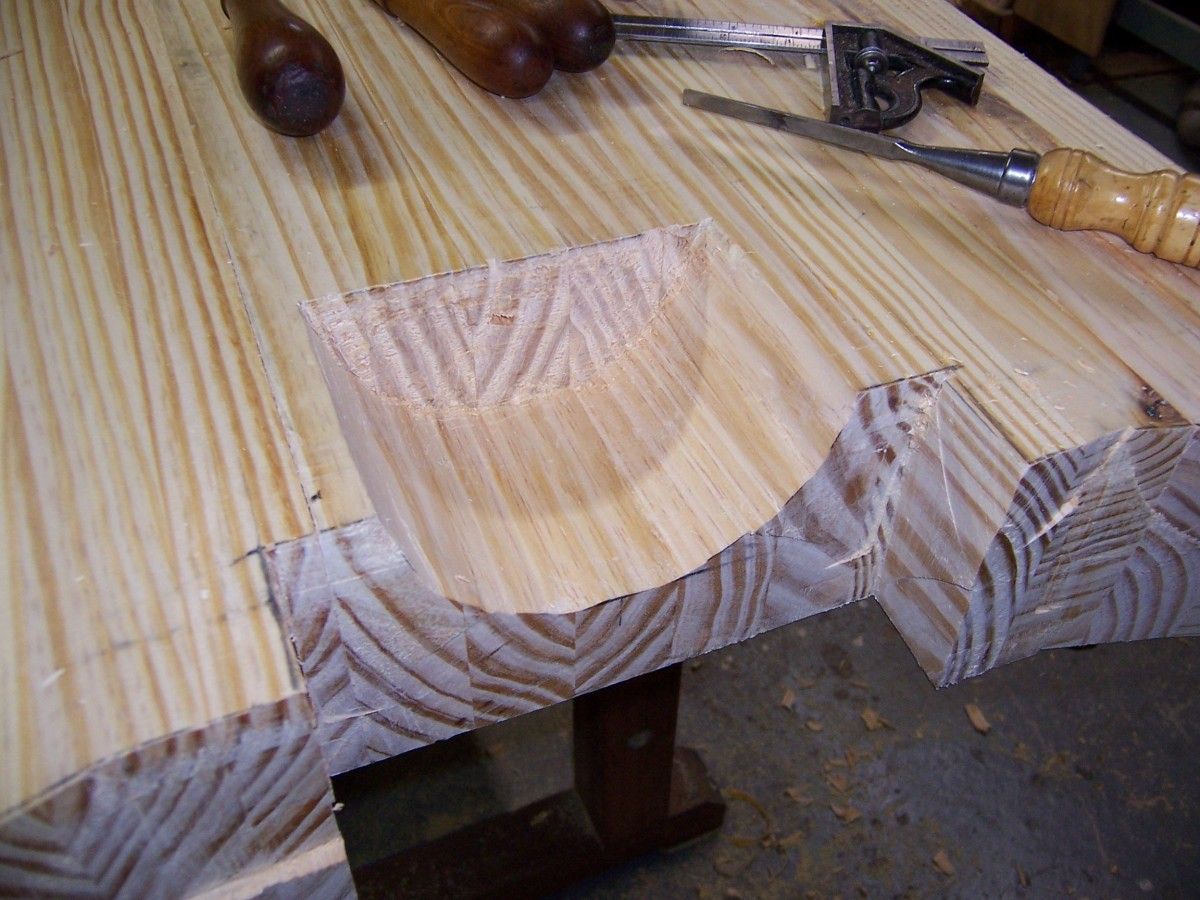
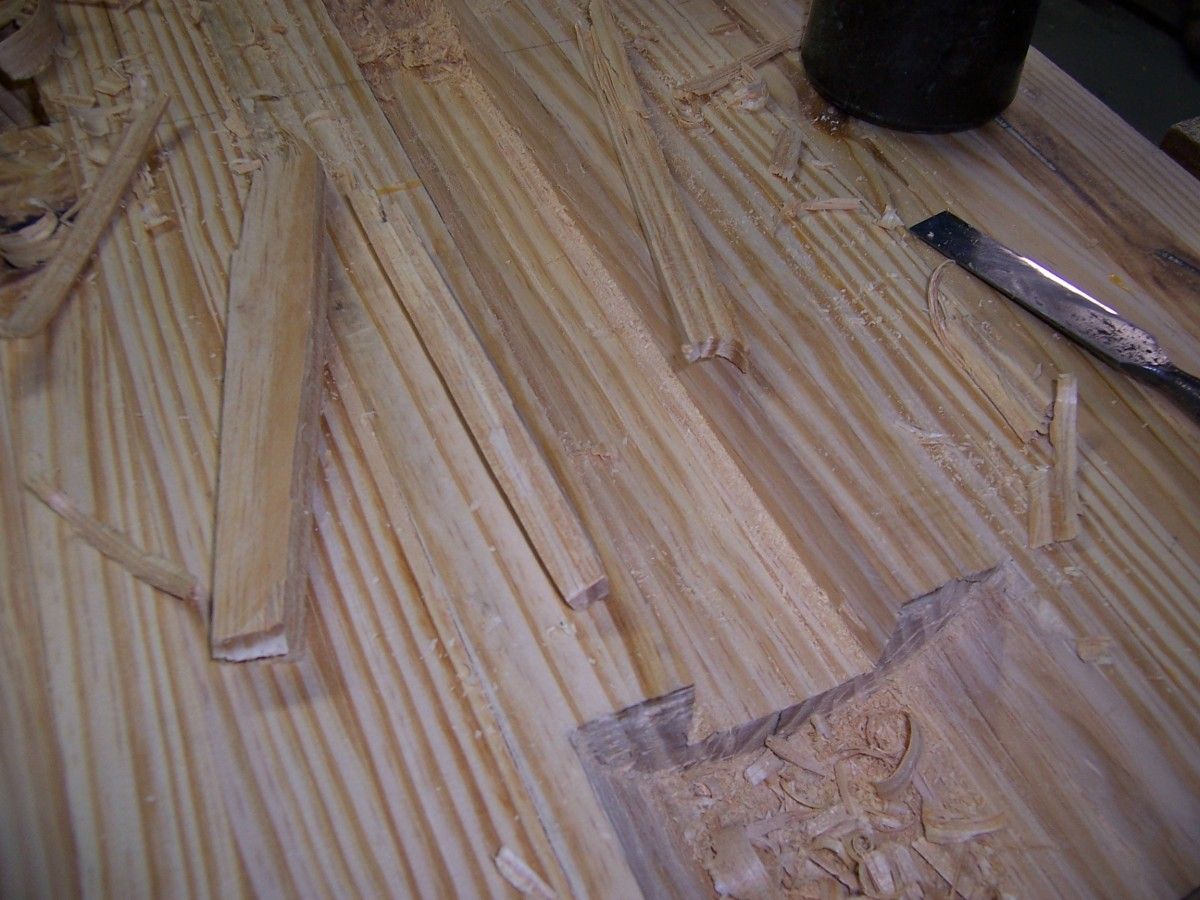
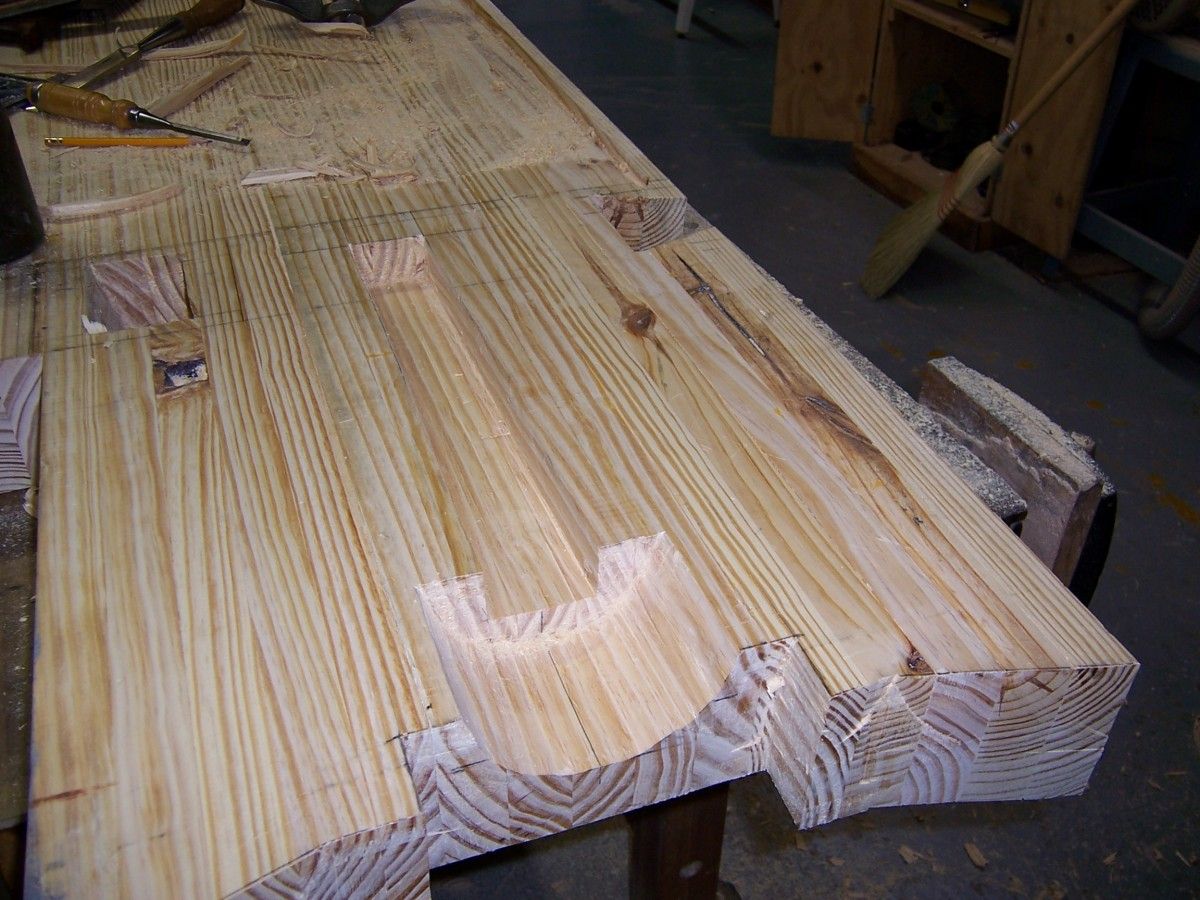
Next I needed to mark out the area for the hub of the vise to lay on the underside of the bench top. The hub is 5 1/4″ in diameter by about 3 1/4″ deep. Since there was no reason to have a perfect fit, I marked out the hub 5 1/2″ in diameter by 3 1/2″ deep. I took my circular saw and cut saw kerfs by eye, chiseling out the waste with chisels and gouges. I imagine I could have created an elaborate jig to route out this area with a plunge router but it only took 20 minutes doing it by hand.
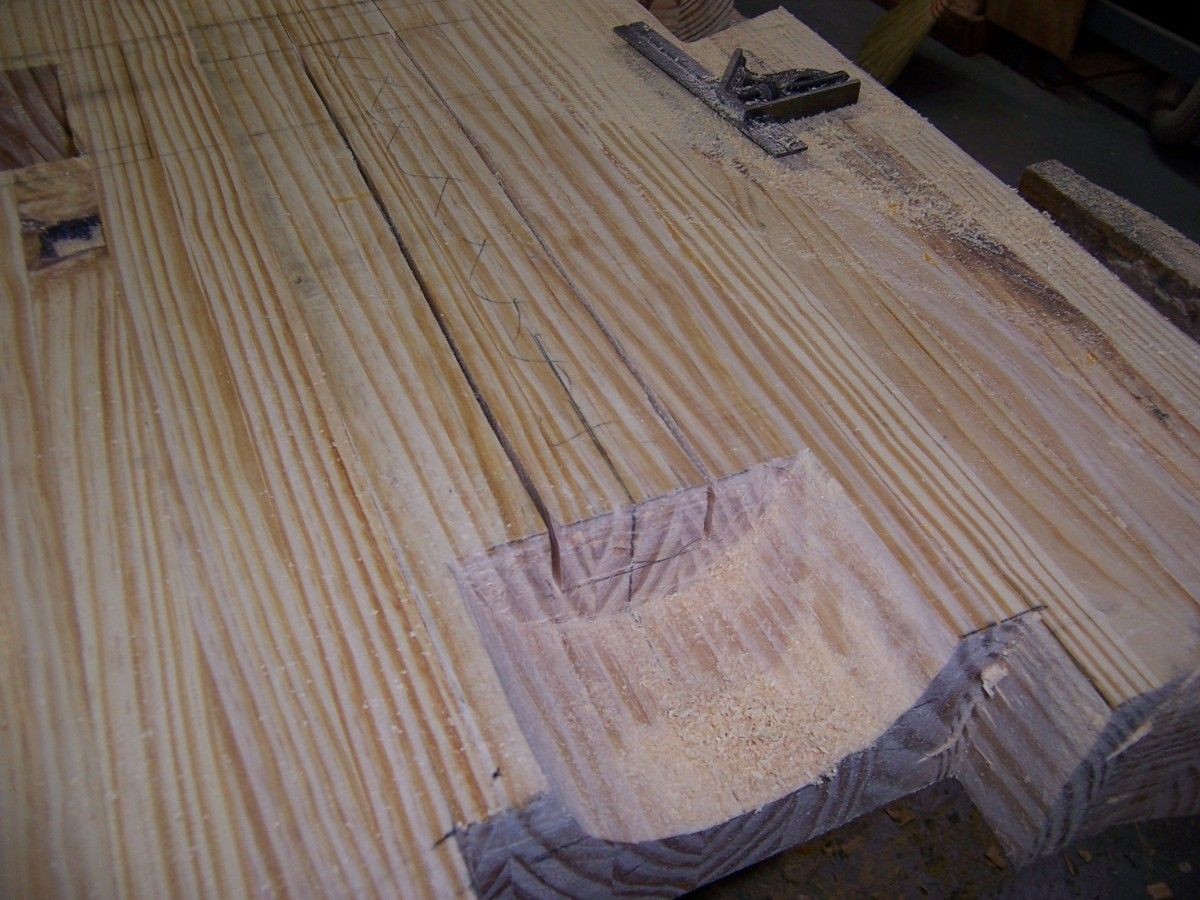
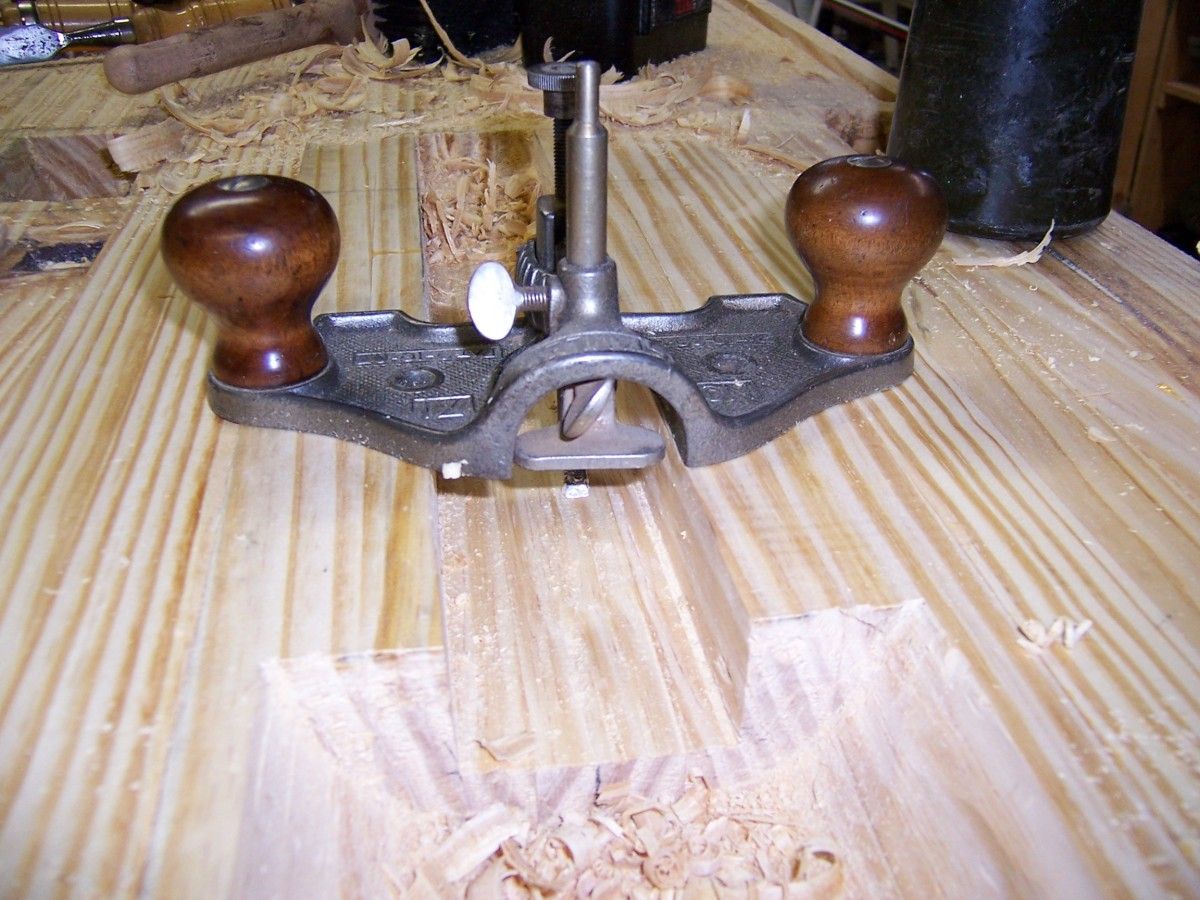
Now it was time to move on to the screw bar of the vise. The cutting process was the same as the hub. The bar was 2″ wide by 18″ long so my channel was 2 1/4″ wide x 20″ long. When the waste was chopped out, I cleaned up the bottom of the channel with my router plane. If you never had the opportunity to use one of these planes you owe it to yourself to buy one. It’s one of the those specialty planes that you don’t use that often but when you do, you’re glad you have it.
Once the bottom was complete, I flipped over the top and used my plunge router to route out the area where the vise plate sits on top of the bench. The plate is about 1/8″ thick so I routed out 3/16″ deep making the vise a 1/16″ shy from the top. When I finalize planing my top with my Stanley #4 smooth plane, the plate should be flush with the bench top.
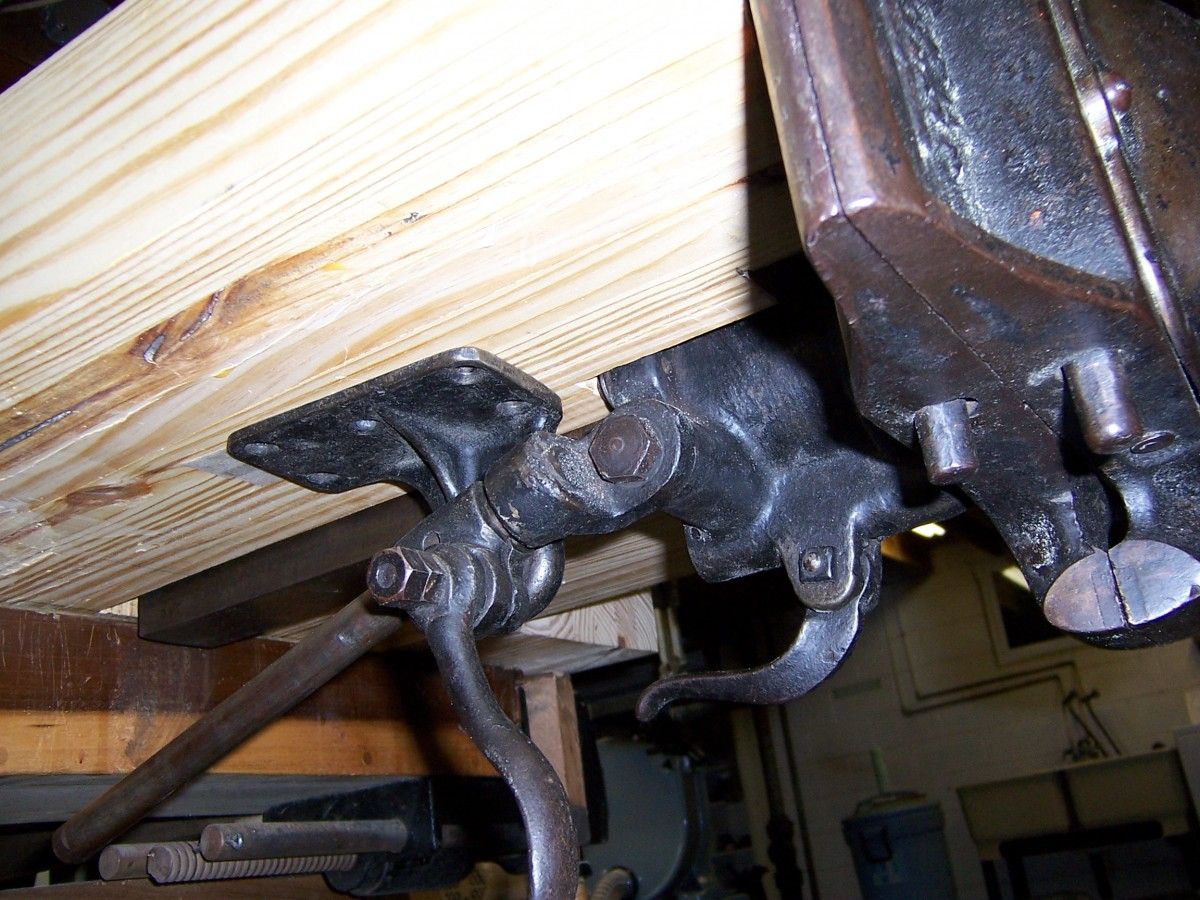
I screwed down the vise to the top using 3″ #14 wood screws. The screw in the middle of the plate is only 1 1/2″ long because of the hub directly underneath it. The only caveat I have is that I’m screwing into end grain where the plate forms a 90 degrees. The screws are tight but it’s not an ideal hold since end grain has very little grabbing power. If you install your vise on the side of your bench like most, you won’t have to worry about this.
After the vise was installed, I needed to locate where to position the swing lock down bar. I slapped some double sided turners tape on the bottom of the lock and stuck it where it would work the best. Once I determined where that was, I screwed it down with 1 1/2″ #14 wood screws.
Now I just need to make a handle that’s 7/8″ in diameter and finish up my bench. Stay tuned!
To see the other parts click: part 5, part 3, part 2, part 1.



Log in or create an account to post a comment.
Sign up Log in