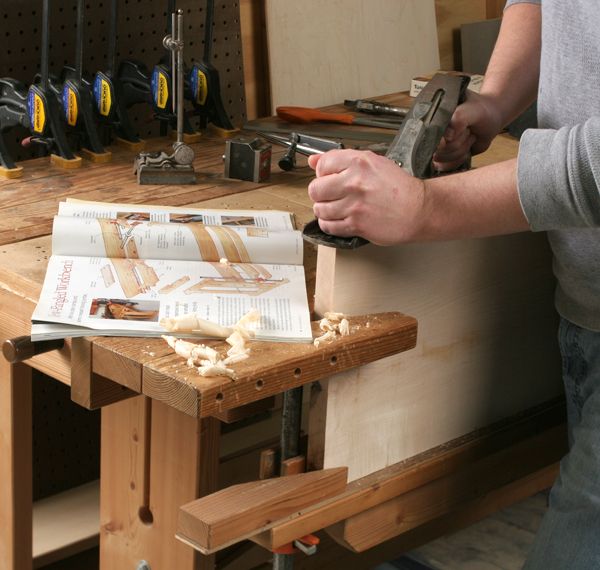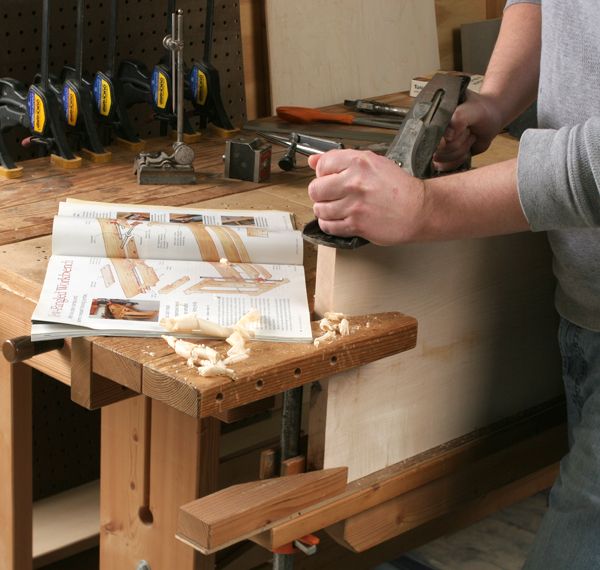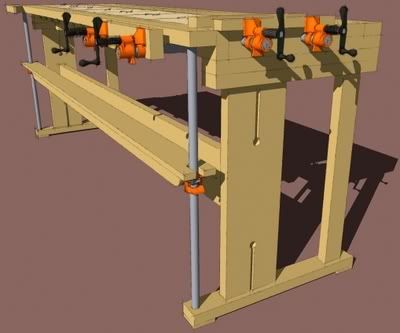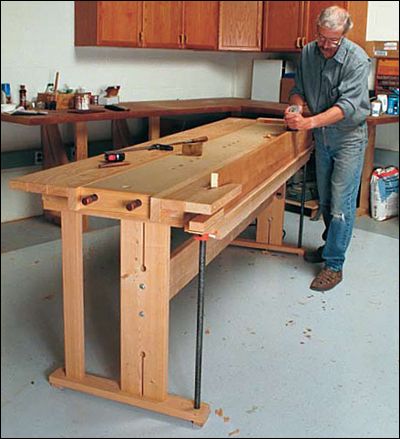
John White's New-Fangled Workbench has been a crowd pleaser since the article was published in Fine Woodworking ten years ago. A SketchUp plan is now available for the bench in our digital plan store.
In 1999, John White published an article on how to make an inexpensive workbench that’s as versatile as a Swiss Army Knife.
Ten years later, the “new-fangled” bench has developed impressive following.
Now, Fine Woodworking is finally offering up project plans for this beloved bench. They’re available in our new digital plan store. The plan package by Dave Richards of the Design.Click.Build. blog includes detailed drawings, a cutlist, and a SketchUp file for download so you can easily customize the design.
Kudos for the New-Fangled Workbench
You don’t have to take our word for it that this is a great bench, here are some comments from the community.
- “The bench looks like it can do just about anything without spending an arm, a leg an a year of time! I really like the adjustable bottom support.” -Korg, via Knots
- “I built the bench about 5 or 6 years ago. The bench is amazing, I use it a great deal especially when I need to hold something down to be planed or scraped. I consider it an indispensable tool in my shop.” -tkumpf, via Knots
- “The best woodworking bench in my opinion is John White New Fangled workbench from FWW.” -woodenhead, via Knots
- “I kinda’ have the workbench that John White made. I took my 4′ x 8′ welded tubular steel bench and added some of the features he had. I don’t recall at this point what his bench looked like, but here is what I added from his ideas, slightly modified as I recall. …..Everything that I got from the John White article works great and I couldn’t be happier with it.” -JsHerbel, via Knots
- I have also made the bench. I was looking for ages for a bench but none I had seen were as versatile as this idea. I made mine from Messmate a local hardwood here in Australia. I found the design to be very steady I could not get the bench to move no matter how hard I pushed when planning a board. I made my top longer than in the drawing to accommodate larger table tops or panels and it works very well. -Shakaen, via Knots
Have you made the bench? Post a comment below. And please share any tips or tricks for success. Also, be sure to upload a photo of your bench in the gallery.
For more details on the features of this bench, watch this video from 2007 to see White demonstrate how it works.
Video Length: 9:06
Produced By: Matt Berger and Michael Dobsevage


Comments
I built this bench and the sketchup model I had helped a lot - however when it comes to the planing beam, the holes need to be not centered but towards the edge so that more area of the beam sits in front of the posts because otherwise the edge of the bench and the planing beam are almost co-planar leaving only a slight ledge for the piece to sit on when using the planing beam.
Also, the construction grade kiln dried douglas fir, though dry, still warped a bit - it would have been better if the top was not made of edge joined 2 by 4's o 2 by 6's but instead if they were turned on edge and face joined together.
Also, the board that serves as the front piece and is edge joined to the rail with screws, that sagged on me and I cannot straighten it with more torquing of the screws - my drill is torqued out so basically the top is really not dead flat.
The design is great and it was easy to build but I recommend better material for the top or modifying the design so you can plane the top to bring it back to flatness.
I have a question regarding the top of the bench at the rear.
The skippy shows the outer 2x screwed to the next one in and the turned over one screwed to the first 2x but doesn't show any connection between the 2 pairs. Are these attached to the frame from underneath?
I'm really looking forward to building this bench next week.
Can anyone tell me if the oak block screwed to the screw ends of the tail vise for this workbench is also screwed to the bench itself (looks like two vertical screws)?
Thank you.
Log in or create an account to post a comment.
Sign up Log in