Super Simple Mortising Jig
An easy-to-make jig that uses a plunge router with a guide bushing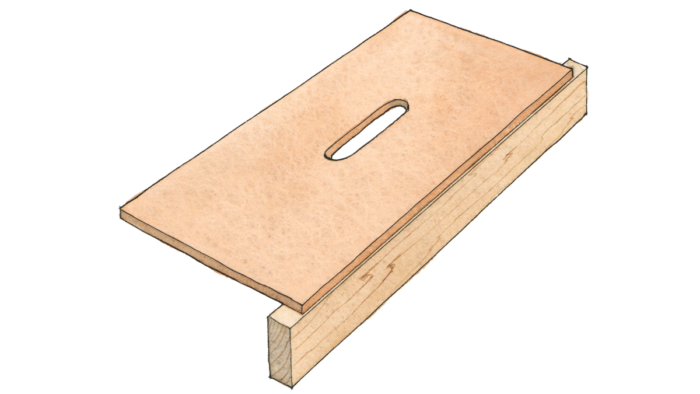
This simple jig lets you cut the same mortise on workpieces of different sizes. All you need is a plunge router fitted with a guide bushing, a spiral upcutting bit and some wood scraps.
I have versions for common mortise sizes, and I just grab the one I need. The jig works on the sides and ends of a workpiece, so it’s ideal for loose-tenon joinery.
Want plans for more jigs like this?
Download A Guide to Guide Bushings.
Make the base as wide as your router’s base and twice as long. Attach it to a hardwood fence milled flat and square.
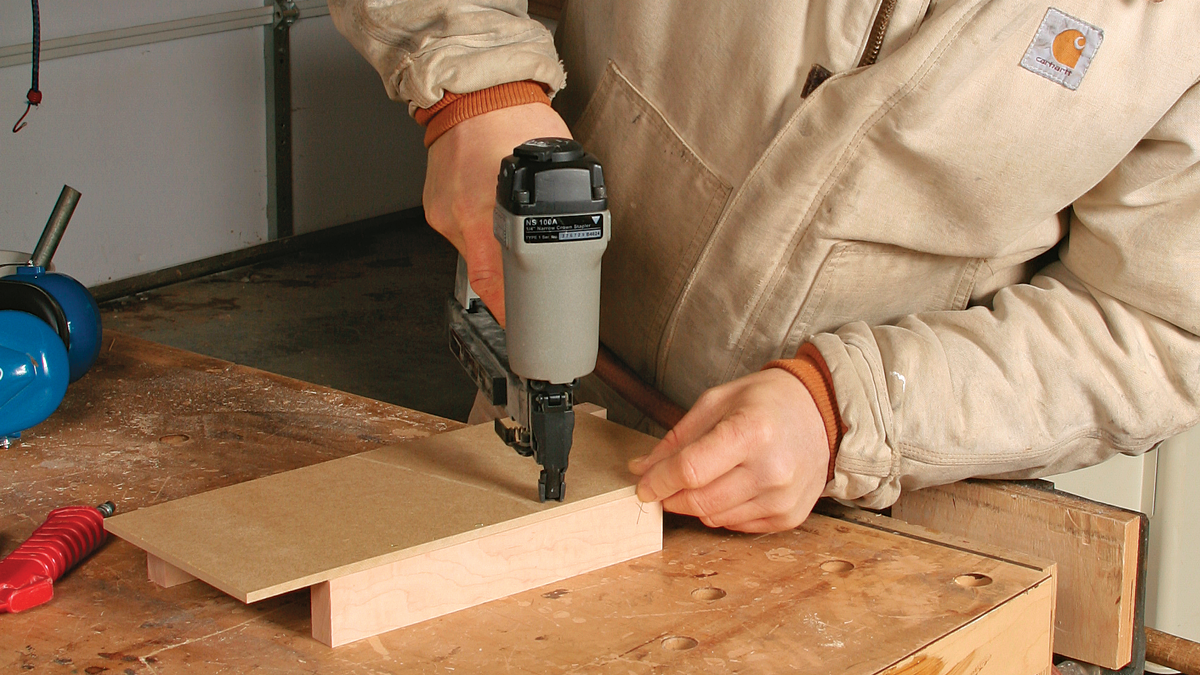
Lay out the mortise slot on the bottom of the template, adding the proper offset to the width and length. Cut the slot at the router table, and try to make it fit the bushing exactly. If you have a bit that’s the same size as the outside diameter of the guide bushing, use it. Otherwise, use a smaller bit and cut the slot in multiple passes.
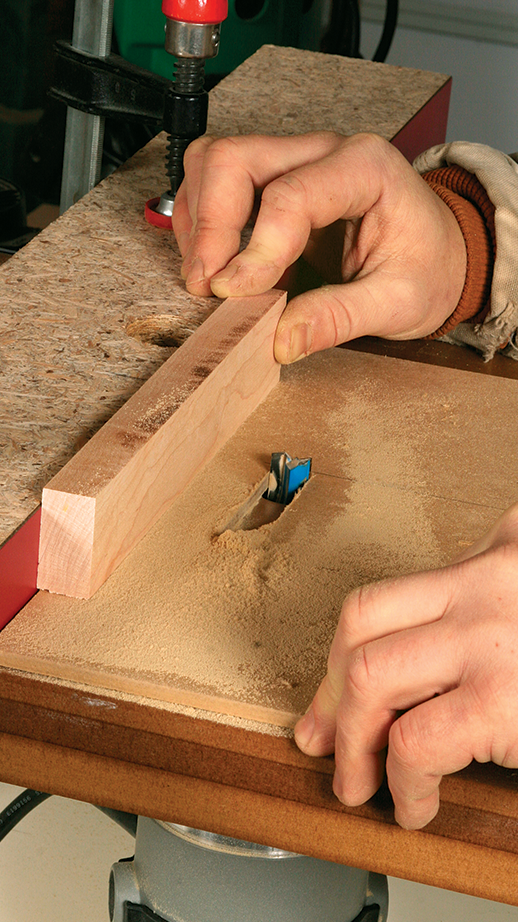
Some people drill a starter hole for this kind of cut, but I find it unnecessary. I rest the right side of the template on the router table, then carefully lower the left side onto the spinning bit and move the template right to left to make the cut.
How to use the jig
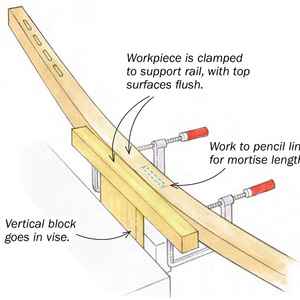
Attach the jig using a vise (as shown below) or clamps.

Make full-depth plunge cuts at the ends of the slot, with a series of shallower passes to clean out the middle. Blow out the chips before making a final pass. Don’t forget to record the bushing size and bit size on the jig for future reference.
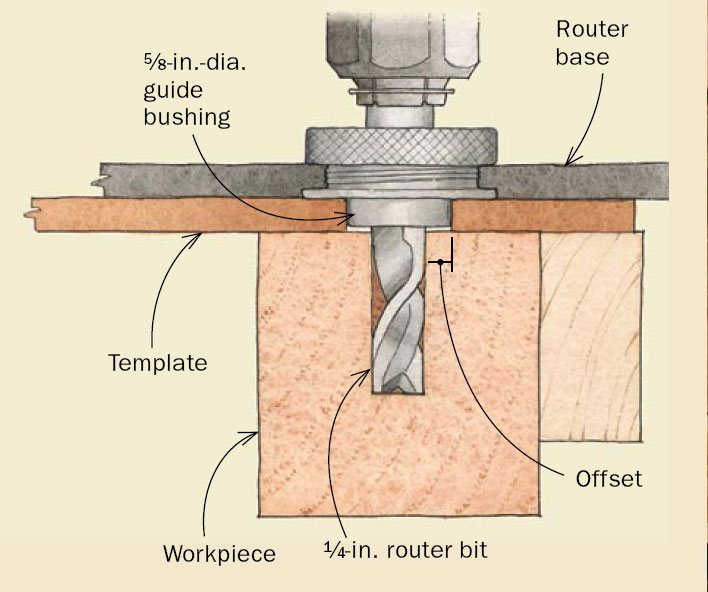
Anatomy of a cut
For workpieces of different thicknesses, add shims next to the fence.
Drawings Jim Richey, photos by David Heim
Fine Woodworking Recommended Products
Woodriver Circle Cutting Jig
Incra Miter 1000HD
Hedgehog featherboards







Log in or create an account to post a comment.
Sign up Log in