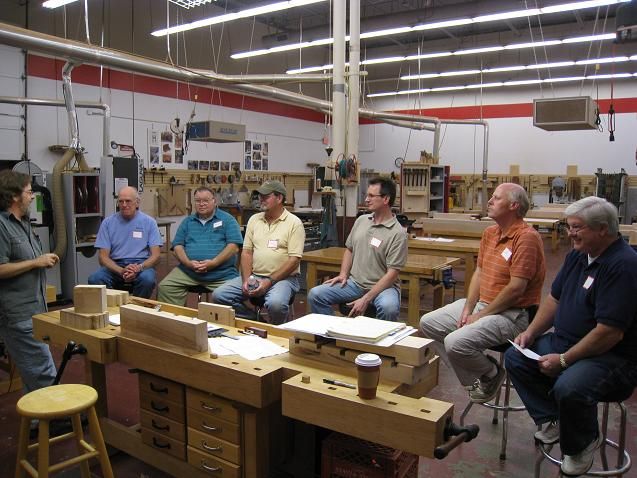
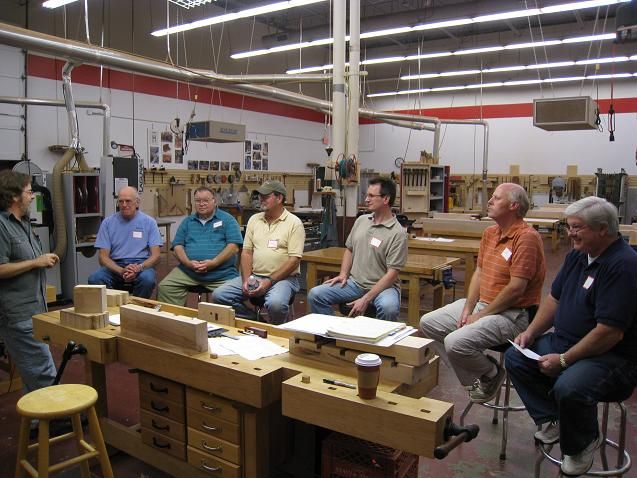
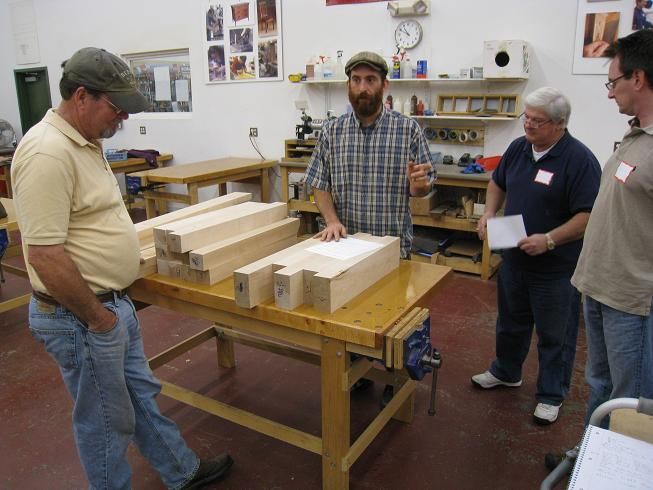
The Class- Bob Van Dyke (left), Director of CVSW welcomes the class, provides an overview of what's ahead and goes over some shop best practices and ground rules. A sample of the workbench we are to build is in the foreground. We are not doing the cabinet shown below.
Today was the first day of class at the Connecticut Valley School of Woodworking for Building a Workbench. There are six students; the instructor, Bob Van Dyke, who is the school’s Director, and his assistant, Tim. The bench will be almost 7 feet long, made of solid maple with a 2 1/2 inch thick top, an end vise, a front or shoulder vise with twin screws and a tool tray for most of us. It will weigh 300 pounds when complete.
There are variations in the designs- I and one other student opted to not have a tool tray. I felt that I didn’t need it because my bench will be located in close proximity to a storage cabinet countertop just behind me. Another student will have a removable tool tray and one student is building a lefthanded bench with the end and front vises on the opposite end from the righthanded benches. All of this means a slightly different plan for most of us and some extra up front work for Bob and Tim to do different setups. There are also differing bench heights ranging from 34 to 36 inches and differences in the width of the front vises ranging from 12 to 24 inches between the twin screws. I chose 18 inches since I didn’t expect to be dovetailing extremely wide glueups
Getting Organized- Bob welcomed us, gave us an overview and went over some shop practices and ground rules. We will be working in a team atmosphere and helping each other out when needed.

He explained some of the intricacies of the design and generally got us familiar with the various parts and discussed how we would be working. Bob and Tim will do most of the setups on the machines since we will all be making eseentially the same parts and to minimize any scrappage loss from improper setup. We will have a couple of operations going simultaneusly to avoid student downtime waiting for a machine.
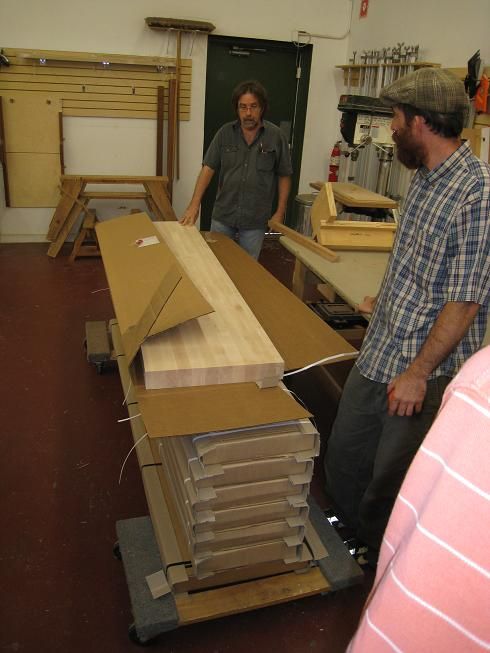
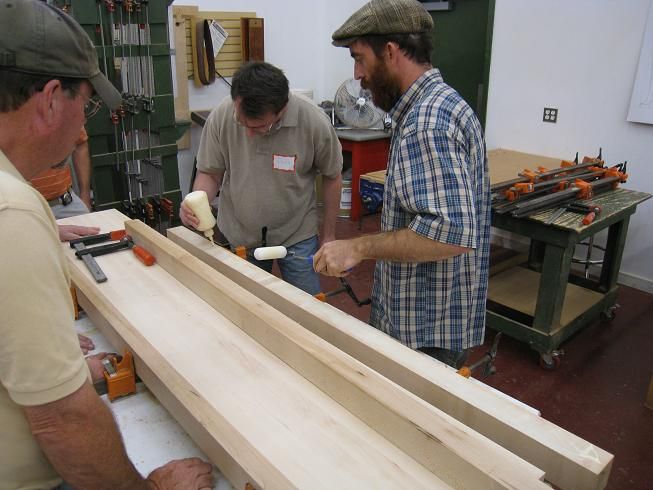
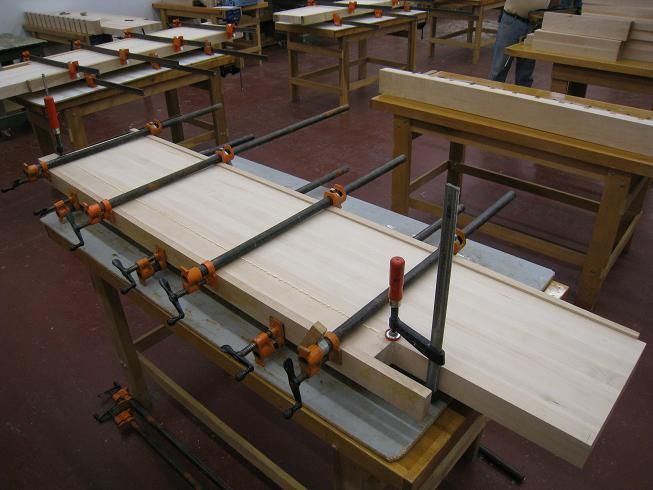
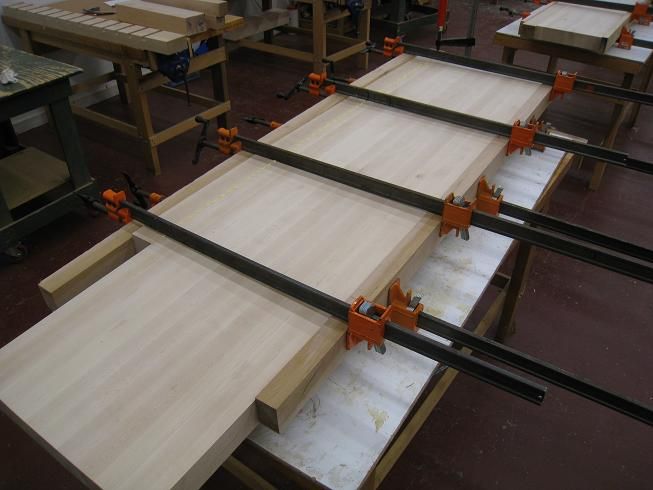
Getting to Work- With the preliminaries over it was time to get to work. The first step was to add a slab to the side of the preassembled top. This slab will provide the fourth side for the bench dog holes. After squaring up one end it was time for the first glue-up. We used a solid maple caul to uniformly distribute the pressure, lots of steel clamps and a lot of care to insure that the height matched the rest of the face.
A final sanding of the top later in the week will take care of any minor imperfections. The glue is regular Titebond.
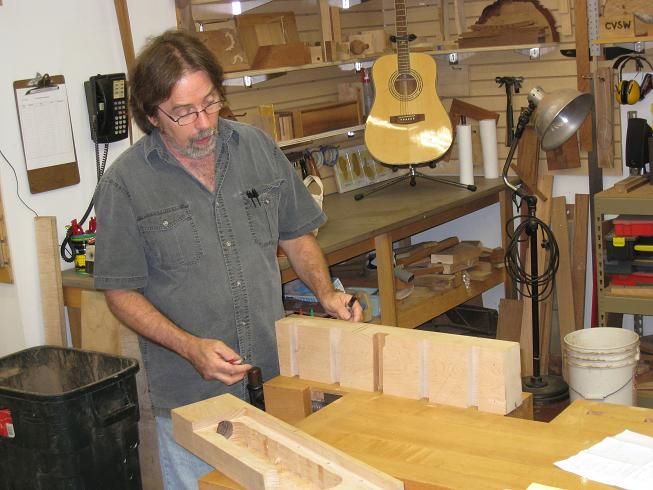
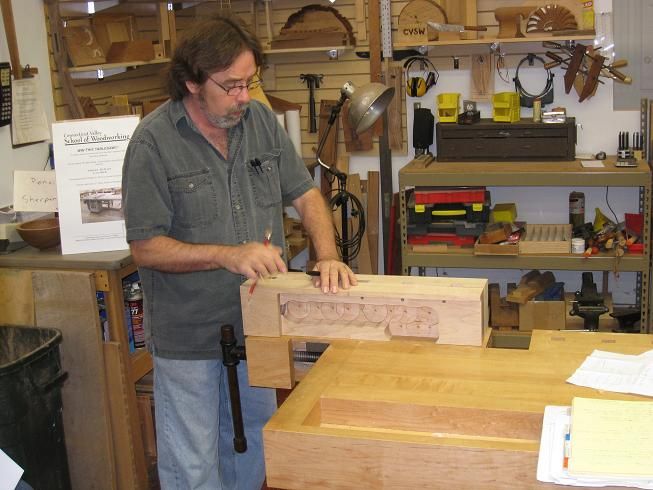
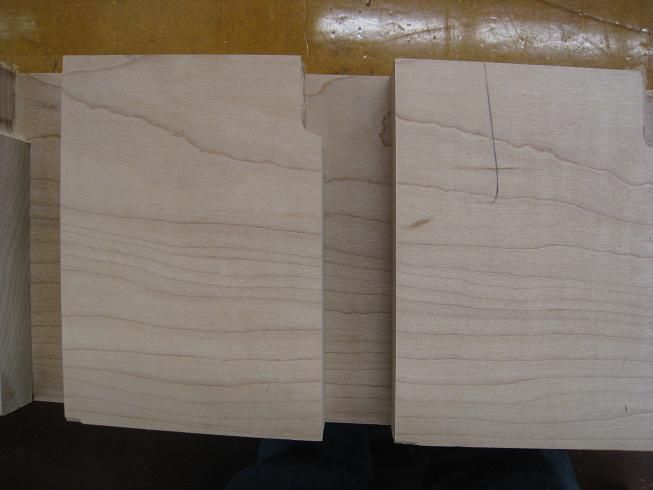
Then it was on to cutting the benchdog holes in another slab to go on the bench top. These are cut at a slight angle so the benchdog tilts slightly toward the end-vise face.
Bob and Tim had set up a crosscut sled with the proper angle and an indexing pin to help in making the multiple cut. This is much like how a box joint jig works except the cut is at the slight angle.
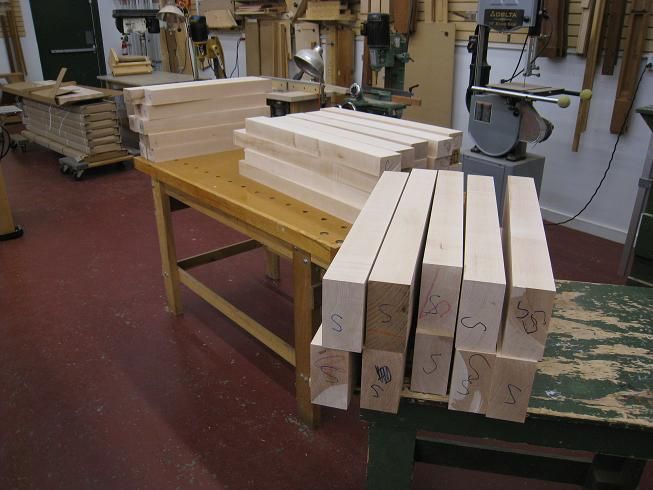
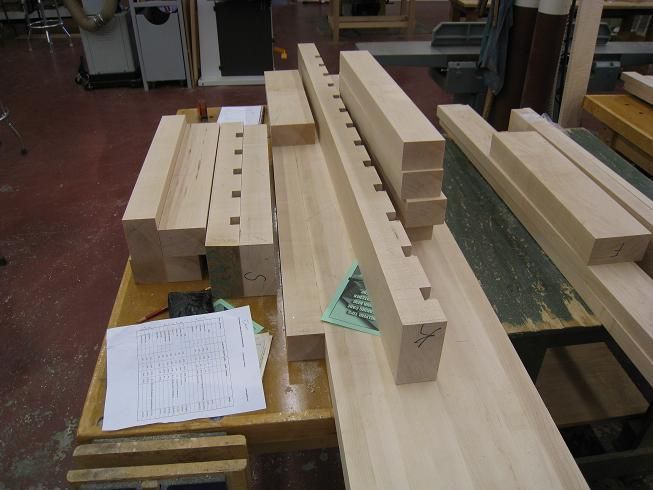
The next operation was to layout and cut the benchdog holes for the moveable part of the end vise. The legs, top brace and bottom foot were cut to length in preparation for starting to cut mortises and tenons tomorrow.
It was a busy day. In the morning I was apprehensive about how much work there was to do in a limited time but once we got into it my anxiety went down. Bob assured us at the end of the day that we were indeed on schedule.
I’m looking forward to tomorrow when we start doing more hand work cutting mortises and tenons, and doing additional glue-ups. Tune in again tomorrow and I will tell you how it went.





Log in or create an account to post a comment.
Sign up Log in